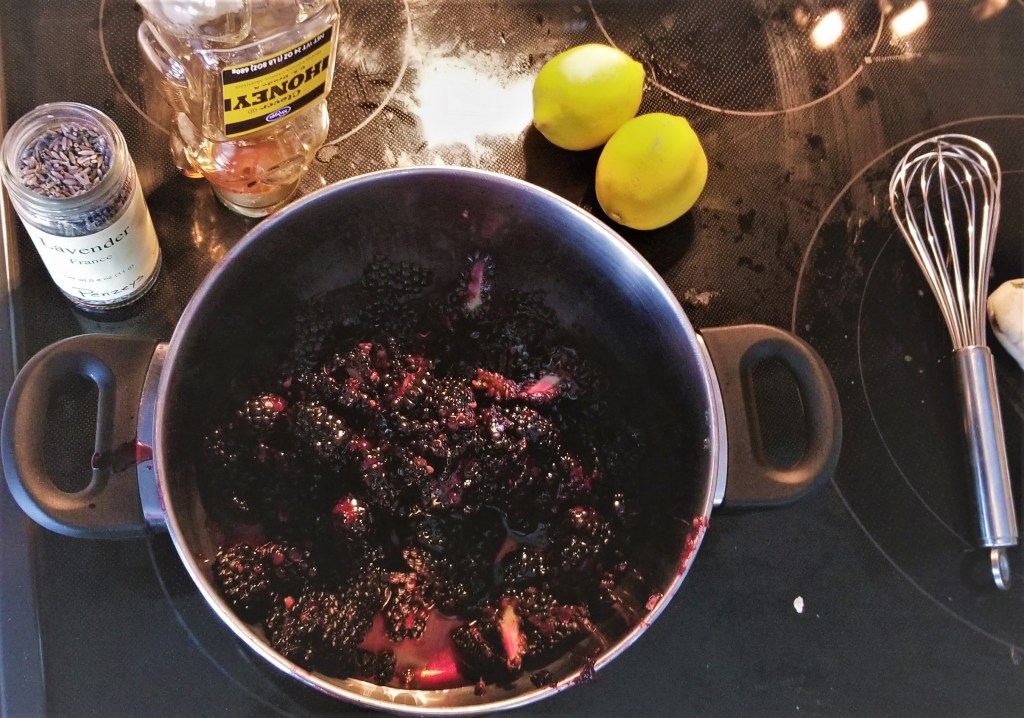
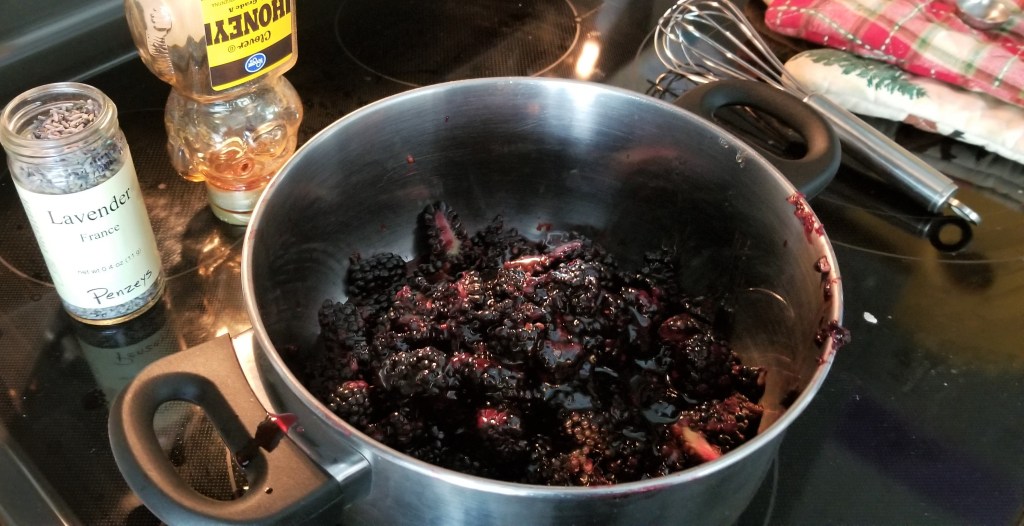
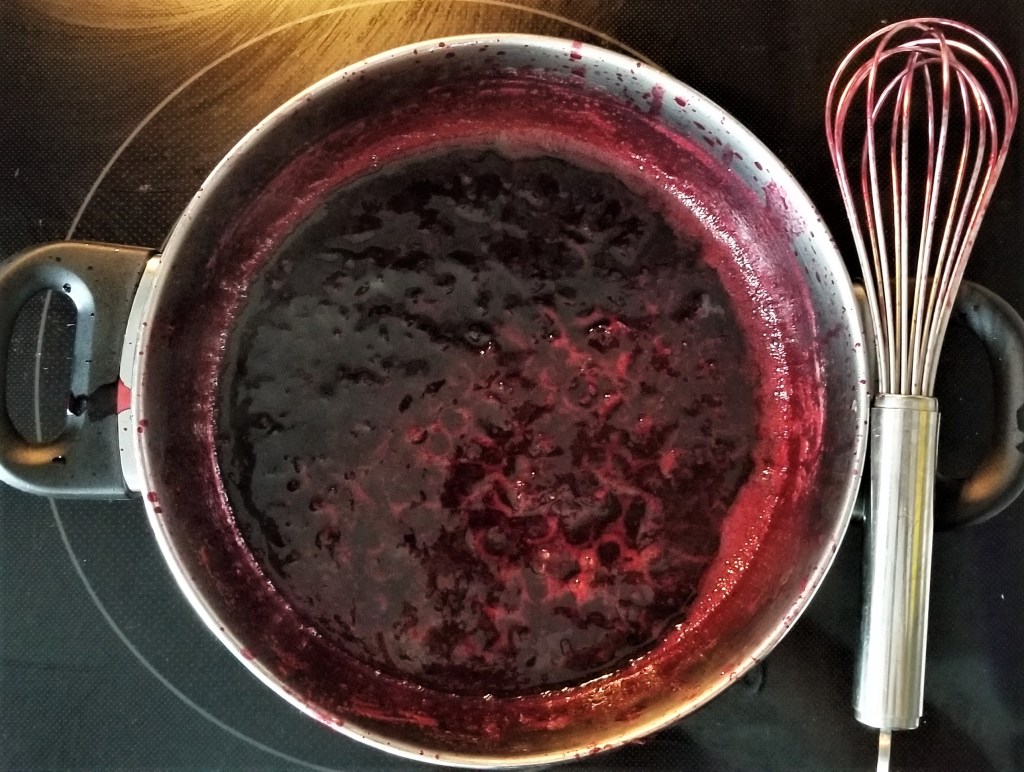
Homemade Blackberry Lavender Jam
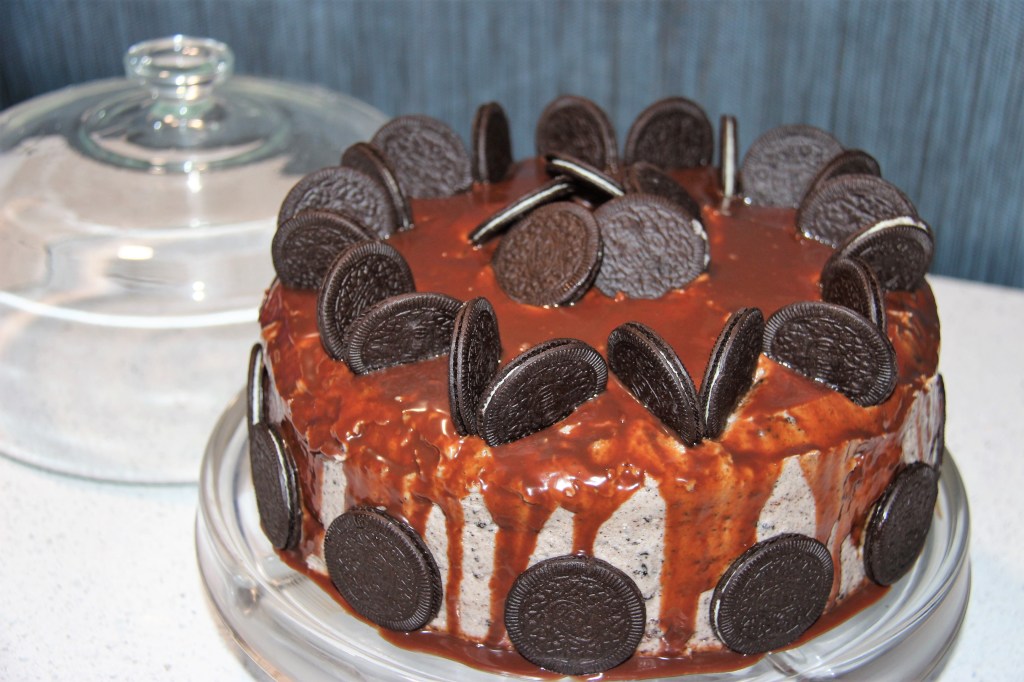
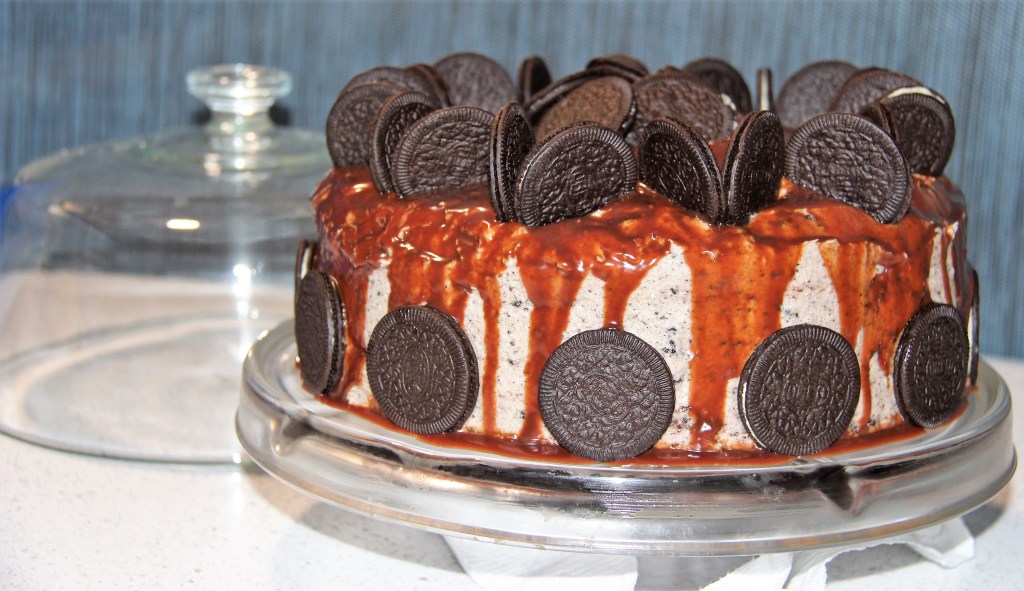
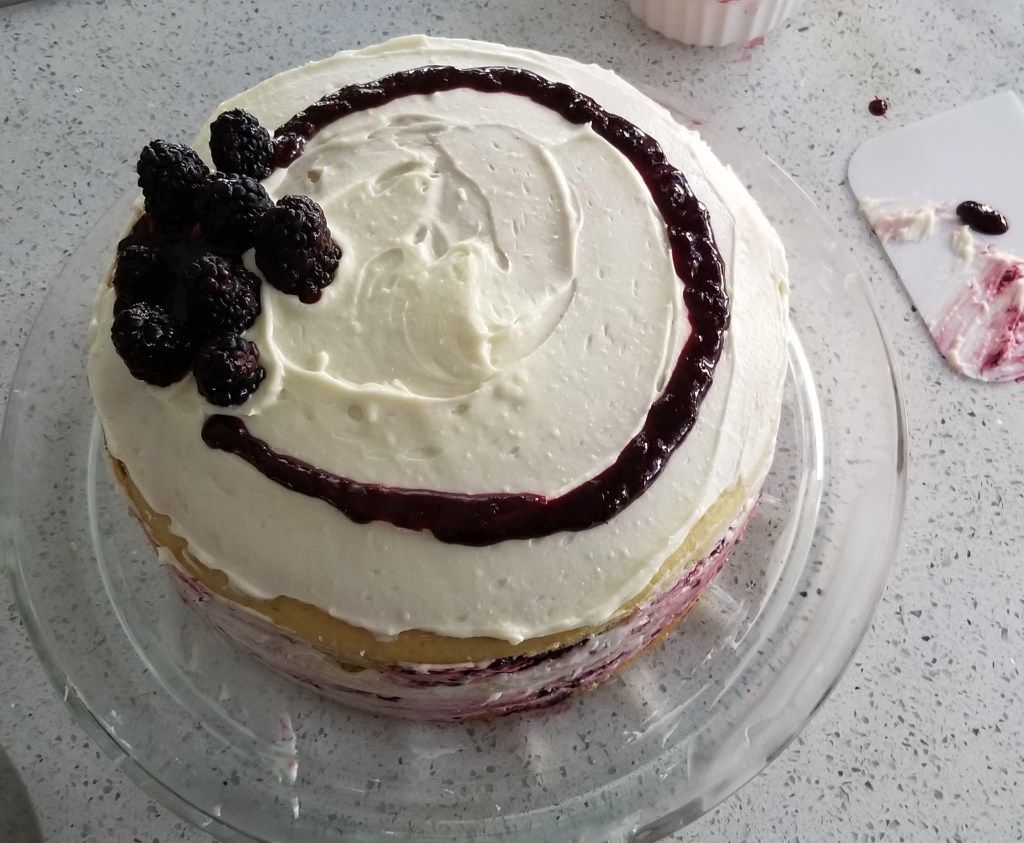
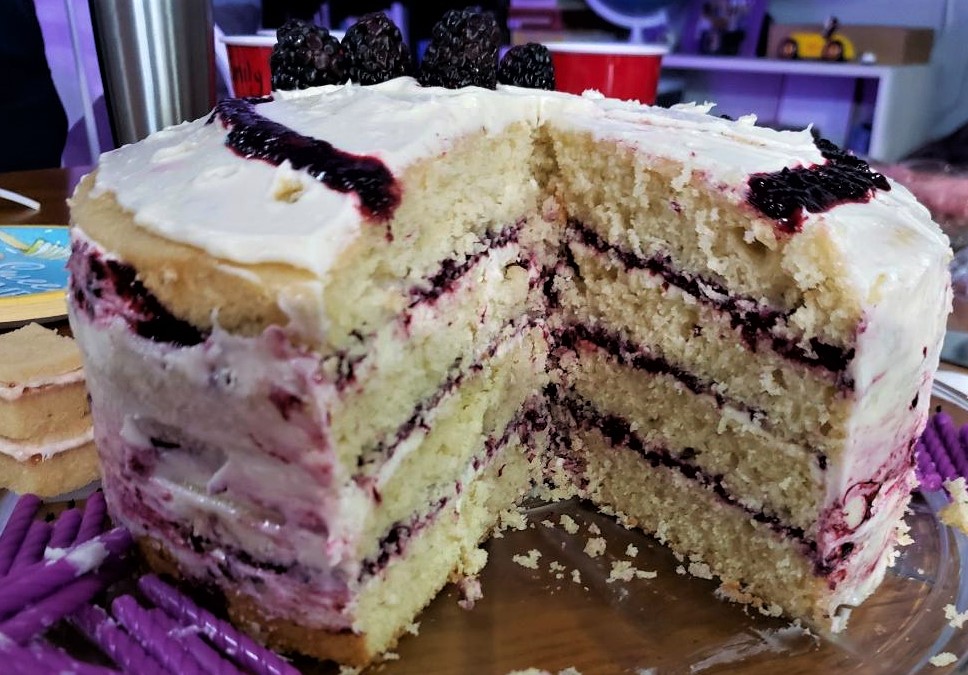
The ultimate birthday cake! This treat had the perfect balance of deliciously moderate sponge without being too sweet. The homemade blackberry jam is worth the little effort required to set this cake over the top.
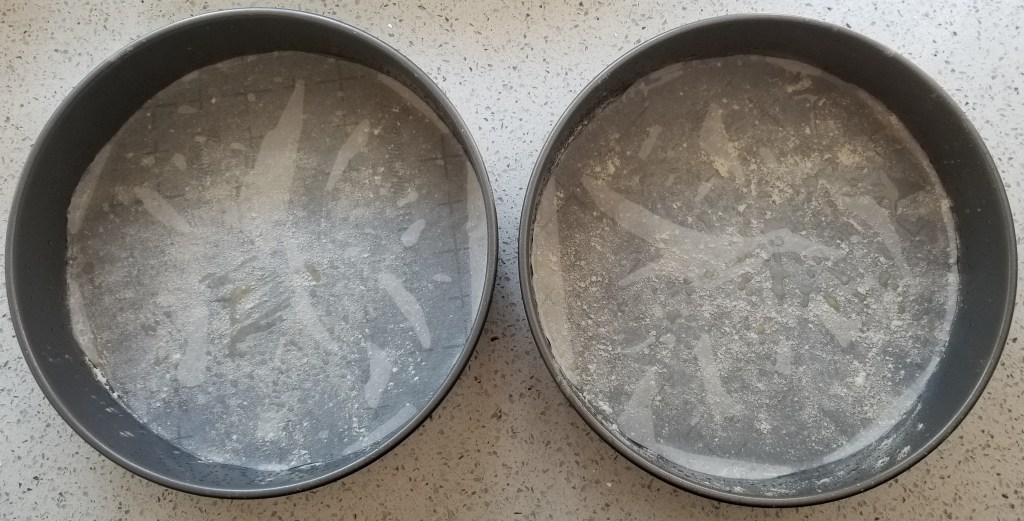
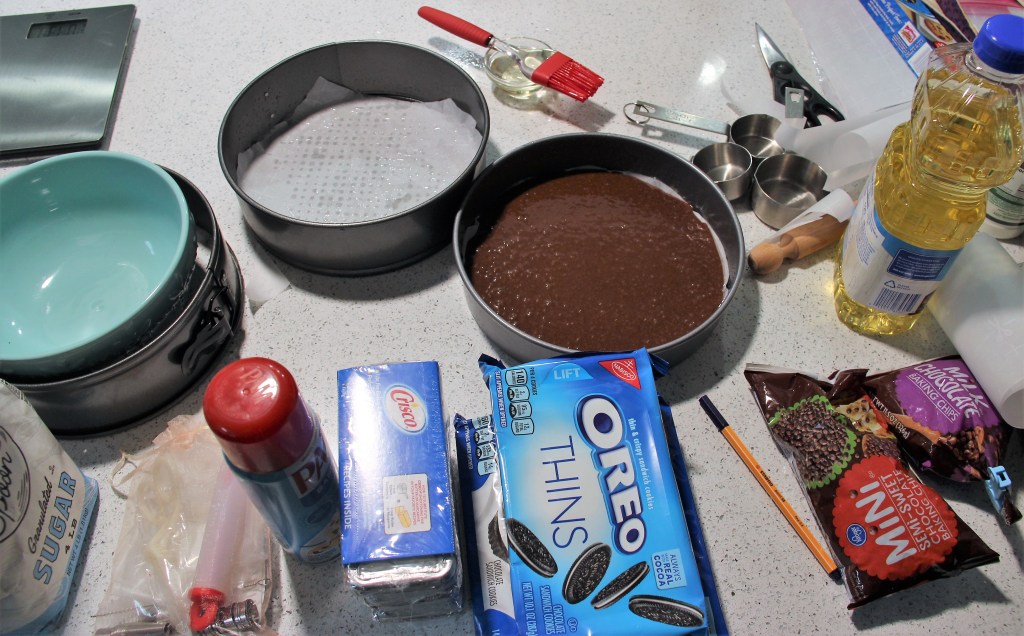
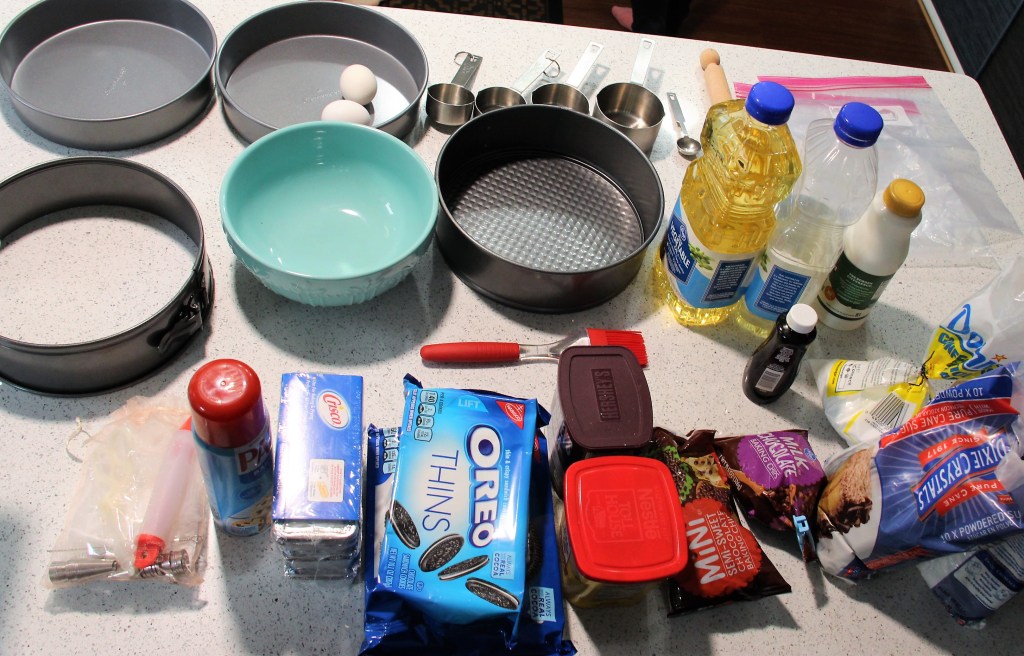
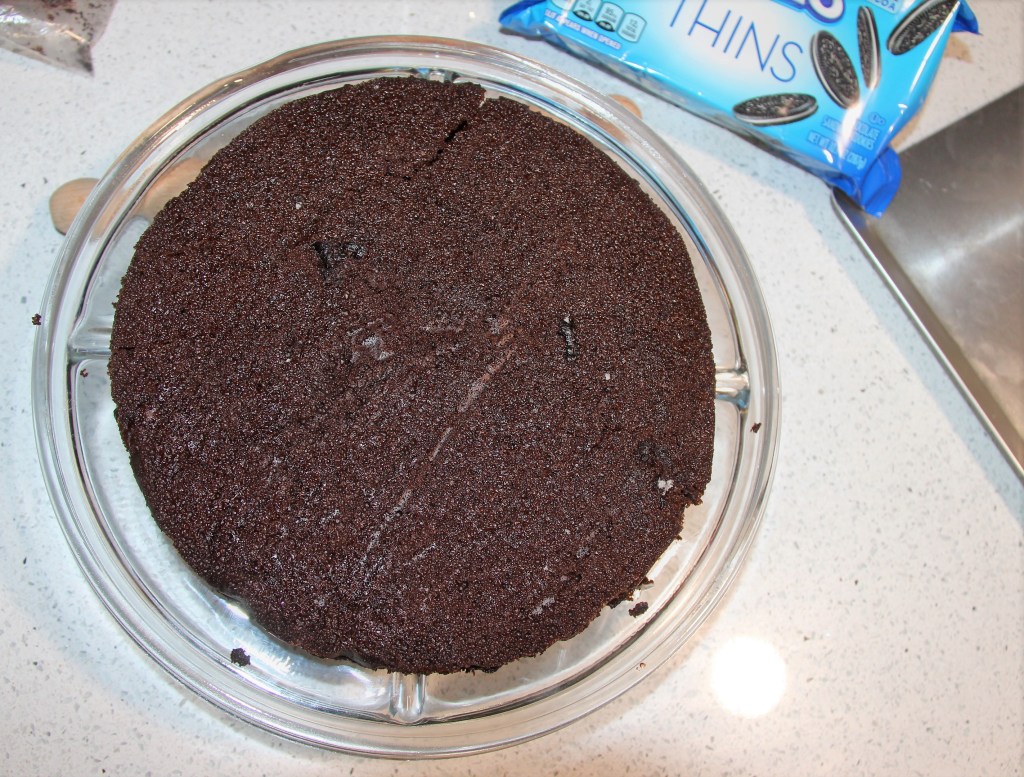
Lining the pans cannot be skipped. 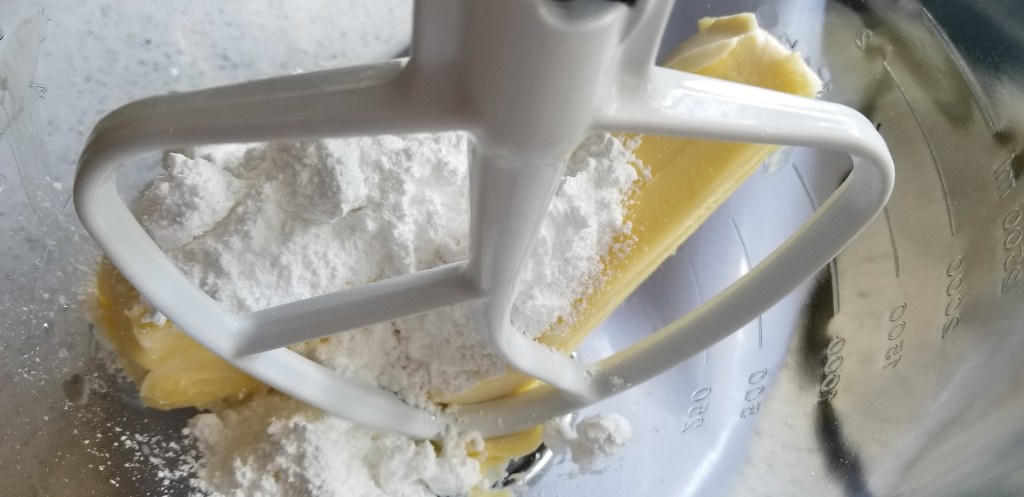
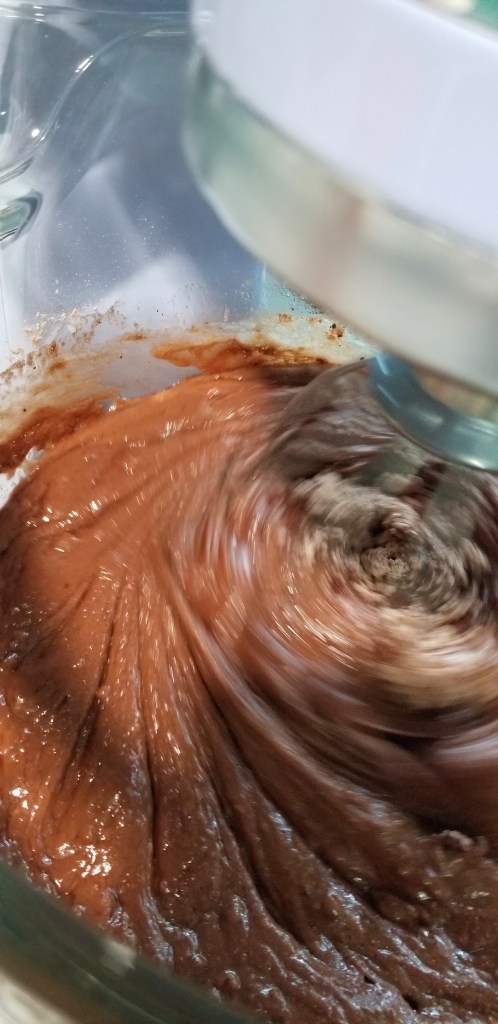
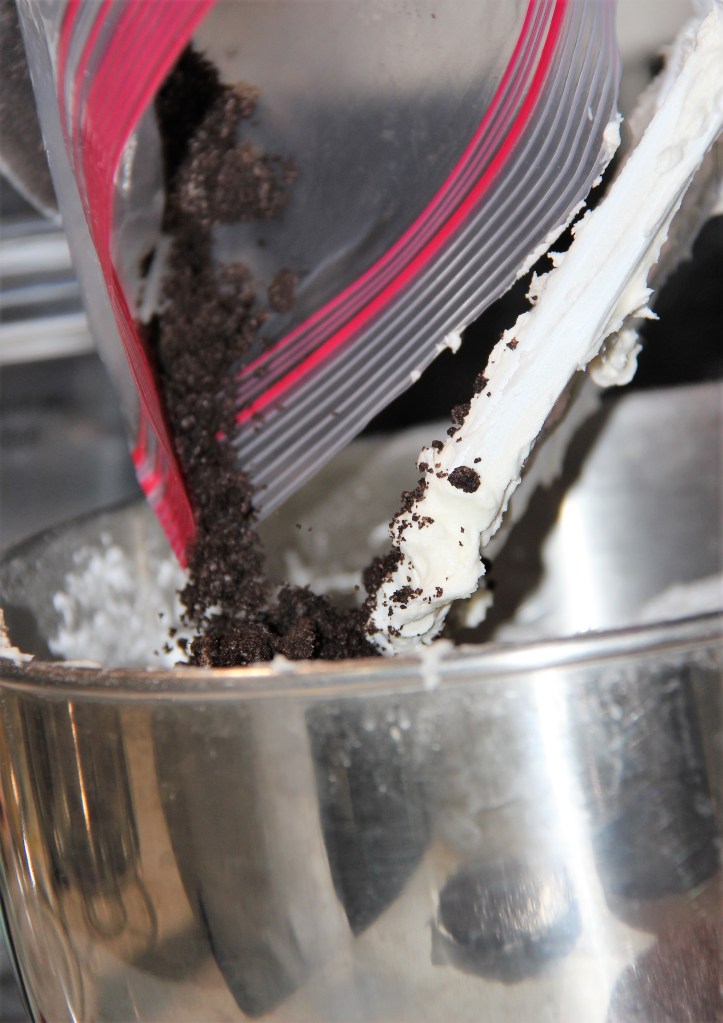
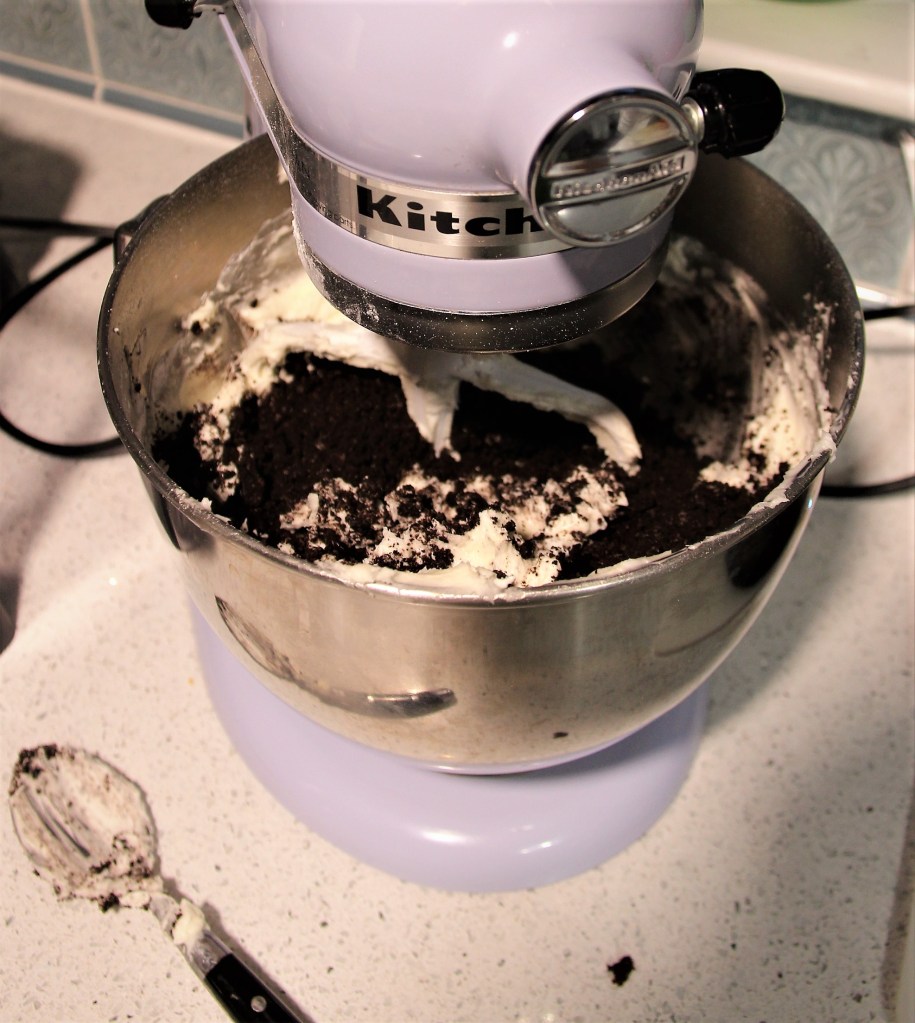
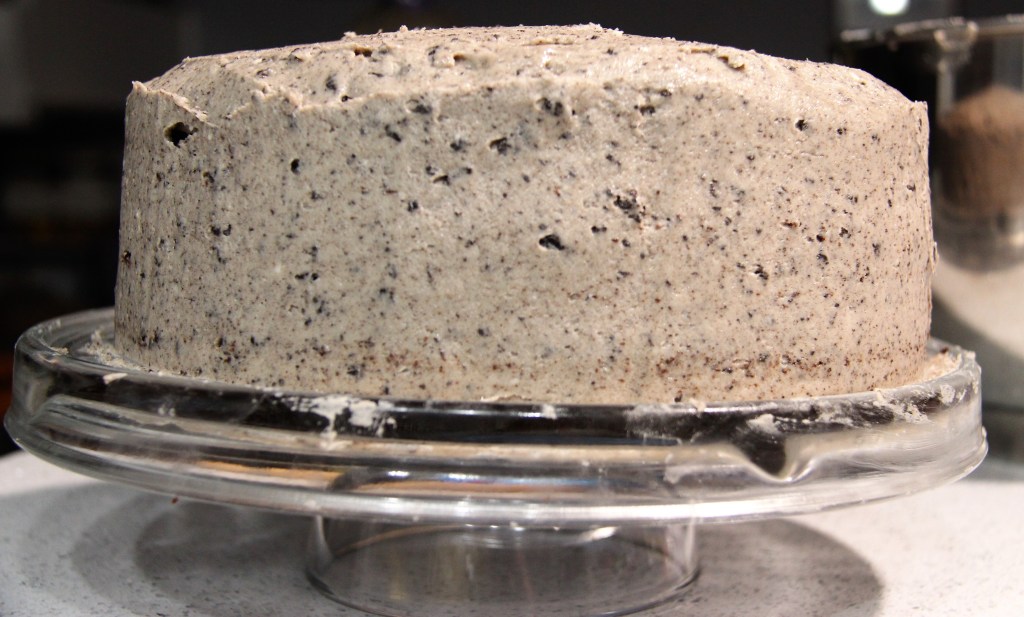
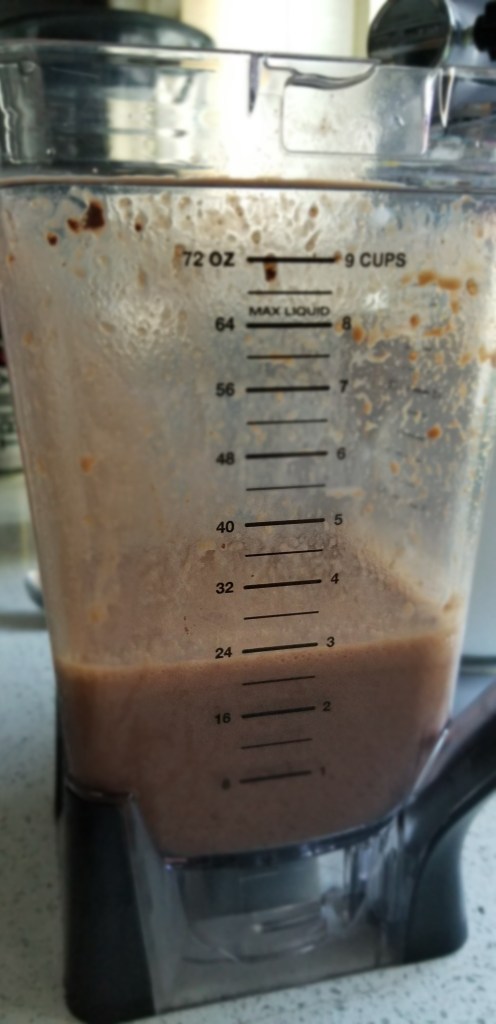
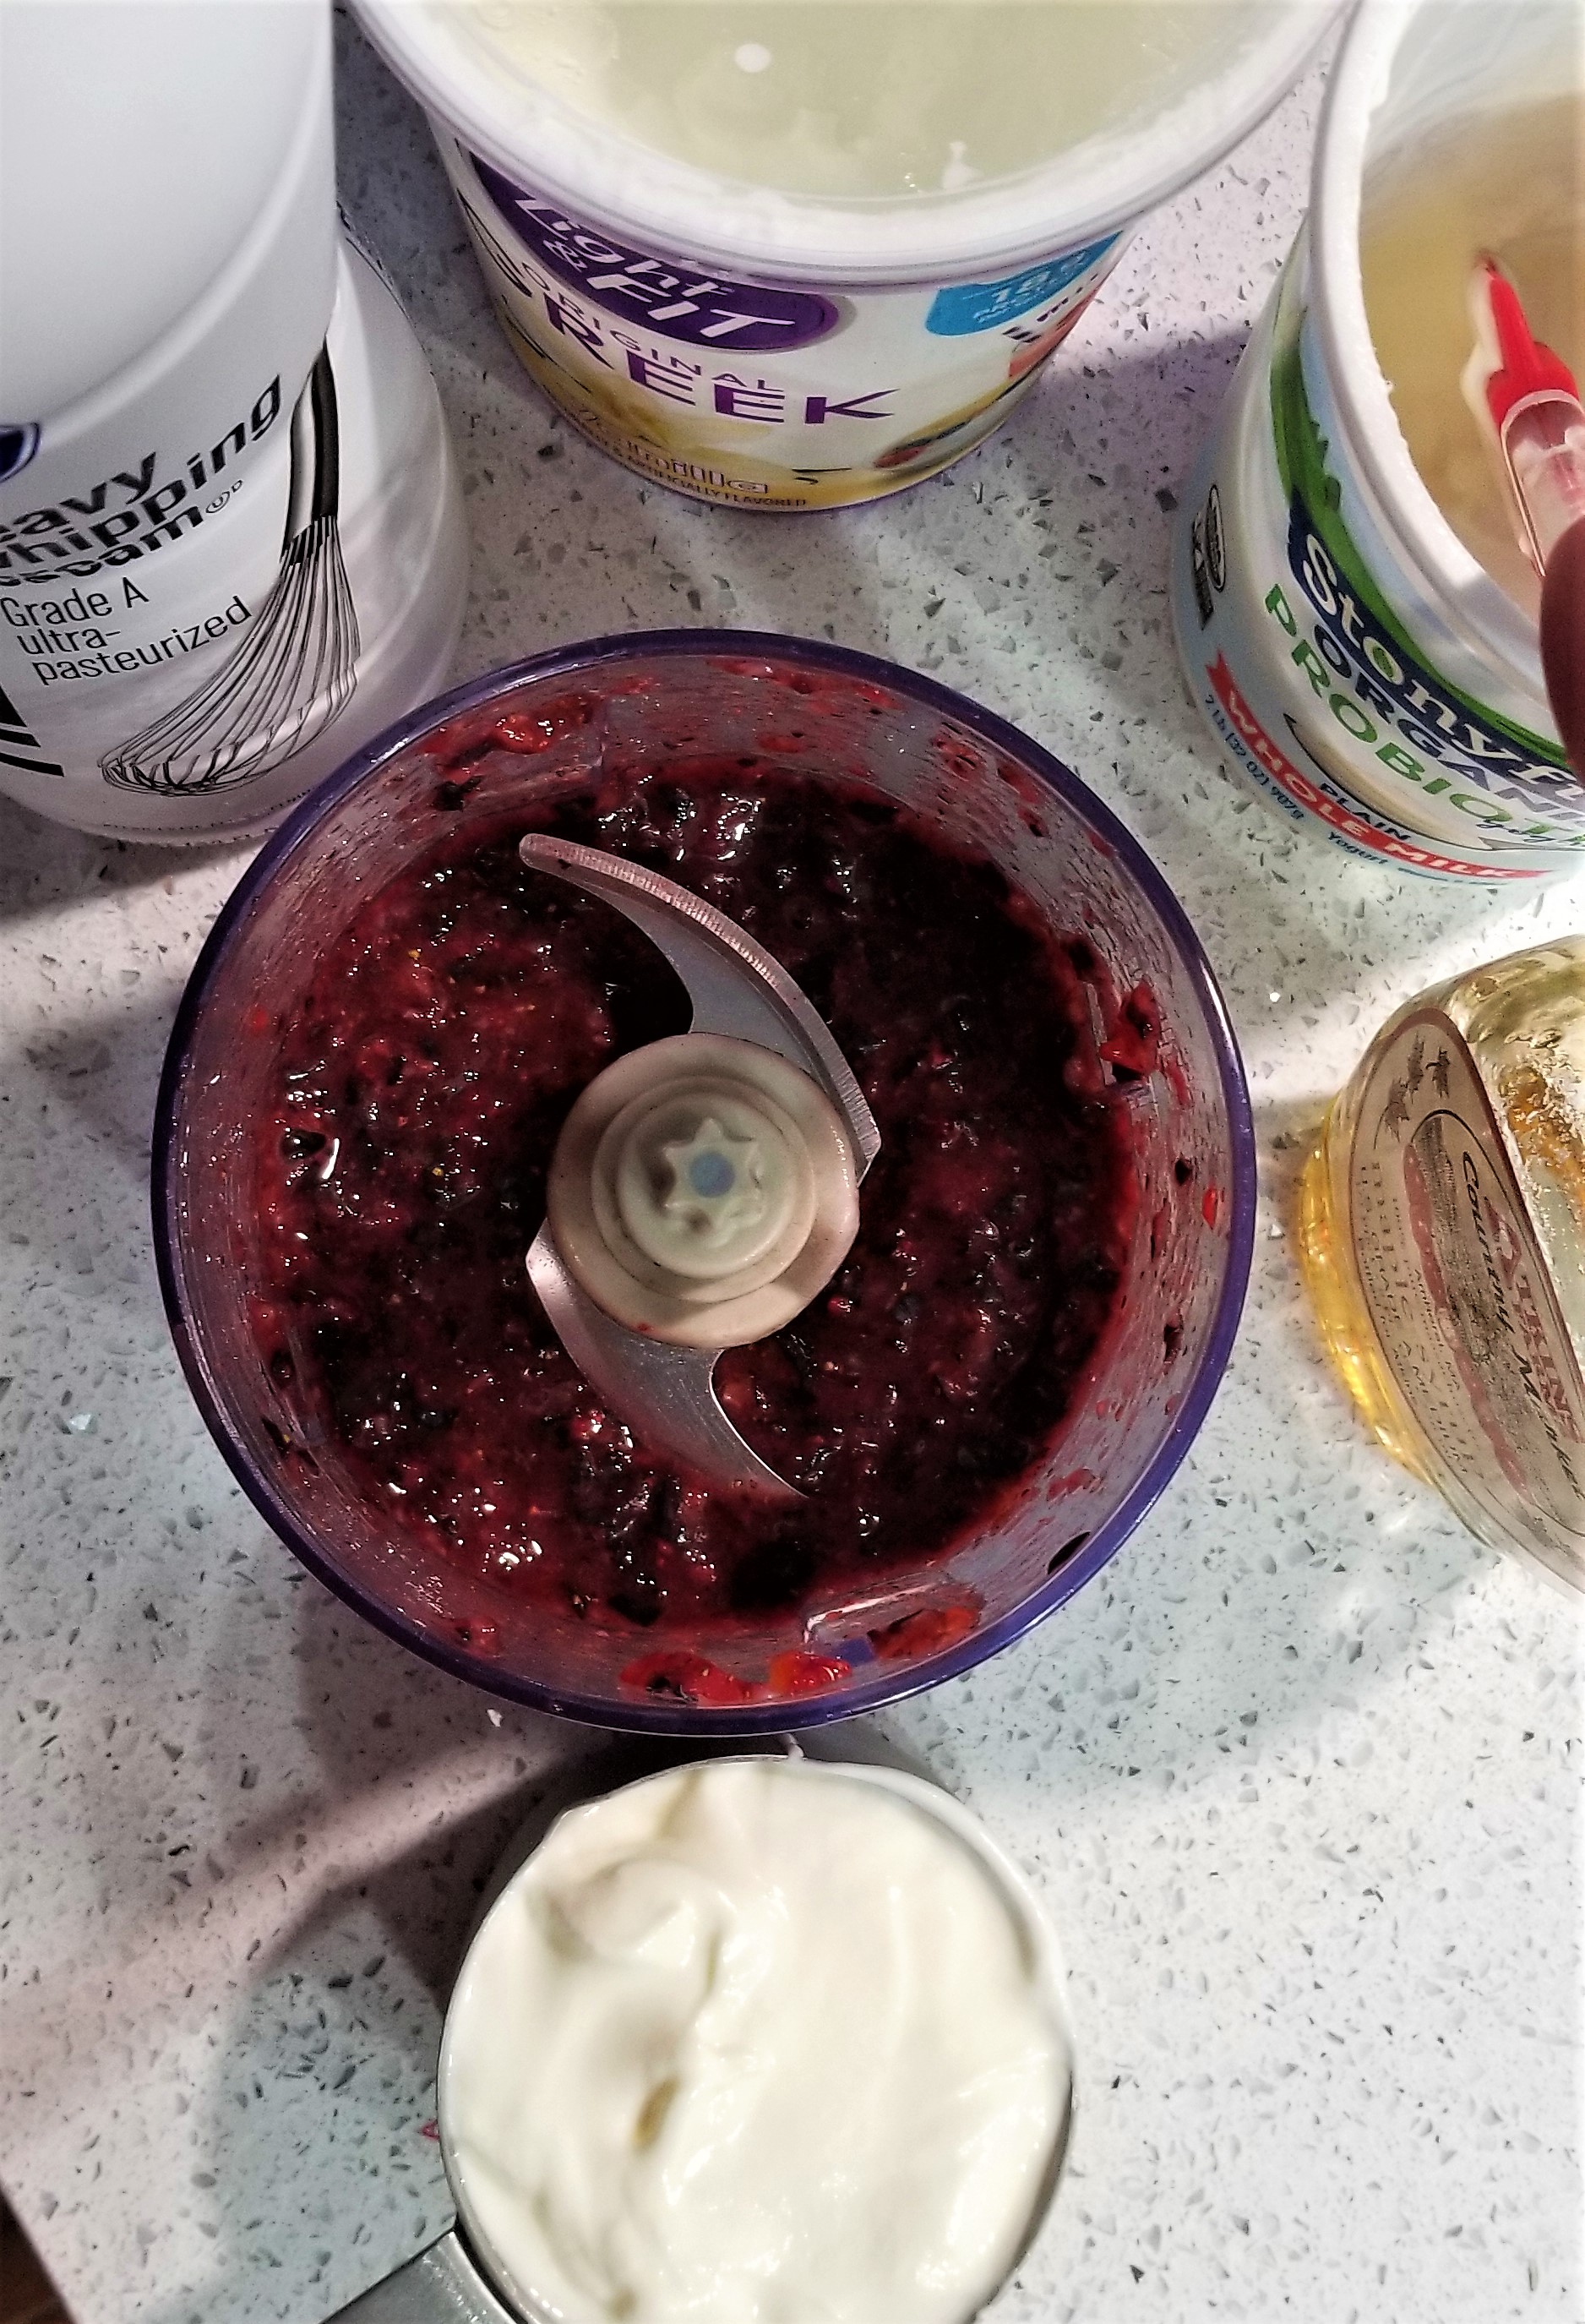
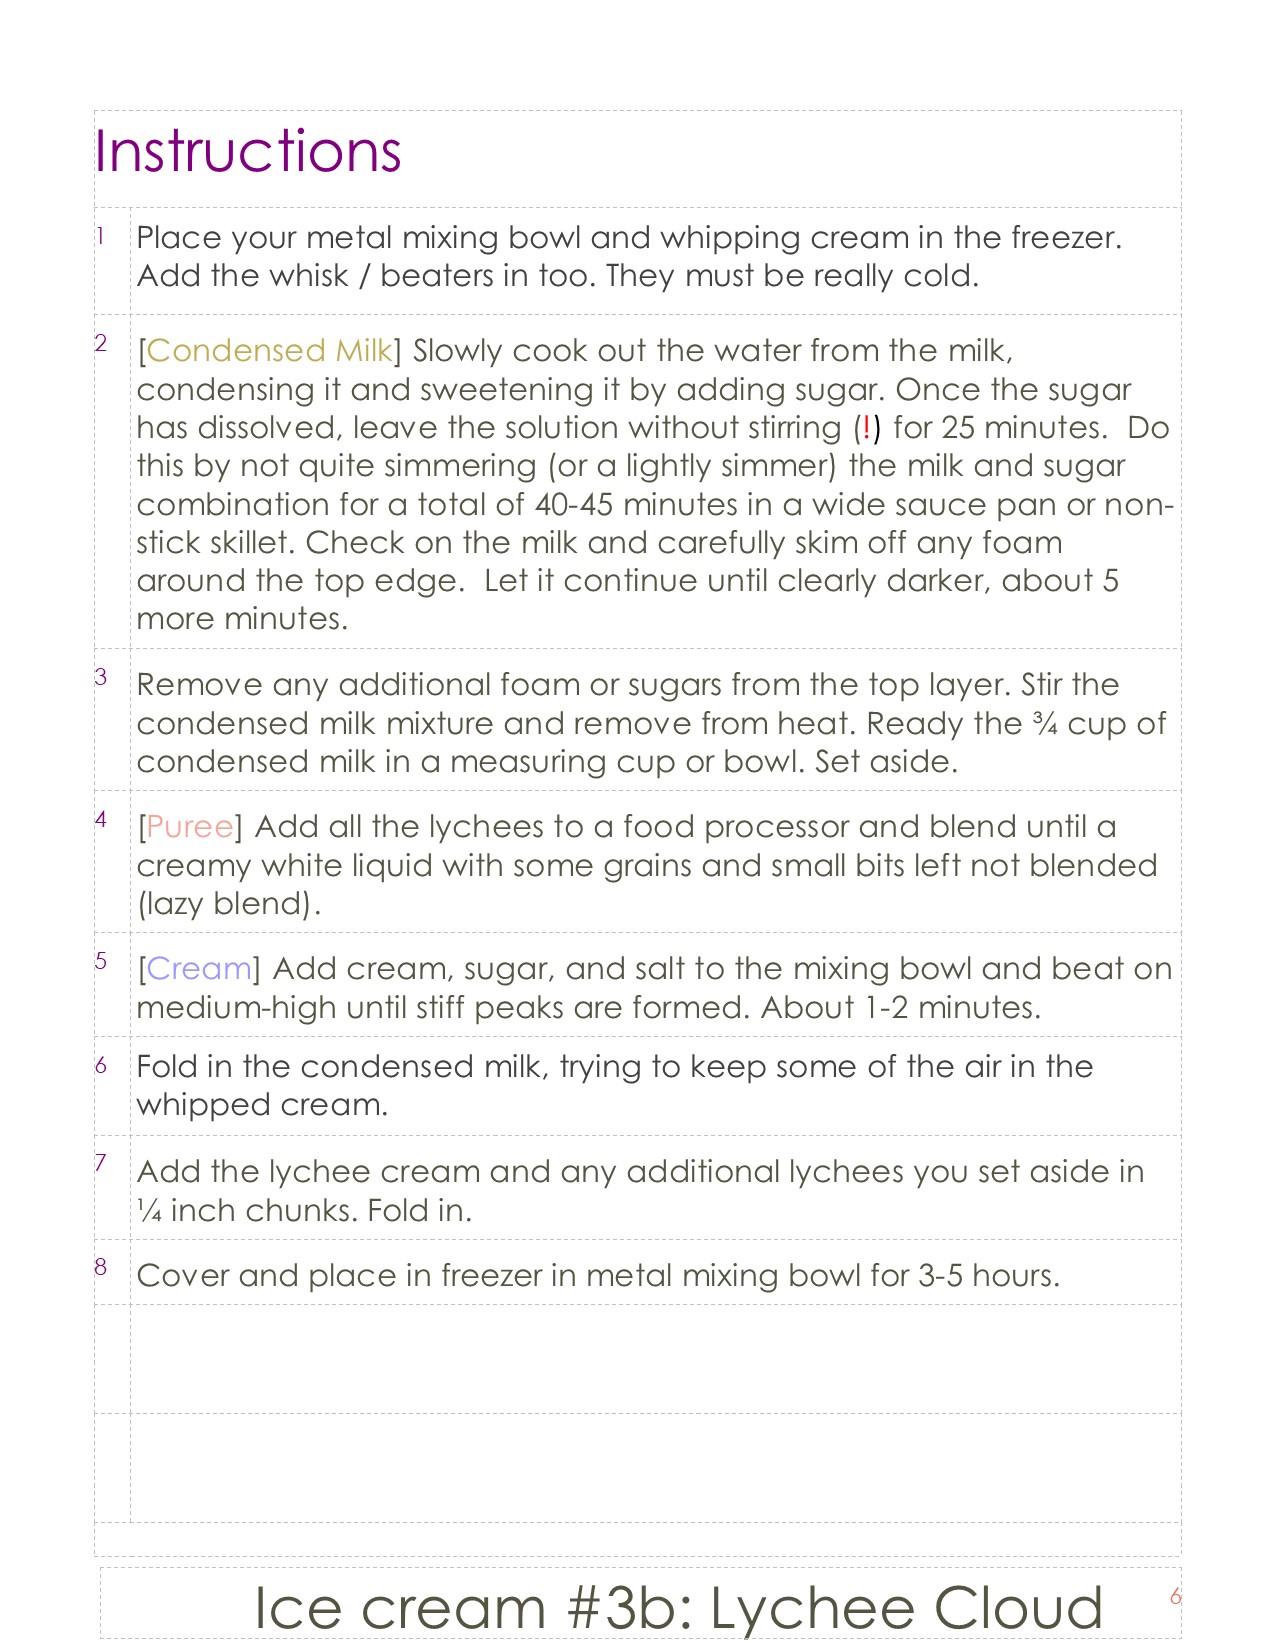
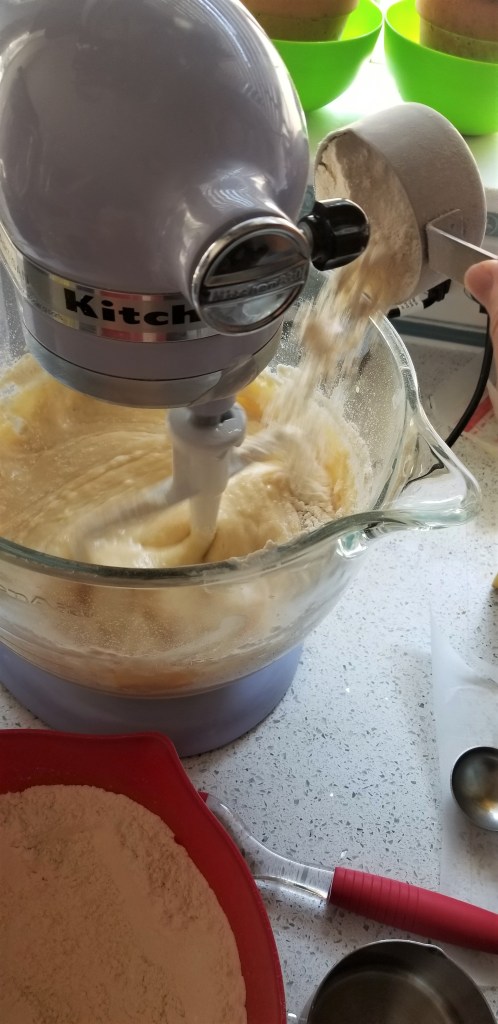
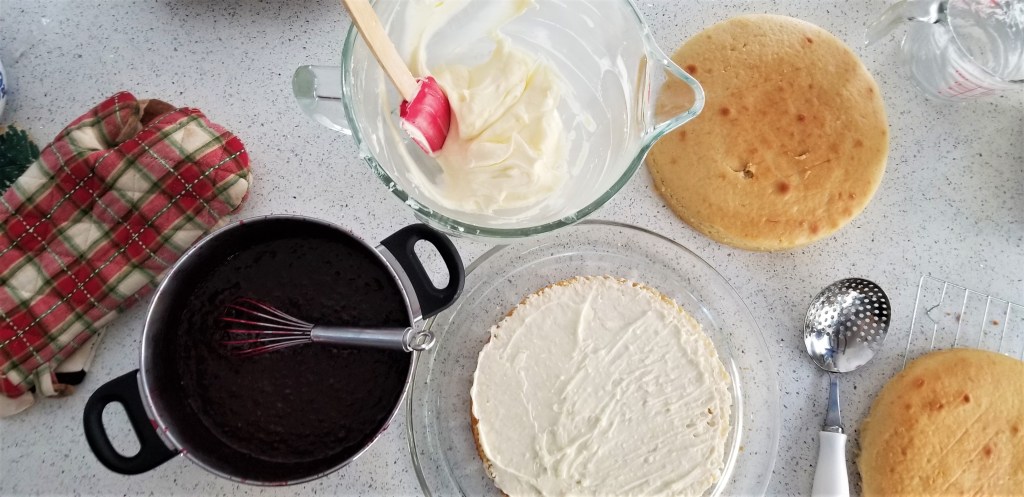
Making the frosting is so easy. 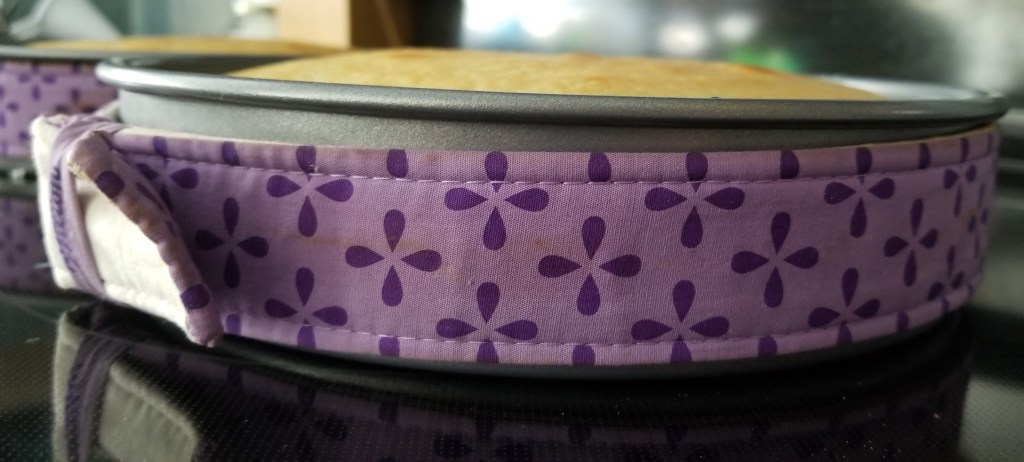
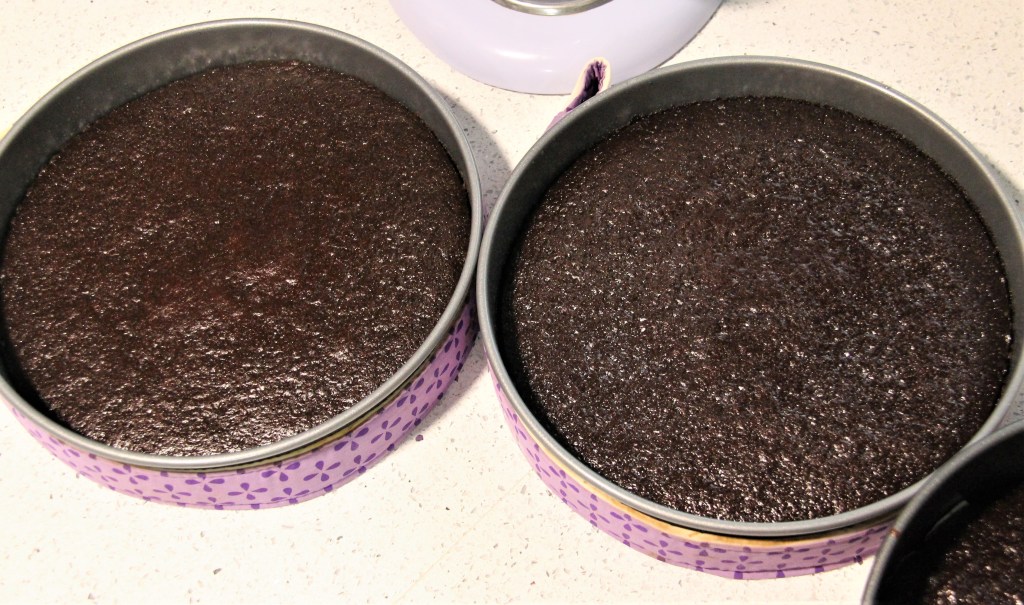
Wilton wraps work, reduced dome
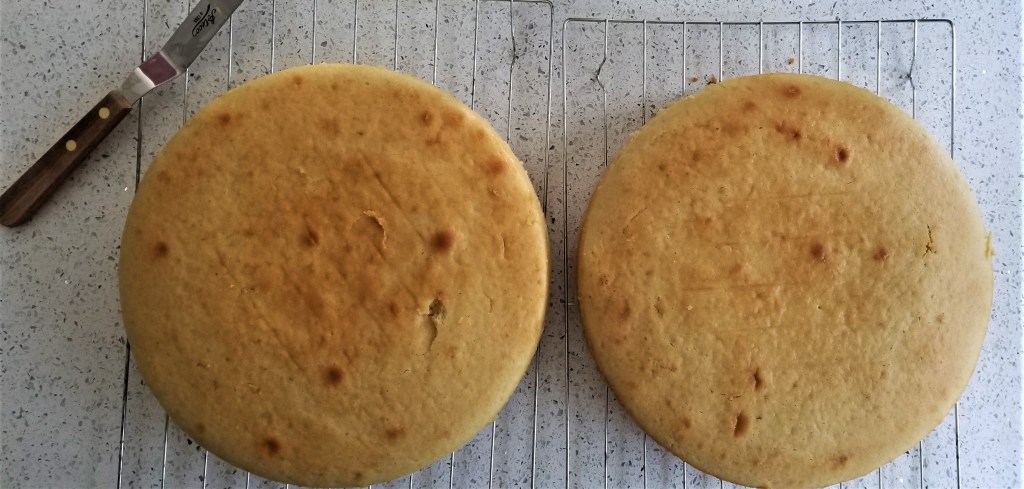
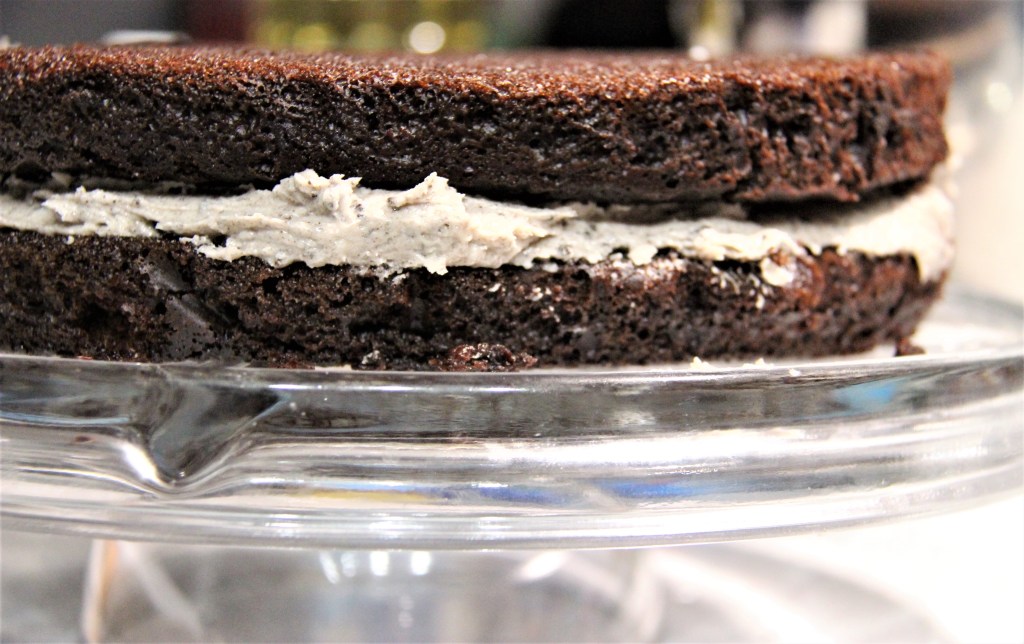
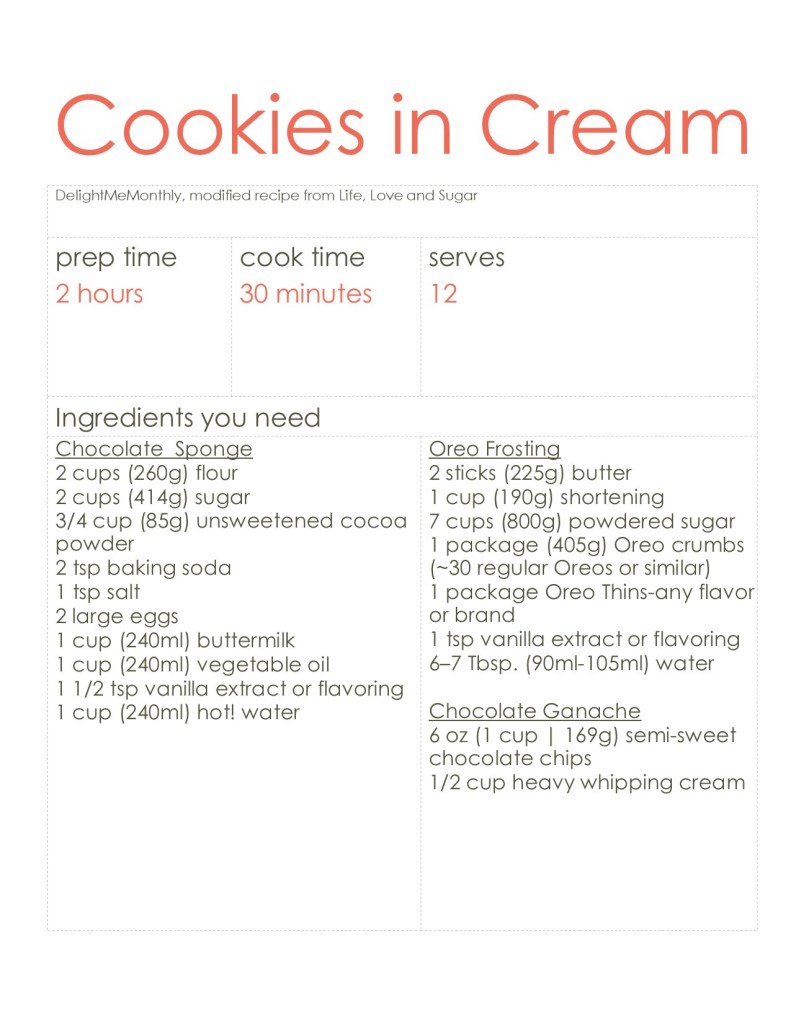
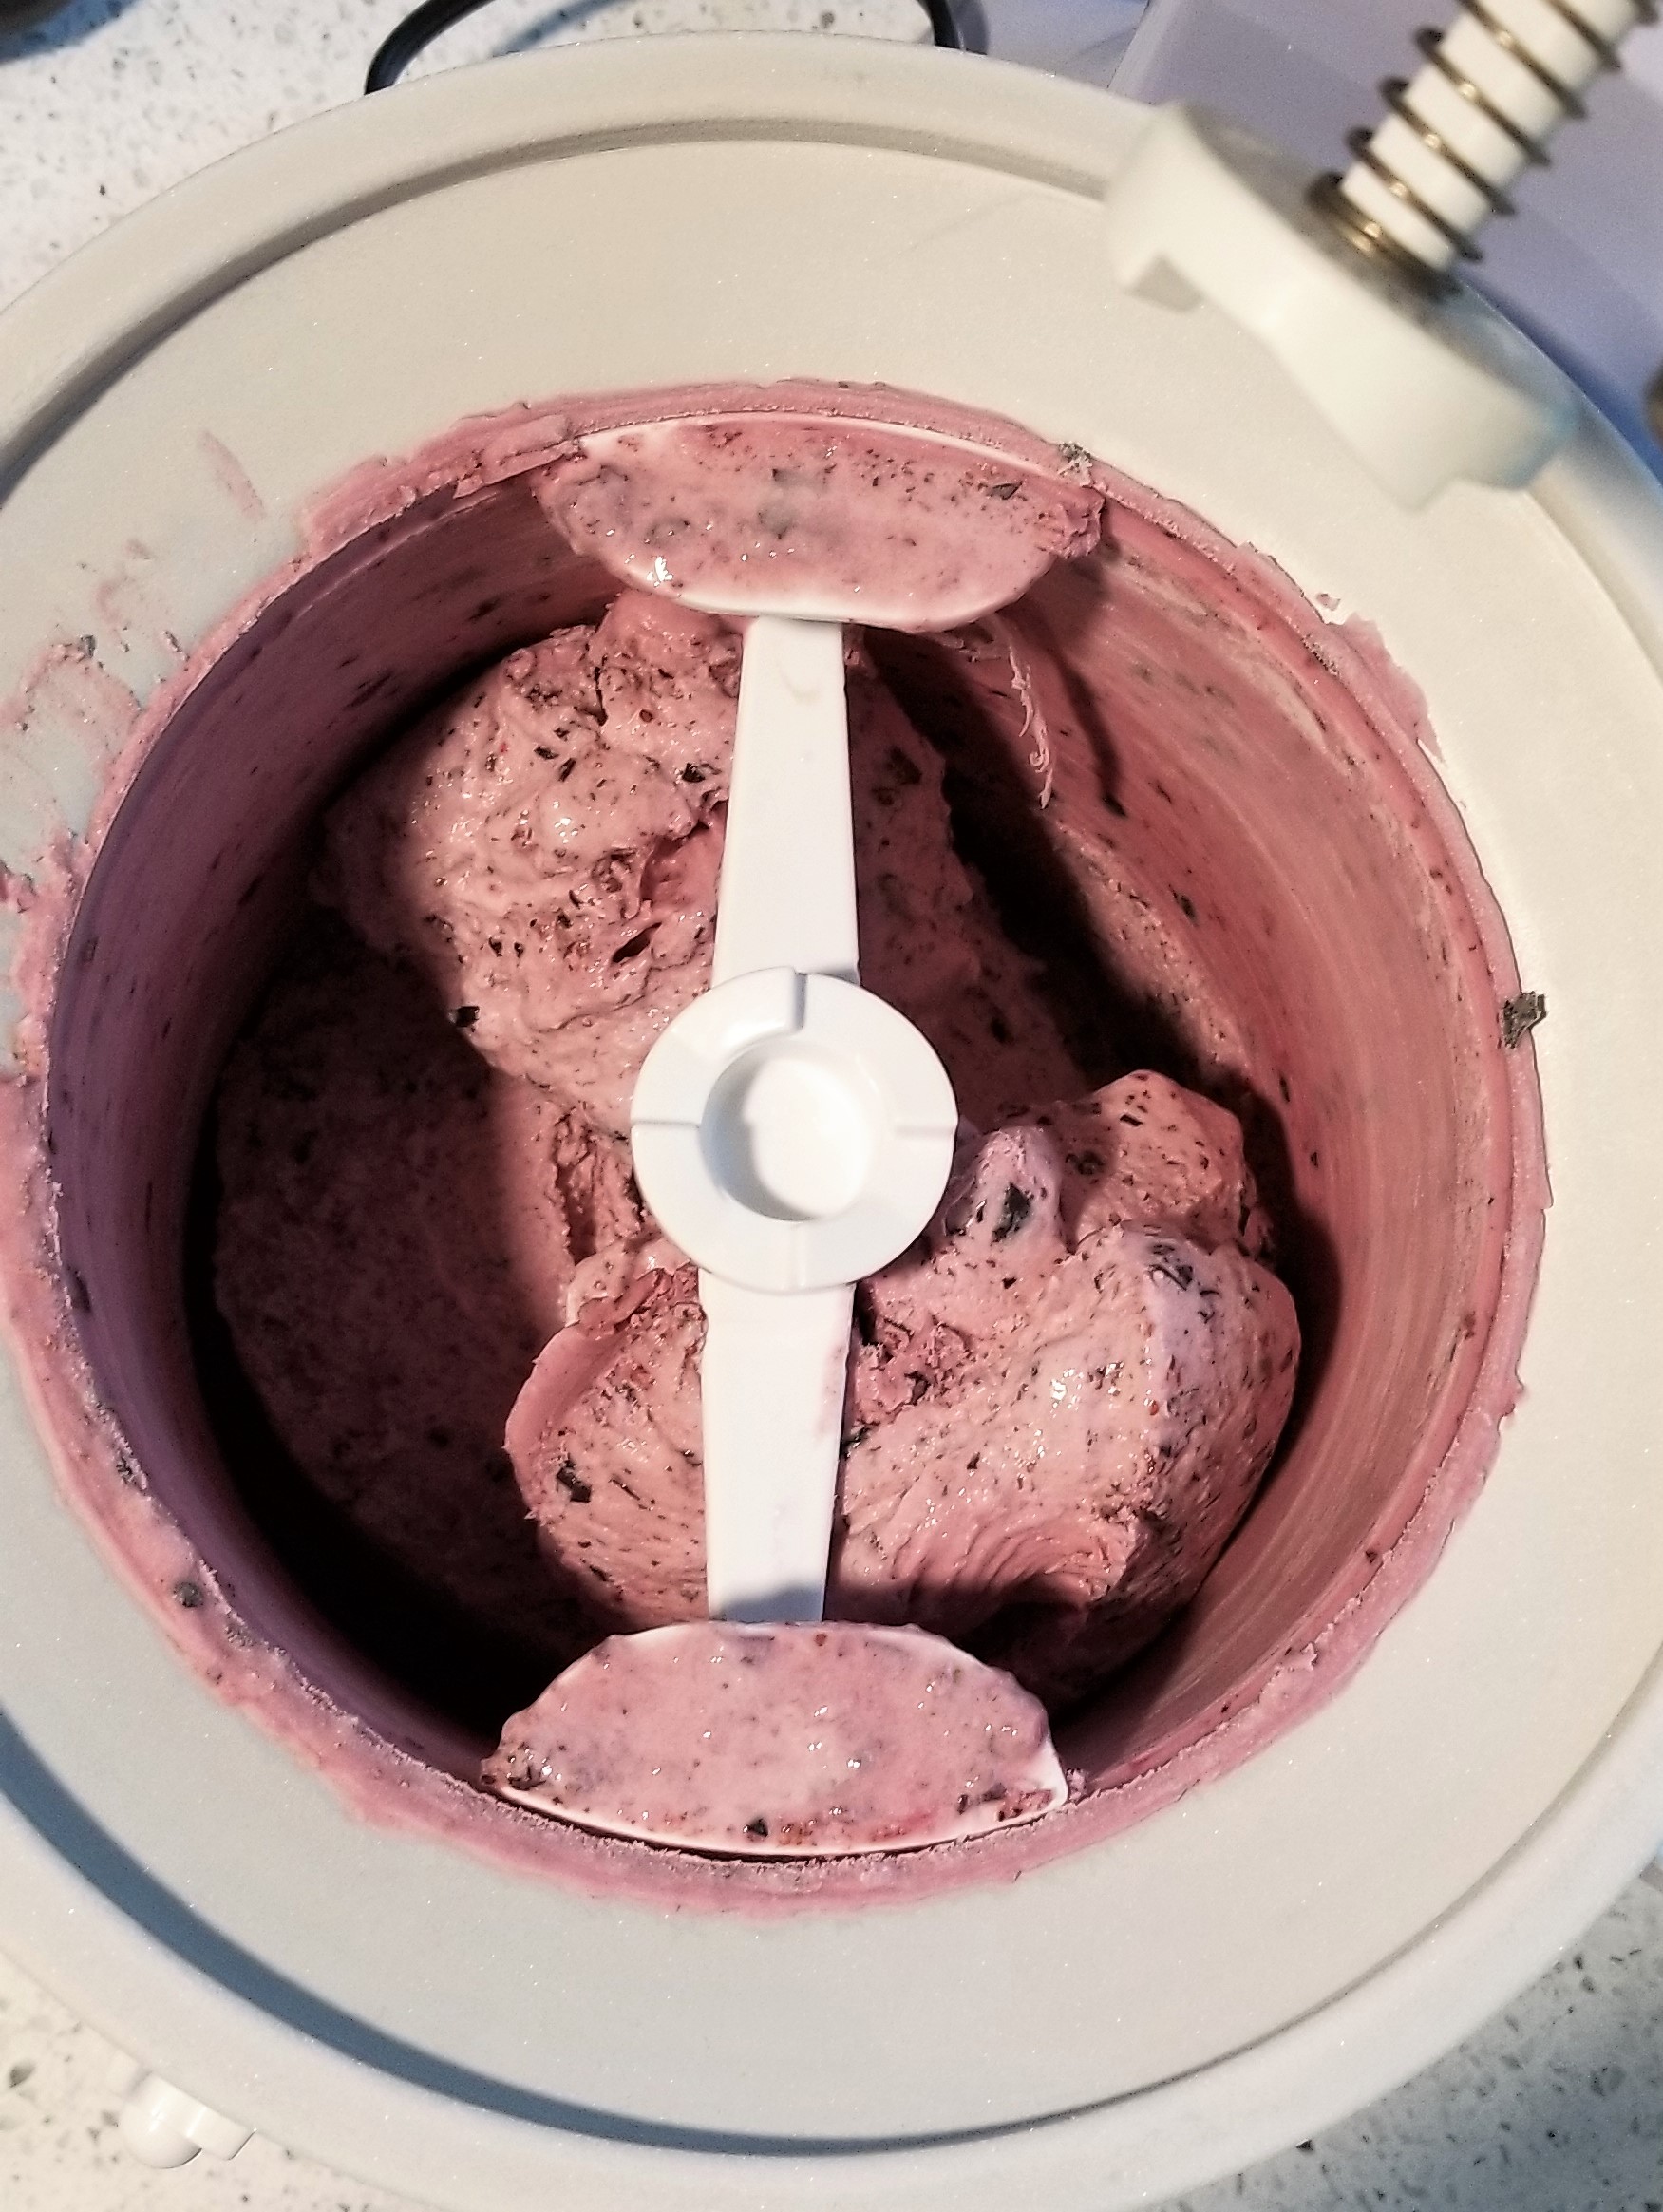
Check the balance on your blade to make sure one side isn’t way bigger than the other.
I do not consider myself a fan of blackberries or lavender, but they were sweetened and worked really well together. My family likewise does not care for lavender and announced happily this was the best cake I have ever made. Everyone who came to my birthday party tried the cake and didn’t spit it out (including the gluten-free, Jewish, and dieting attendees). They all shared their compliments, however, it was my birthday so they can’t be trusted. With it being my birthday cake, I really only think my opinion matters anyway. (haha, joking! Kind of.)
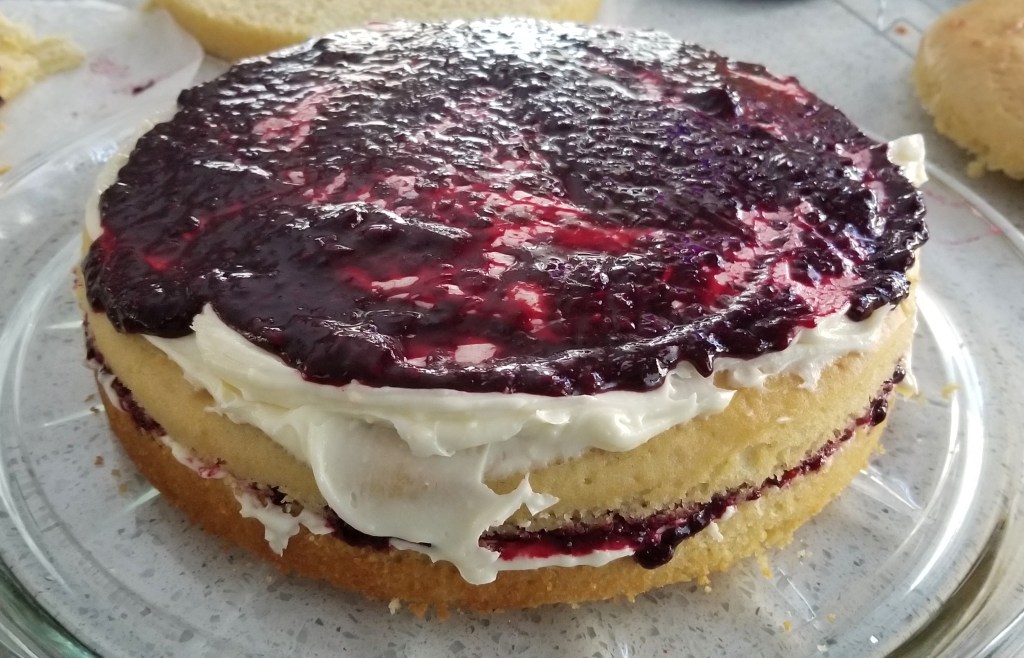

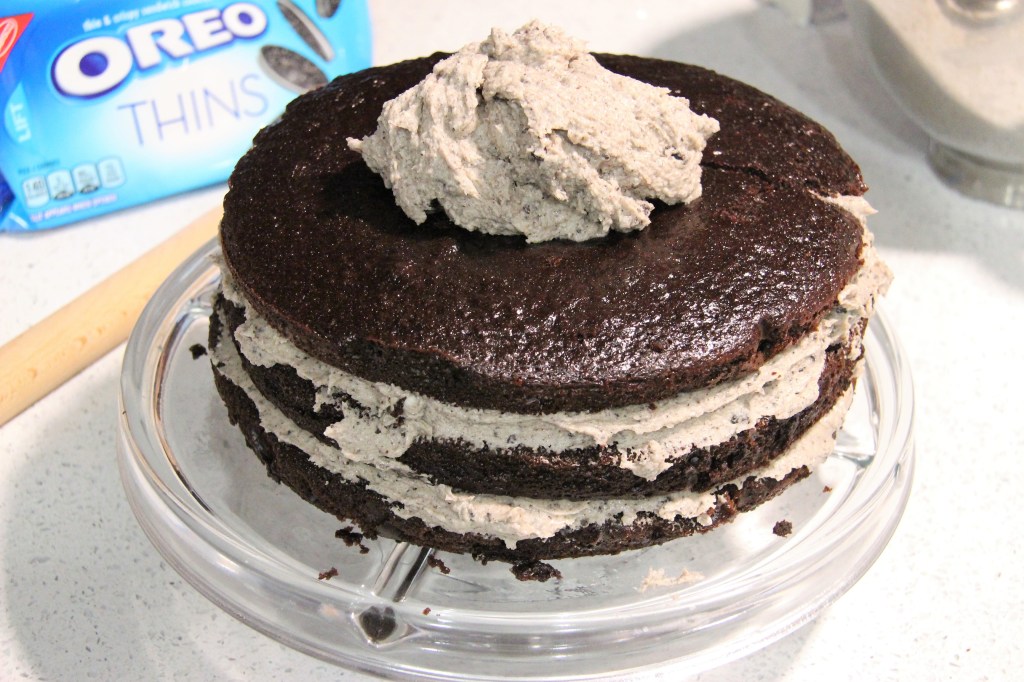
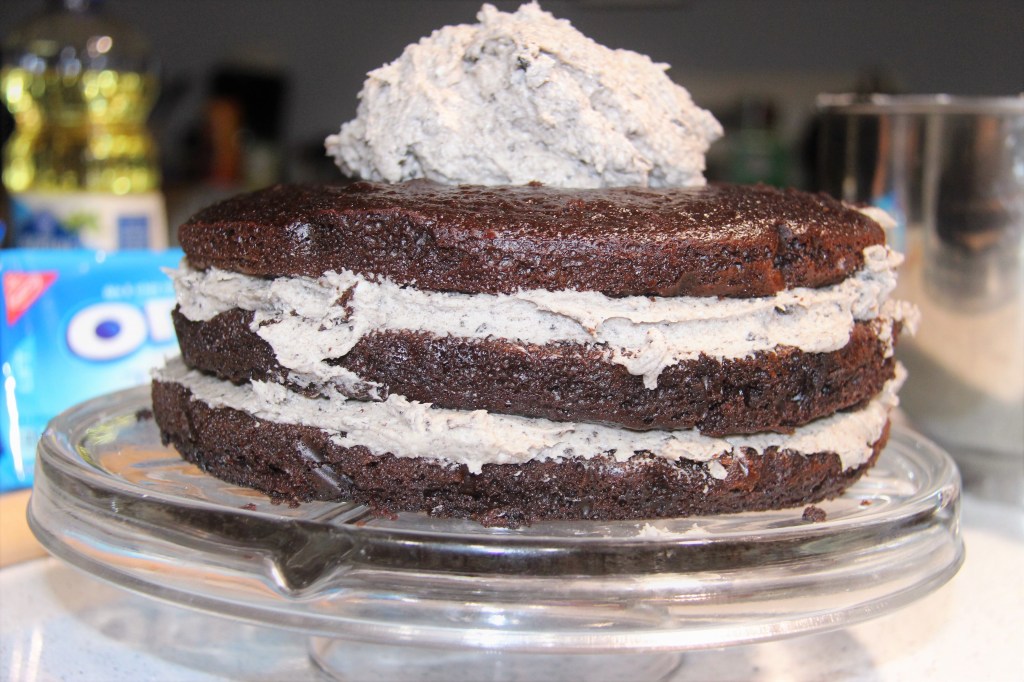
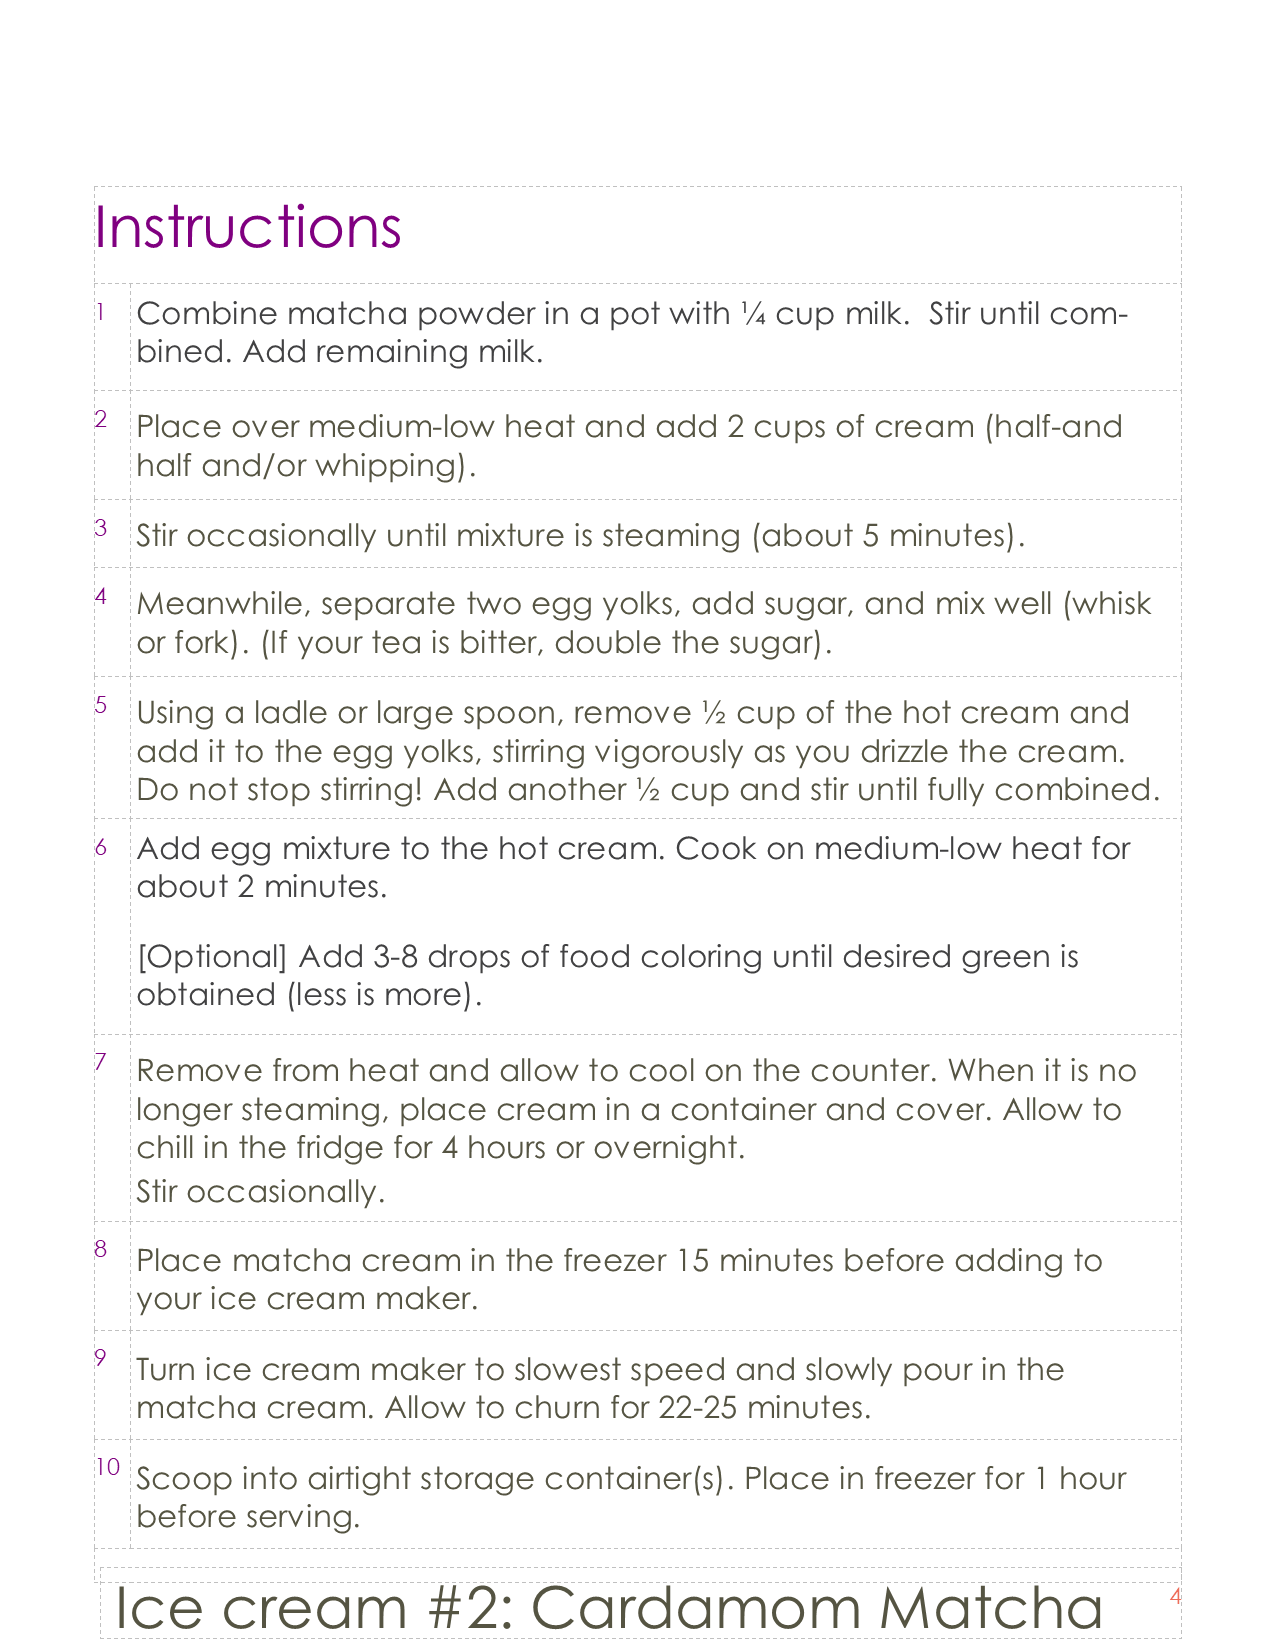
All four layers 
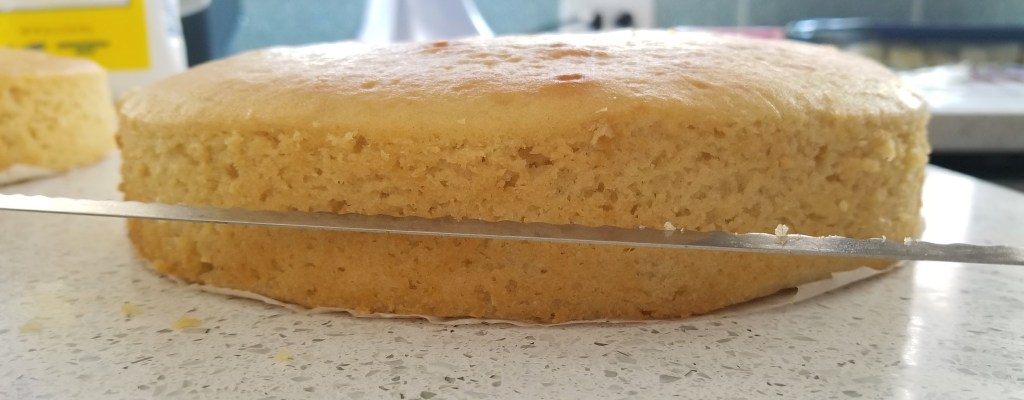
It was not a challenging cake to make, but it was made easier by my new cake cutter. Instead of having to take a long knife and balance pulling that across, I was grateful for my saw which easily split each cake evenly into two (four total). If you ever plan on doing this again, I would recommend getting a cake saw. Additionally, Clare’s (from the BA test kitchen) favorite tool, the offset spatula (mini) played a valuable role in evenly smoothing the layers.

Take-Home Tips: Ensuring your blackberries do not have pits in them before you make the jam, makes or breaks this cake. If you choose to use store bought or farmers market jam, definitely check to verify the seeds have been removed. The jam does not take long to make after that. If you actually like lavender flavoring, go with 2 or 2 ½ tsps of lavender. If you aren’t keen, 1 heaping tsp will work well. There is no lavender in the cake, therefore this perfect sponge recipe should be used on any vanilla cake you ever plan on making again. It did not stick in the least, it did not crack, it was the most well-behaved cake, and I performed these steps, with the addition of a few more decades of letting it sit to cool (I got distracted making banana bread in the middle, while the oven was already hot and the bananas ripe).
Scoring: 10 of 10! I really think this was the perfect cake and consider it a win that everyone even tried it. I would not change a thing about it and appreciate that it refrains from making you feel you just ate a pail of sugar. You could easily (do I speak from experience?) eat a ¼ of the cake in one sitting and not feel overly indulgent, but well TREATed.
I sincerely hope you give it a try. The flavors offer more interesting take than the classic three, while not being outrageously intricate.
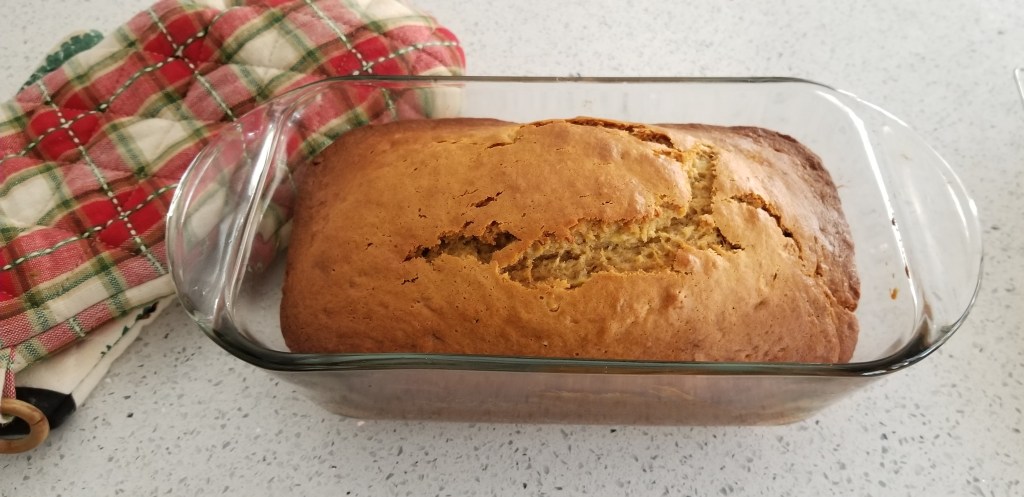
P.S. I spent the whole day, not rushing to make the cake and enjoying myself. I even made a pit-stop halfway through to make a loaf of banana bread as a surprised for my husband. I started around 10:40am and finished around 3:15 with everything, except the 5th round of dishes. It was peaceful and overall a lovely cake to make.