Baking can be overwhelming and you might even worry about setting your kitchen on fire. I like to optimistically believe anything is possible, and while that might include flames on your stove, there is a greater chance you will survive or flourish if you give it a go.
Taking a step, hop, or leap out of your comfort zone to try new things, might be just the ticket for you. Being able to cook or bake is not-surprisingly as common as it was when it was a necessity. Children, men, women, wildlings, and dragons could all cook and eat their own food in worse conditions than you’re likely to encounter in your day-to-day. Unless you live in the wilderness and eat from a campfire, you’re already a step ahead of the 1800’s. Whether you are itching to try to bake, travel the world, learn to swim, reaching out for a first date, or even perform in front of a large crowd – the first efforts you put in might be the hardest, but they also might be the most rewarding.
Where will you be in a year from now?
For more inspiration and to read the post about my personal experiences stepping out of my comfort zone and studying abroad, check out MyViewpoints Travel Blog – ESCAPING COMFORT ZONES, ONE STORY AT A TIME.
A great way to cool off in the summer time is by surrounding your body in ice cream! Creameries make our mouths water and our hearts glad. Although there are states and family owned businesses who claim rights to the ‘best ice cream’ you’ll ever taste, ice cream is easily obtainable at home. It really isn’t as difficult as you might initially dream.
Creamed ice was unlikely to have been around long before refrigeration, however when you are the King of a great nation, it is easier to get your spoon on some frozen treats. Was the first ice cream just a ball of snow with some flavor? Did King Solomon enjoy icy drinks similar to what we call milkshakes today? It could have been Marco Polo’s return from China that introduced the concept of frozen fruit, ice, and milk. Regardless of it’s origin, creamed ice took money to make in its early days, while now can be generated in your own home.
What are your favorite ways to eat ice cream?
Make sure you’ve tried them all!
Sherbert, Italian ice, milkshakes, malts, soda floats, scoped ice cream, on a cone, in a waffle/brownie bowl, frozen yogurt, gelato, custard, sorbet, ice cream bars, Popsicles, fruit pops, or ice cream cakes? To name a few!
There were so many pizzas we wanted to get to this month,
but there just is not enough days or holes in the belt to get through more than
6 kinds of pizzas. We will add more to the books next time.
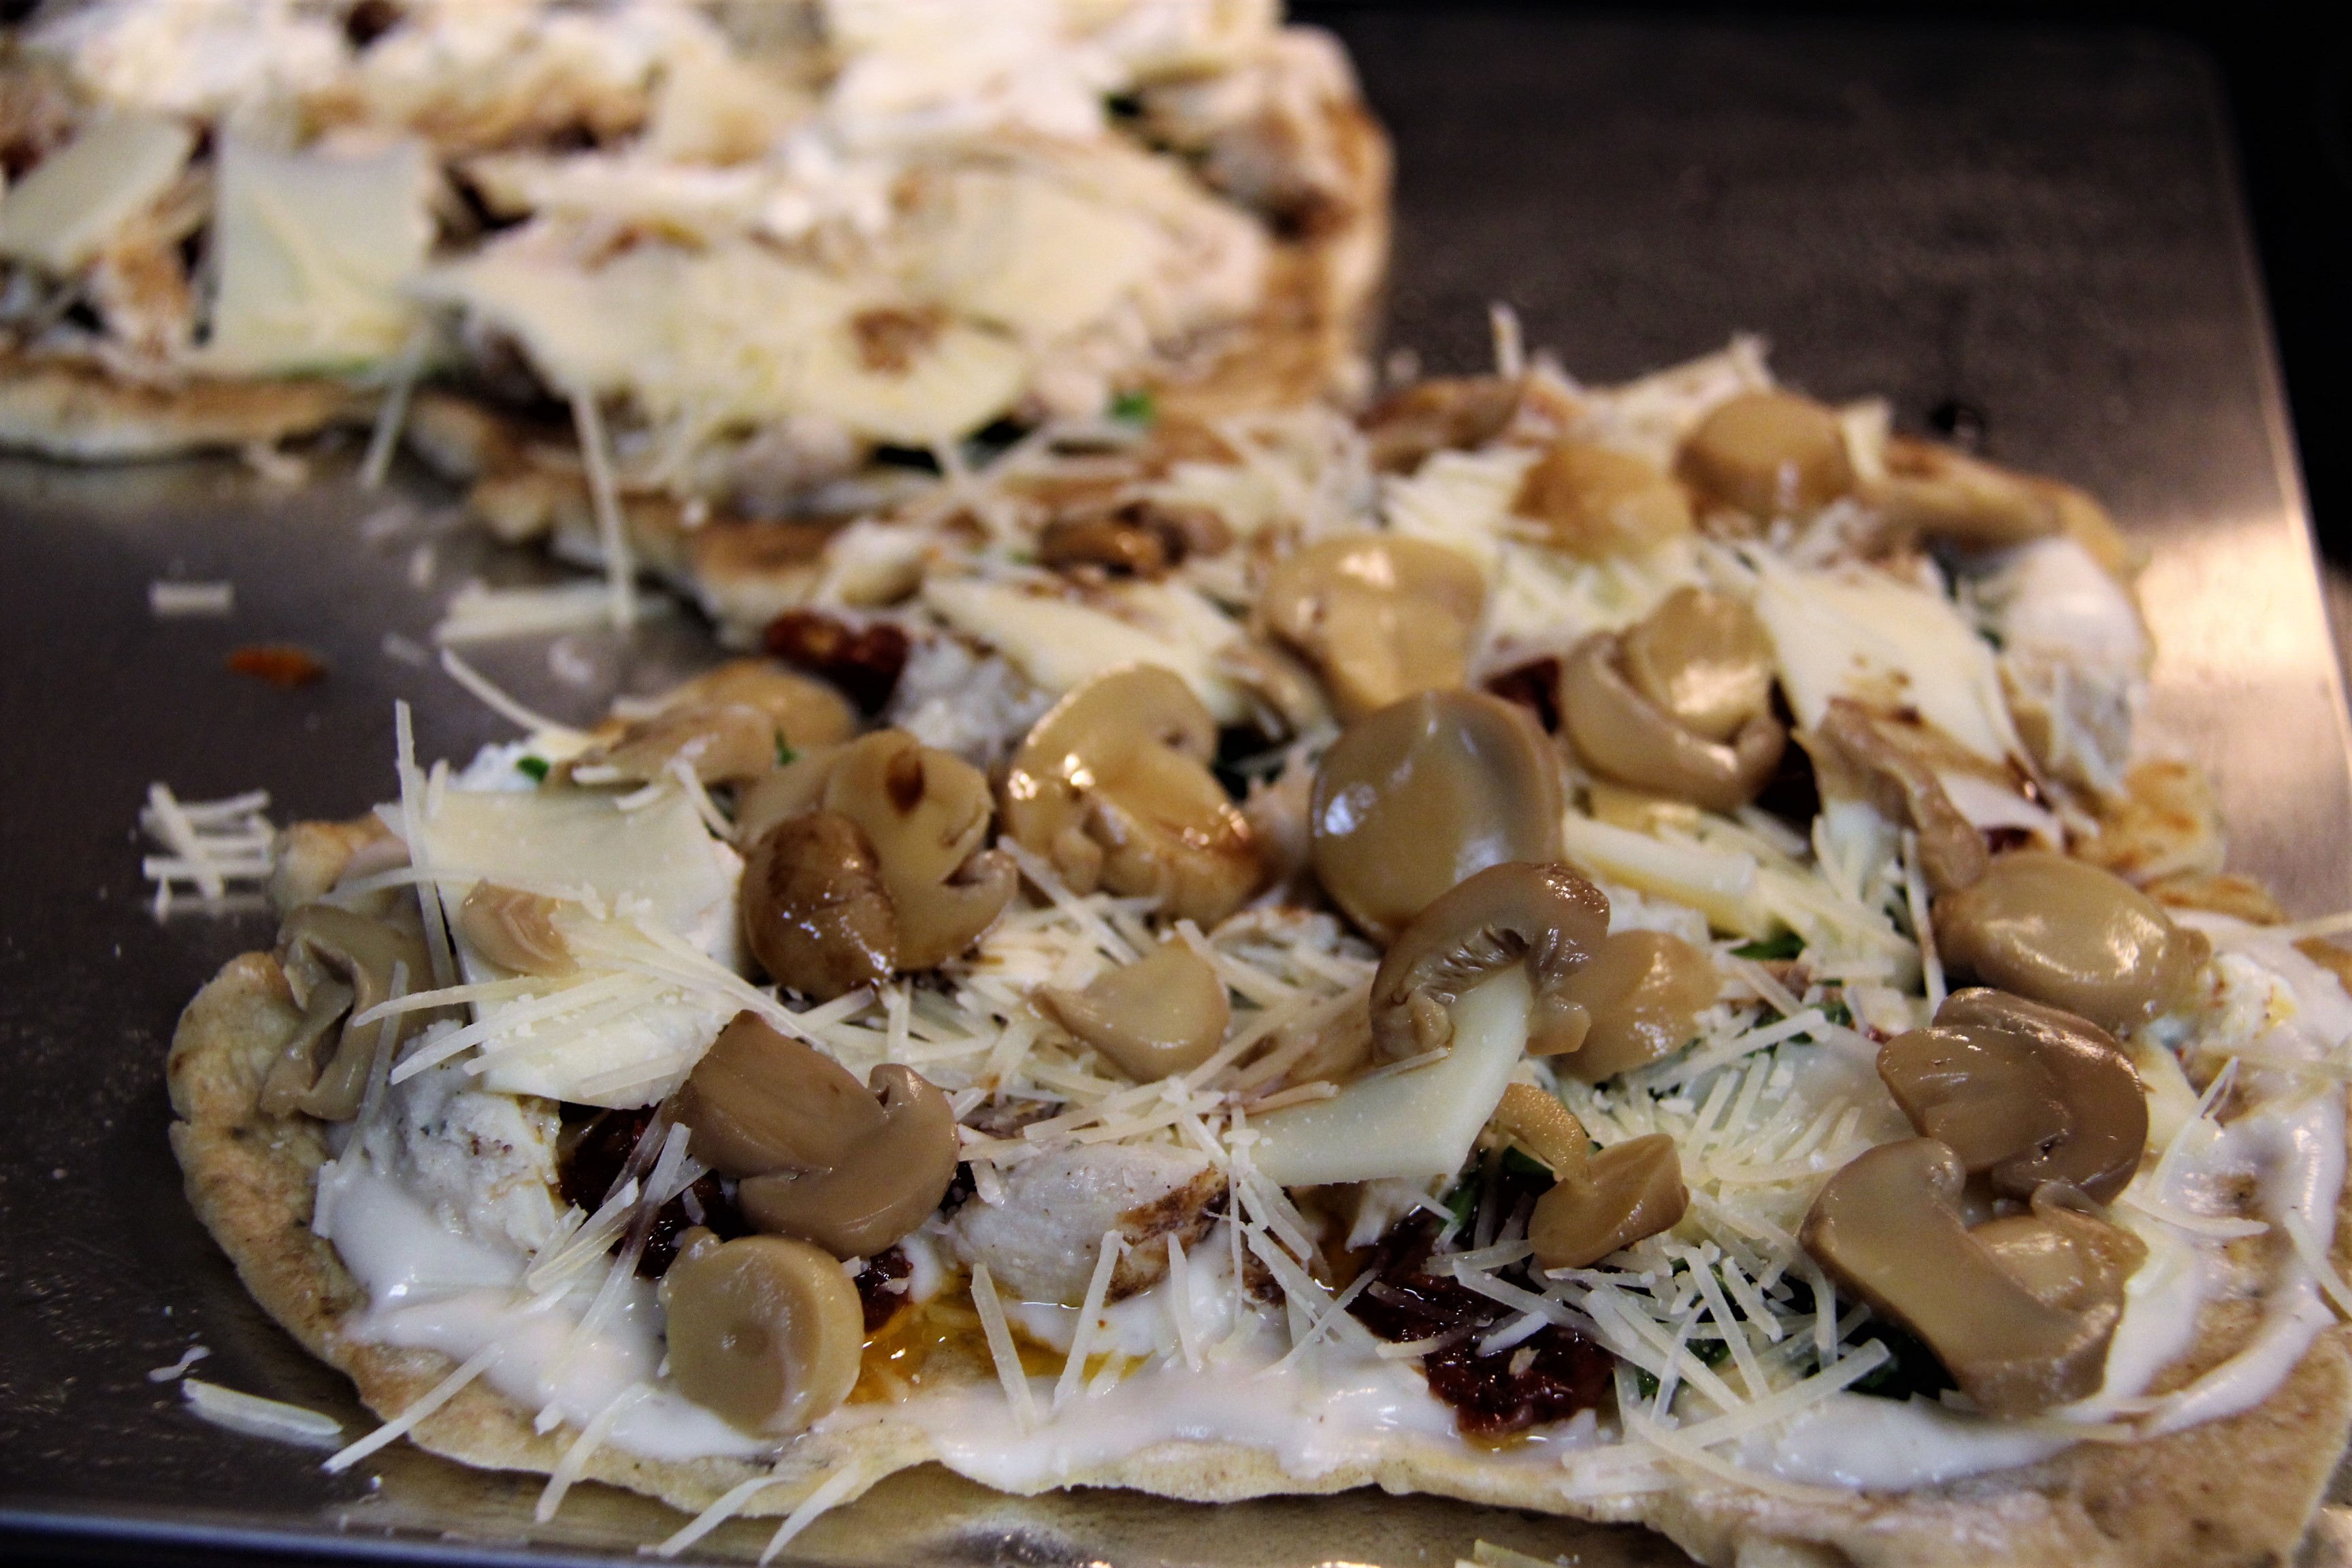
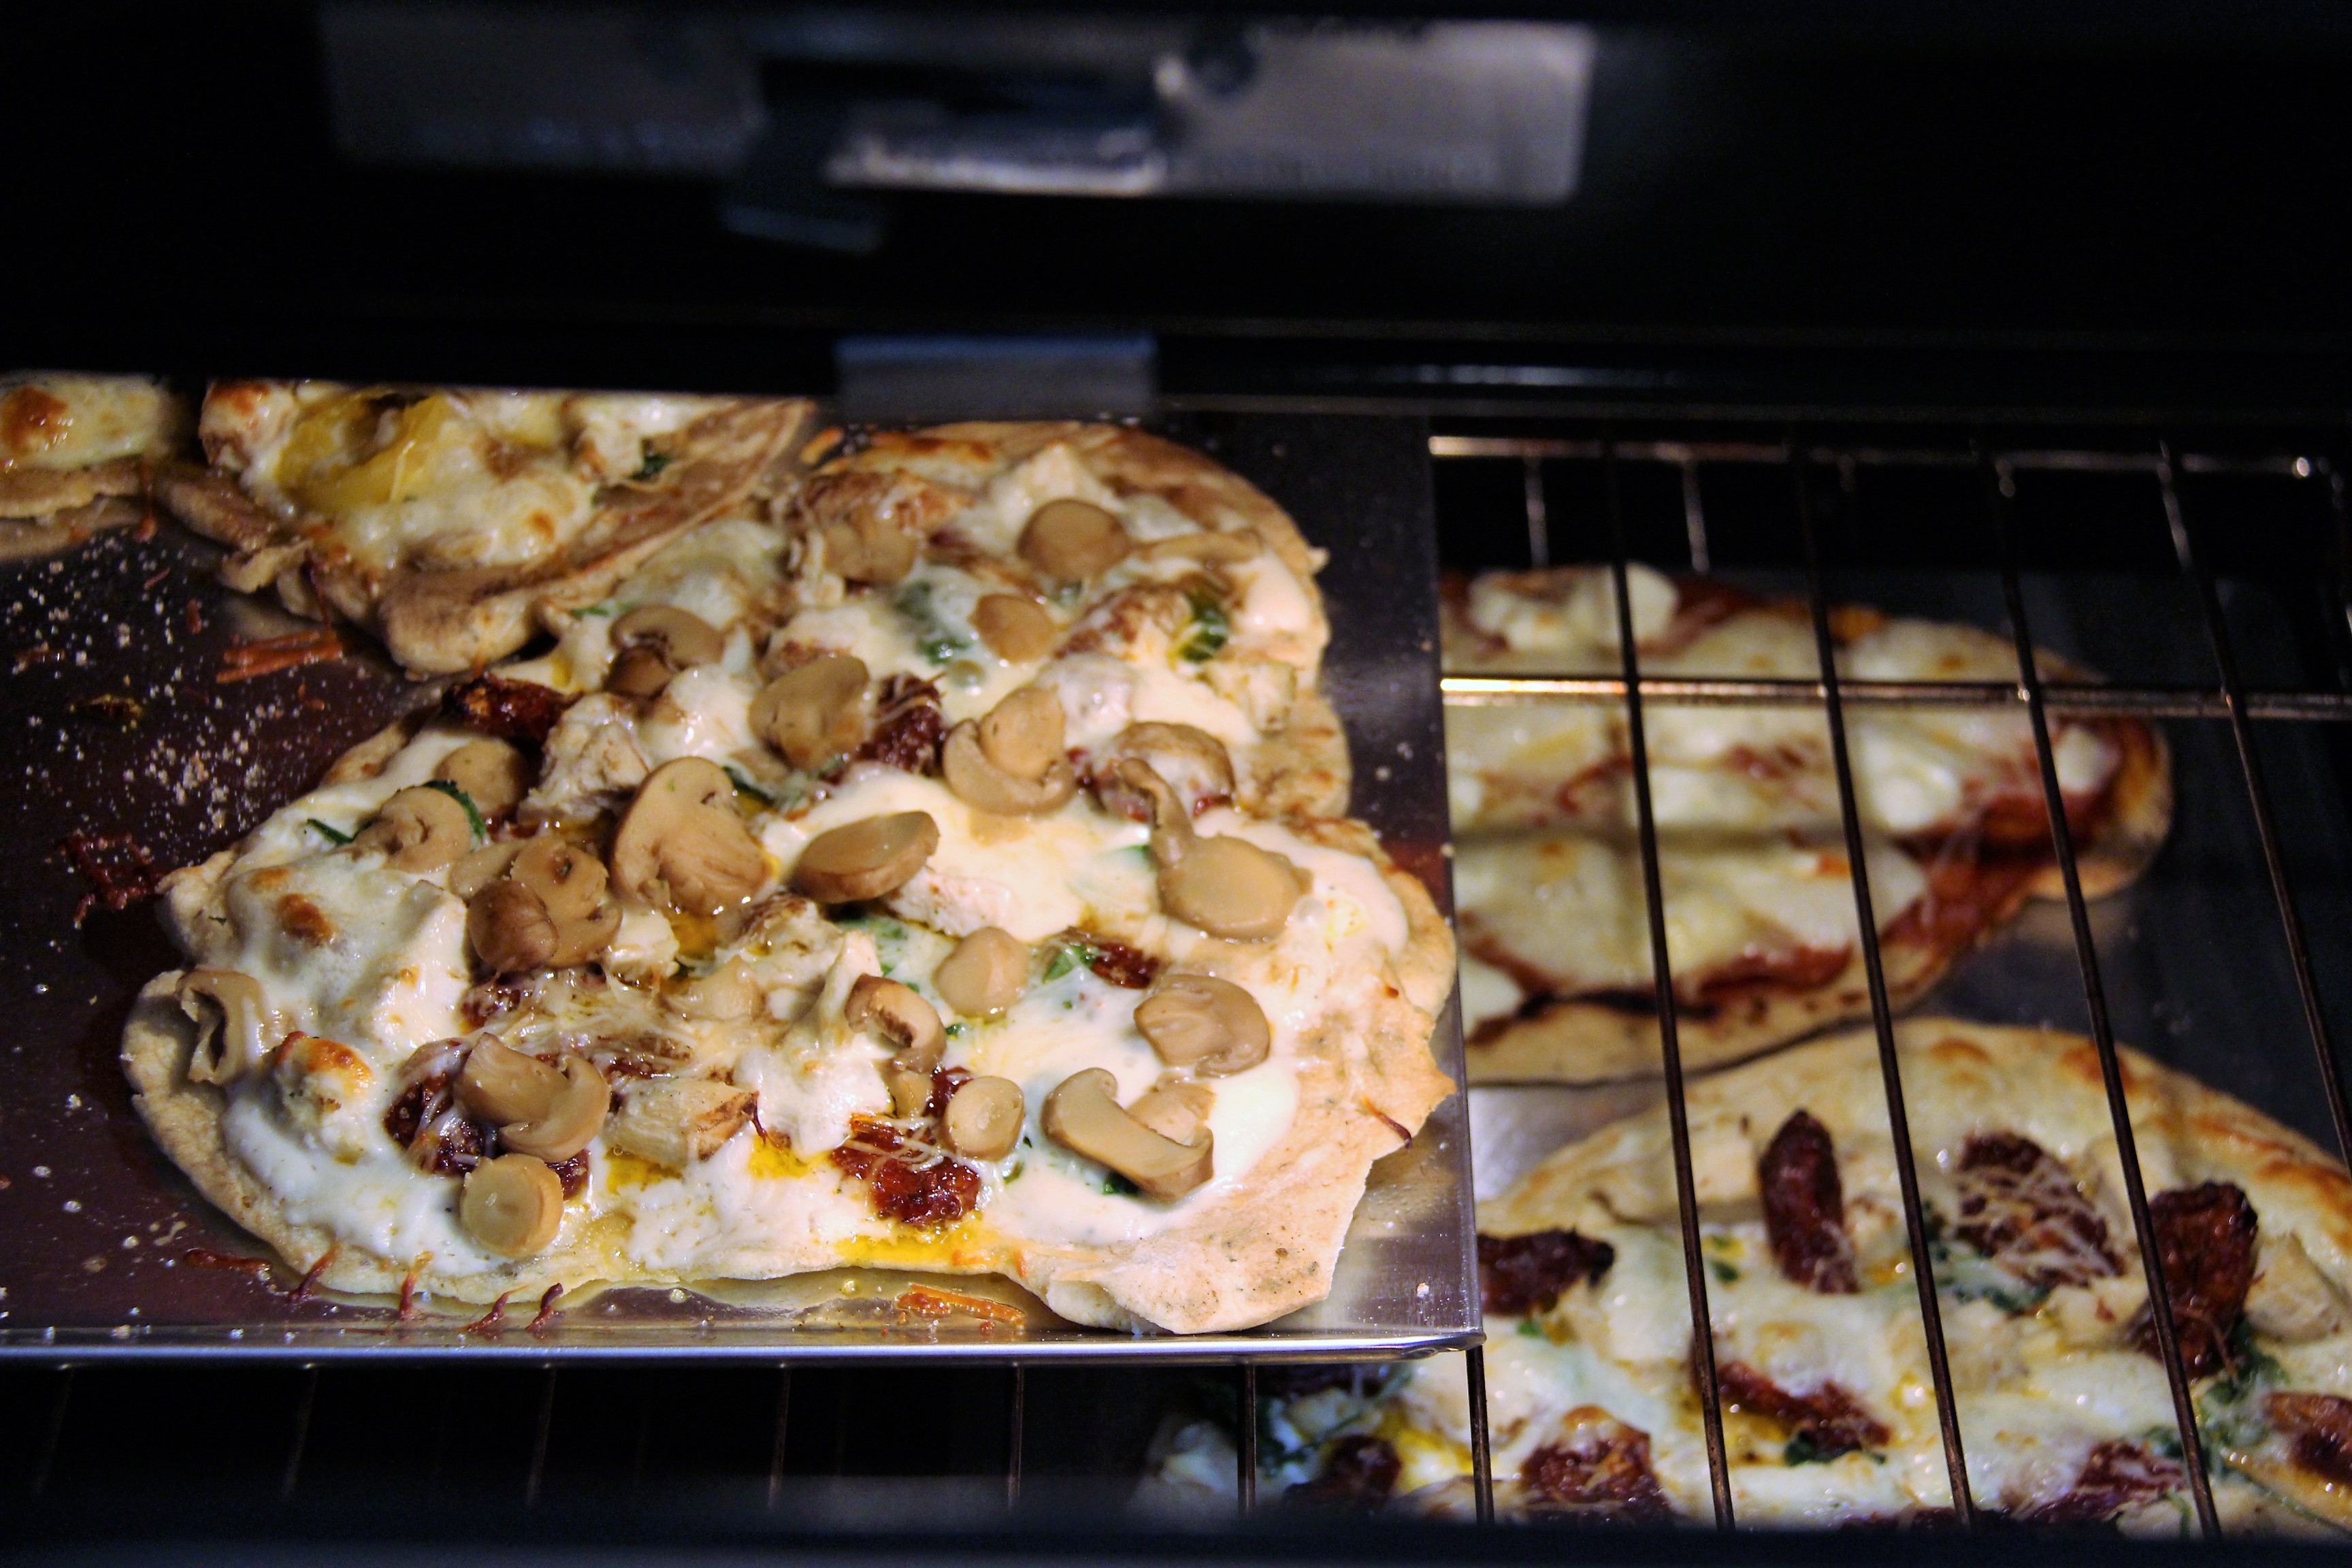
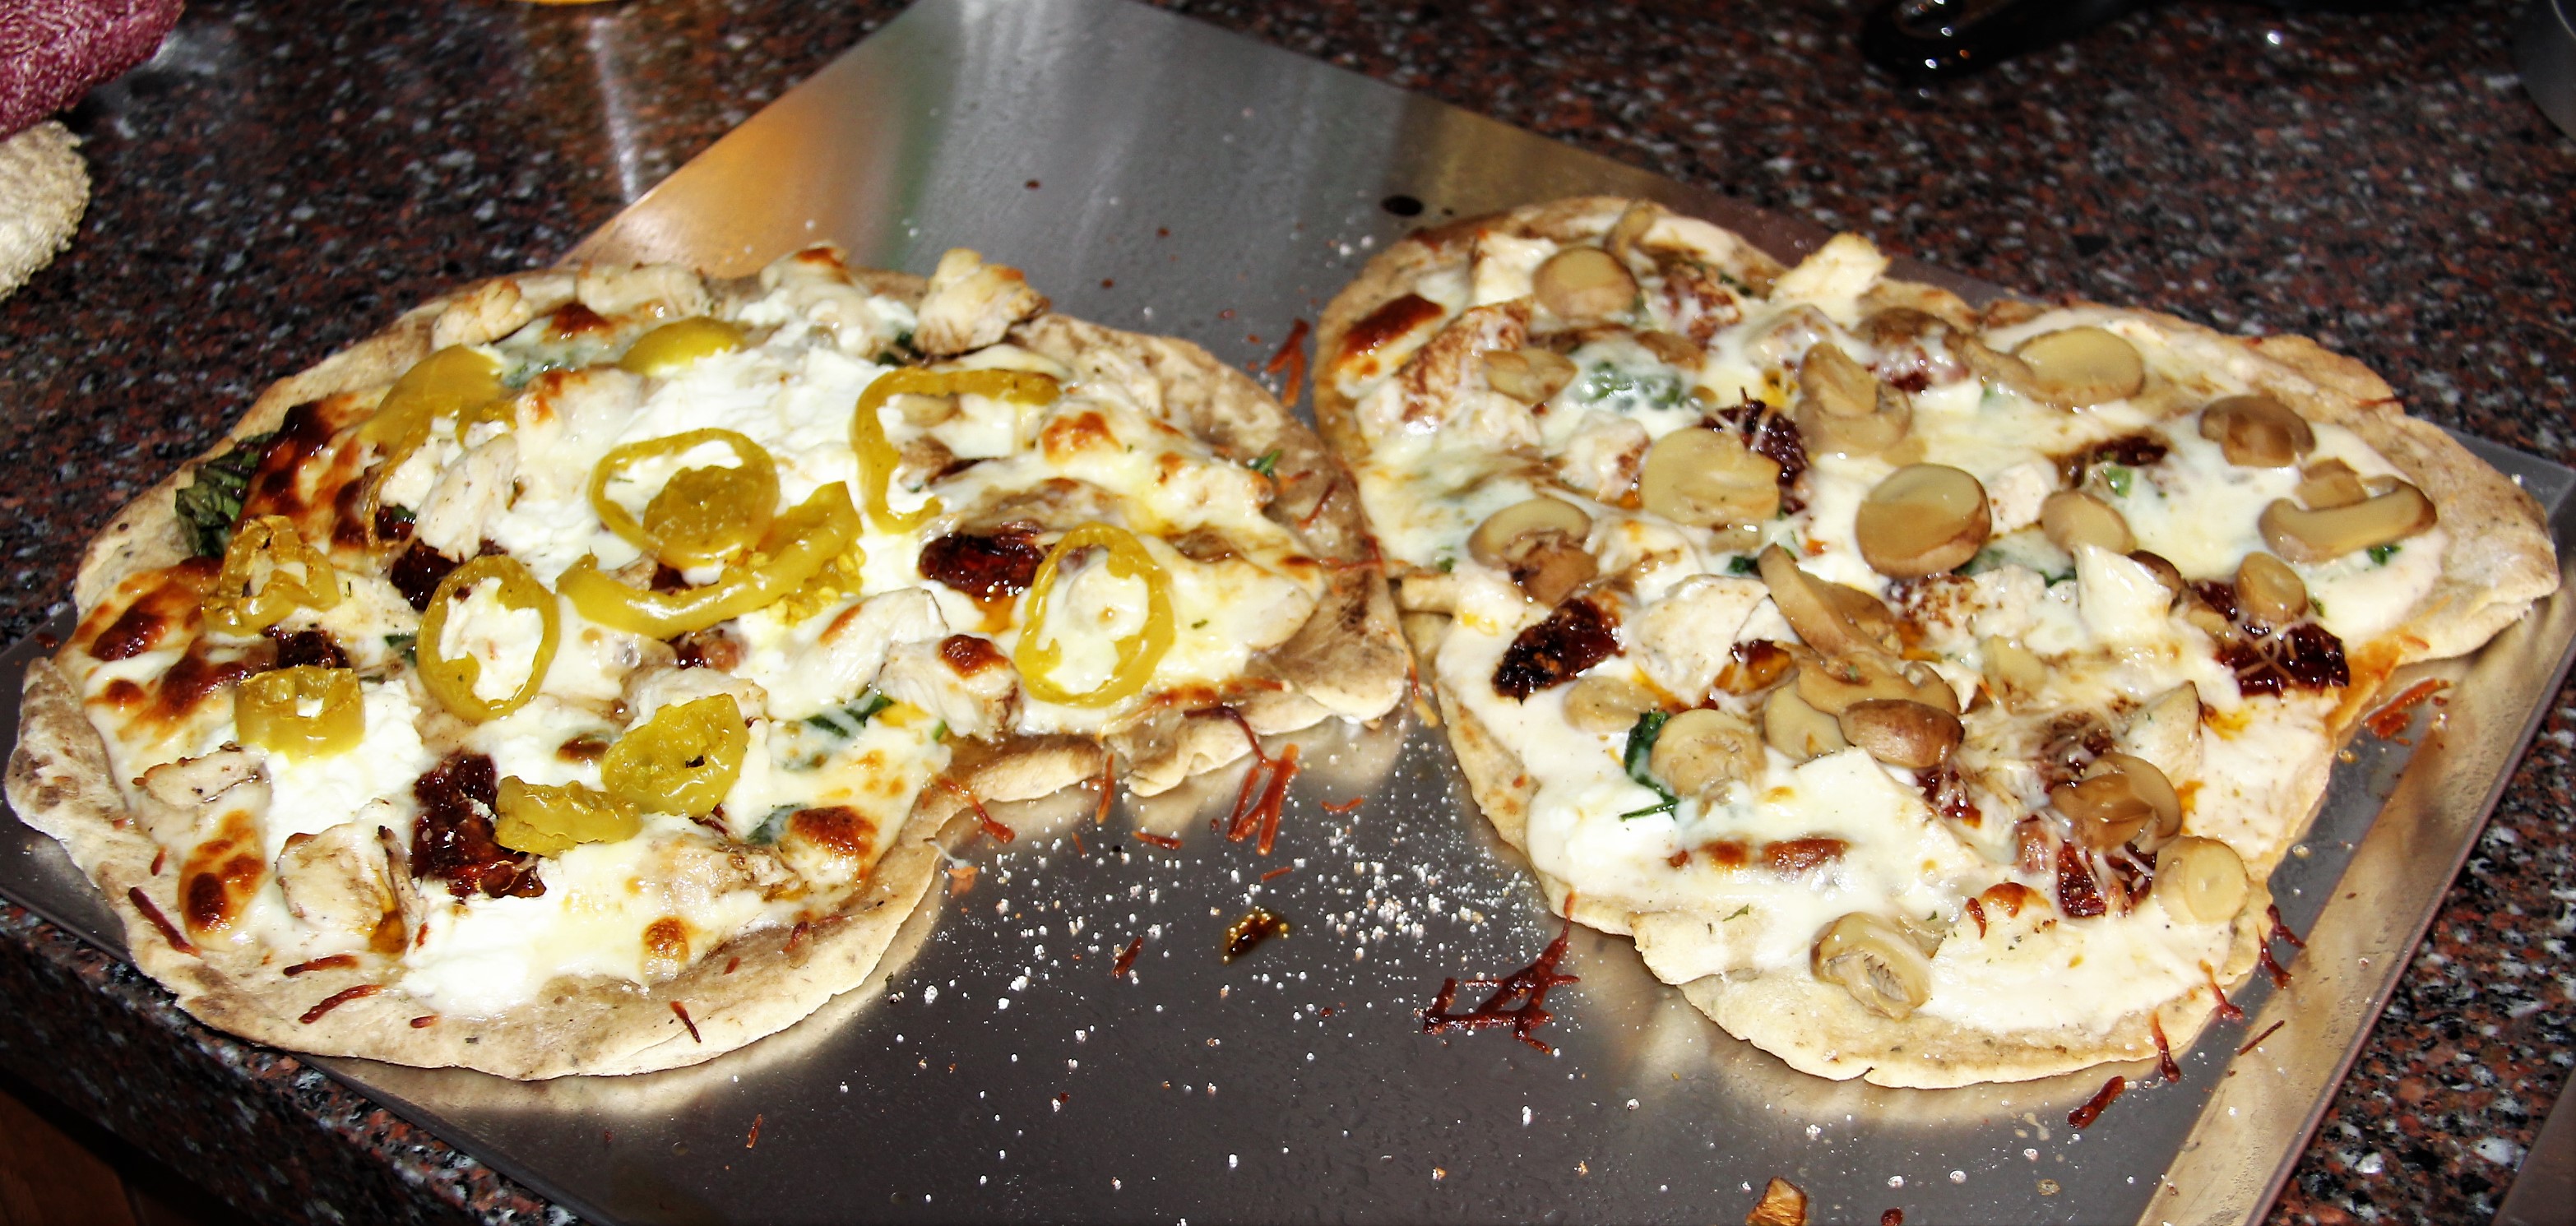
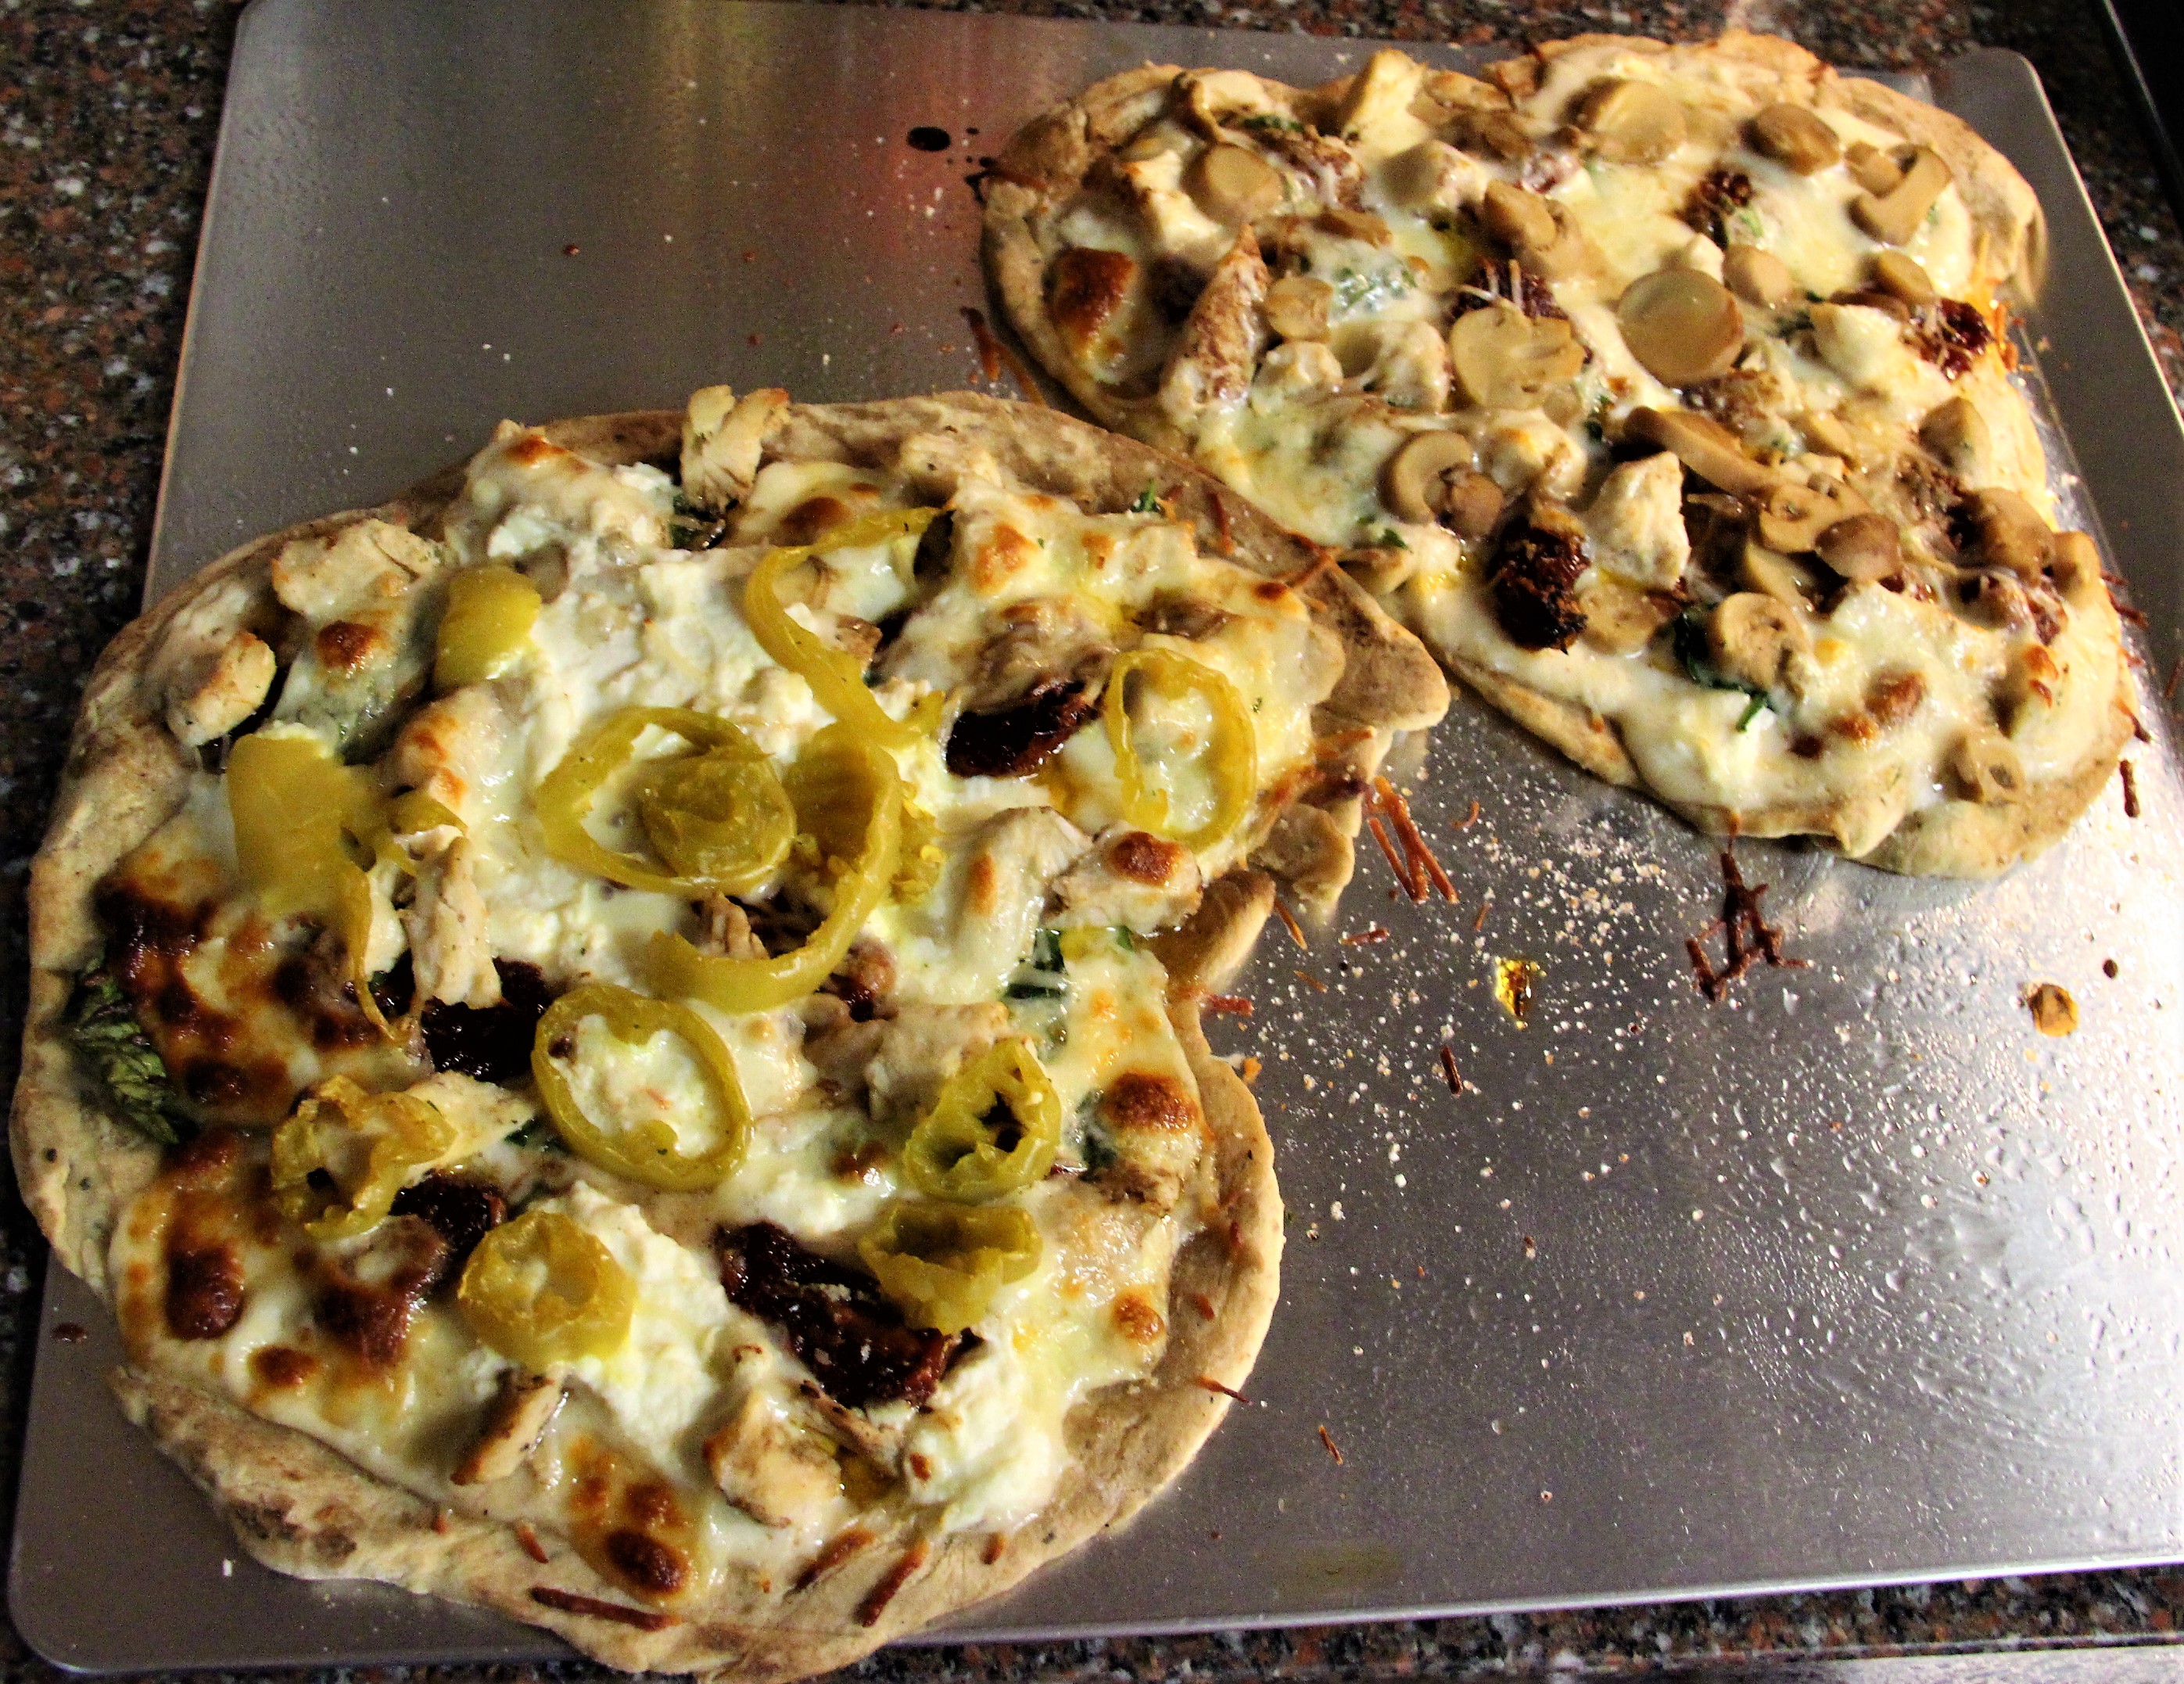
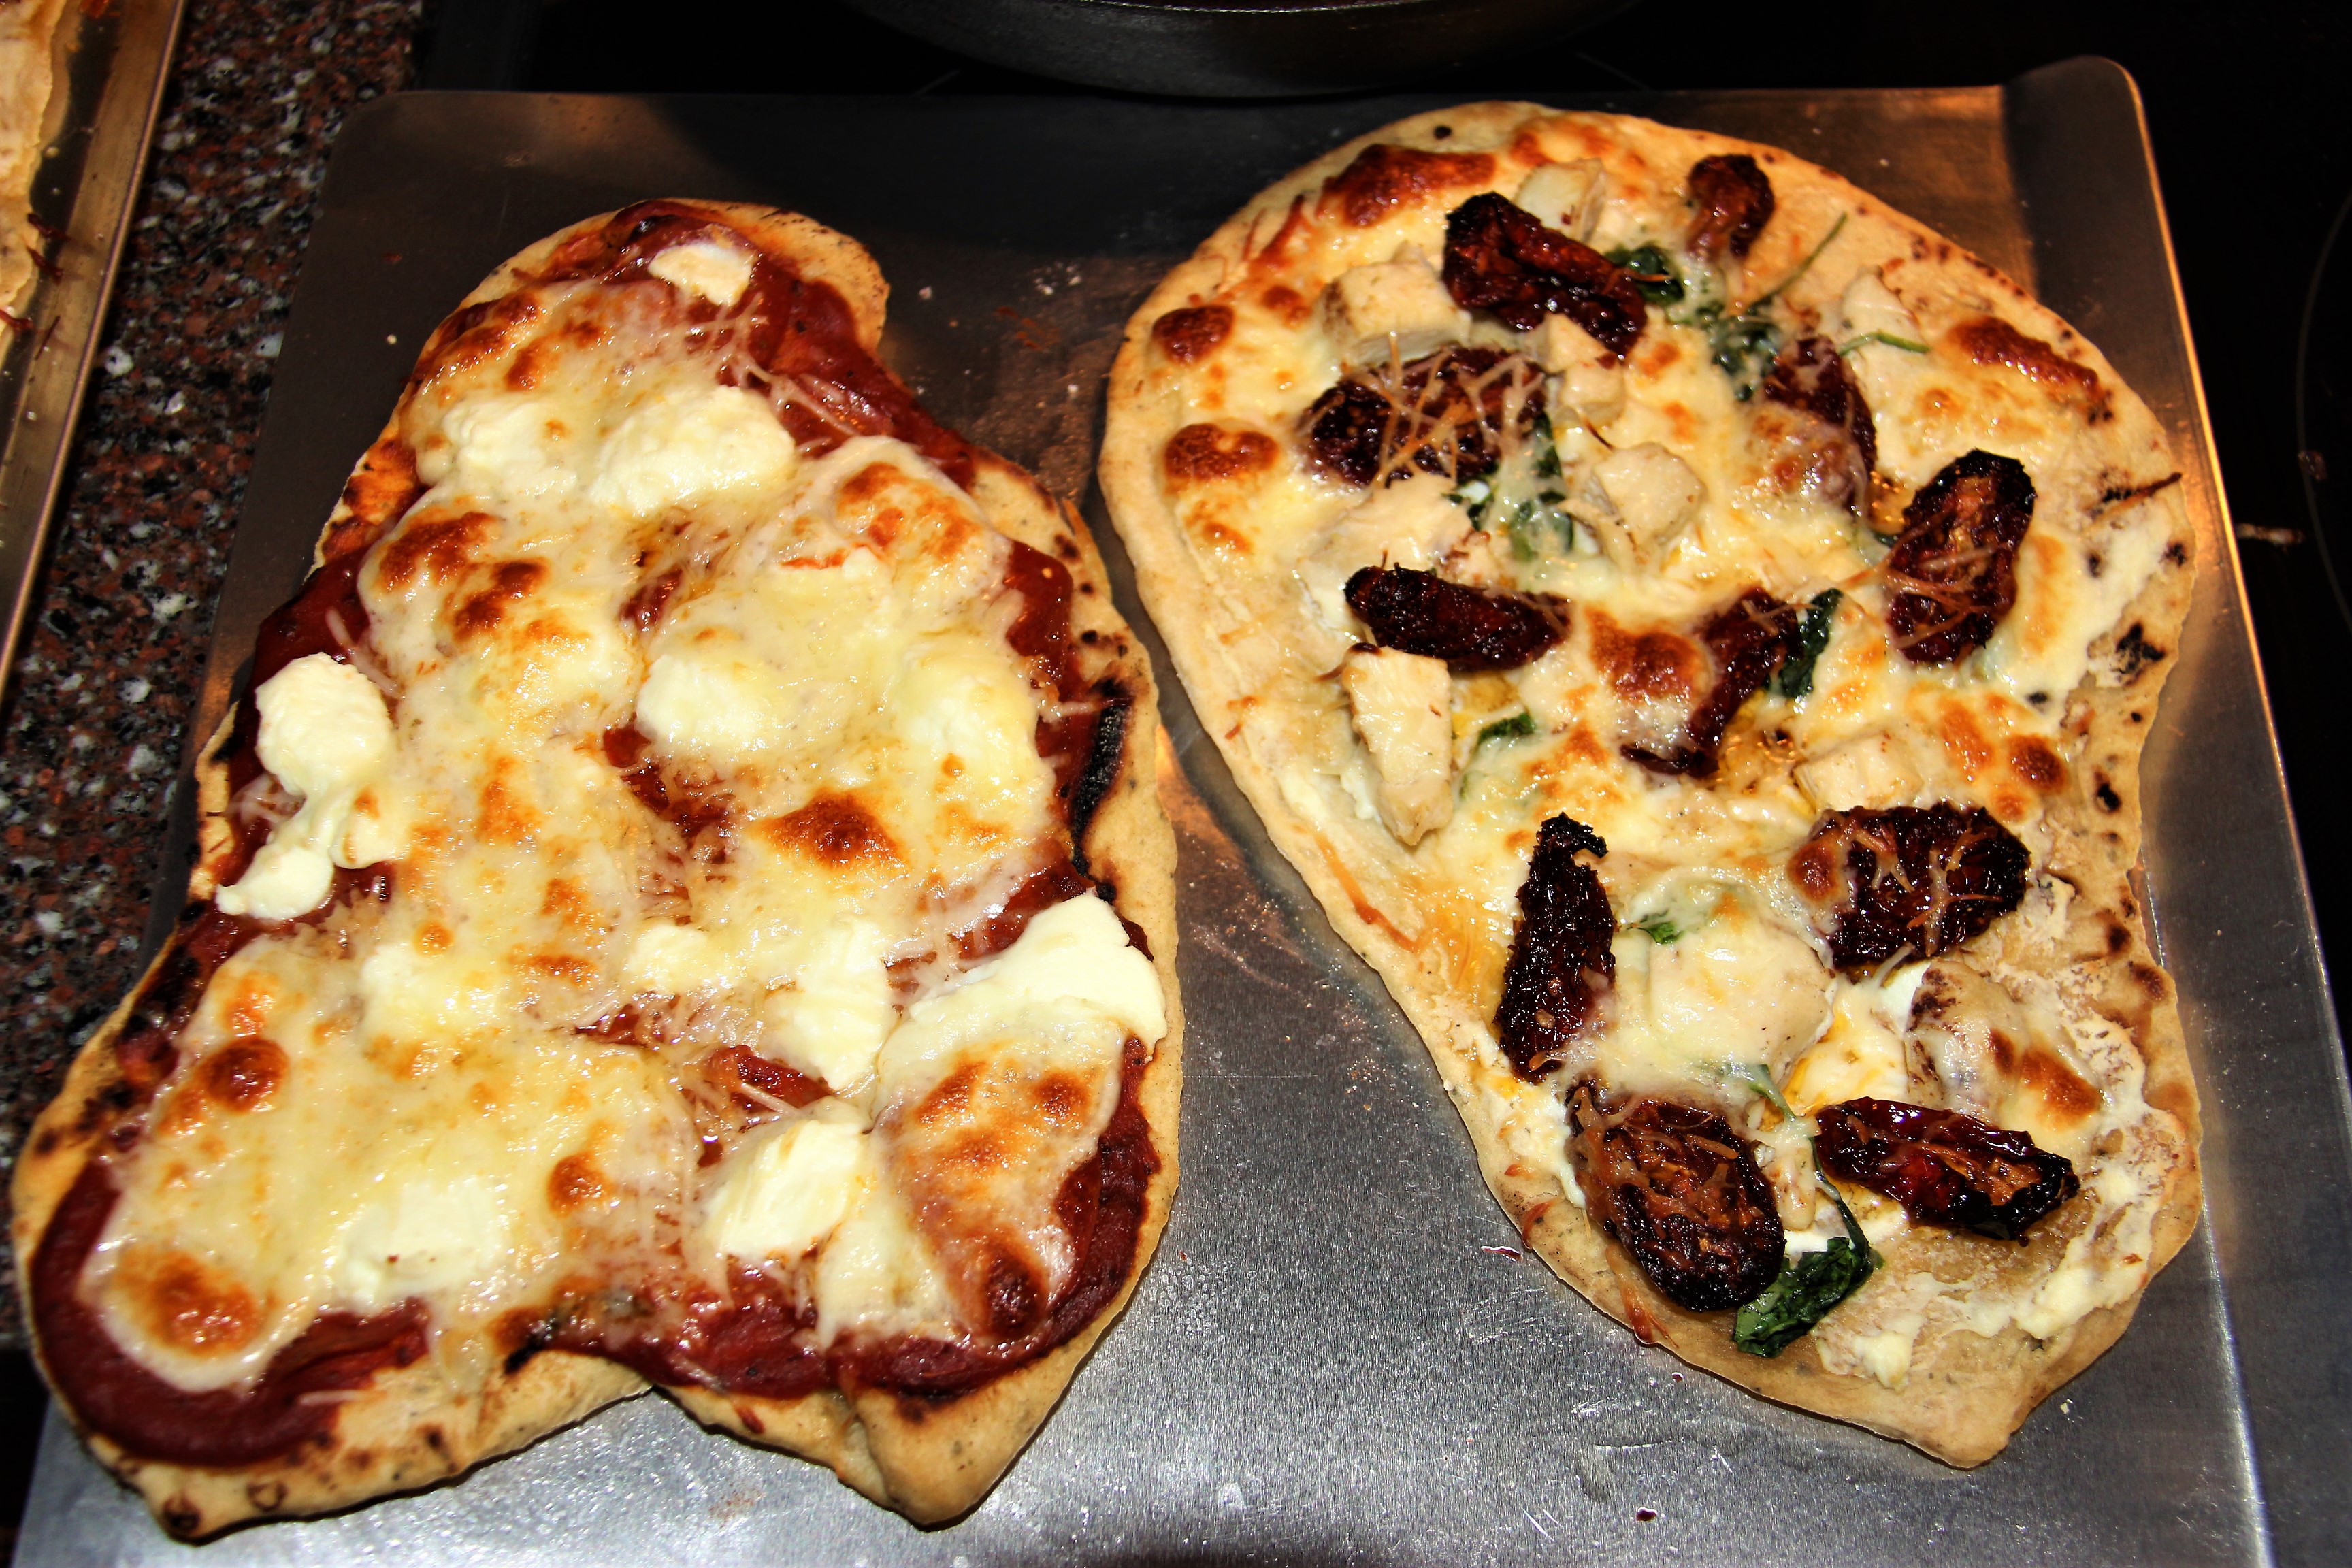
We made personalized flatbreads for the family. When
devising the recipe, I decided against yeast. They are supposed to be flat, we
shouldn’t need any yeast. If we can do without, let’s. Instead we did use
baking soda, but left out the acid to activate the rising agent.
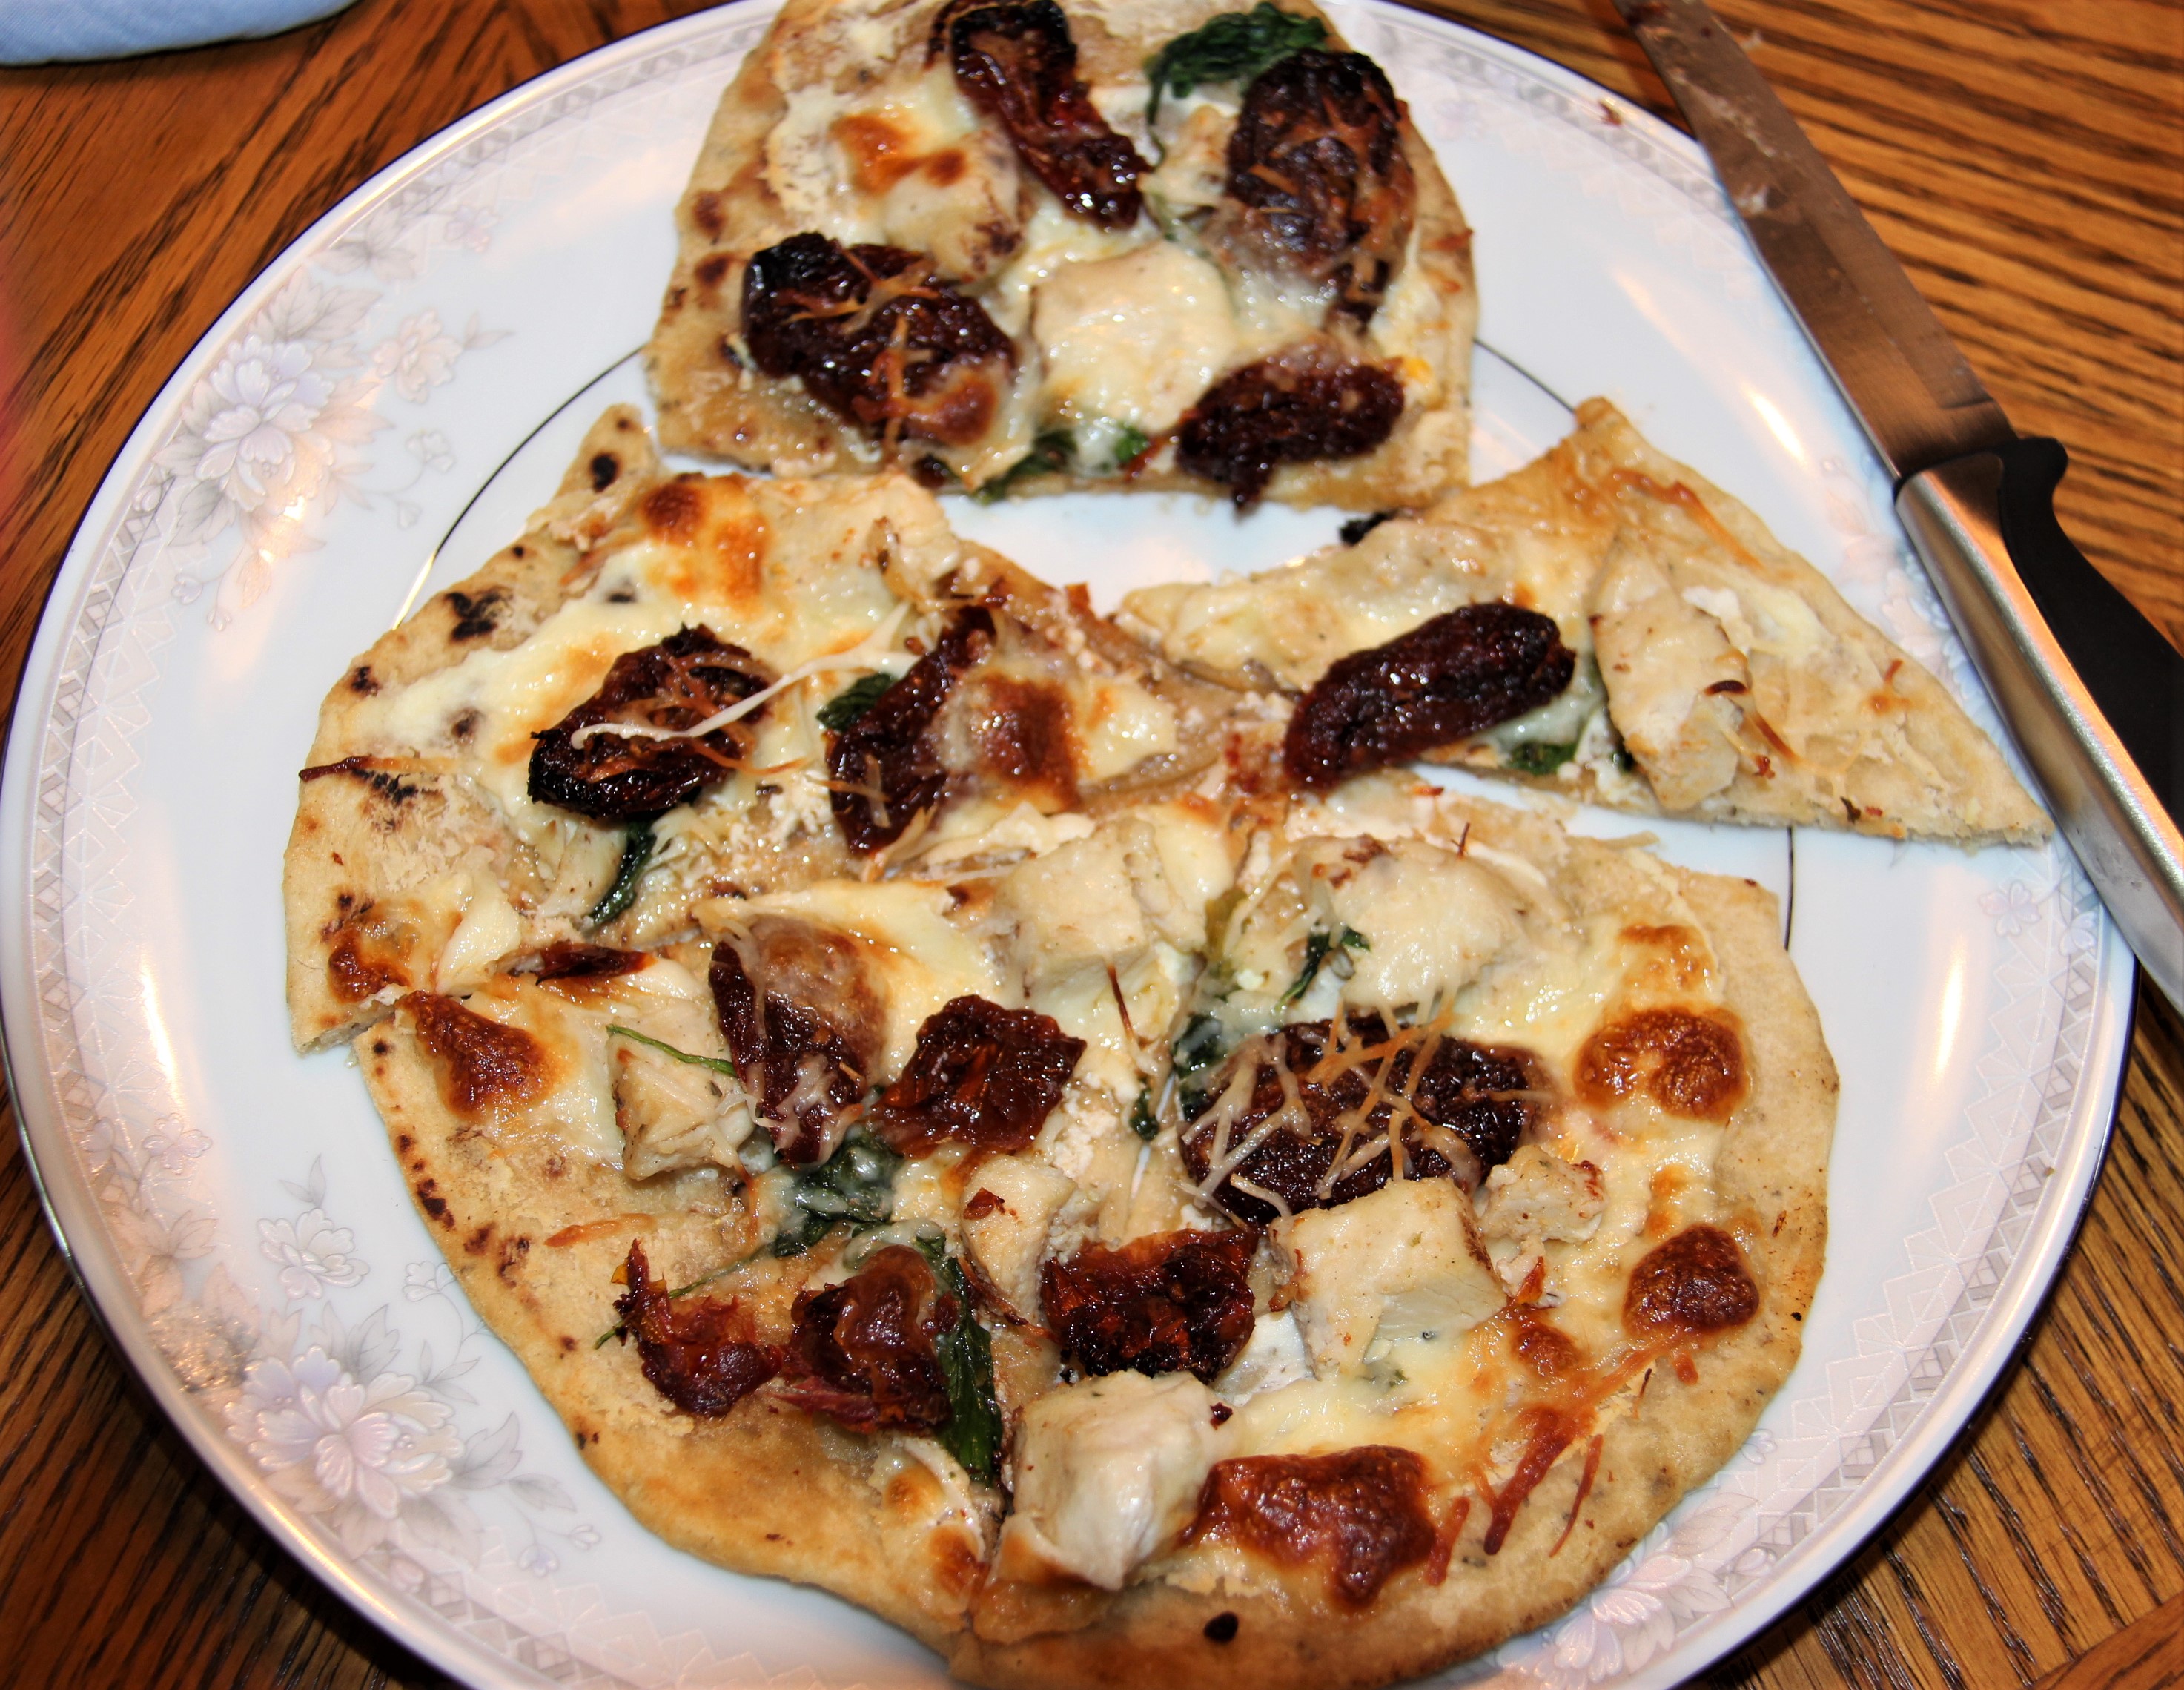
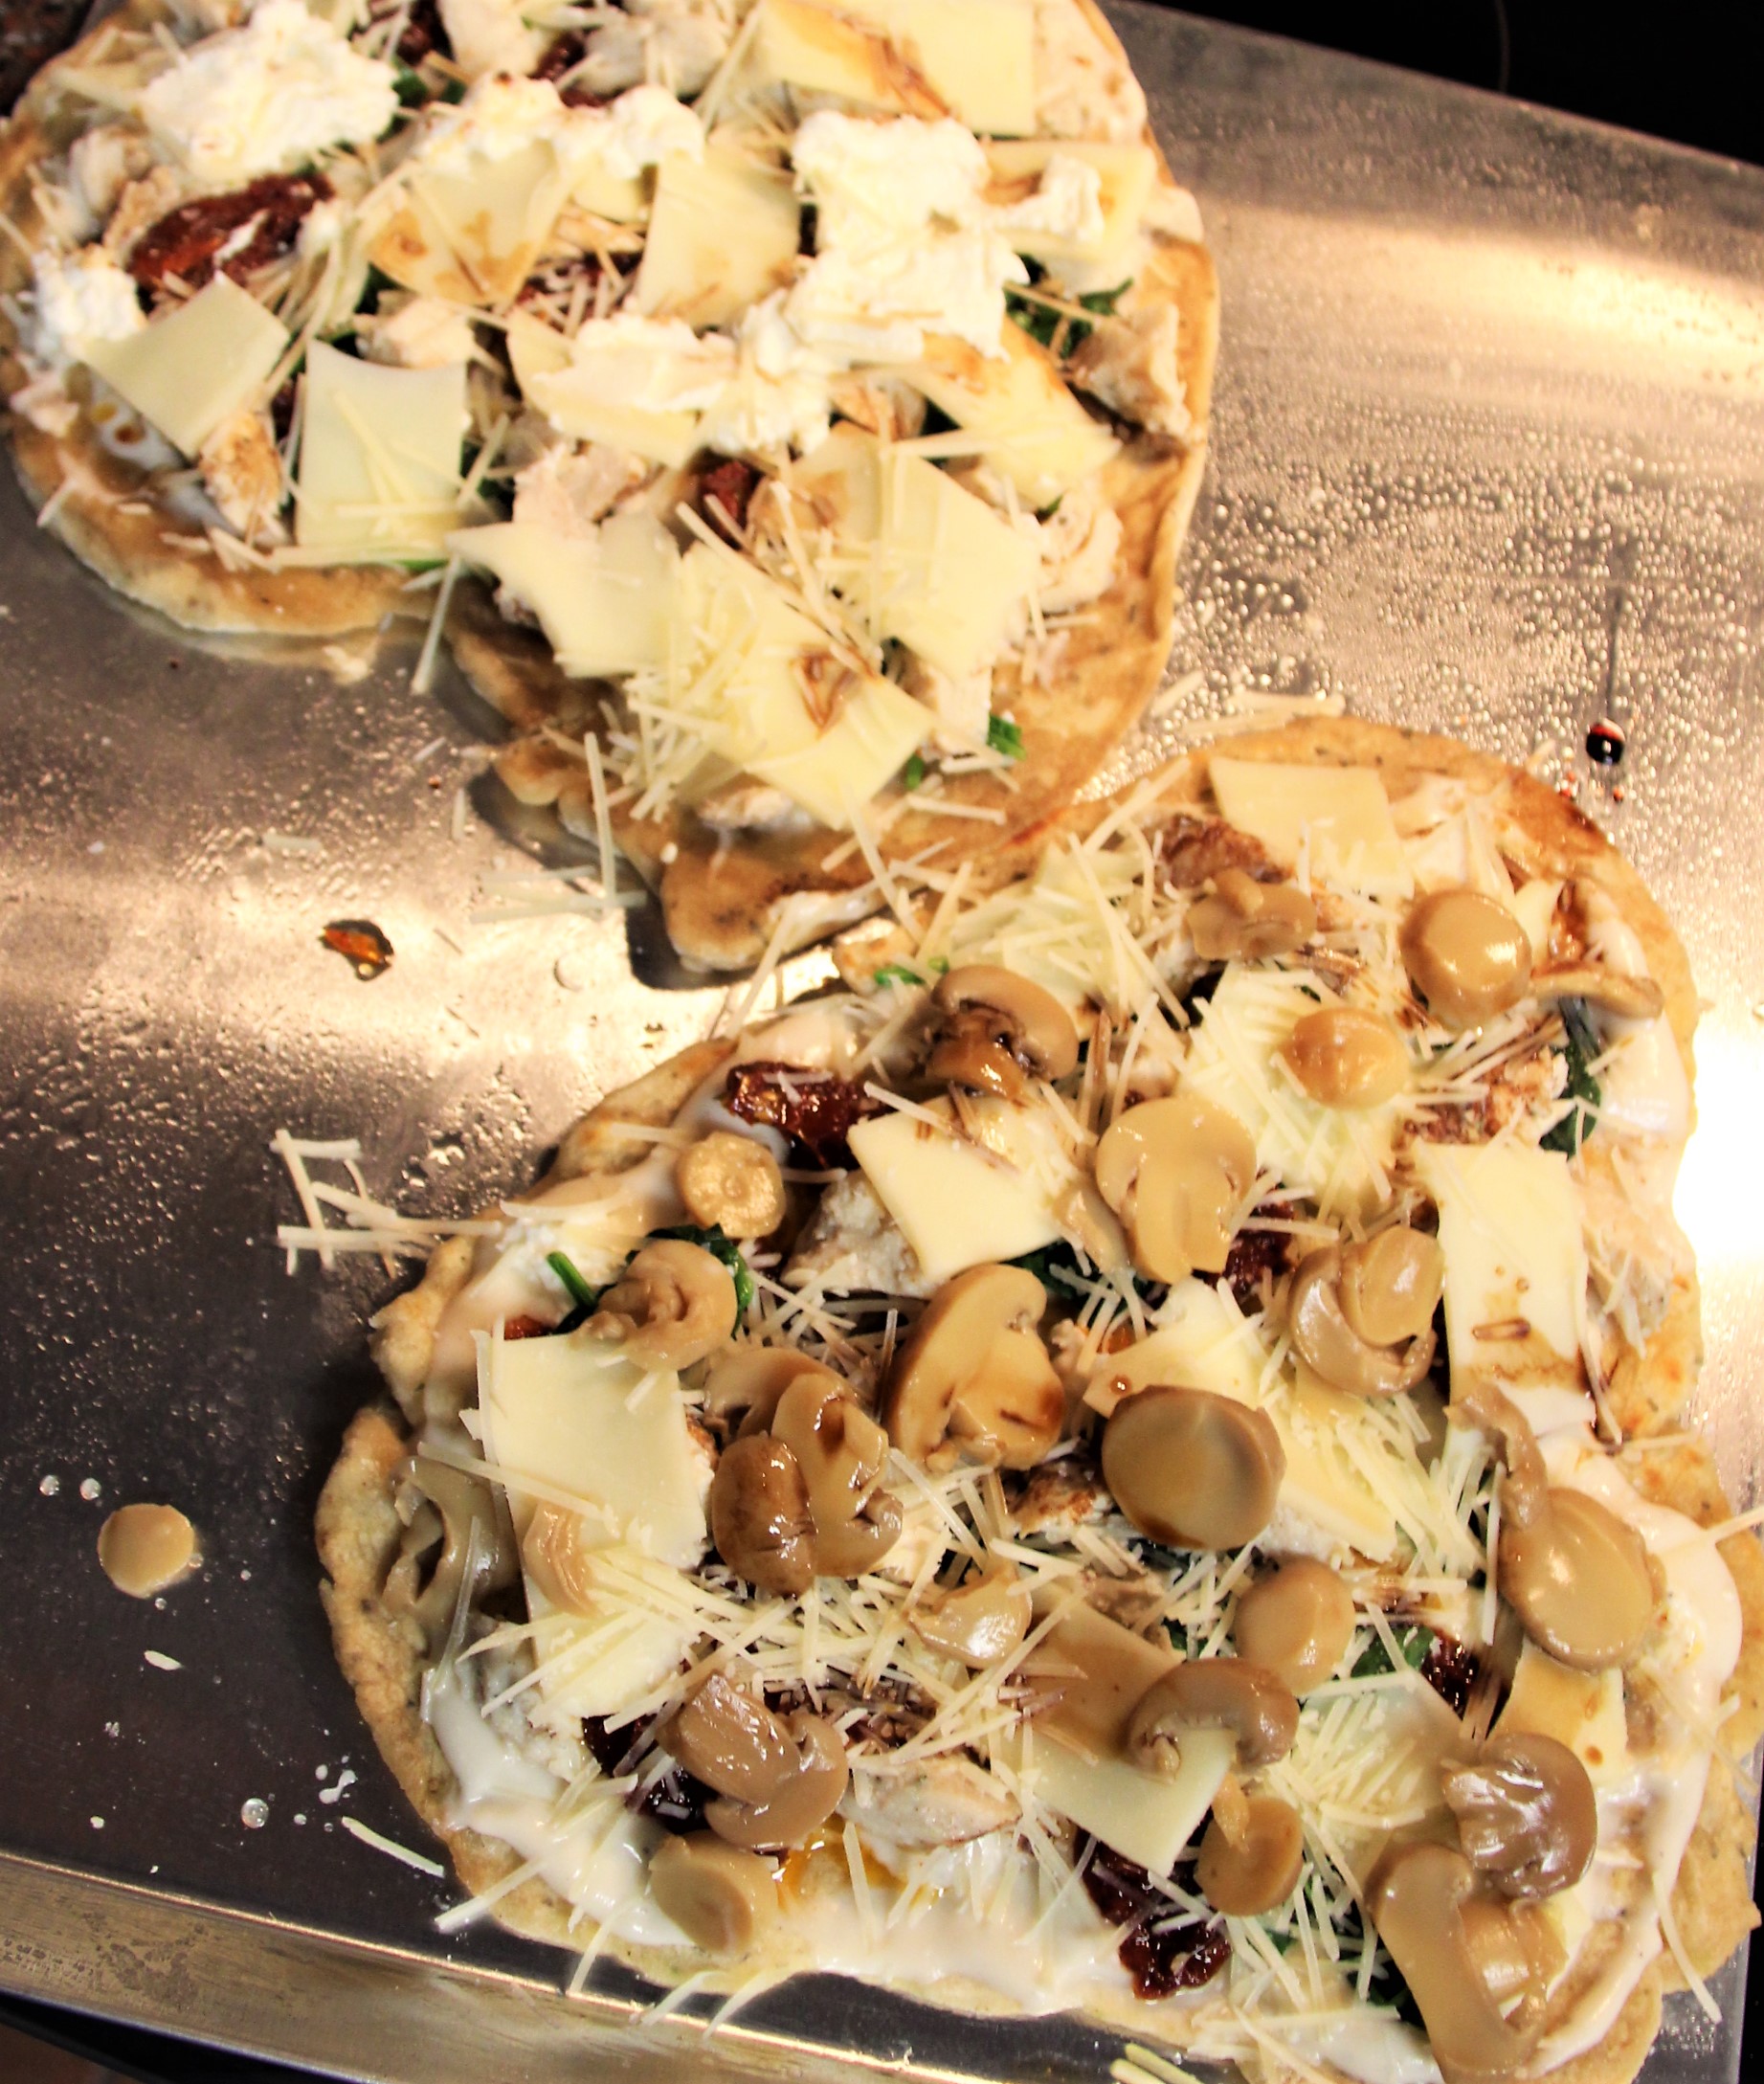
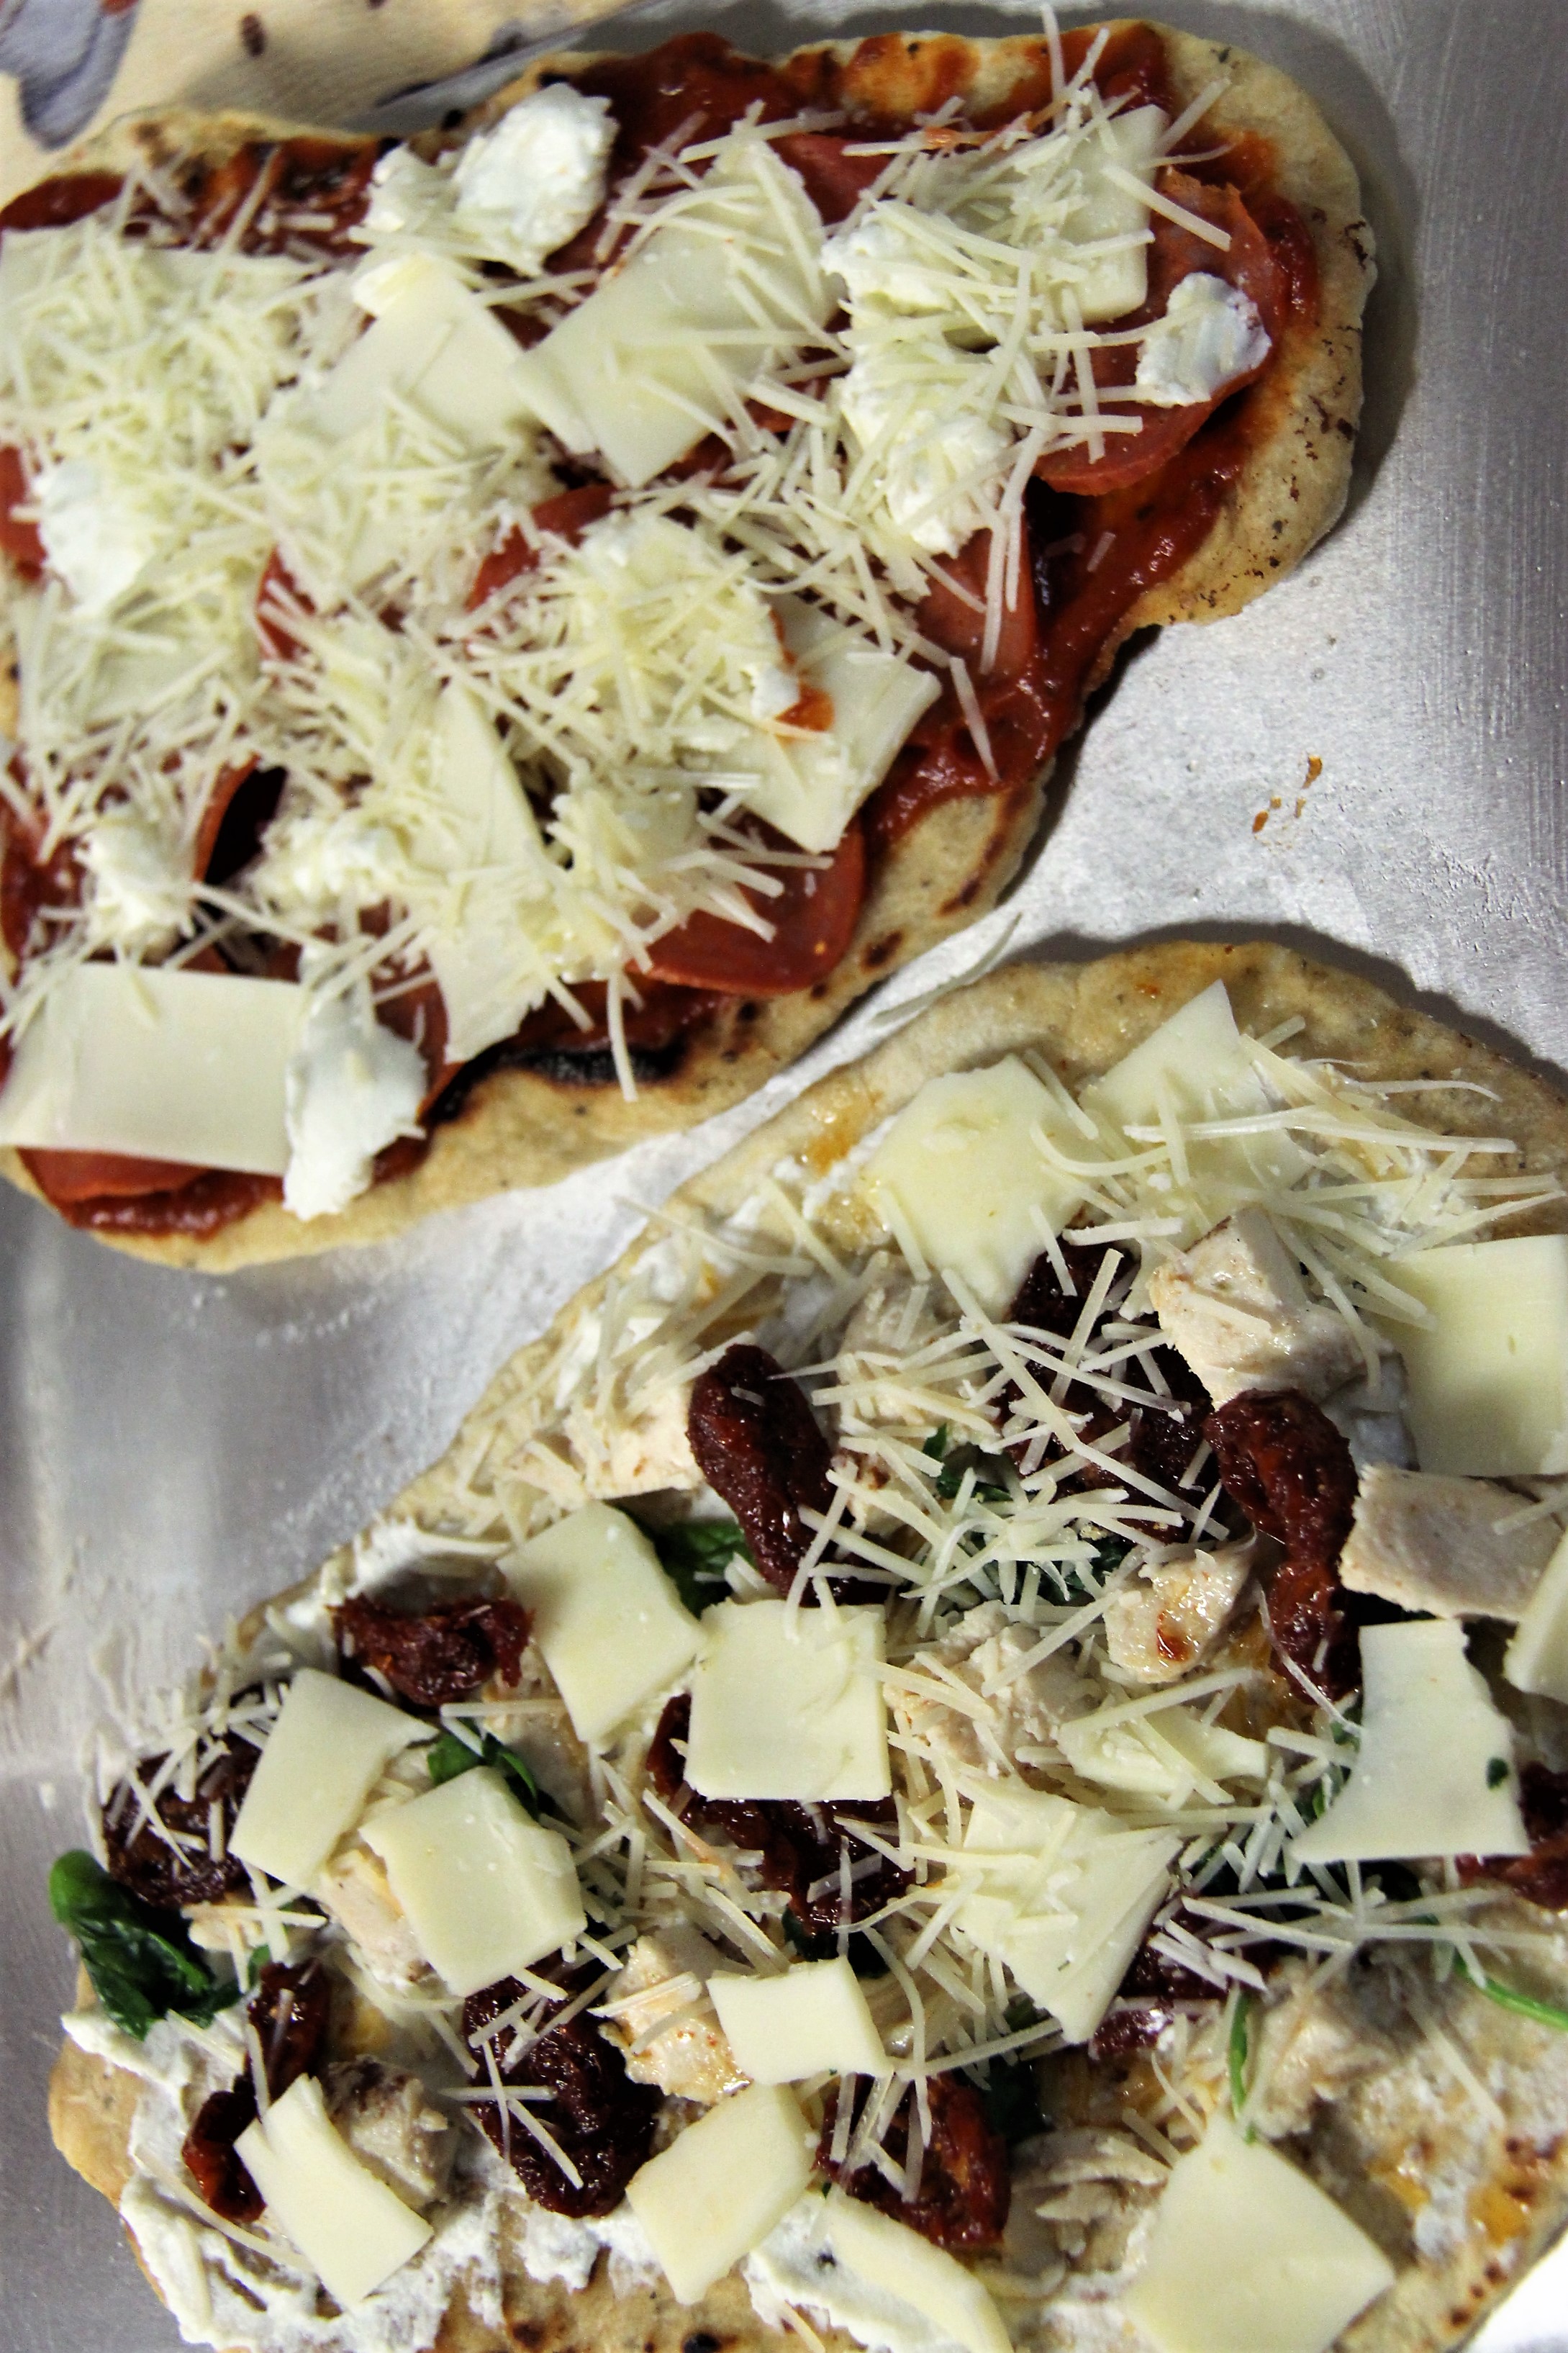
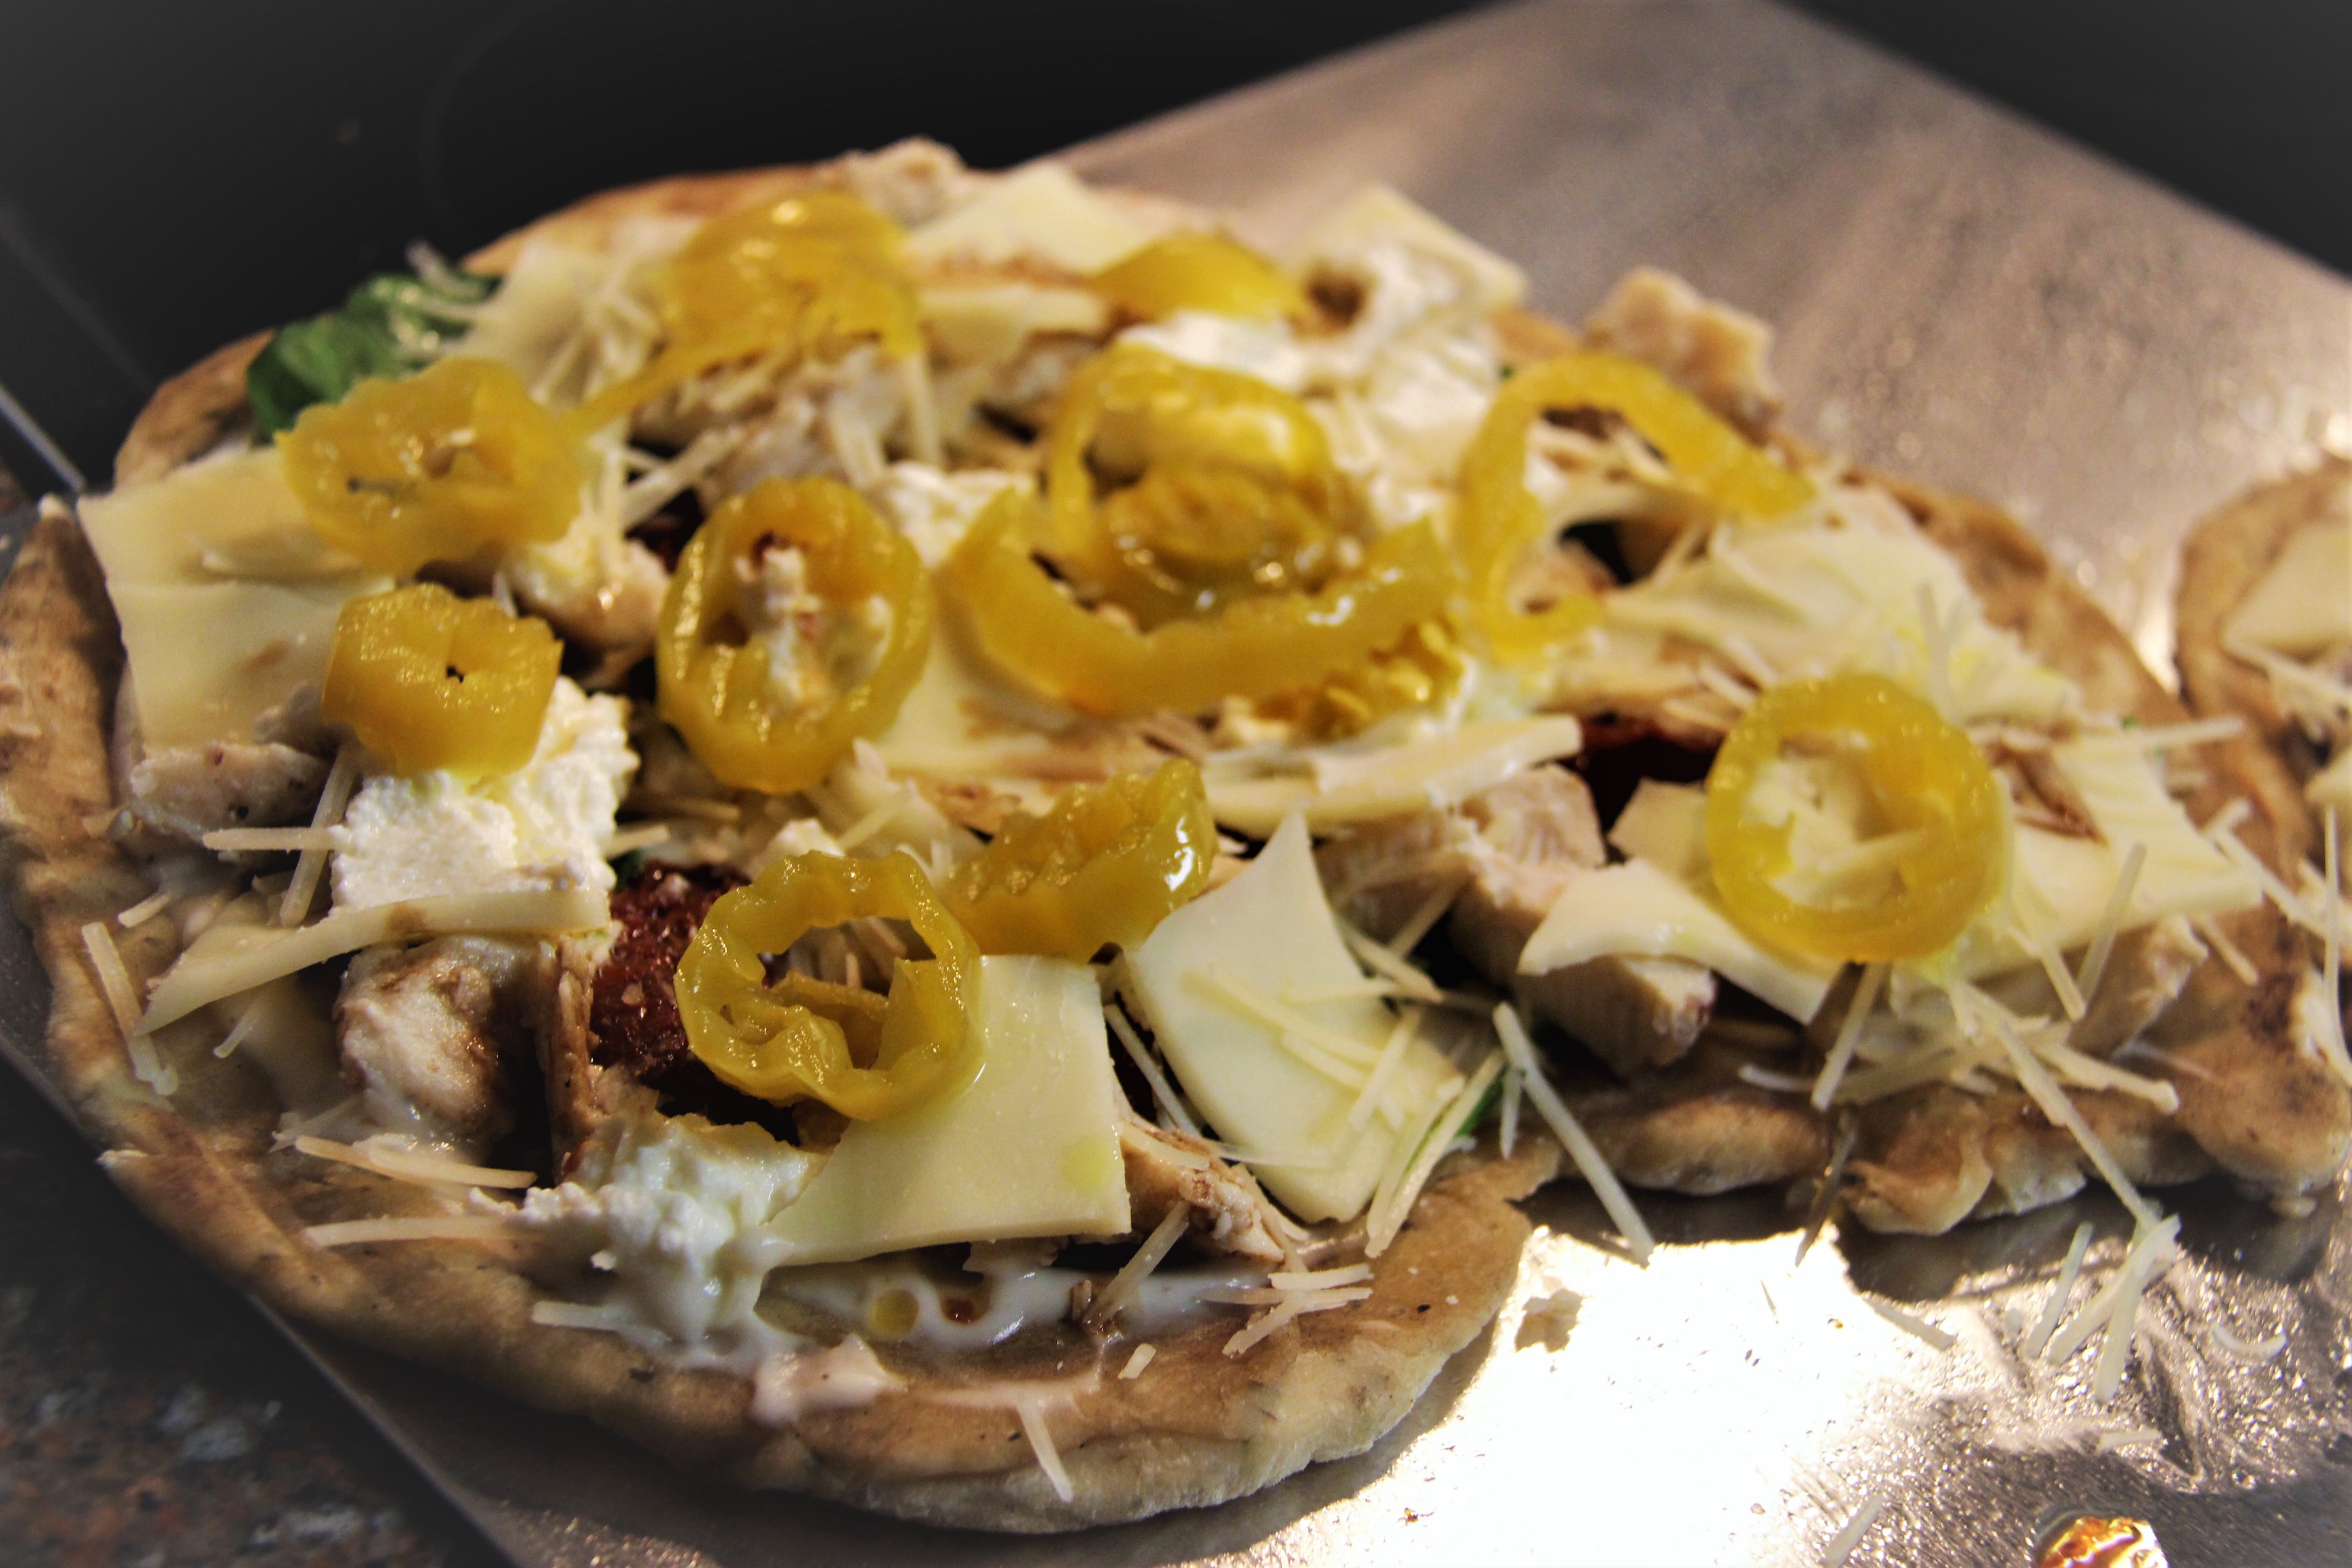
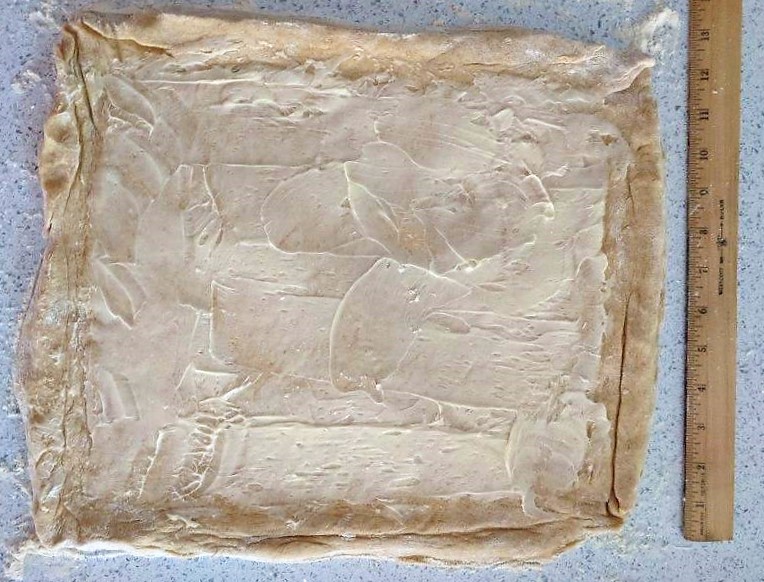
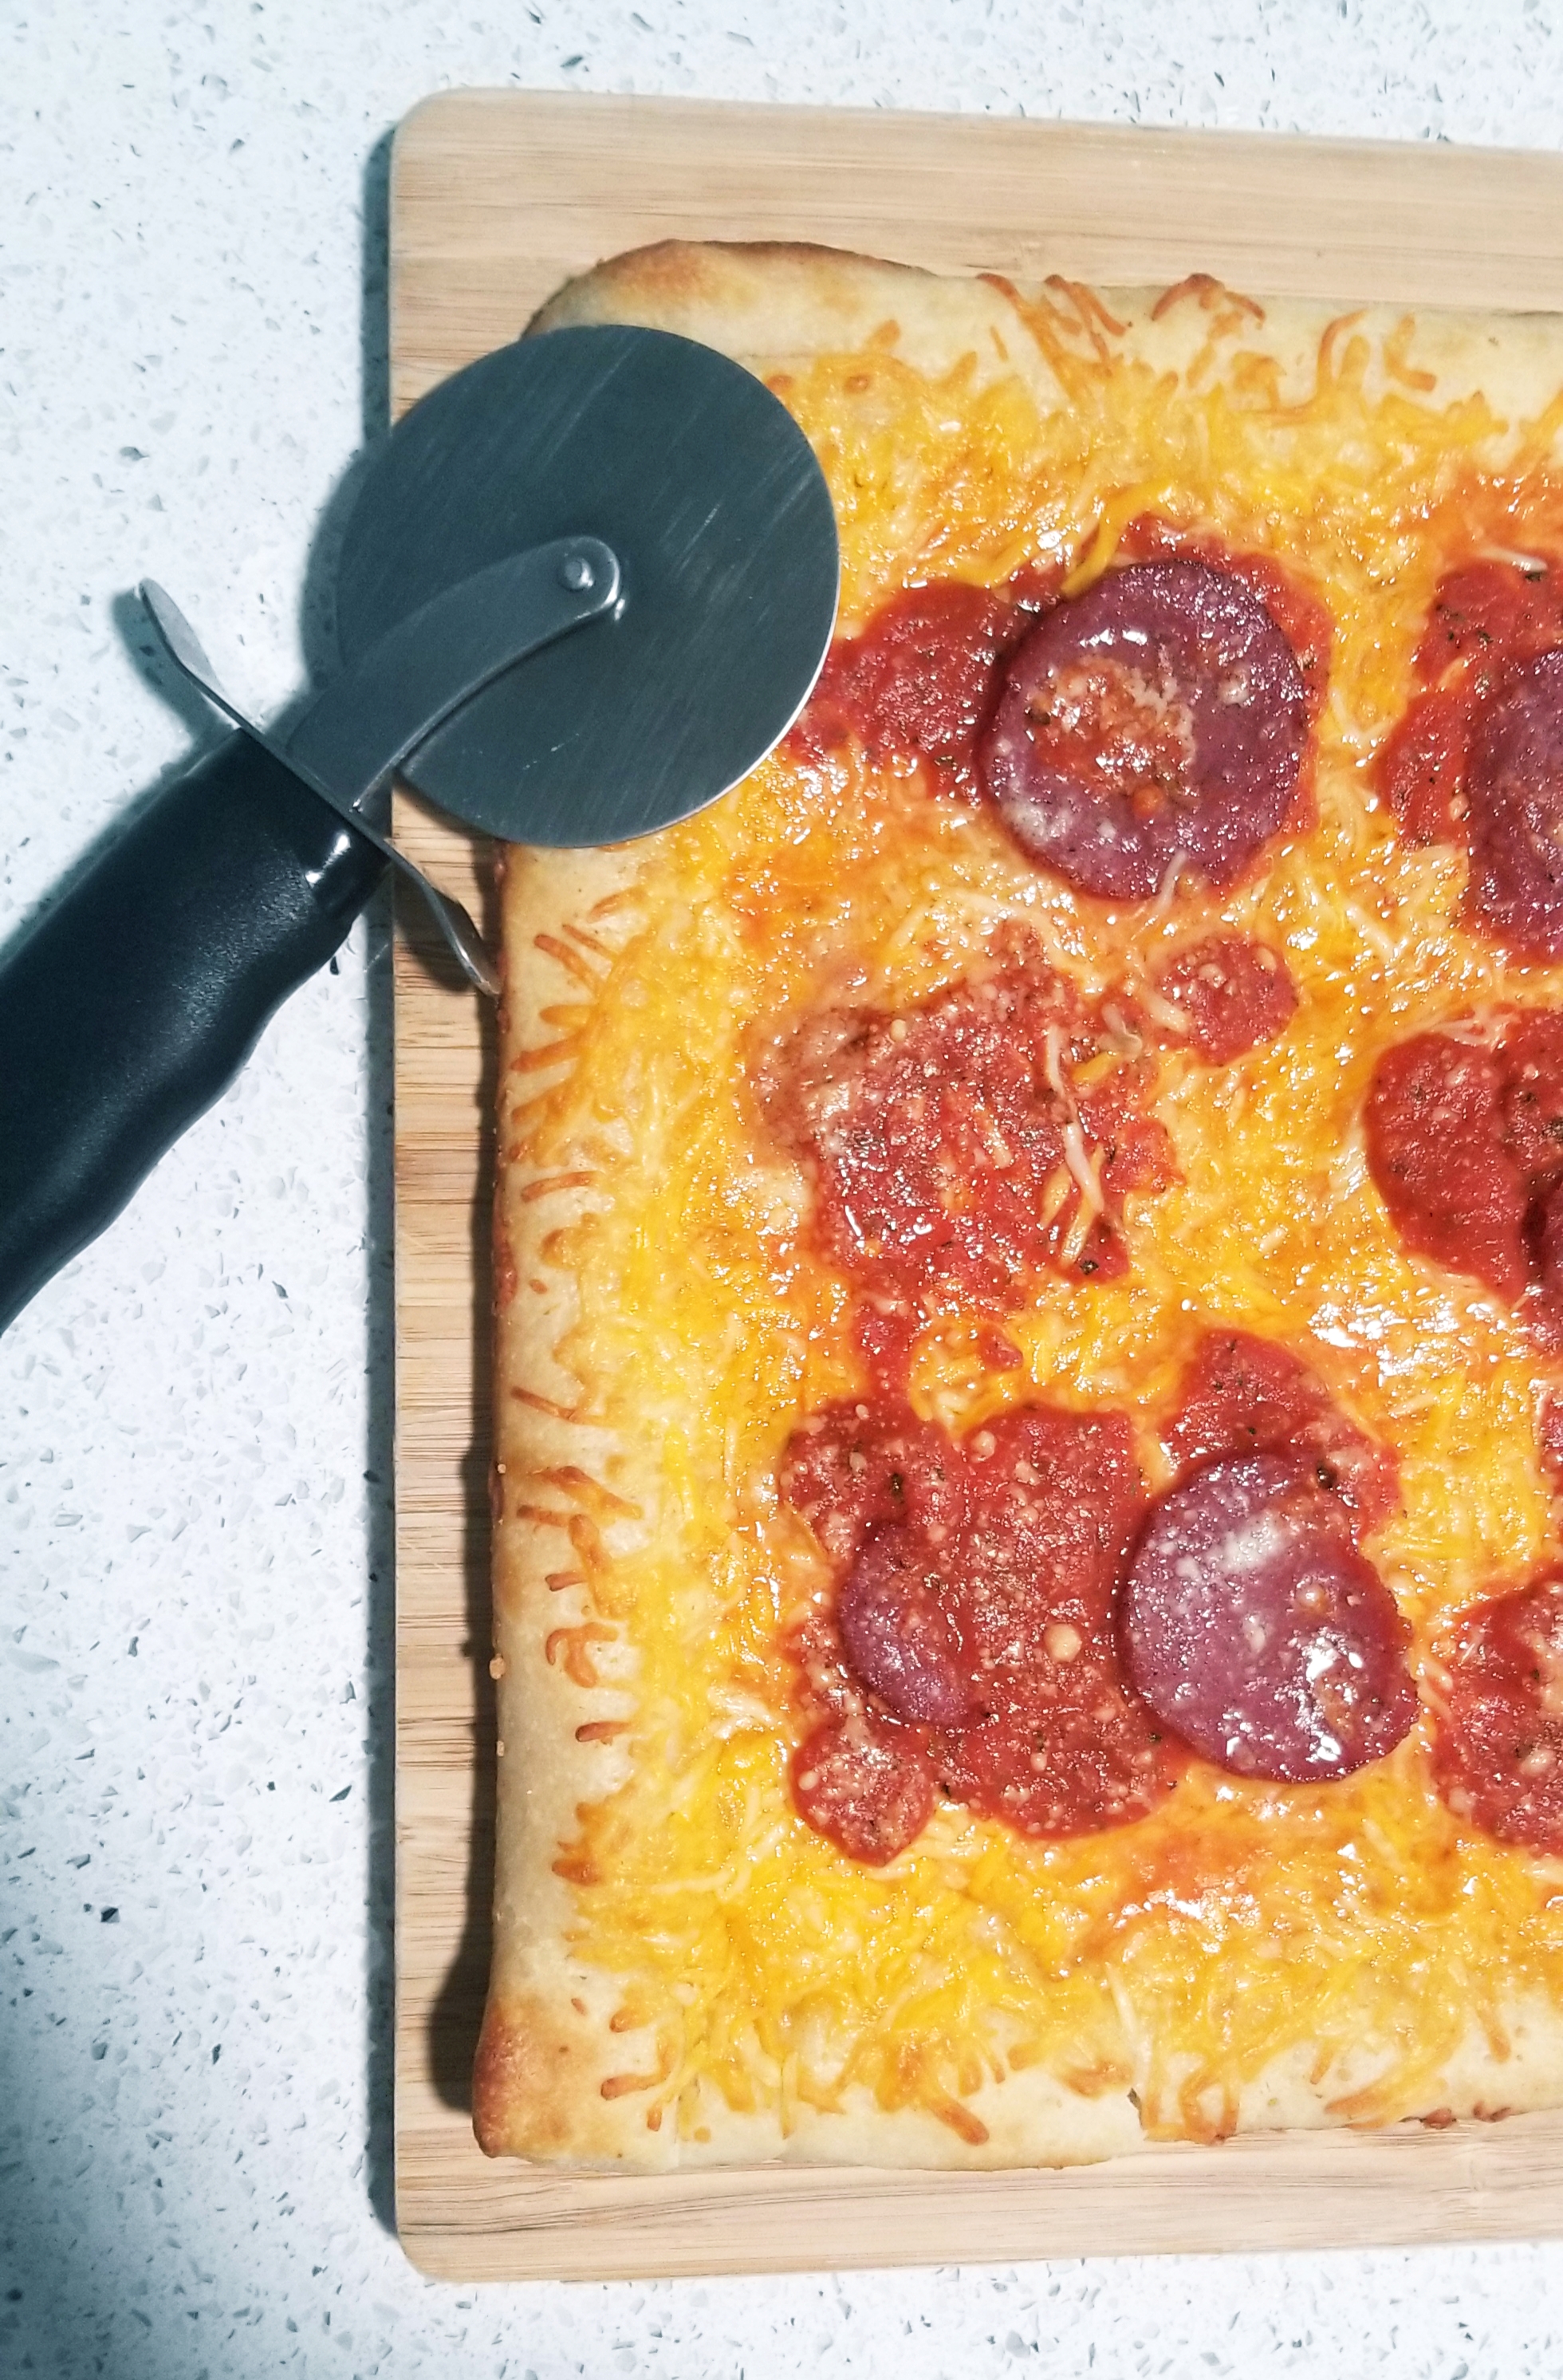
Take-Home Tips: Make sure the skillet is very hot and well oiled each time you add a flatbread. I recommend dividing them into four, then preparing your skillet, let it get hot, while you flatten each one with your hands or a rolling pin. Don’t make them bigger than your skillet. If you can cajole each consumer to prepare their pizza (adding the toppings), then you can focus on preparing the flat breads. The time it takes to flatten and stretch each ball and add the garlic butter is roughly how long each flatbread should sizzle in the skillet. You could easily add seasoning to the dough to make it that much better.
My pup waiting impatiently for the pizzas to be ready.
Scoring: 8 of 10. One personal sized pizza was plenty for a meal. The possibility for toppings is restricted only to your imagination; the crust should hold up for a large quantity of toppings. This is an easy way for everyone to have a personalized pizza that isn’t much more difficult to make than one large one. Flatbreads are typically cut in unusual shaped slices due to their unique shapes, which can be fun. The slimness of the crust helps reduce the bloating unhealthy sensation attainable after eating a pan or regular crust pizza. The size of the pizza is limited to the size of your skillet, and the extra equipment means more dishes.
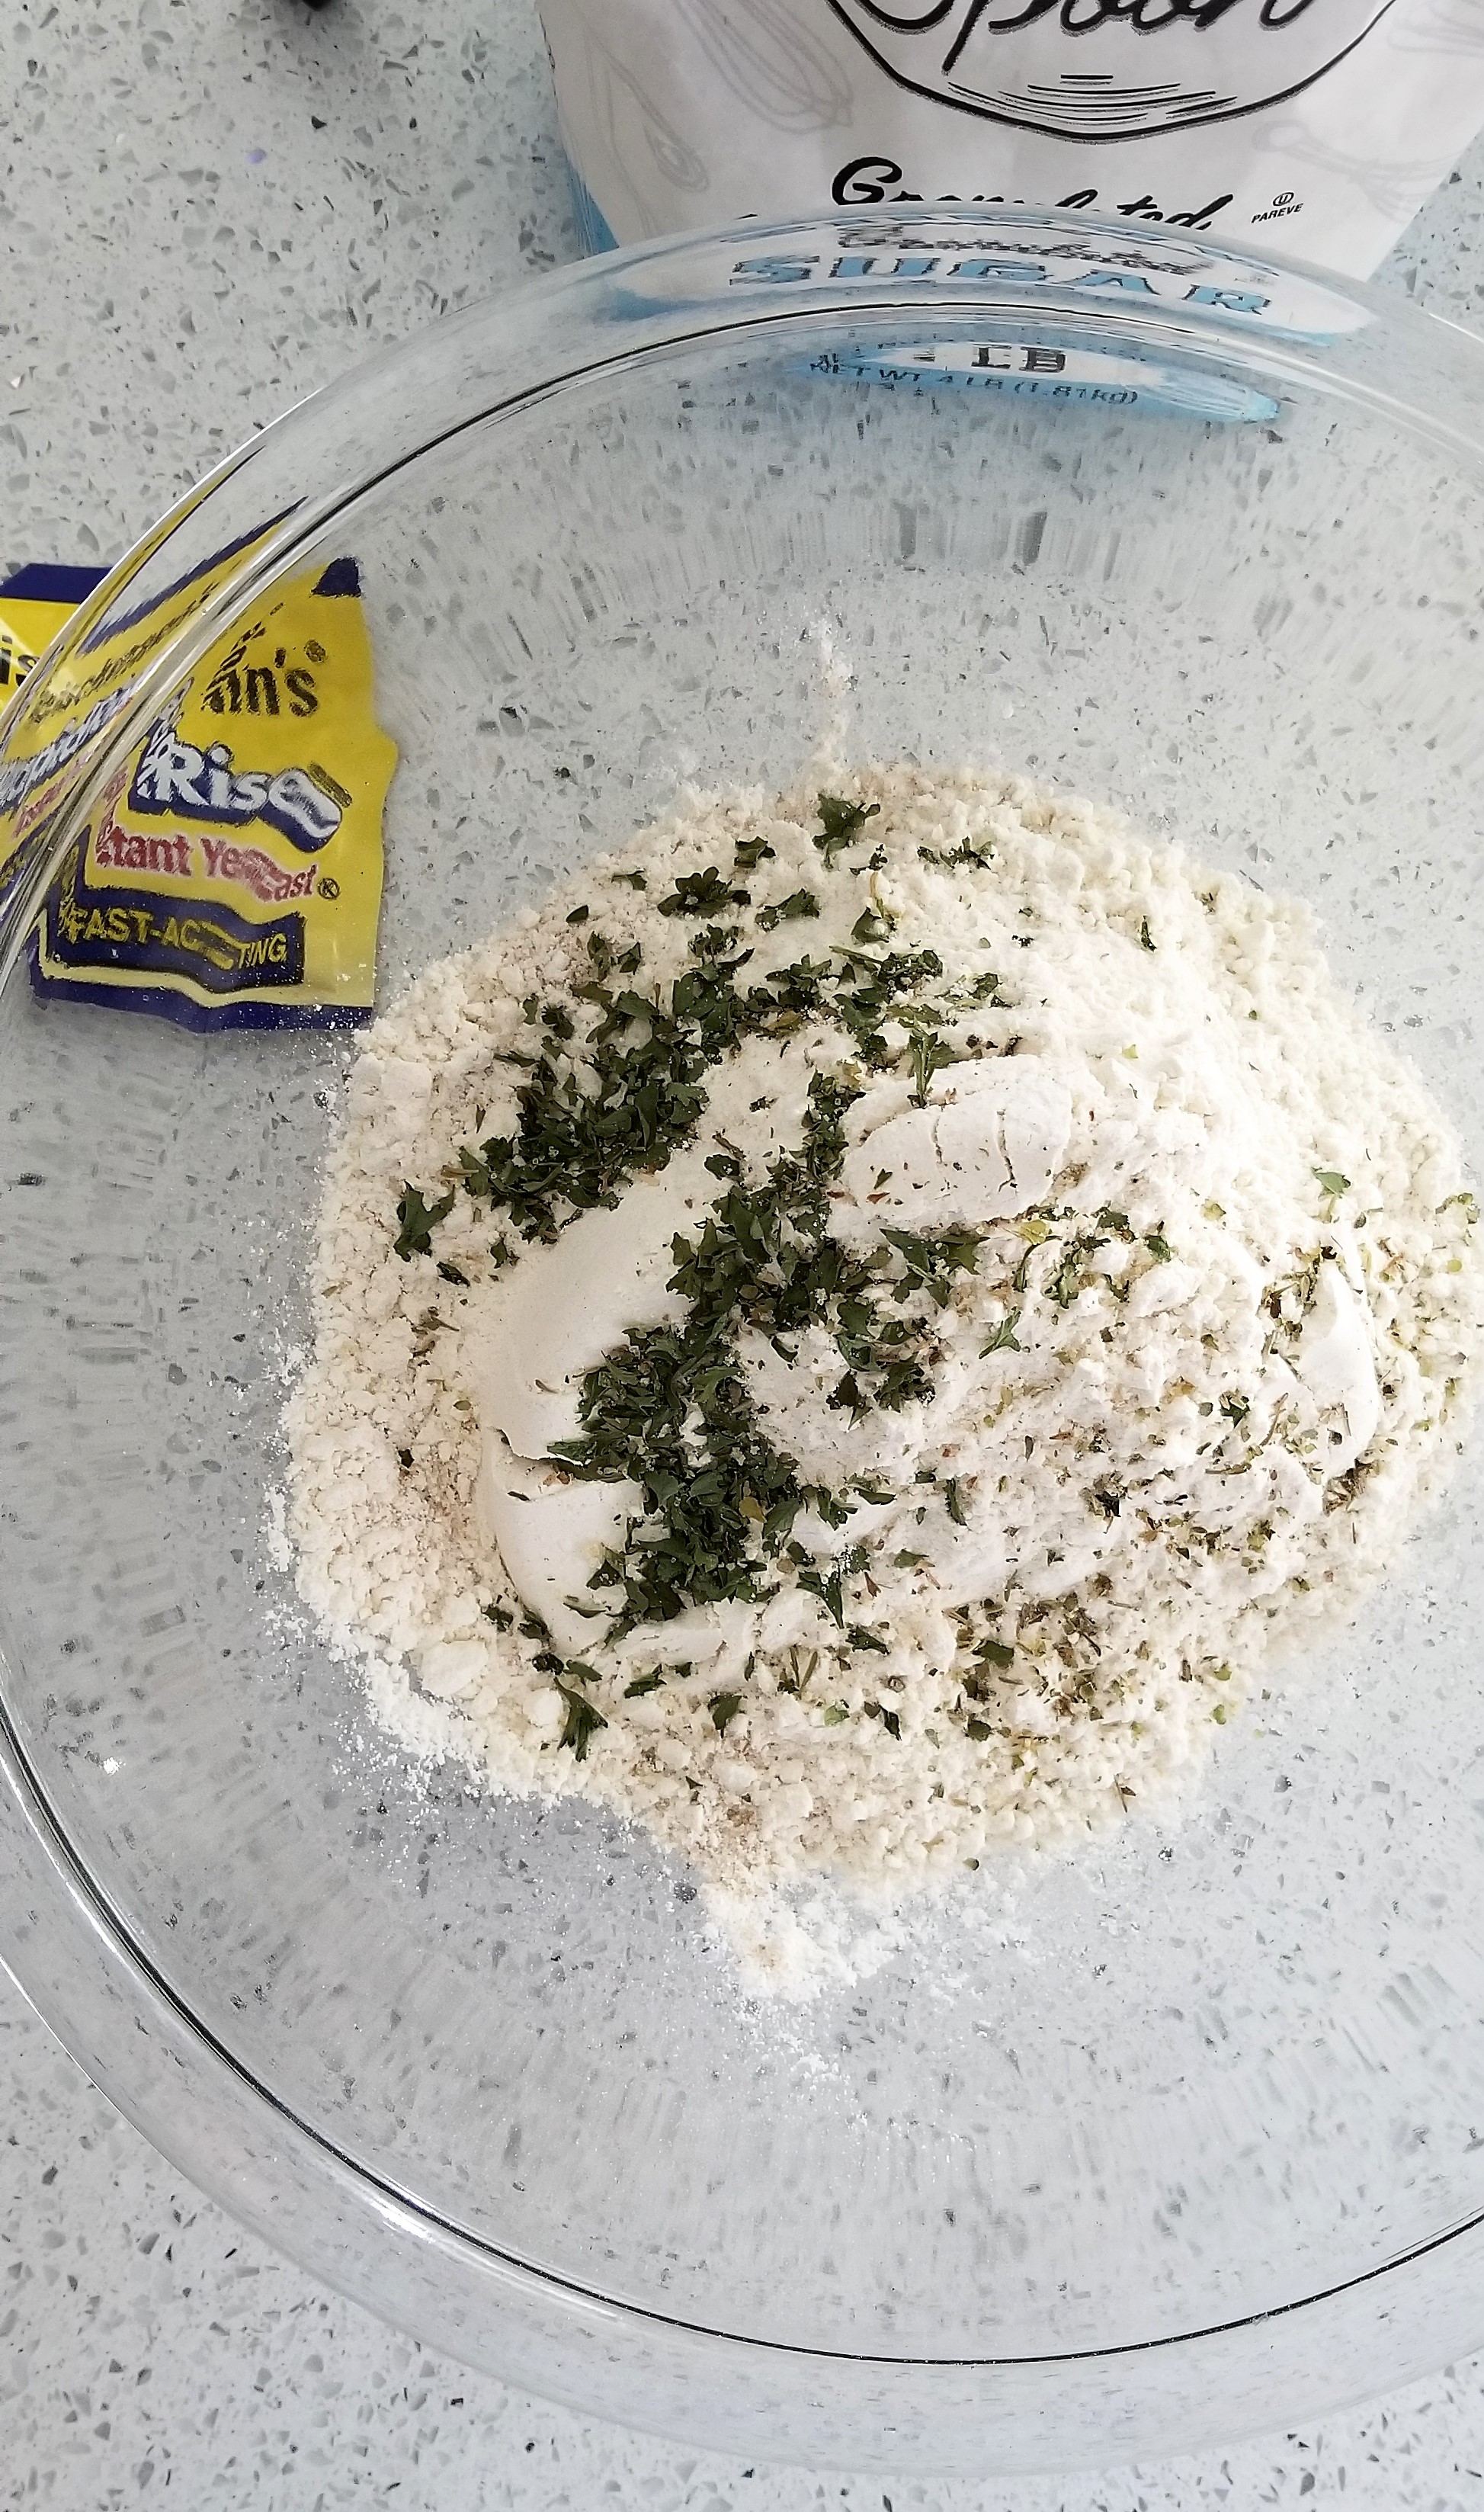
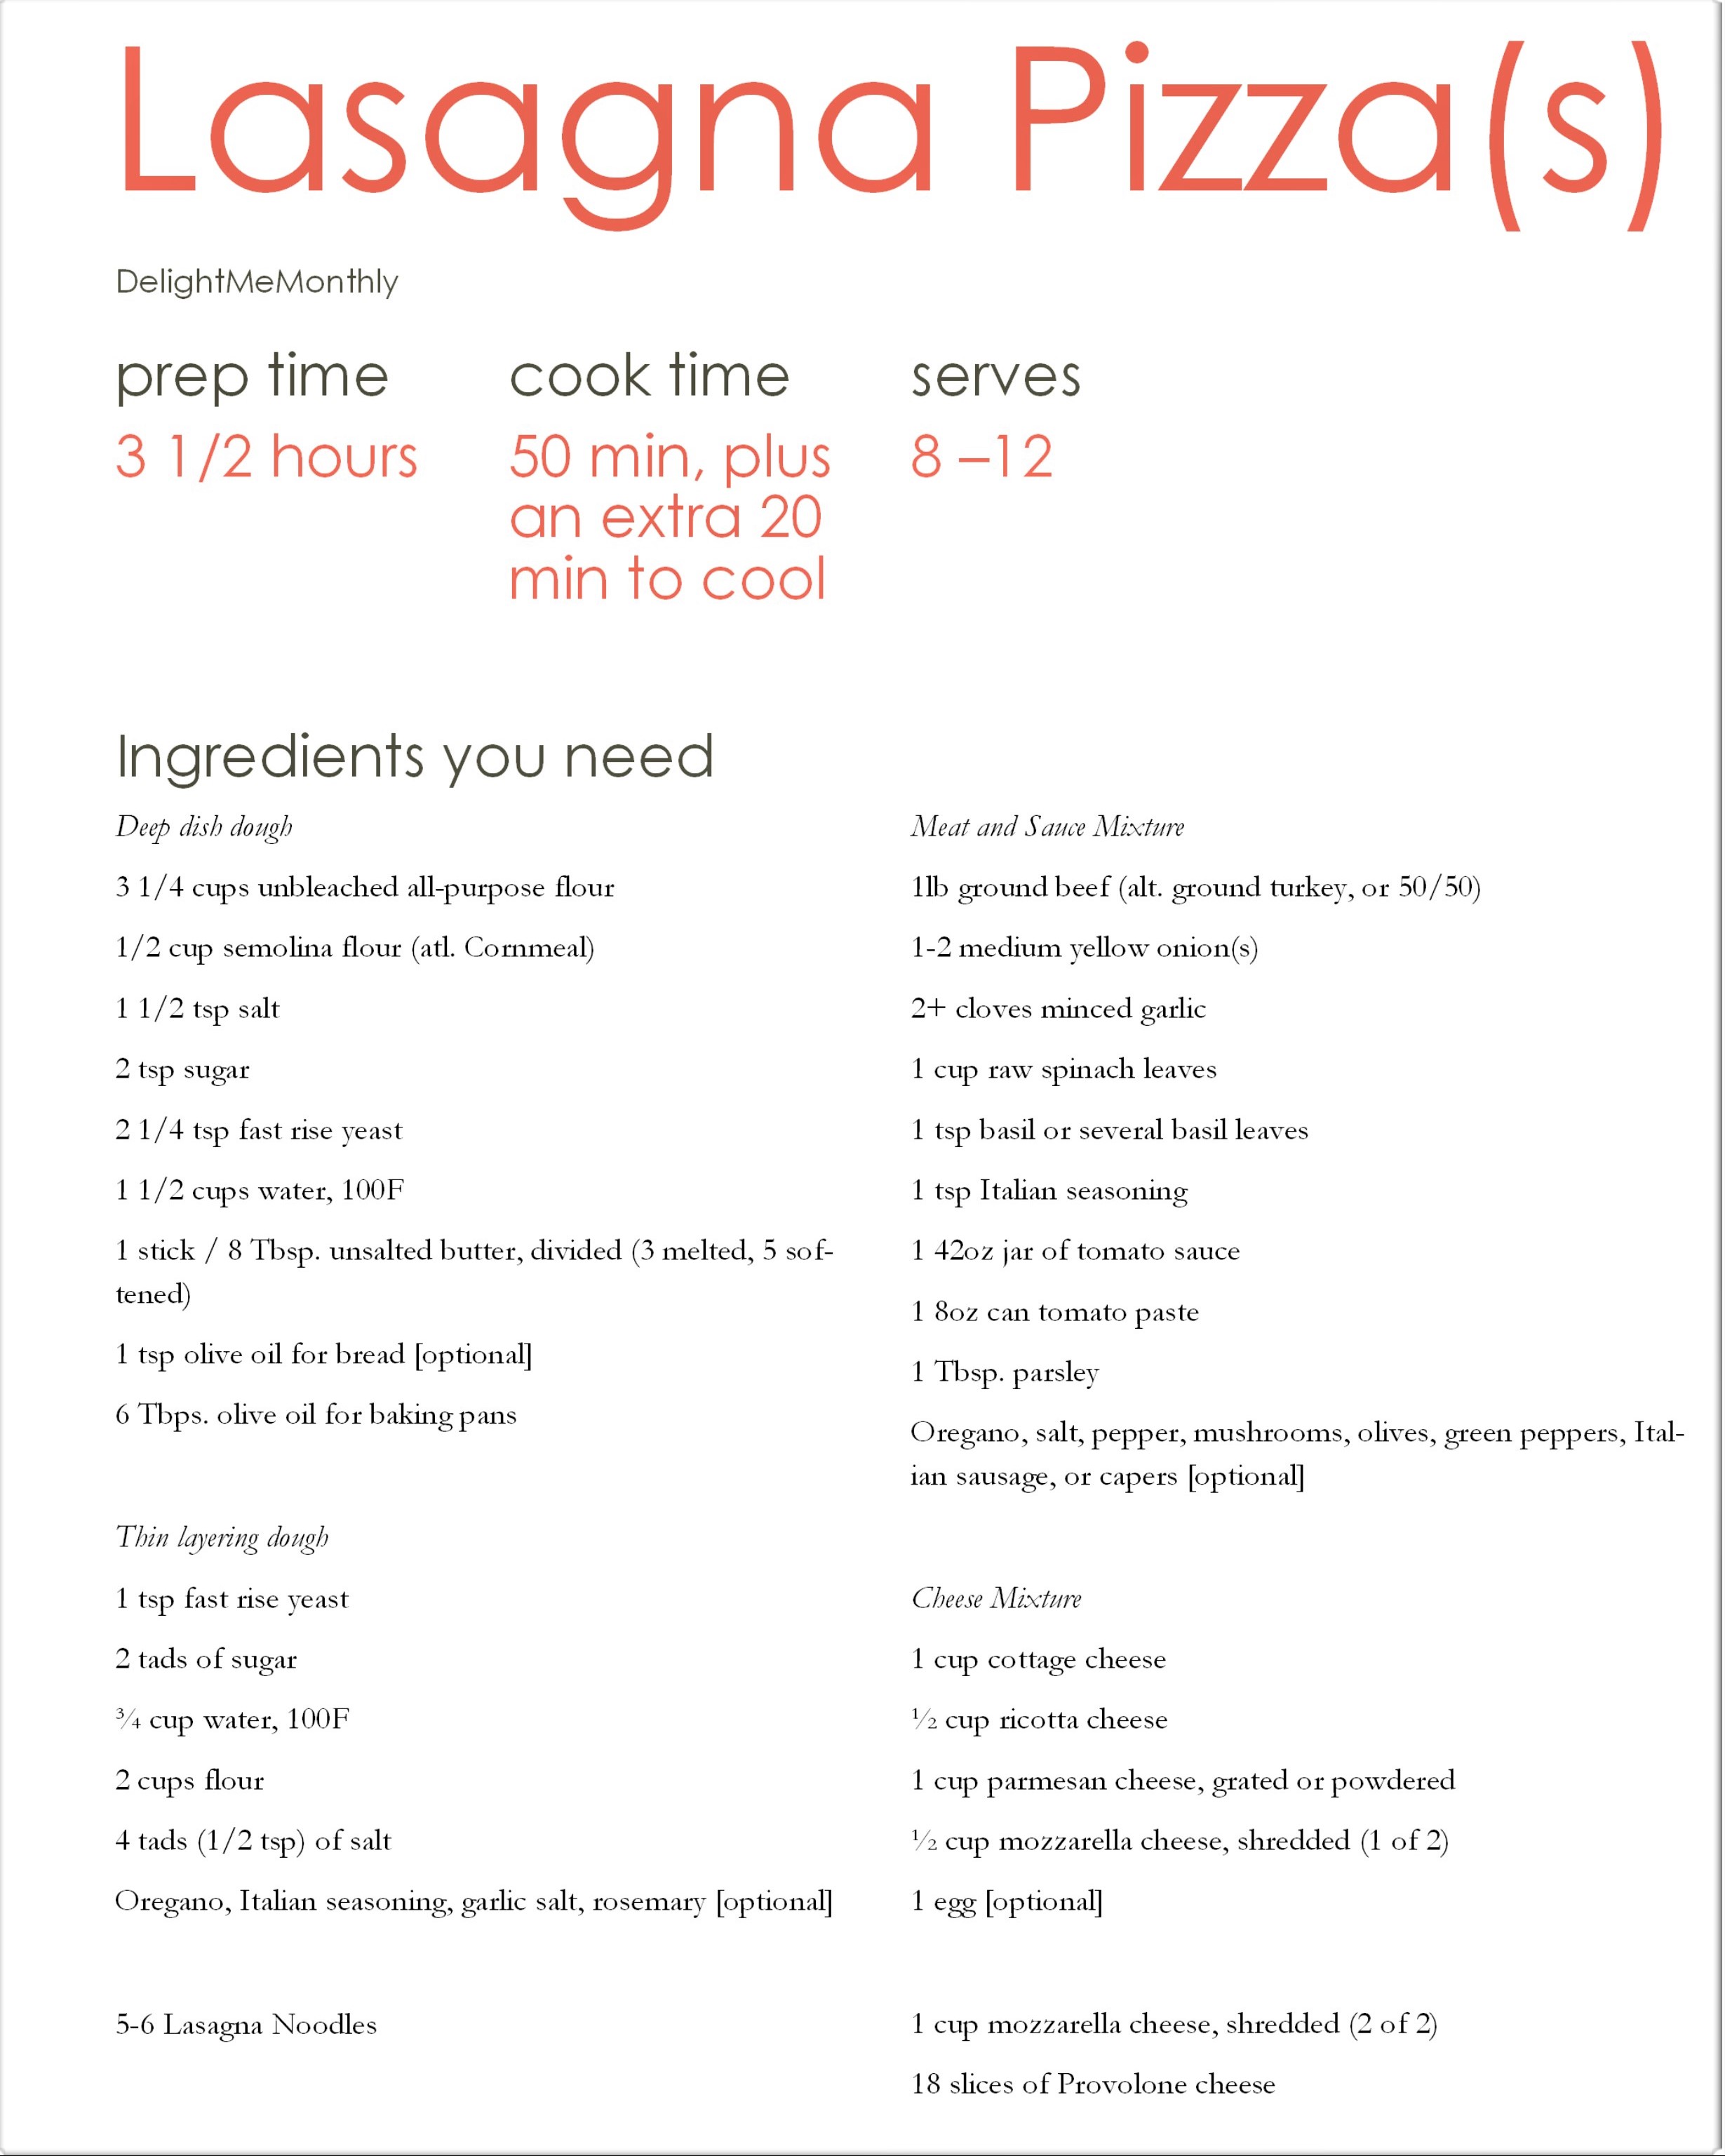
Ingredients:
3 ½ cups flour
3 tsp. baking powder
1 tsp. salt
1 Tbsp. oil
1 cup warm water
1-5 tsp. desired seasoning (oregano, basil, garlic, Italian
seasoning)
3 Tbsp. butter
2 tsp. minced garlic
Instructions:
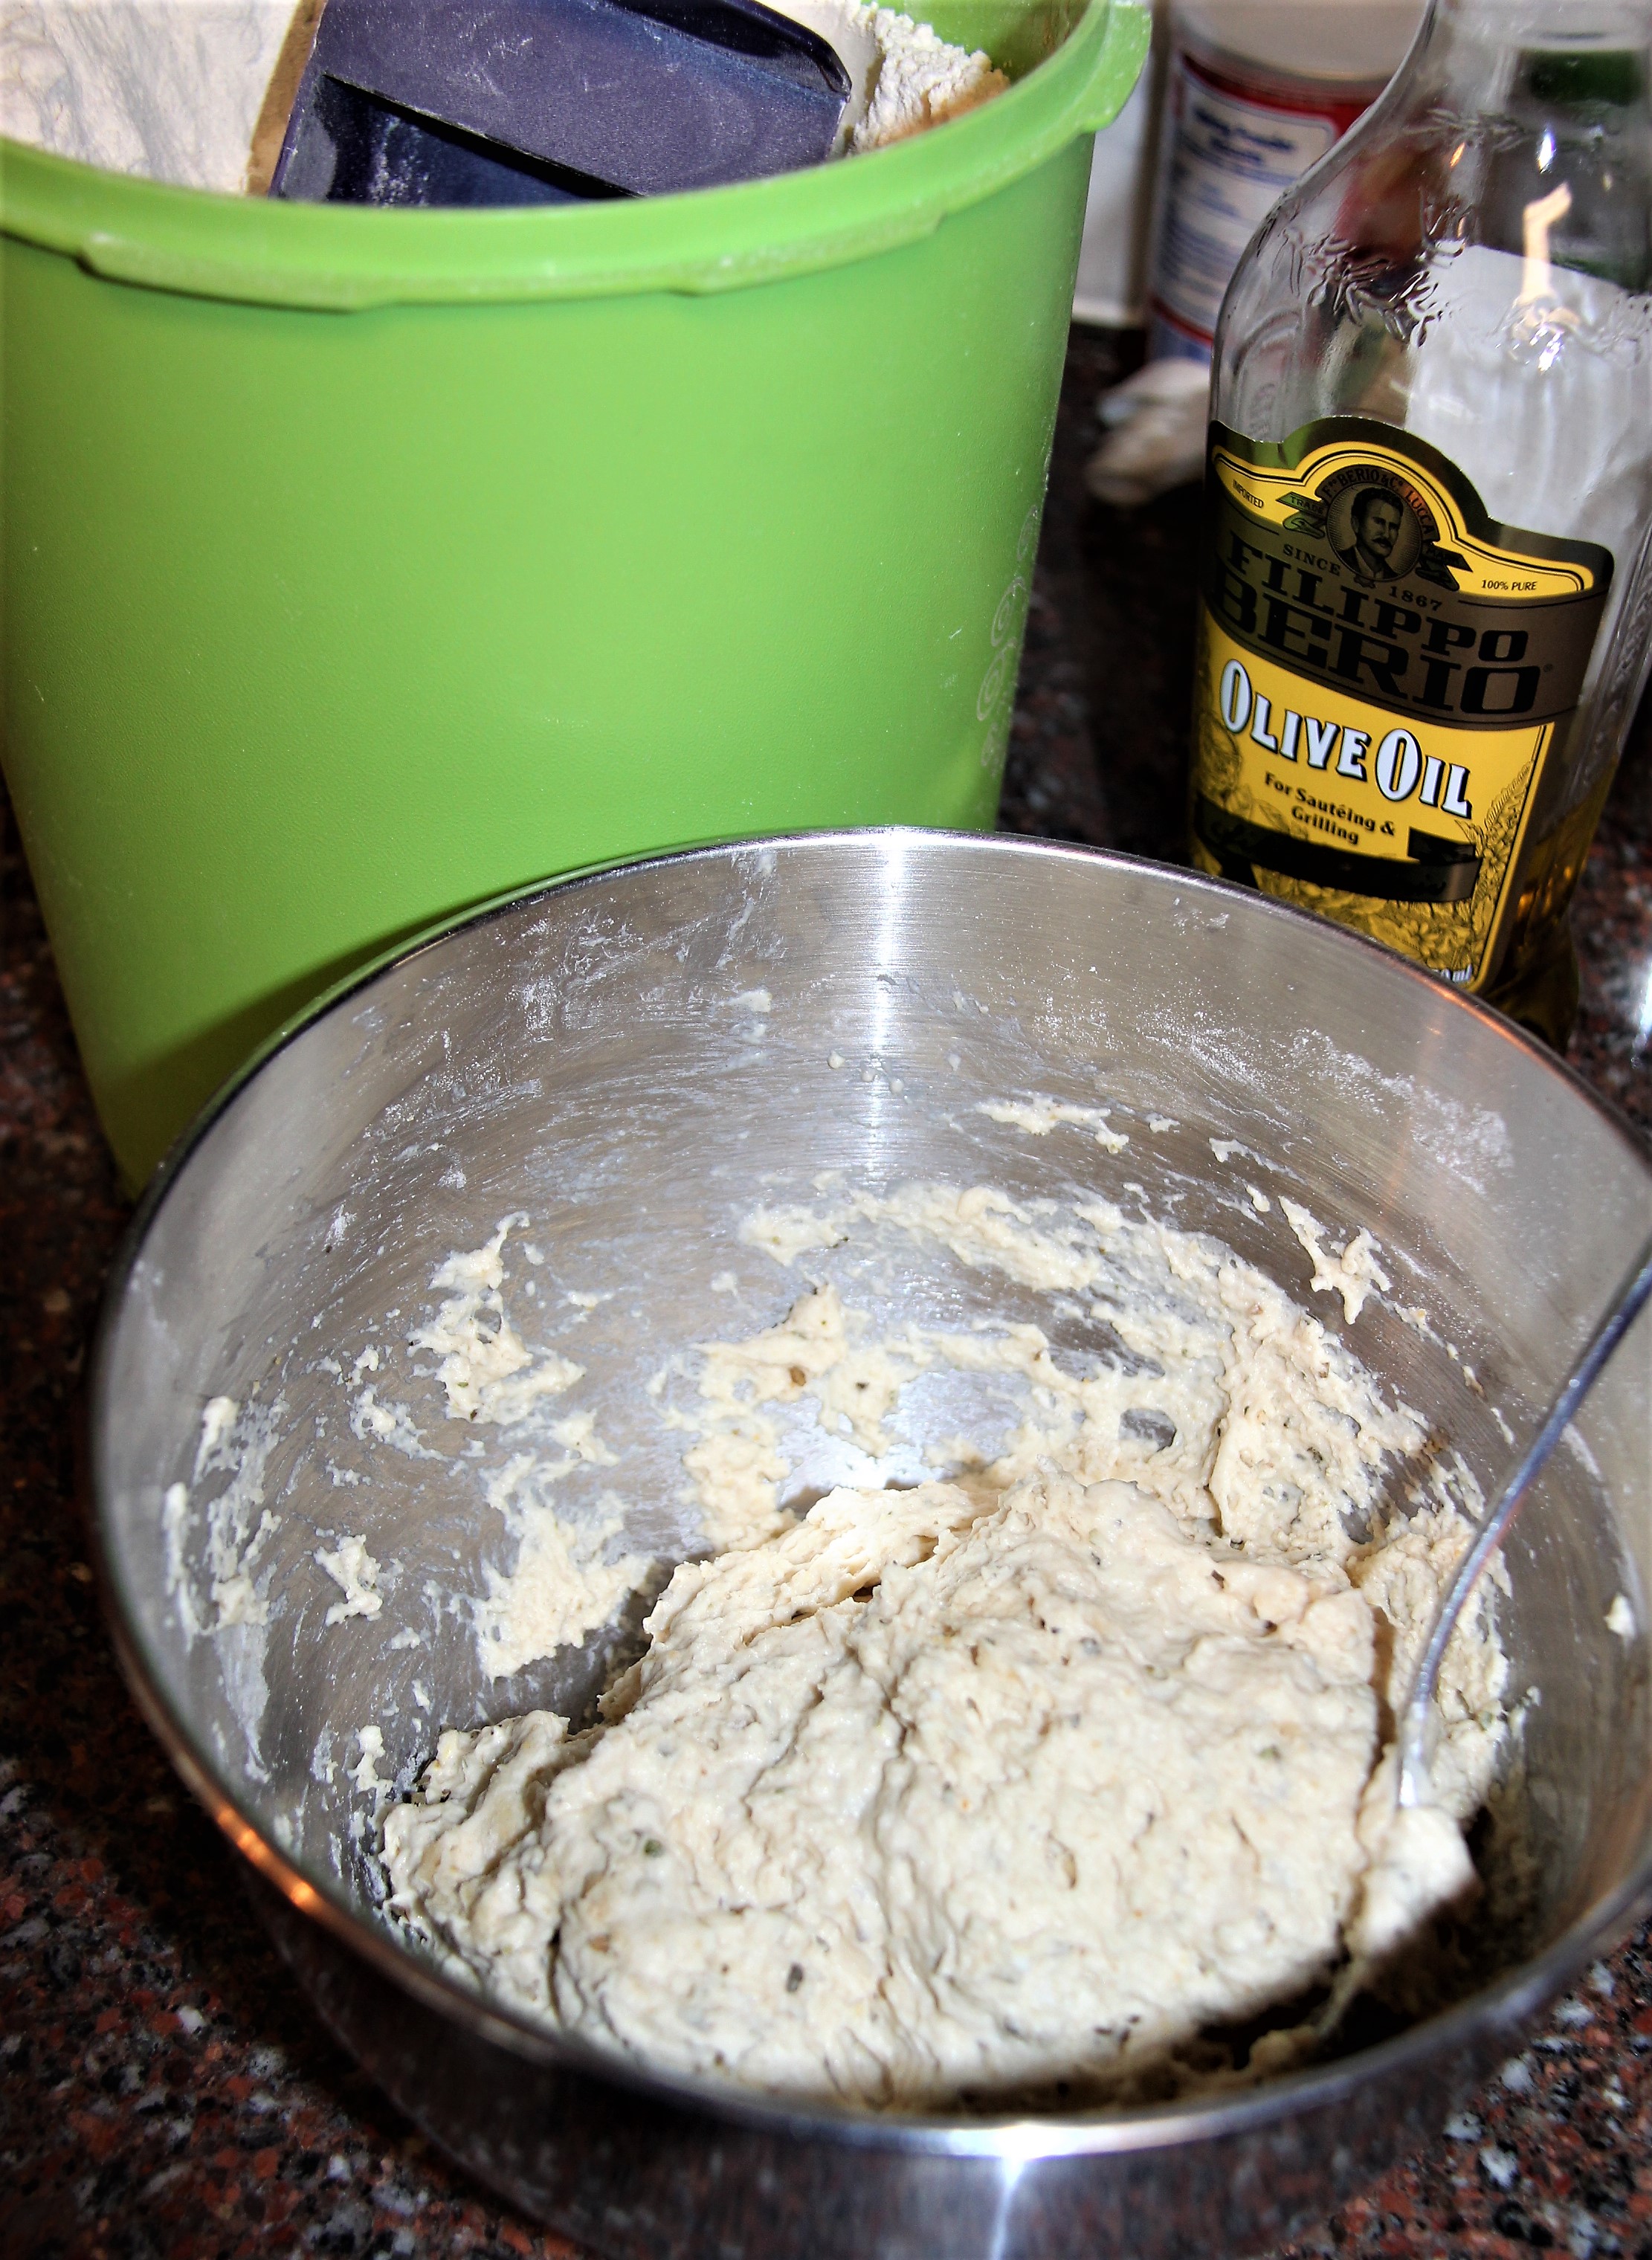
Combine 2 cups of flour with the powder and salt in a medium mixing bowl then add the oil and water. Mix until combined. Add another cup of flour and mix together.
Knead dough on a floured surface with floured hands until sticky to the touch but not overly sticking to your hands (about 5 minutes).
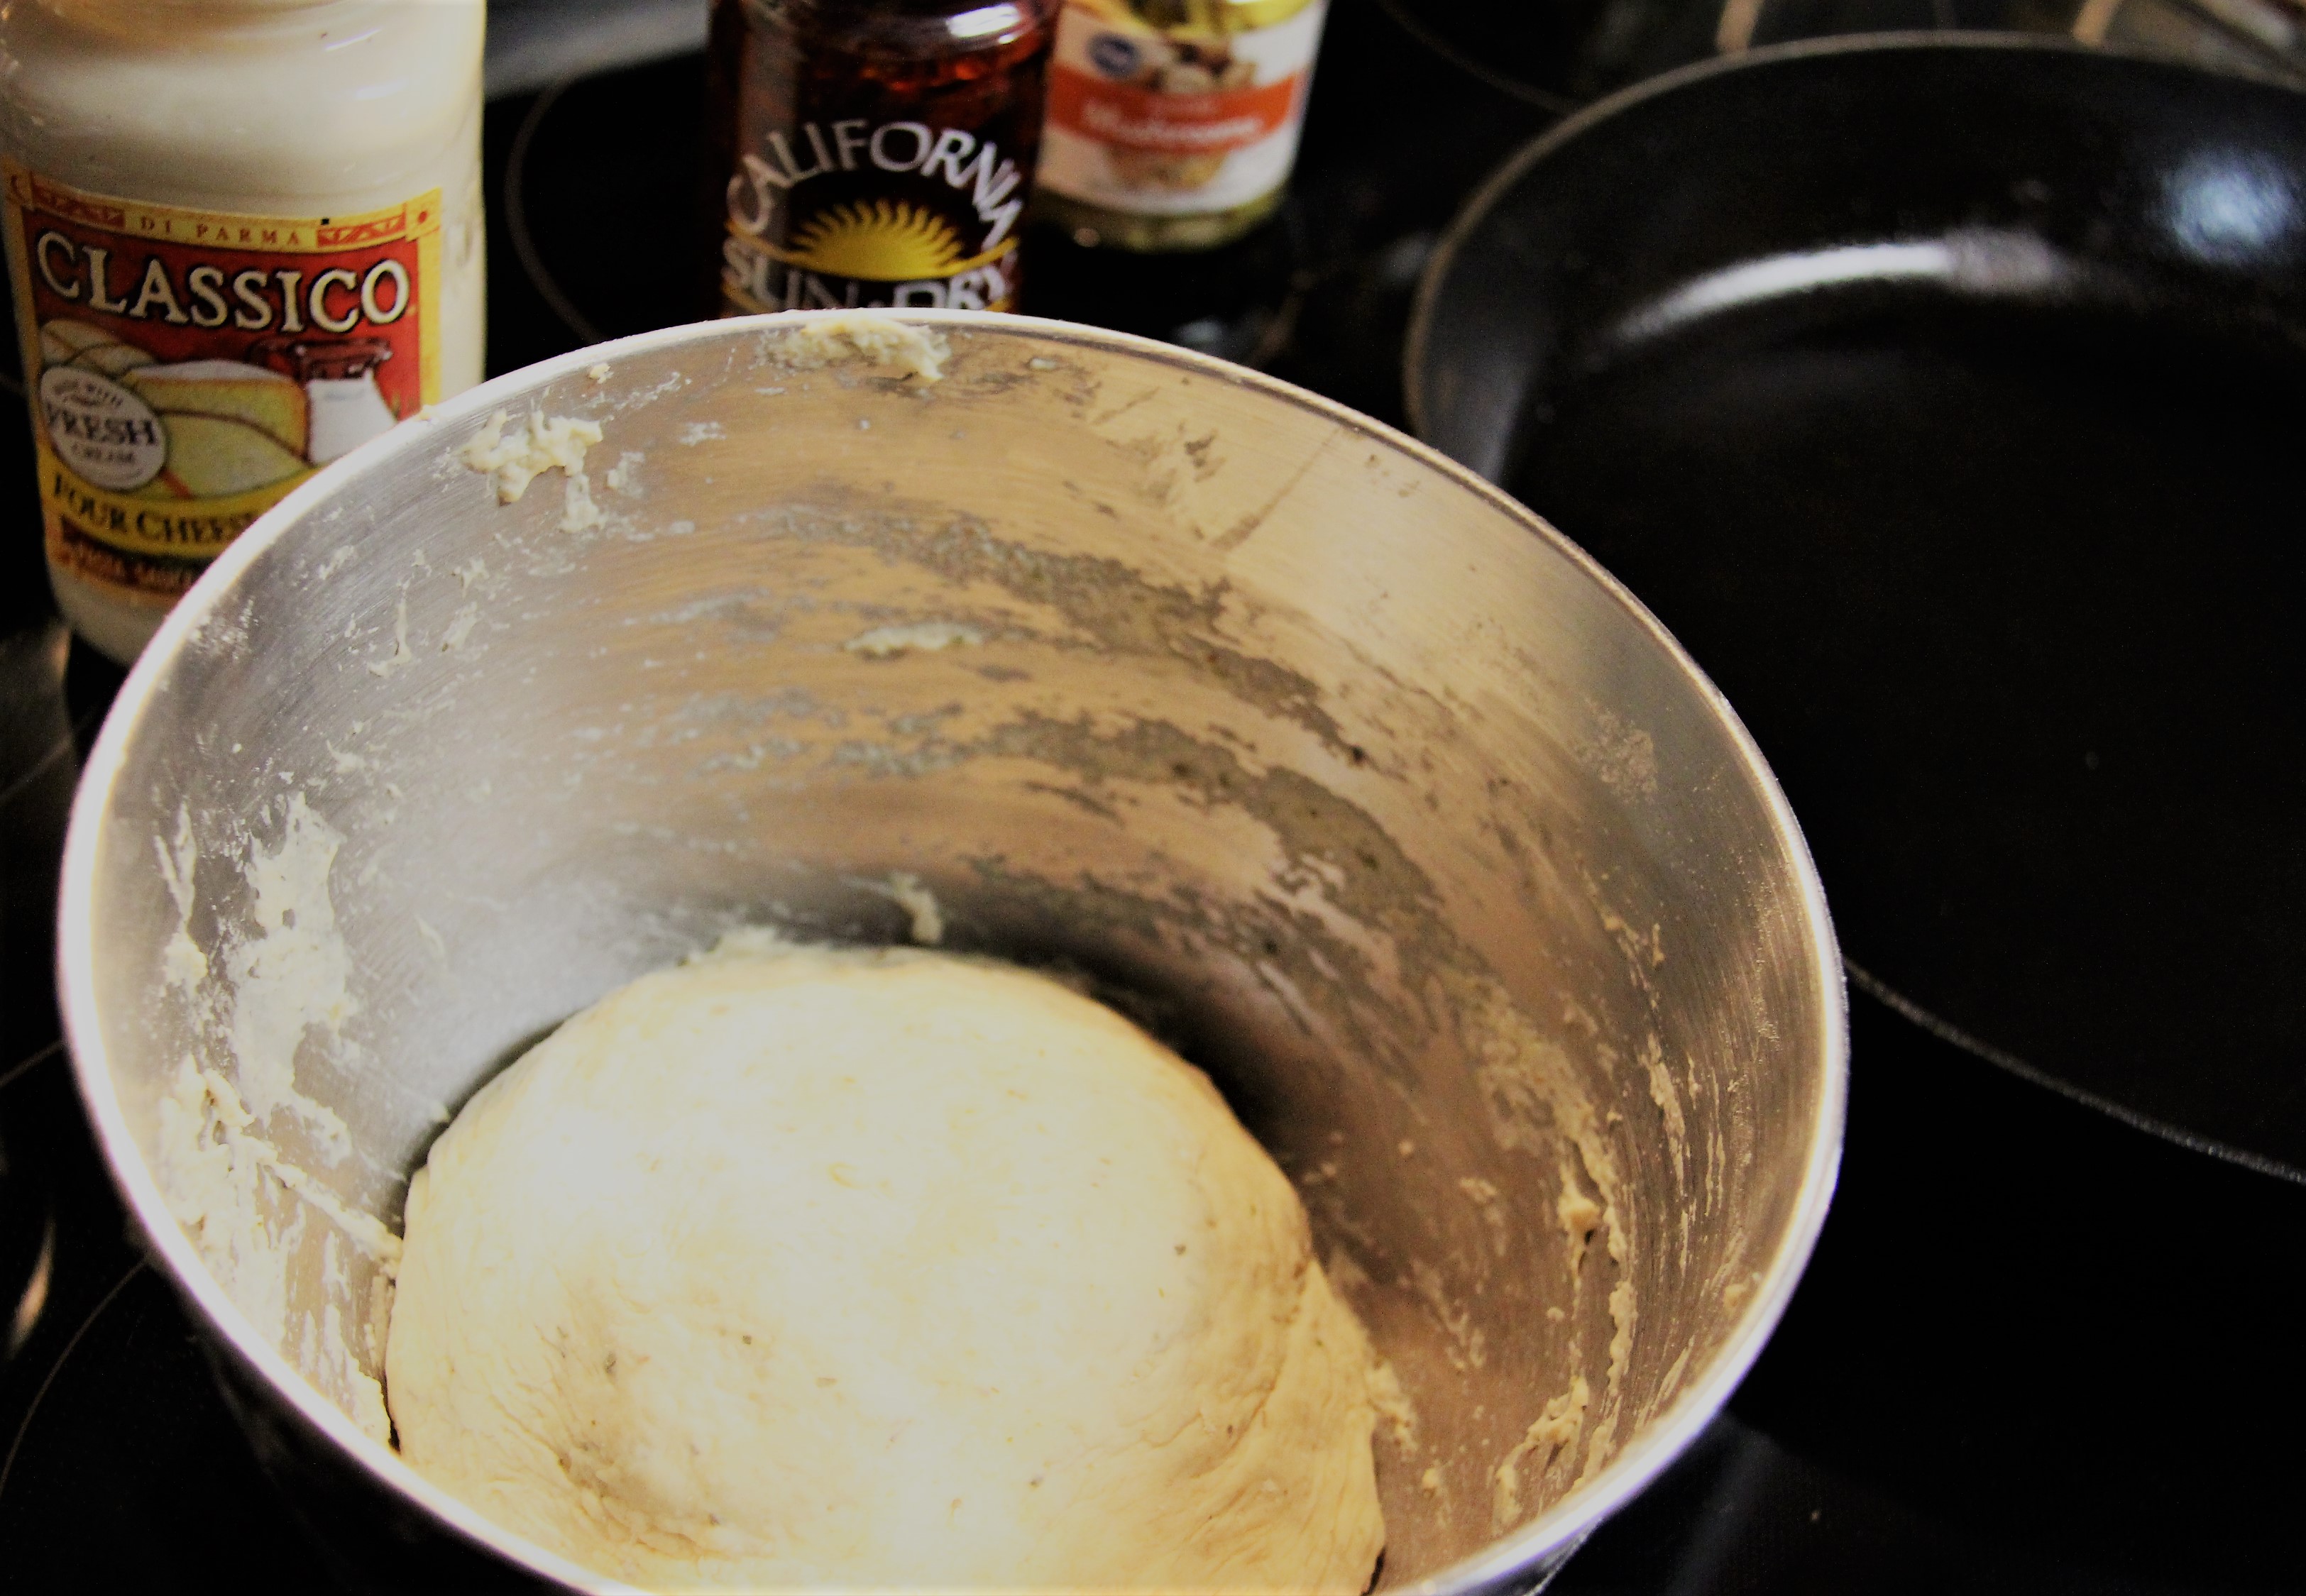
Oil the mixing bowl and cover the dough to rest for 15 to 20 minutes.
While it sits melt butter (or margarine) and add the minced garlic, stir.
Preheat oven to 400F. and grease 2 baking sheets. If you have one, oil a large cast iron skillet and place it on the stove on medium high heat, otherwise oil a large skillet.
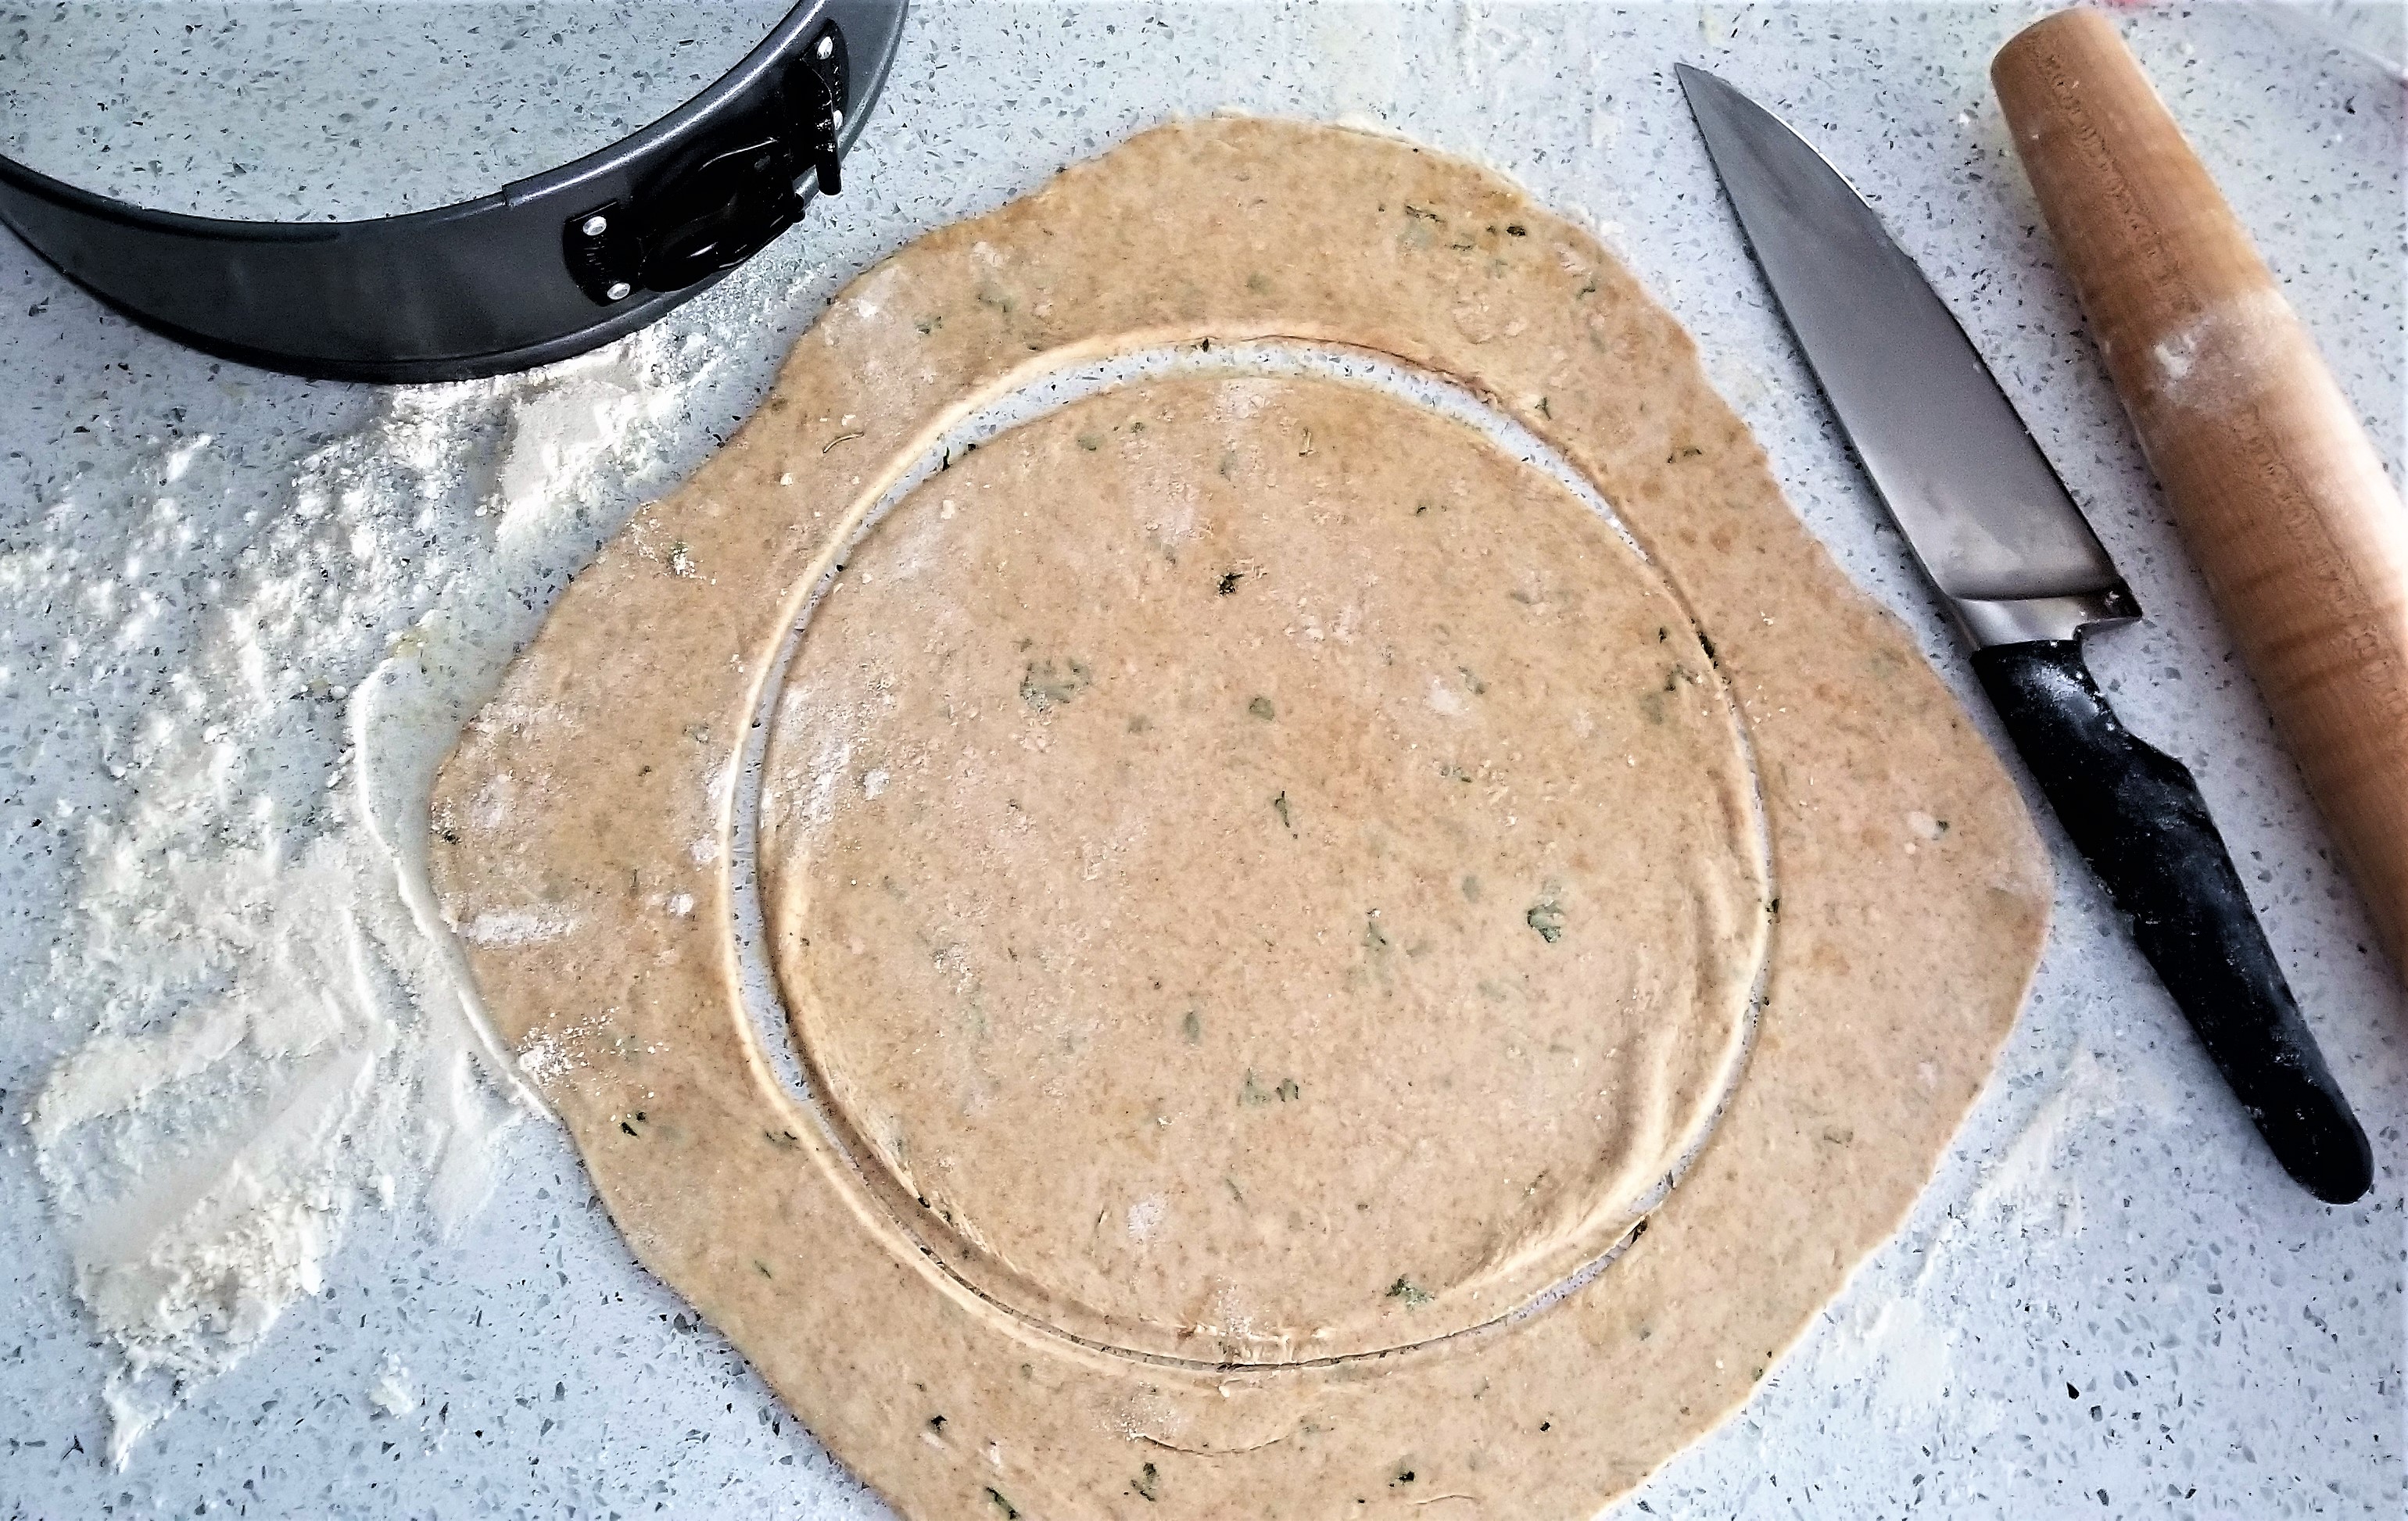
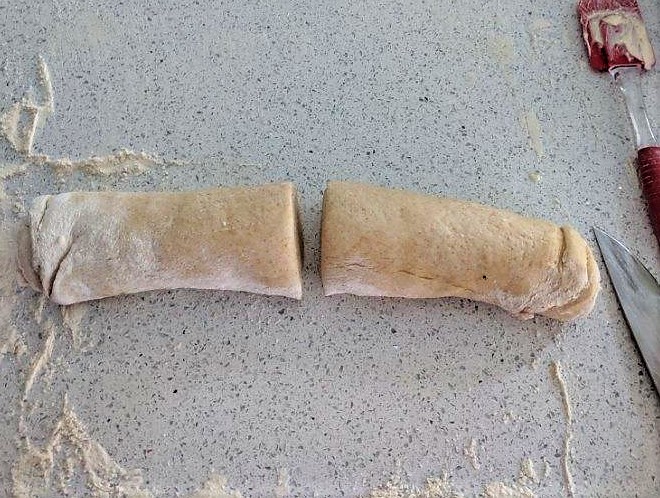
Divide dough into 4 equal parts and roll one at a time, out on a floured surface. Using a rolling pin or your hands (I just used my hands) spread each dough ball out to the size of your skillet.
Place the dough flat in the skillet and quickly spread with the garlic butter. Flip after about 3-6 minutes, when the dough is slightly cooked and there are brown spots.
Once both sides are cooked, remove from skillet, place on the oiled baking sheet, add more oil to the skillet and add the next flatbread to the skillet. Repeat 2 more times, cooking all the flatbreads.
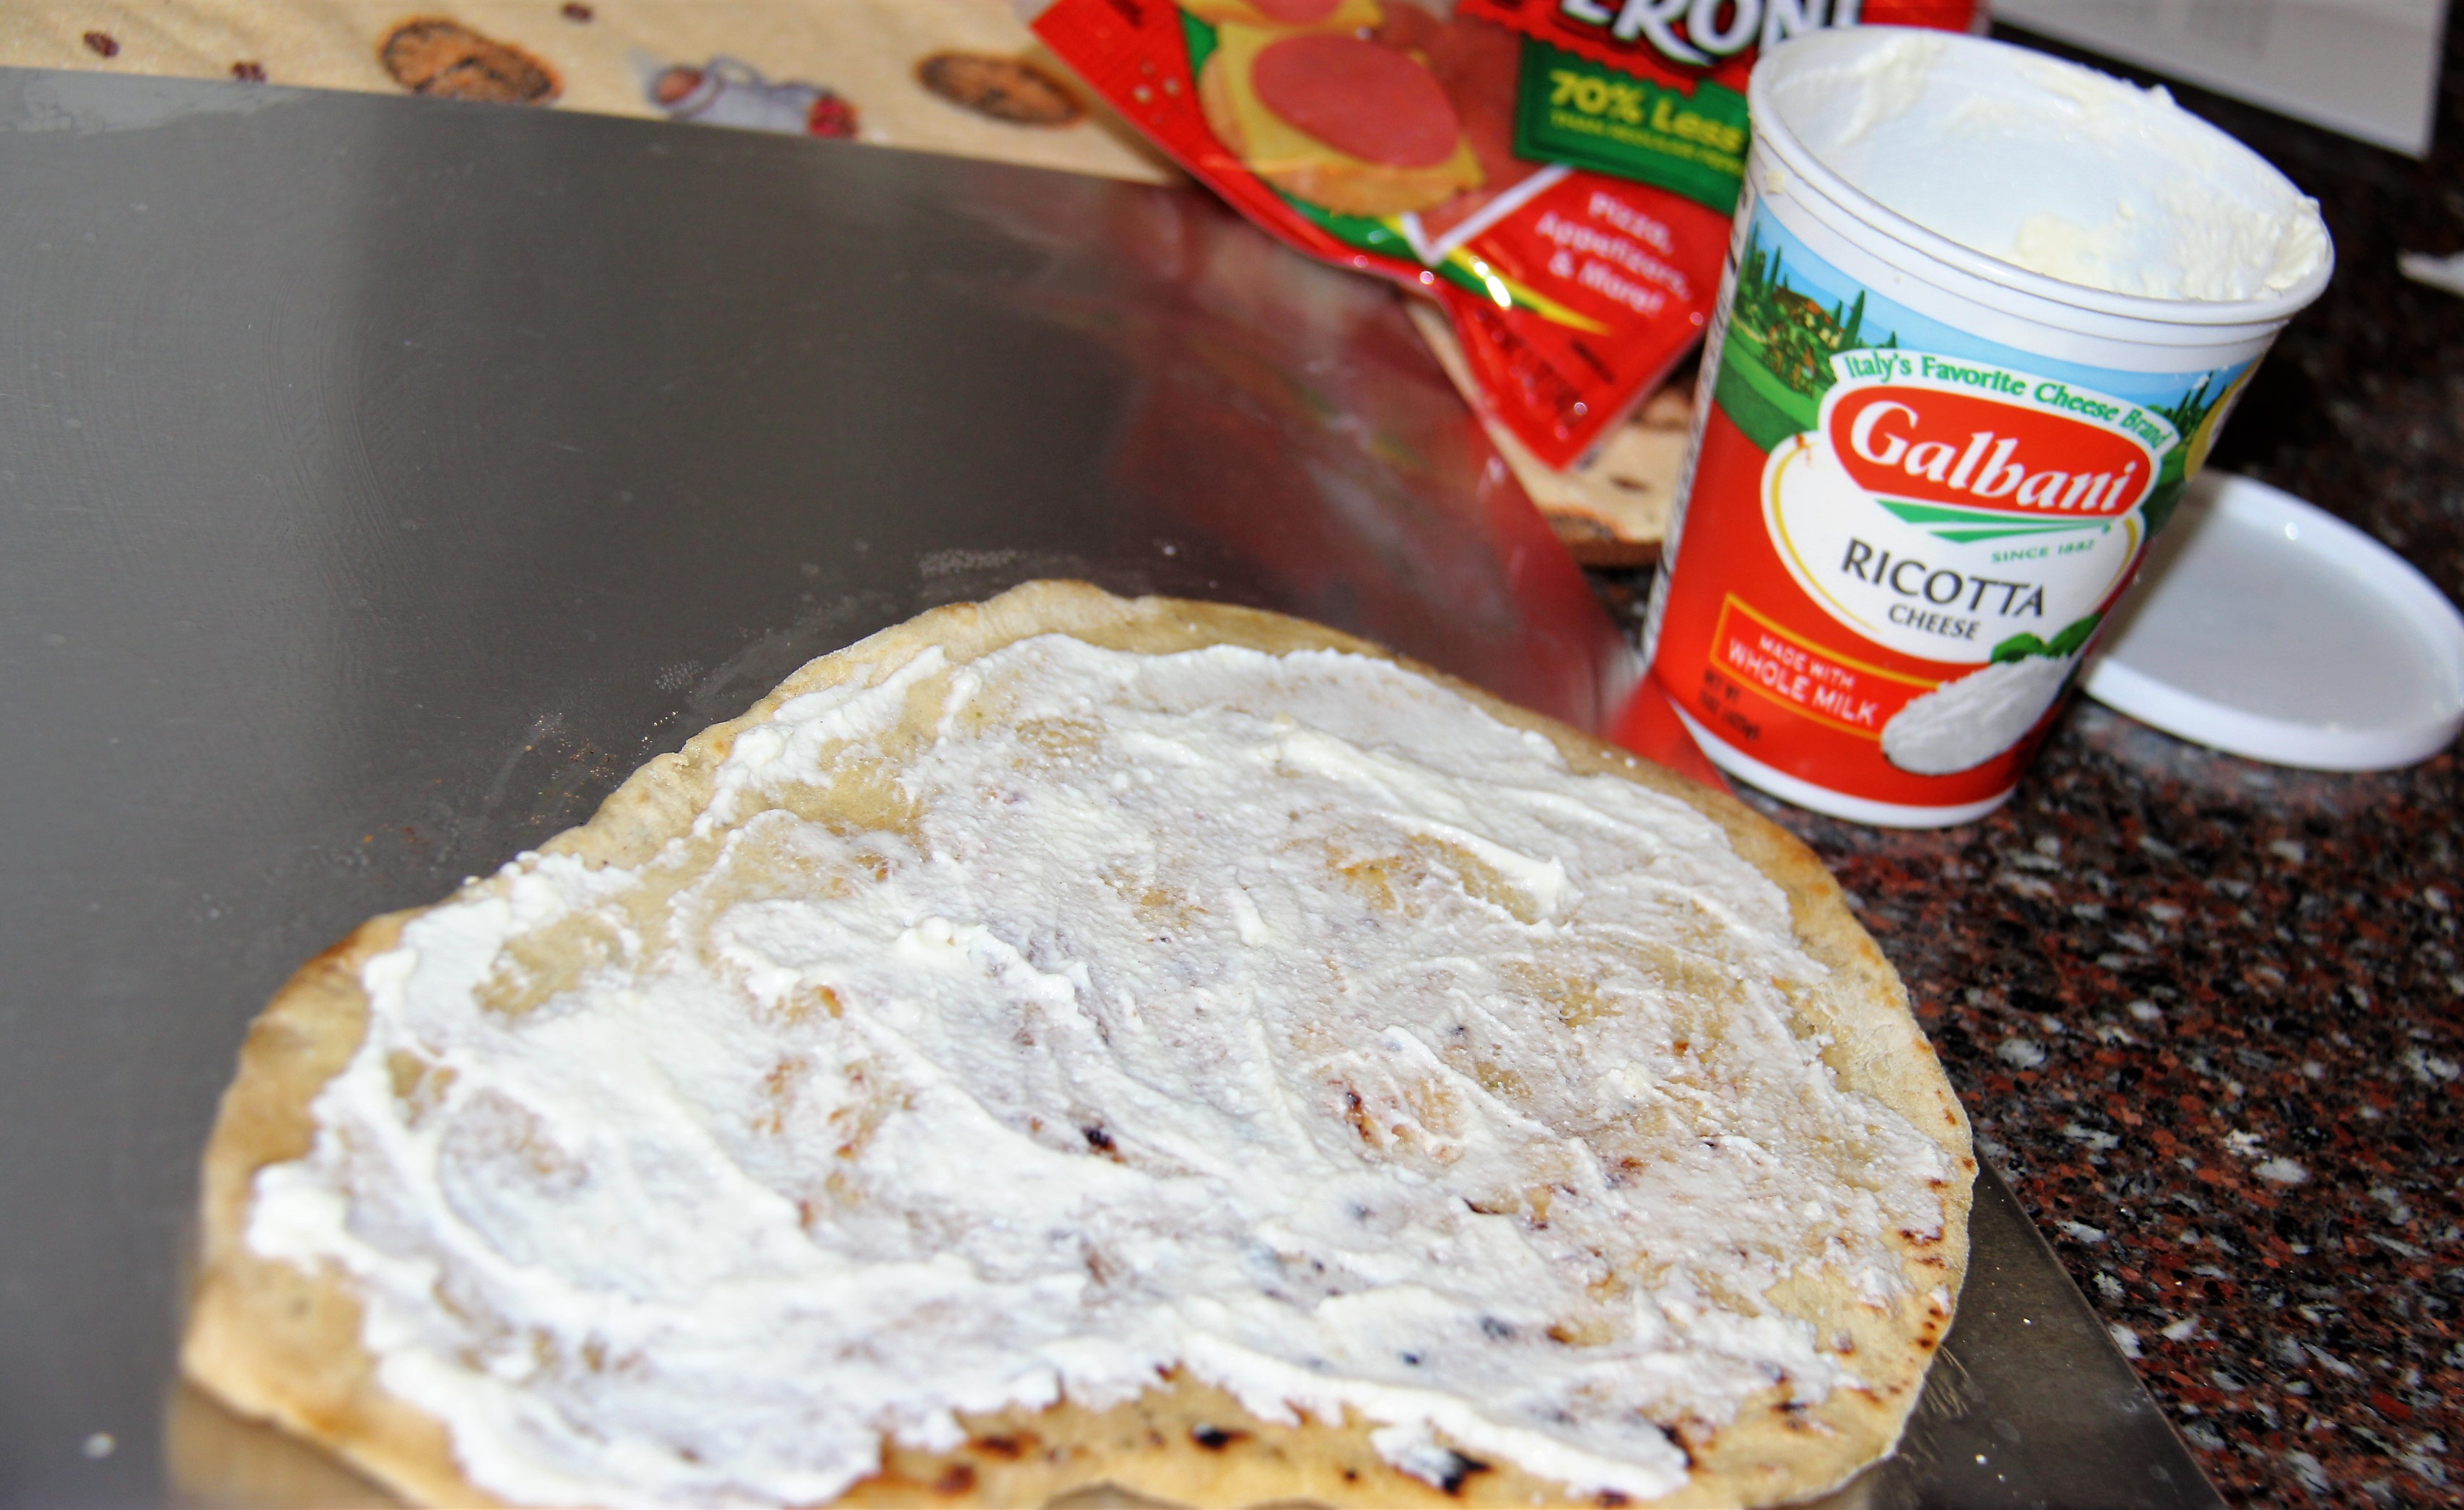
While the next flatbread cooks, apply toppings to the finished flatbreads.
Cook in the oven for 15 minutes, then broil on high for 2-3 minutes.
This pizza has required a lot of thinking. What gives a
pizza the name? Does a pizza have to have cheese? Is it a pizza if you cannot
pick it up and eat it with your hands? And what about lasagna – does lasagna
pizza require lasagna noodles?
First thing I did was call my mom. Lasagna is my favorite
food of all time and we only have it for my birthday and Christmas, and that is
it. It is a special calorie-packed dish that takes some time to make. I love my
grandma’s secret recipe for lasagna so much. I would never bother trying anyone
else’s layered noodle dish because it can’t get anymore more perfect than this.
I wouldn’t even take the chance. If you don’t like lasagna, then you need to
keep trying different recipes because you most likely just had one with the
wrong ingredients.
After determining a plan with my mom, then modifying it and
rethinking the process, I searched the web for ideas and to see if this has
been done. If you find a recipe for what I am about to explain below, please
share it with me! I could not find (in my 20-minute search) exactly what I am
trying to accomplish.
The 5 Goals for Pizza #5:
Keeping in mind it is PIZZA month, the priority here is pizza. This dish needs to be true to the definition.
Our dear friends at Merriam-Webster claim “Pizza [is] a dish made typically of flattened bread dough spread with a savory mixture usually including tomatoes and cheese and often other toppings and baked. — called also pizza pie.”
The rest of the definitions are basically the same, all involving some kind of bread and something savory.
The last few pizzas we made have been rectangular. Let’s go back to the classic round shape for this one.
Personally, I think a pizza needs to at least give the option of picking it up and eating it with your hands. This might be a challenge with the layers, but we will give it a go.
The taste needs to reflect lasagna (casserole) and make the consumer think of lasagna.
There needs to be layers. We are trying to get 3, but require at least 2.
Plan of attack:
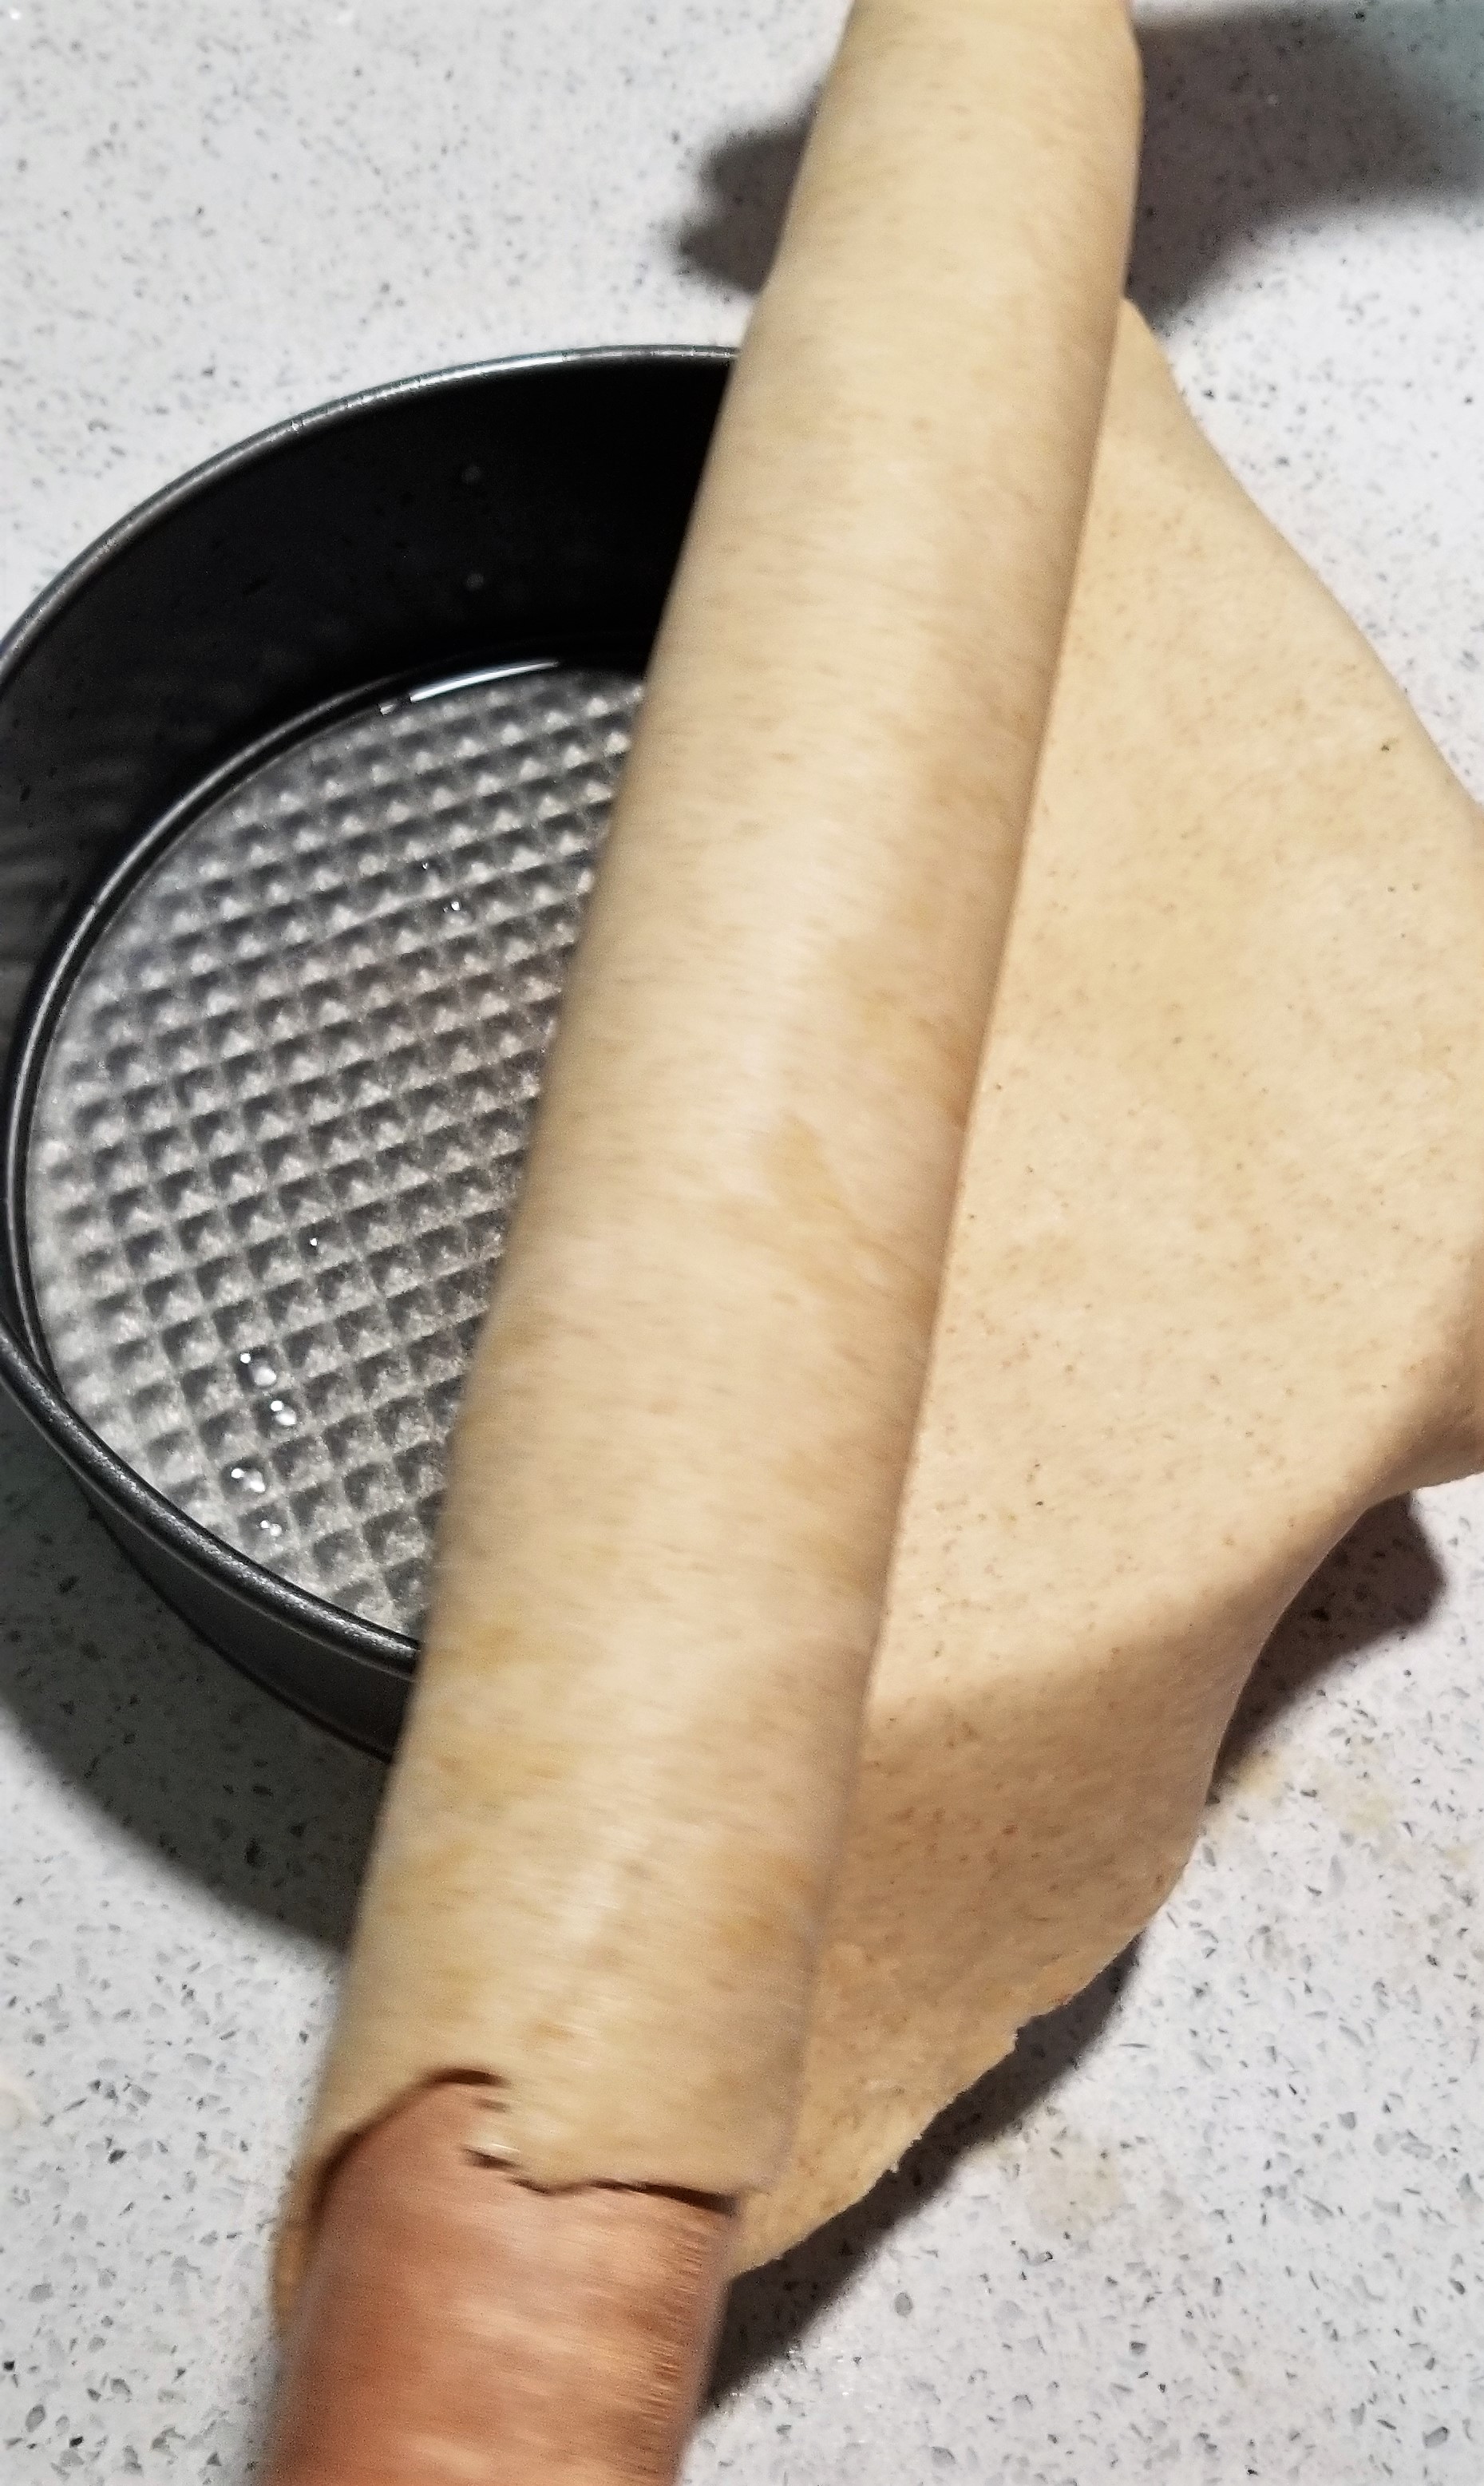
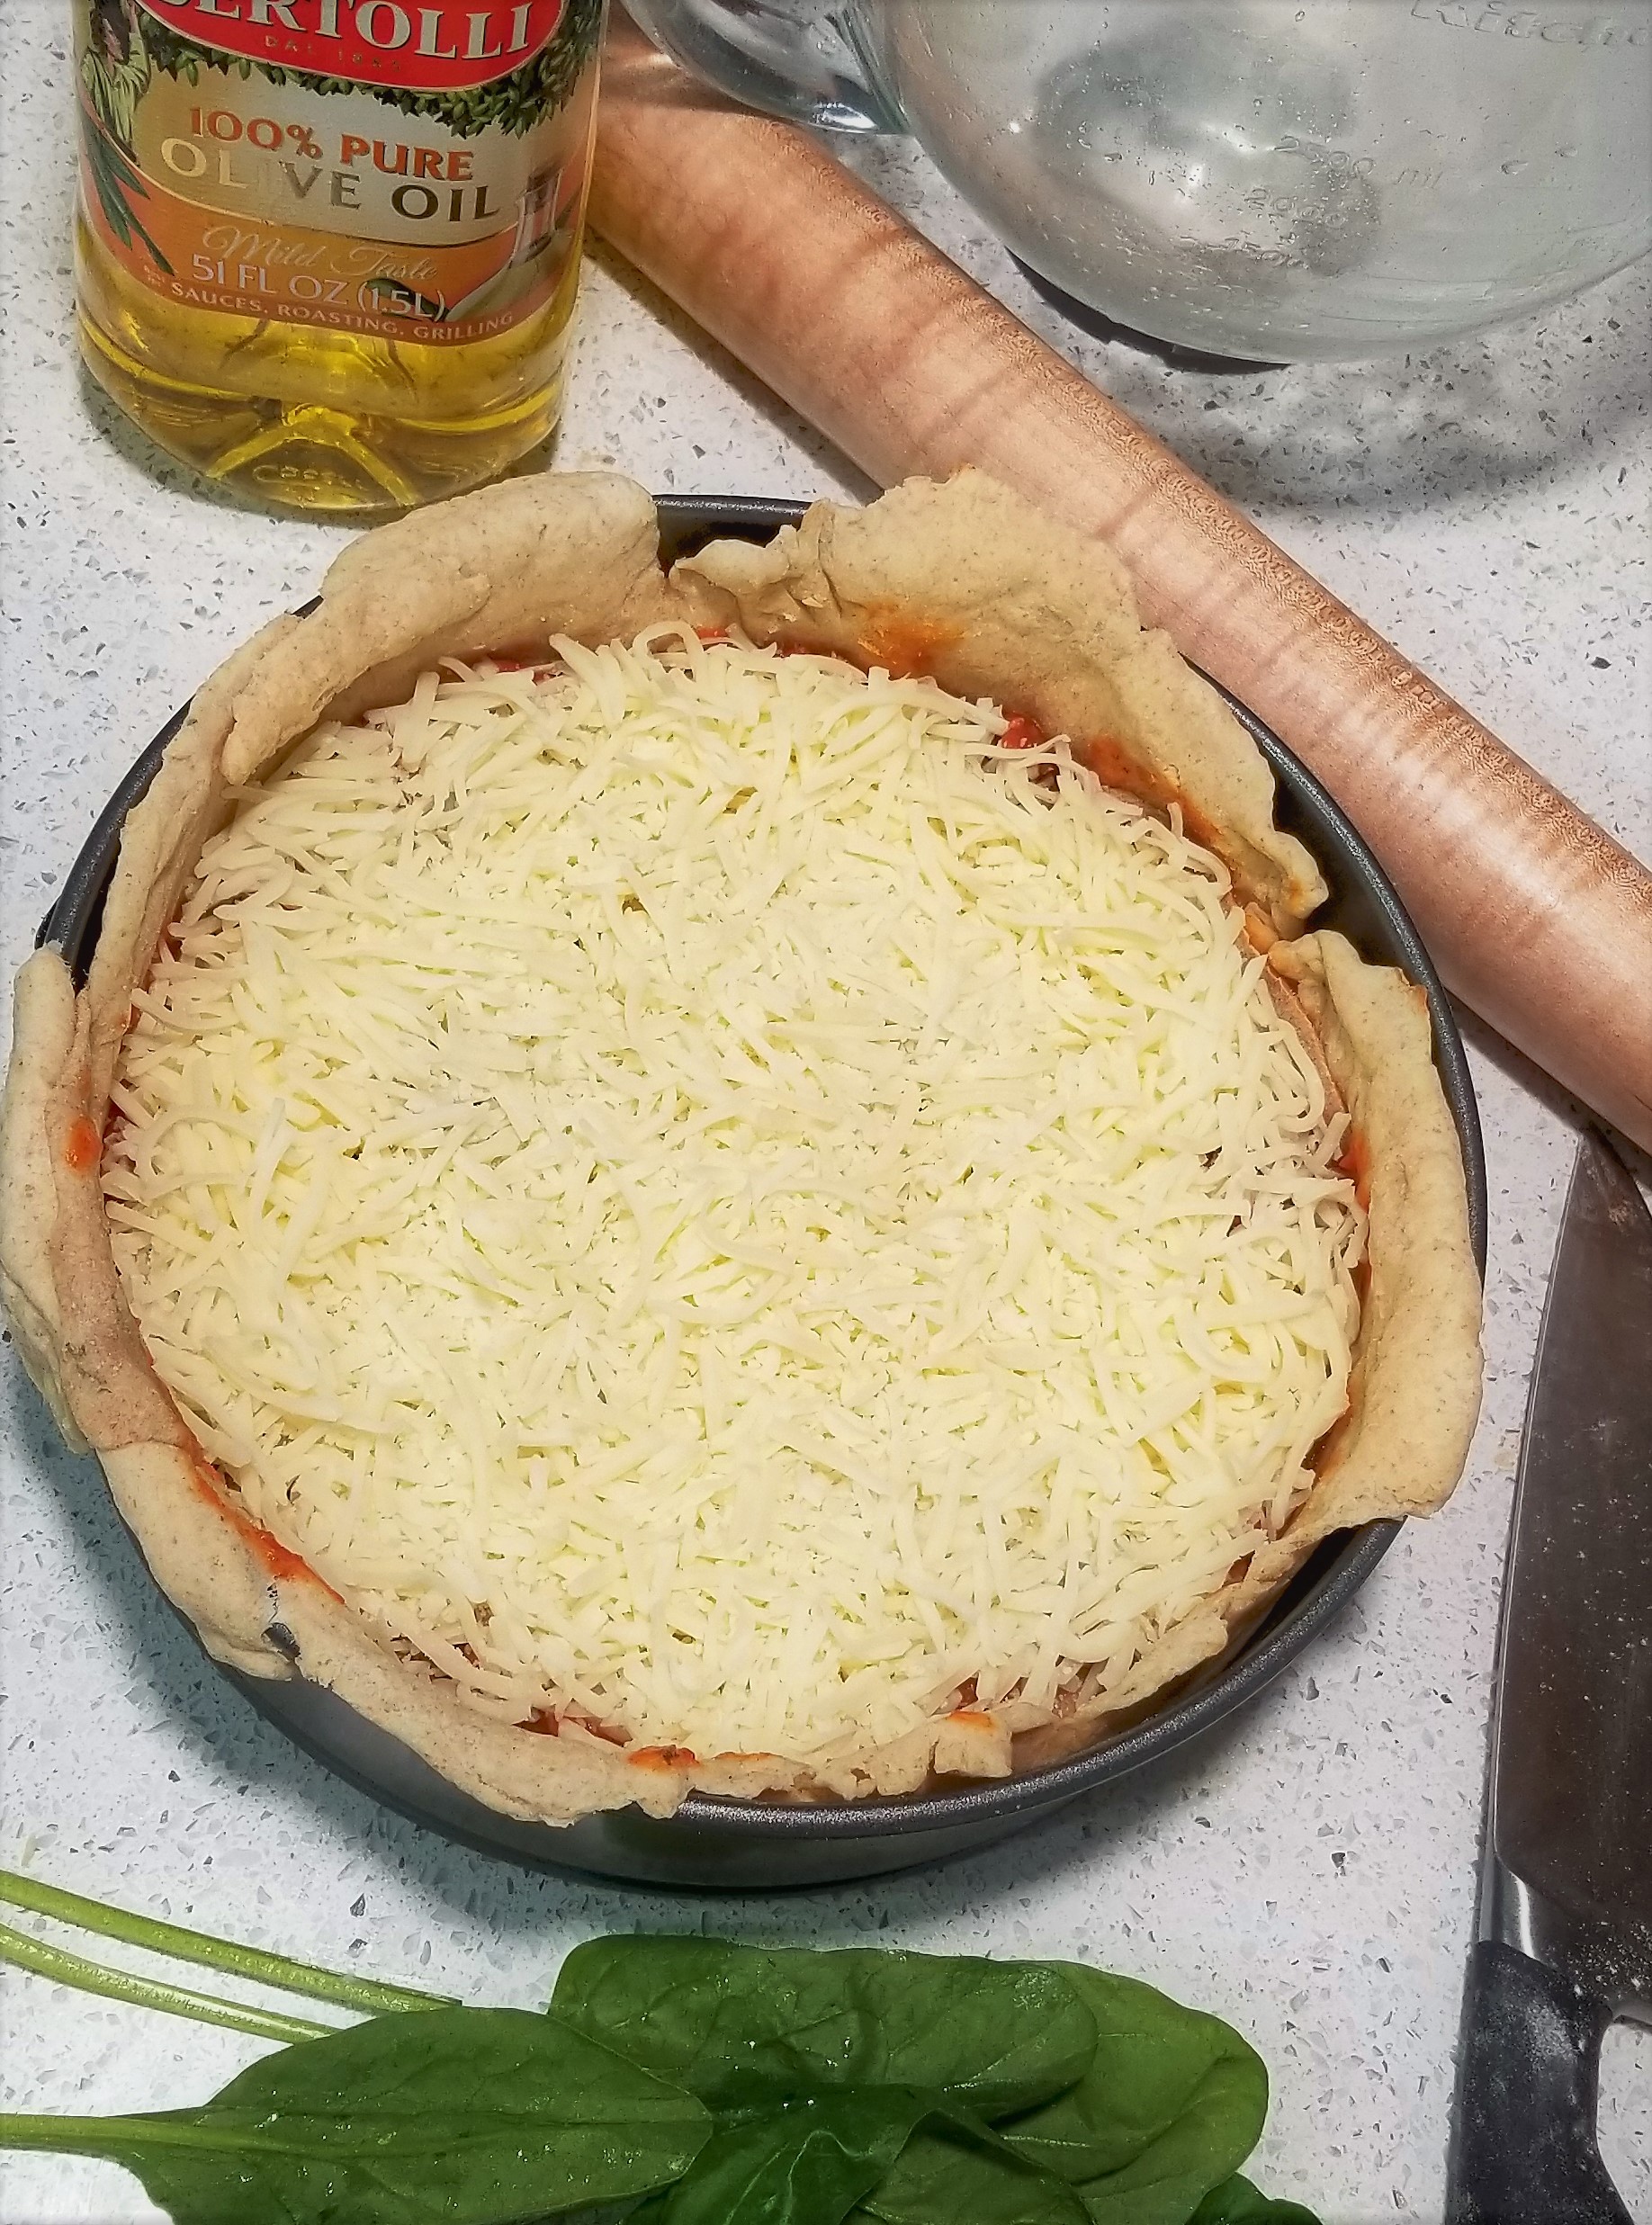
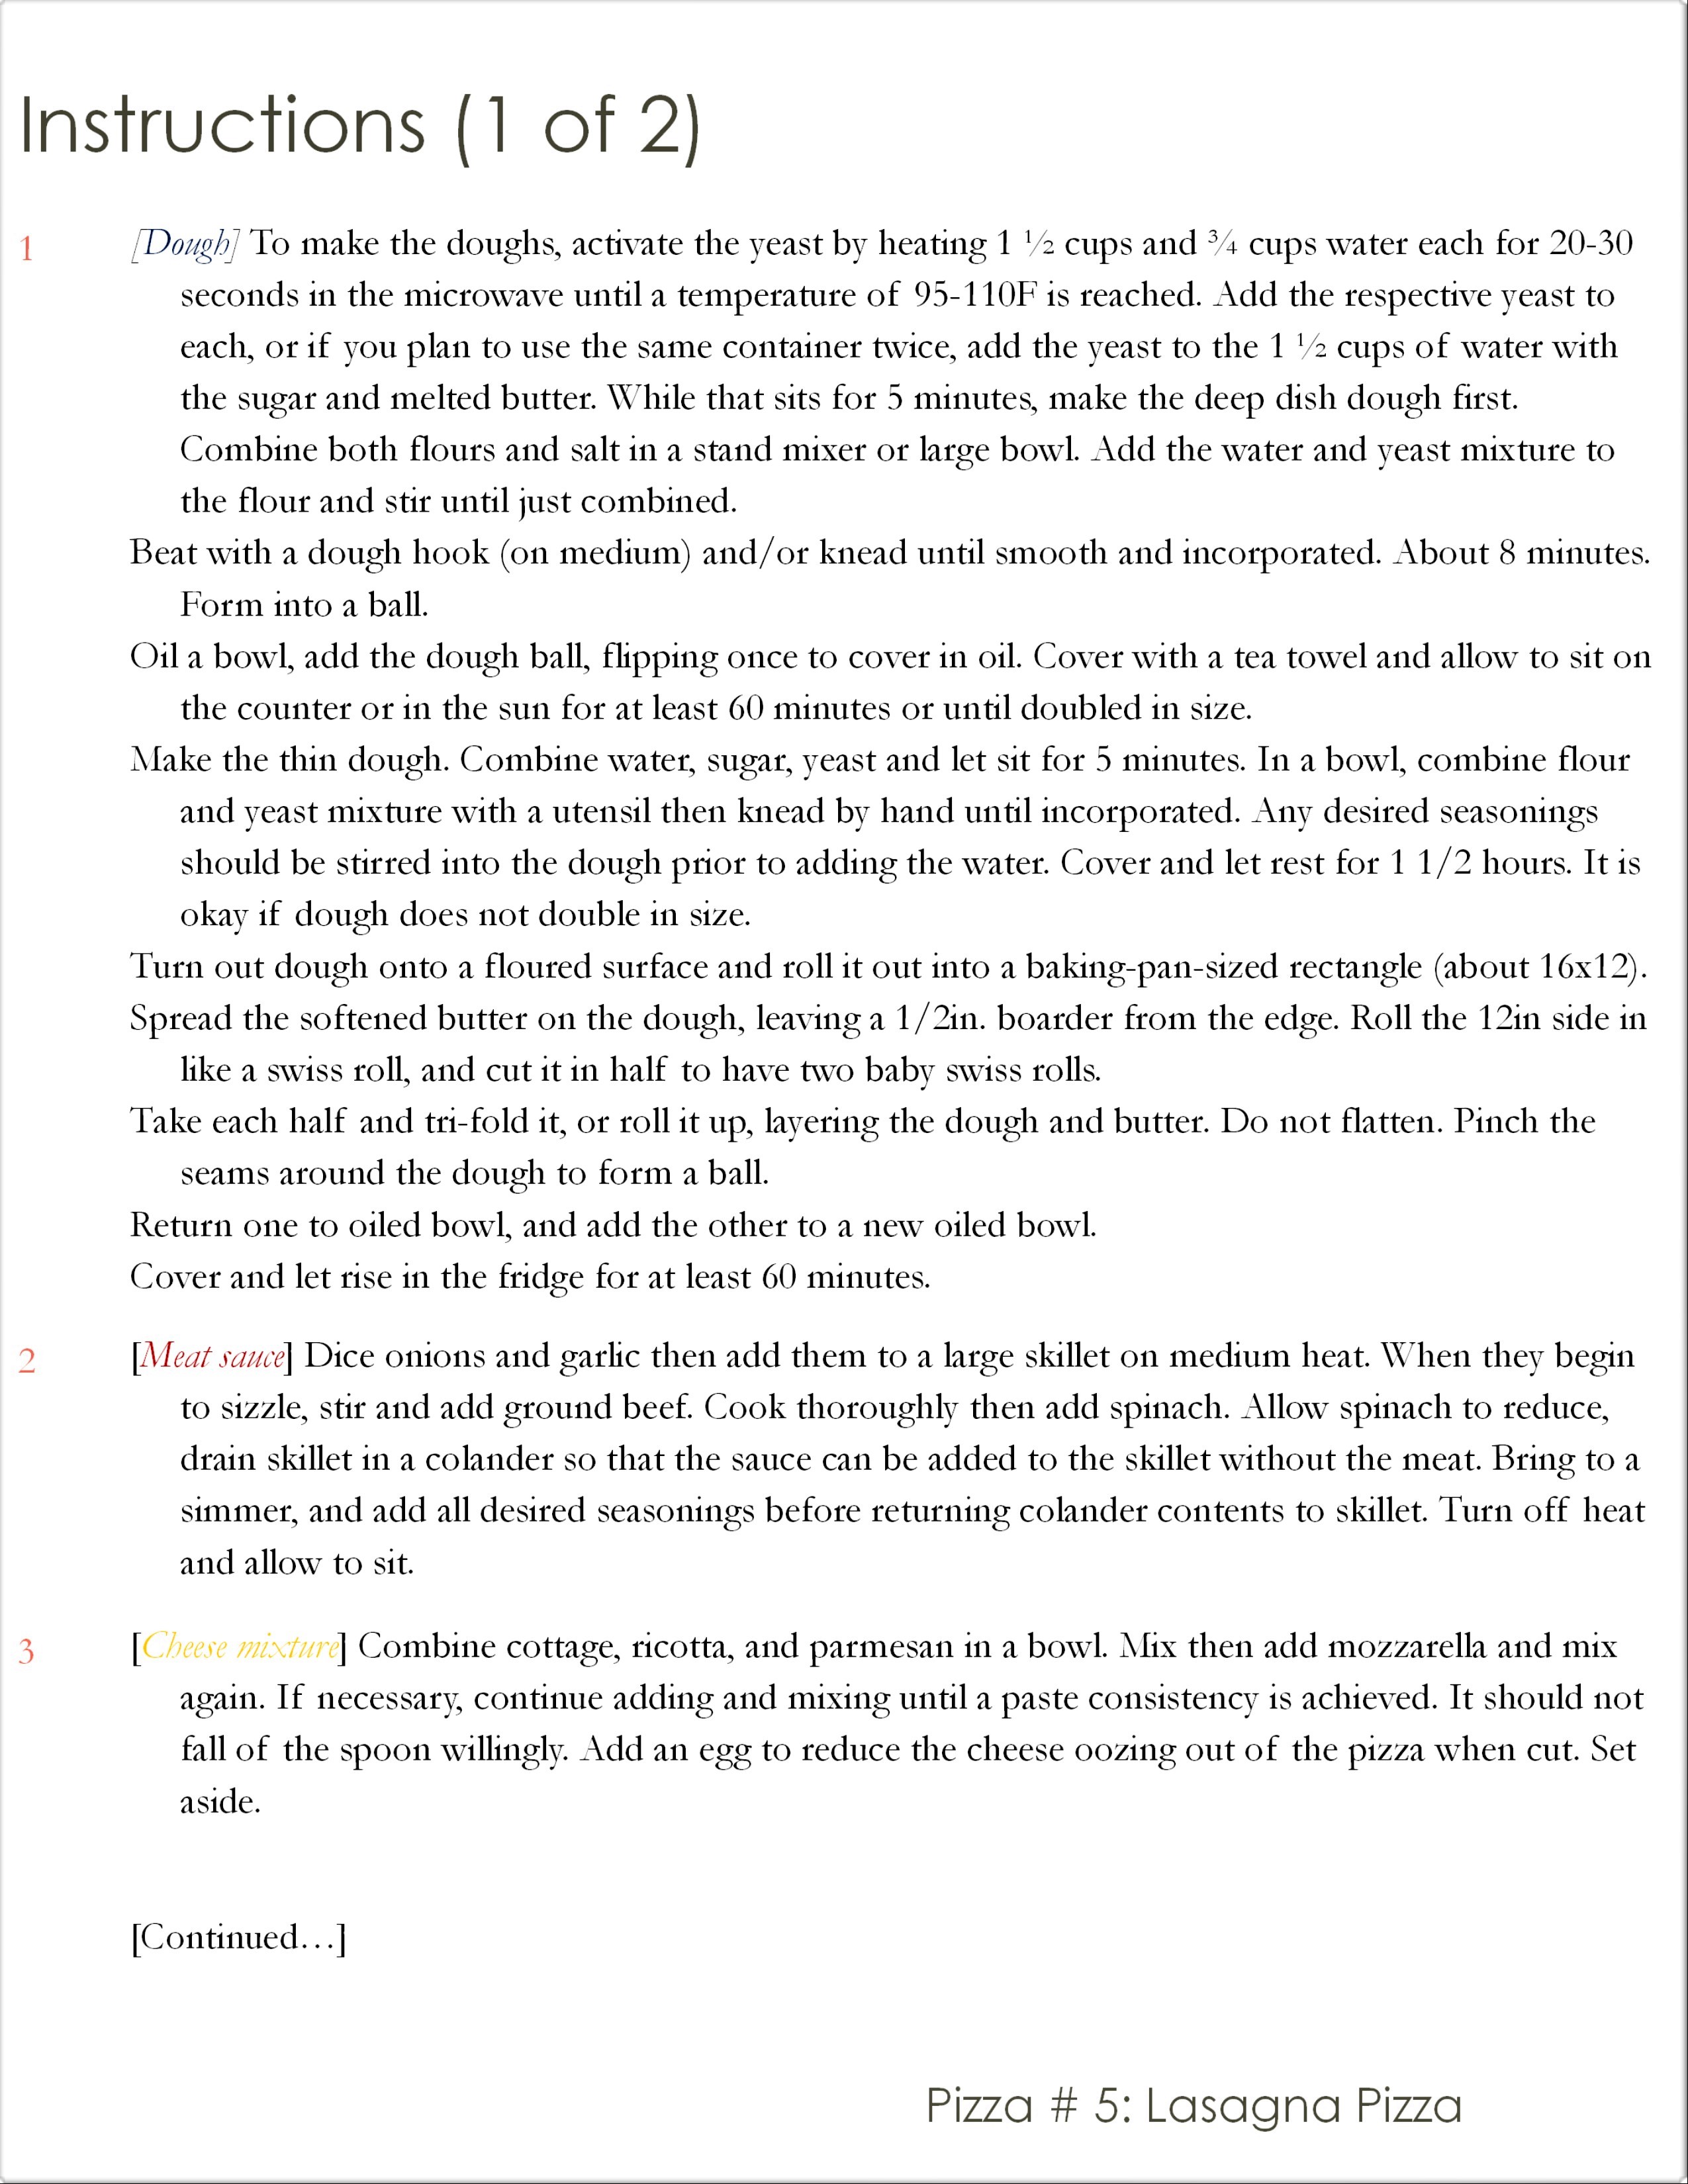
My initial thought is to make 2 pies. I have 2 spring form
tins that I will form the dough in, then in PieN I will layer
noodles, and in PieD I will layer more dough. The challenge with PieD
will be to get the lasagna senses tingling without the noodles.
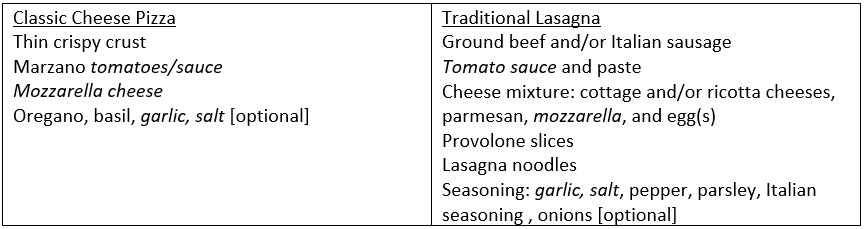
Let’s take a traditional lasagna recipe and compare it to a classic cheese pizza. After perusing several food blogs and recipes and learning a great deal what people think a pizza and lasagna require, this is the takeaway:
There are a couple of ingredients we see on both lists: tomato sauce, mozzarella, garlic and salt. Of course everyone feels differently, if not passionately about what a pizza or a lasagna should entail. Generally, most of the recipes I saw repeated these essential ingredients.
My initial thoughts lead me to question if a thin crust
could hold up to layers of pizza on top. It is unlikely. We will have to save
the thin crust for the middle layers of PieD. In which case we need
two different dough recipes. For these monthly food challenge recipes, I am
intentionally using simple ingredients without too much spice or flavor so that
they incorporate well, nothing overpowers the taste of anything else, and each
element is well balanced and given the respect it deserves. Considering that, I
will opt for beef over sausage. The closest I found in my internet search, was
a blog called The
Food in my Beard. I will be borrowing and modifying the deep dish pizza
dough recipe he used from Macheesemo.
Reflection:
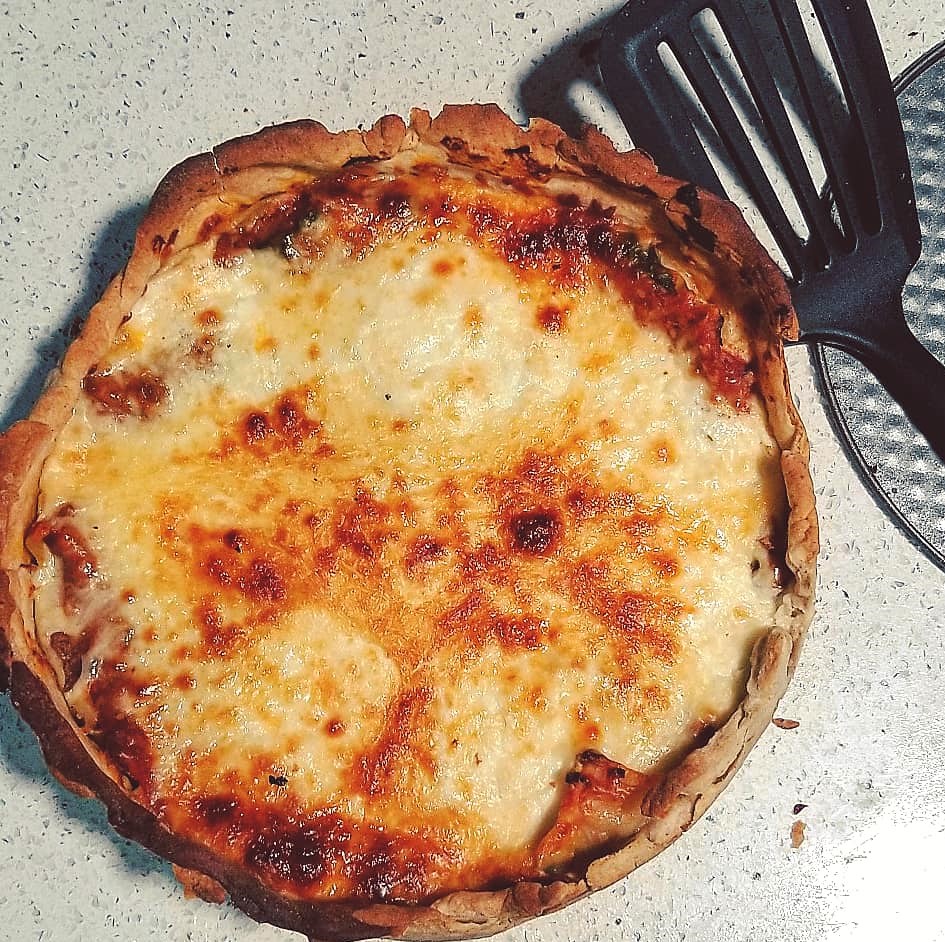
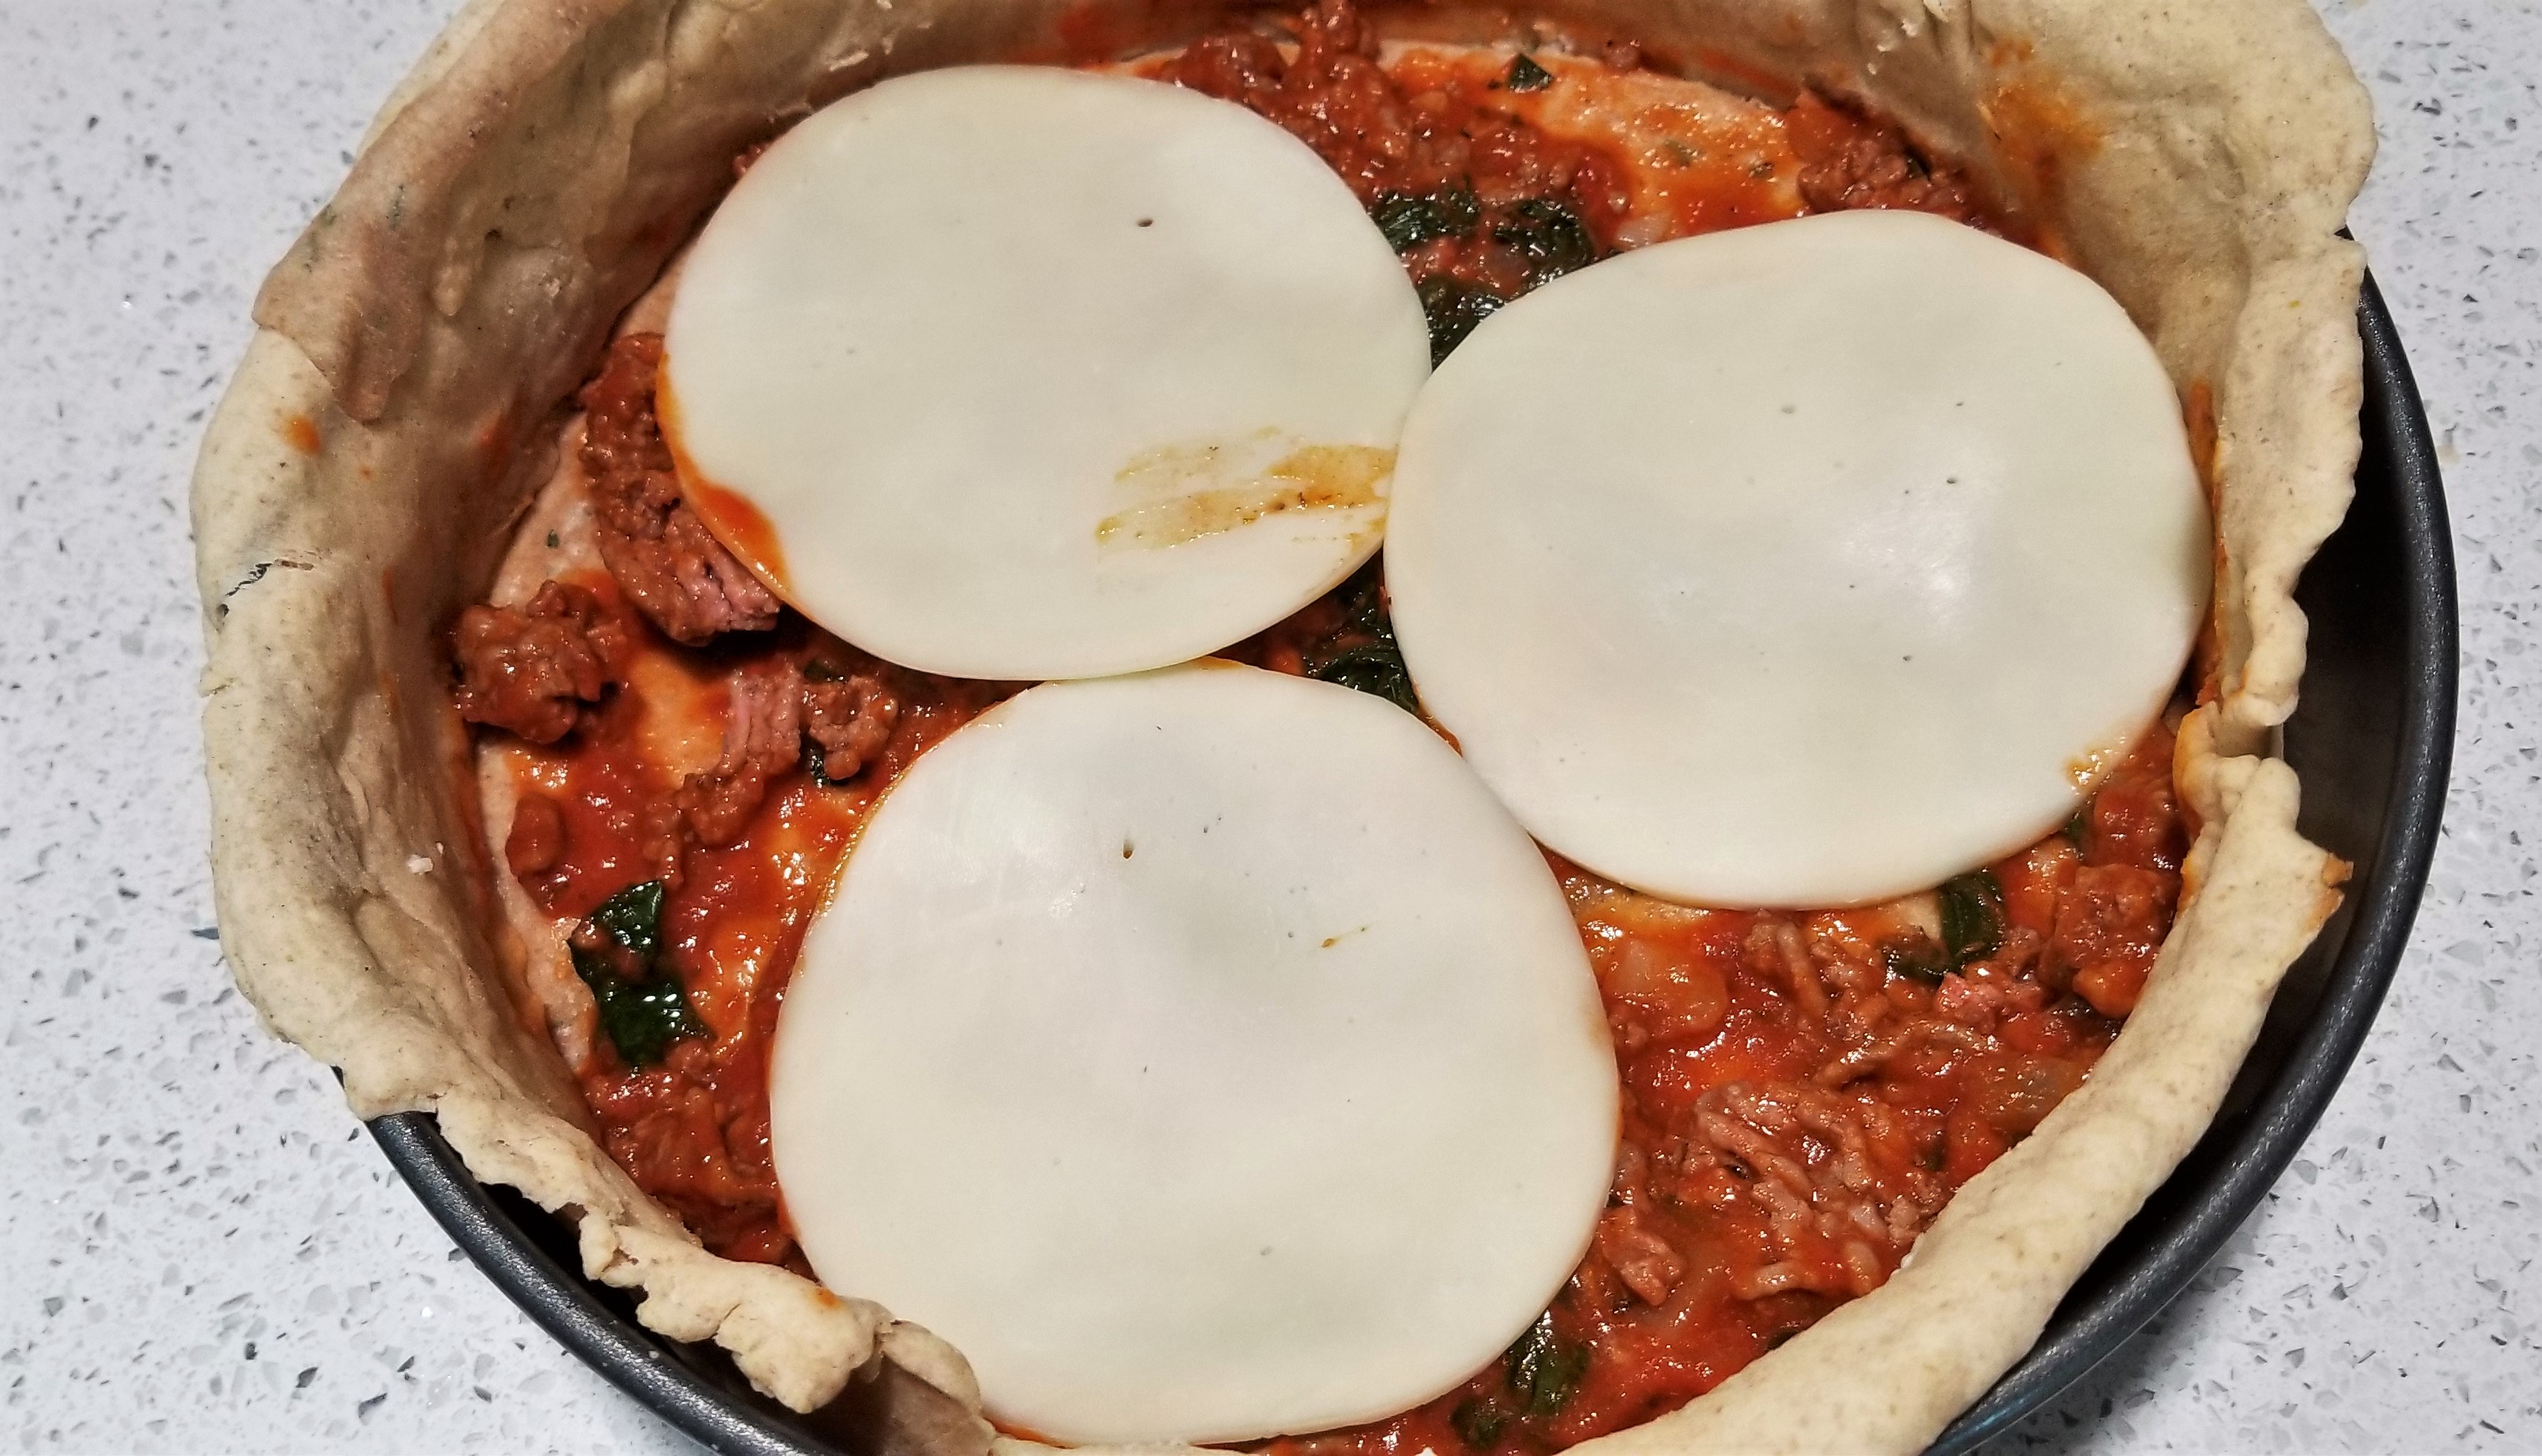
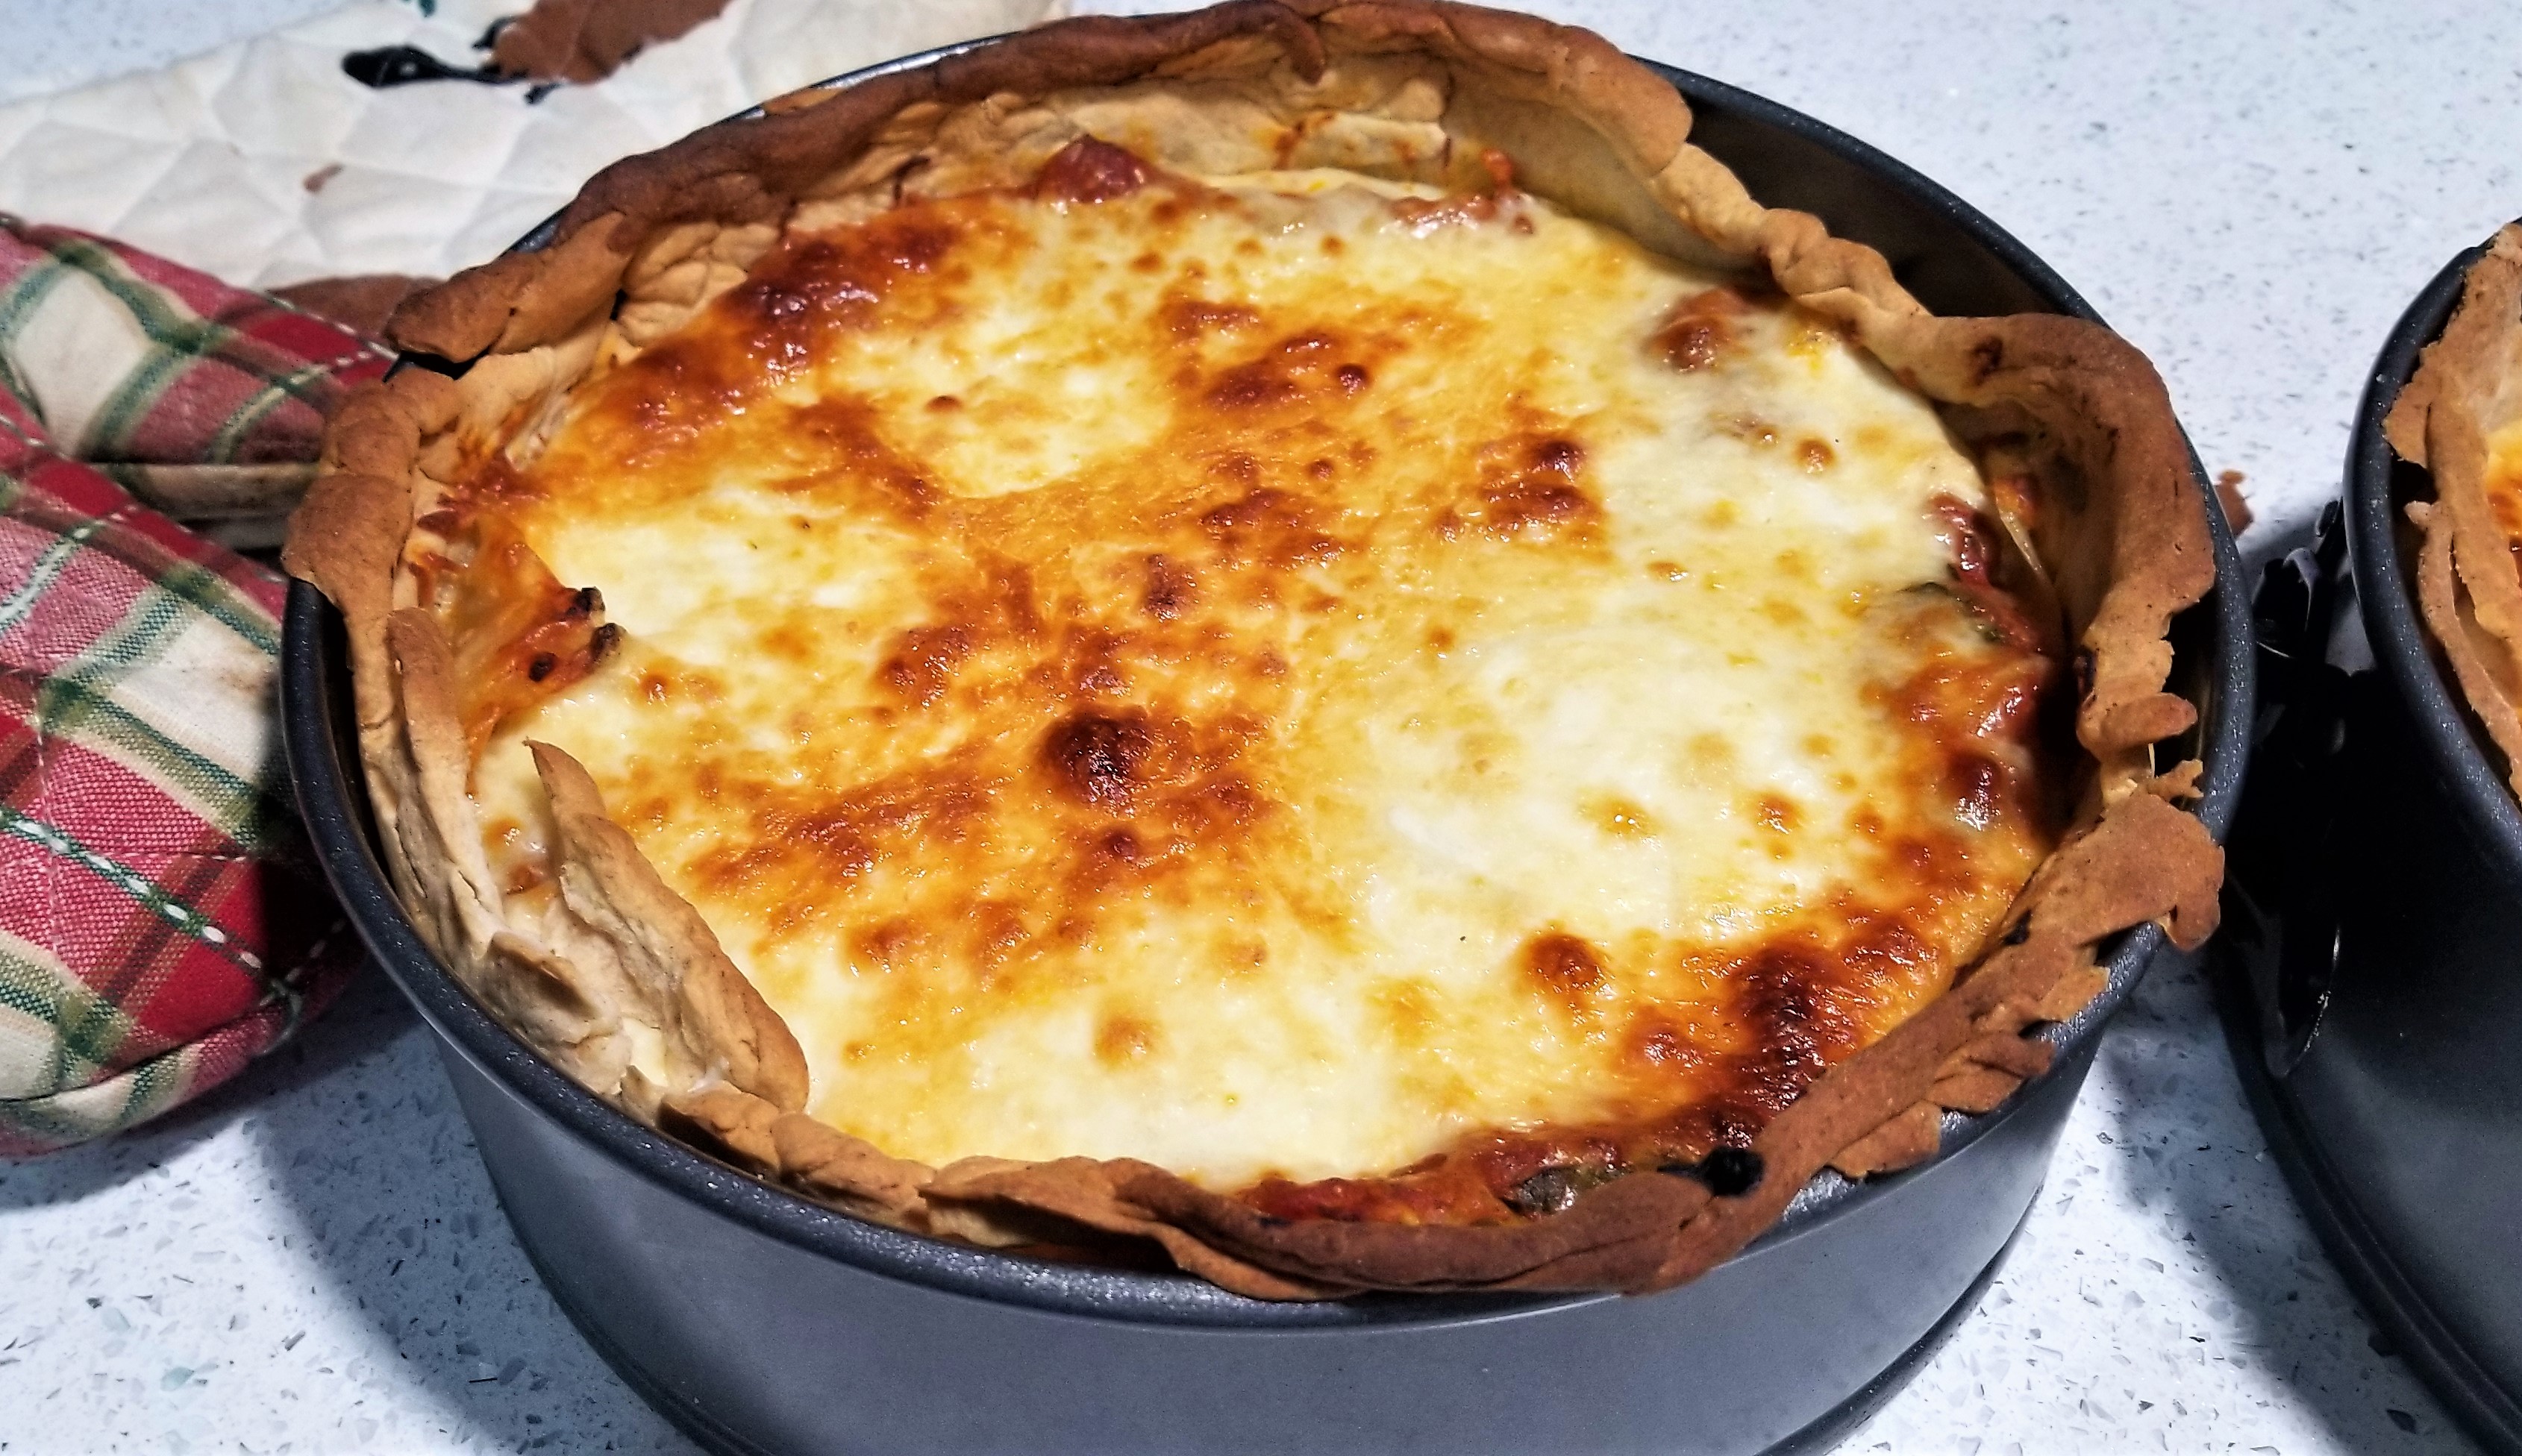
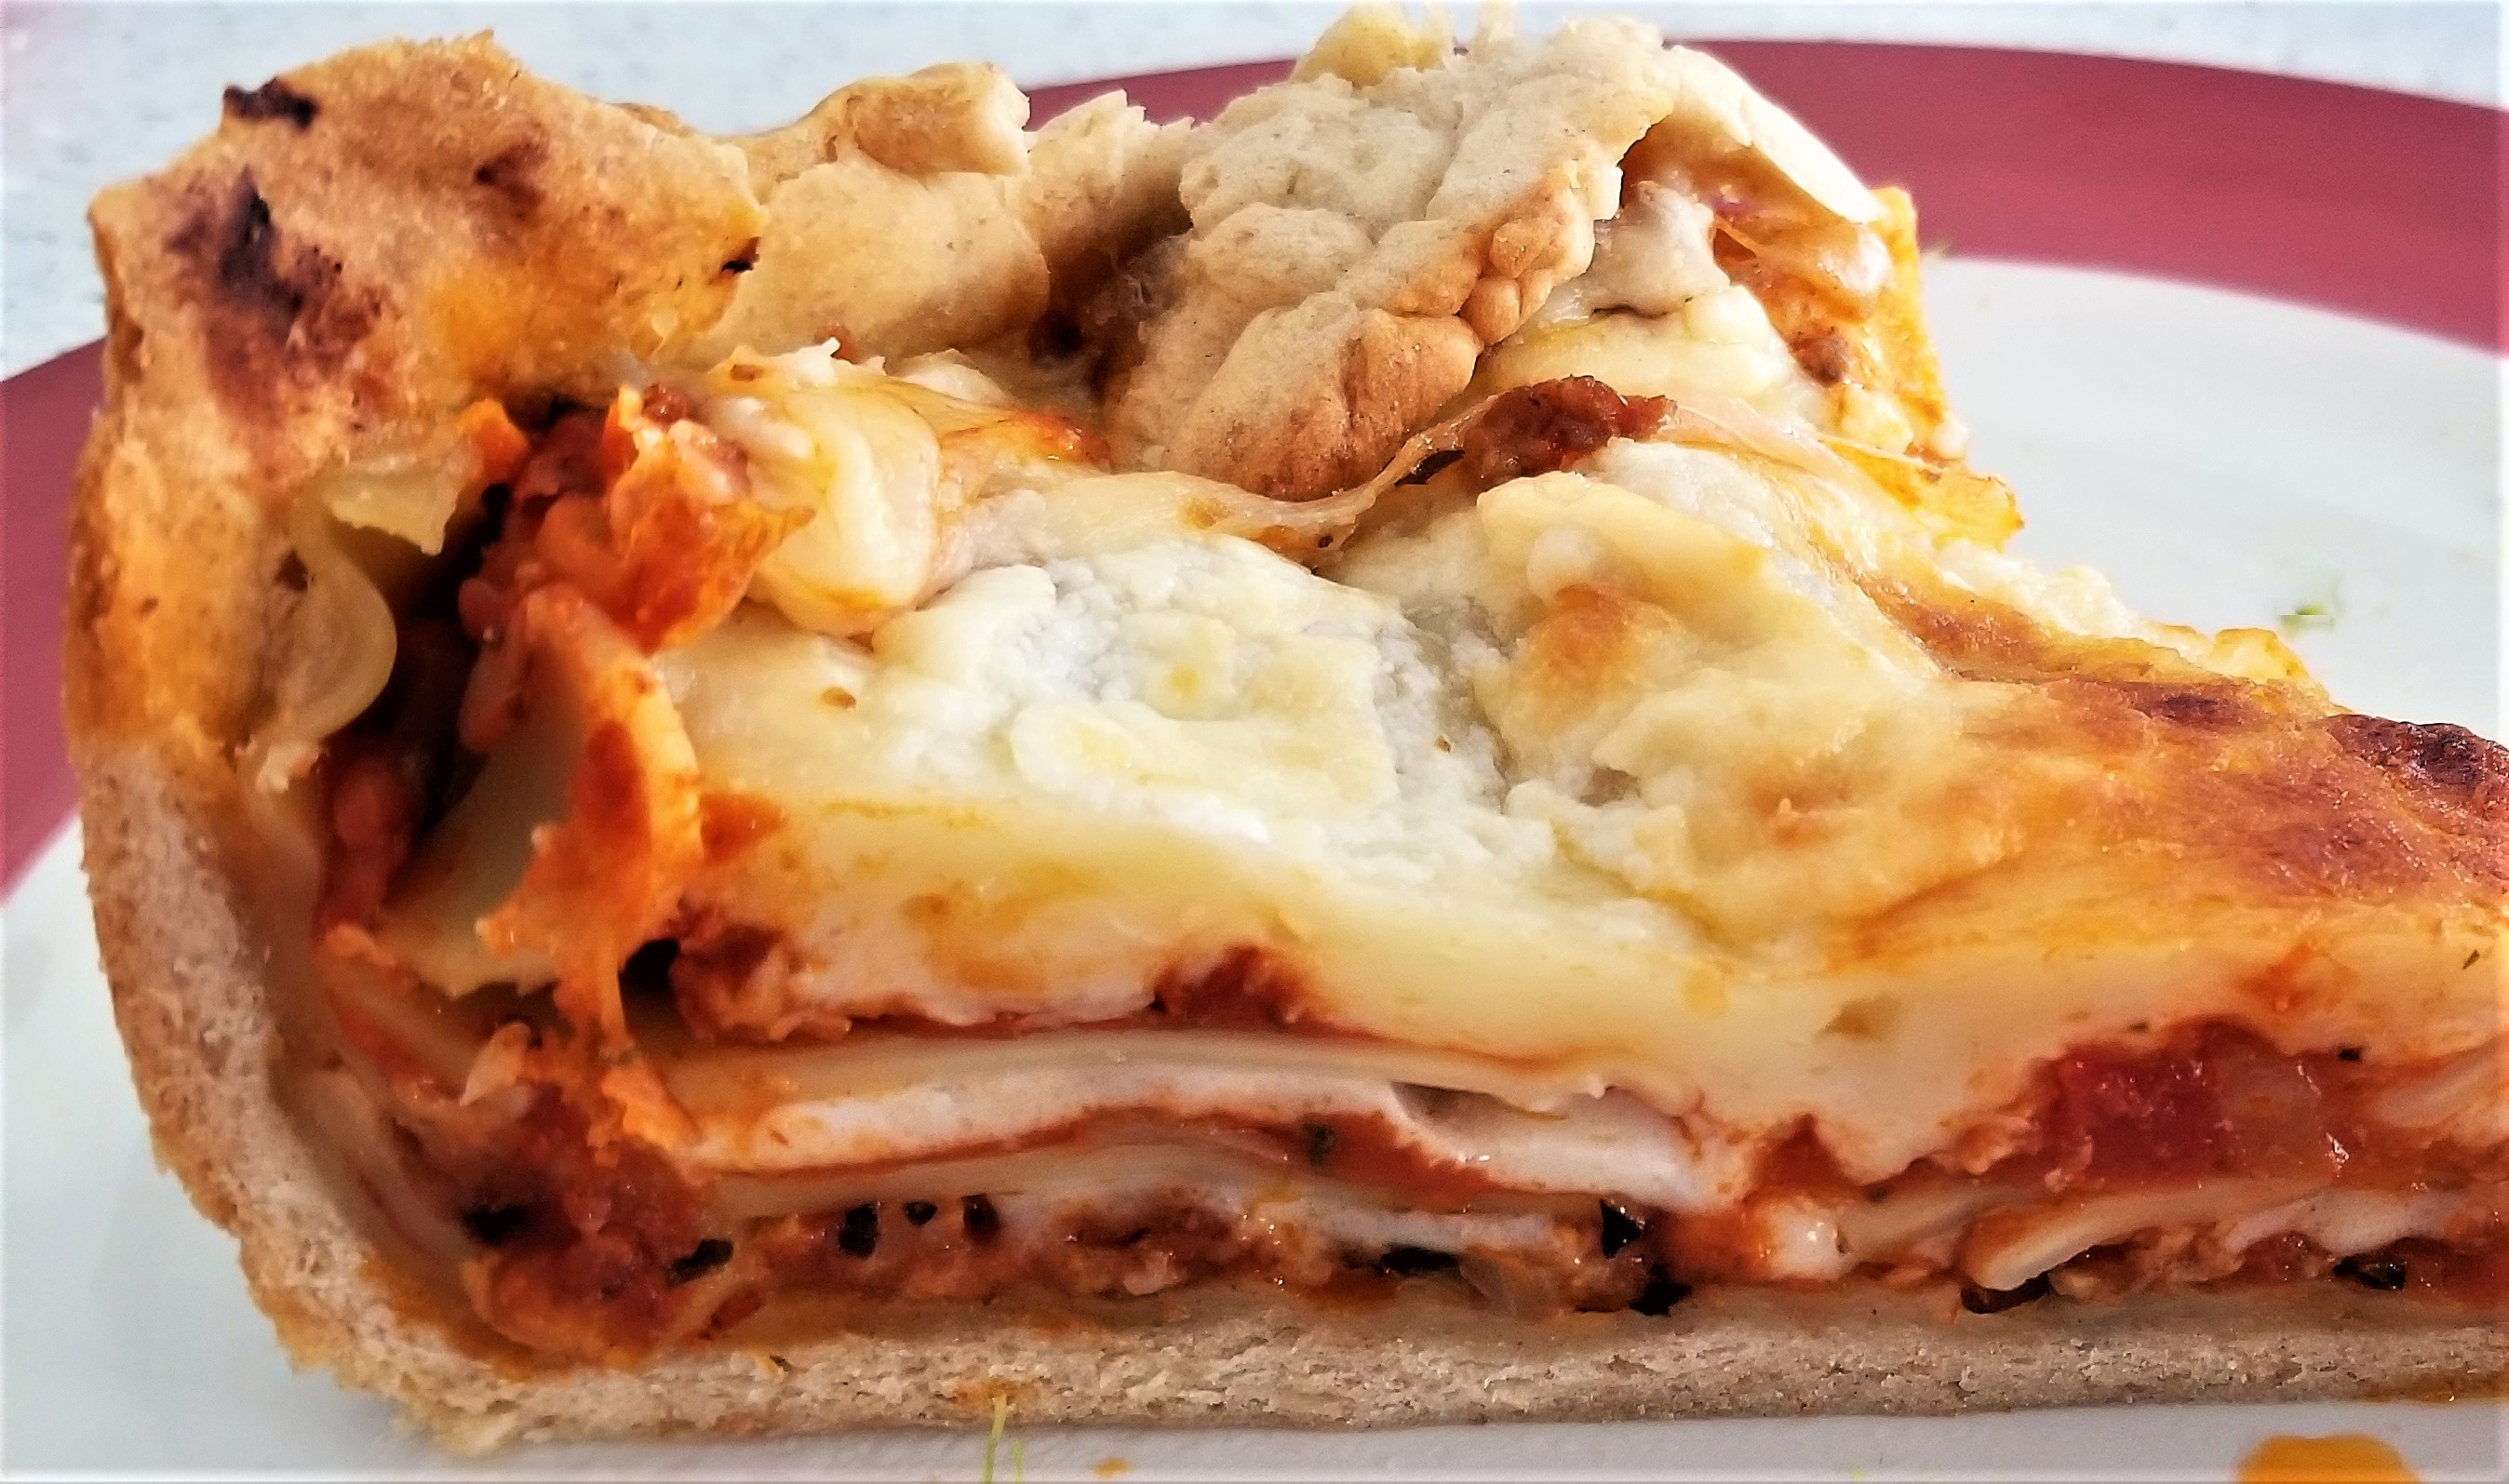
What really made PieN (‘N’ for Noodles) mimic lasagna so well was the noodles. If the crust was lower and it was cut right out of the oven, my husband said it would take a second to realize there was dough on the bottom and it was actually a pizza. The aspect that brought out the pizza sense was the traditional round pie shape, and consequently the triangular slices. The thick sauce mixture helped convince me of both pasta and pizza. When we went to eat leftovers, it reheated really well and was much easier to pick up and eat by hand.
Lasagna pizza with funky crust.
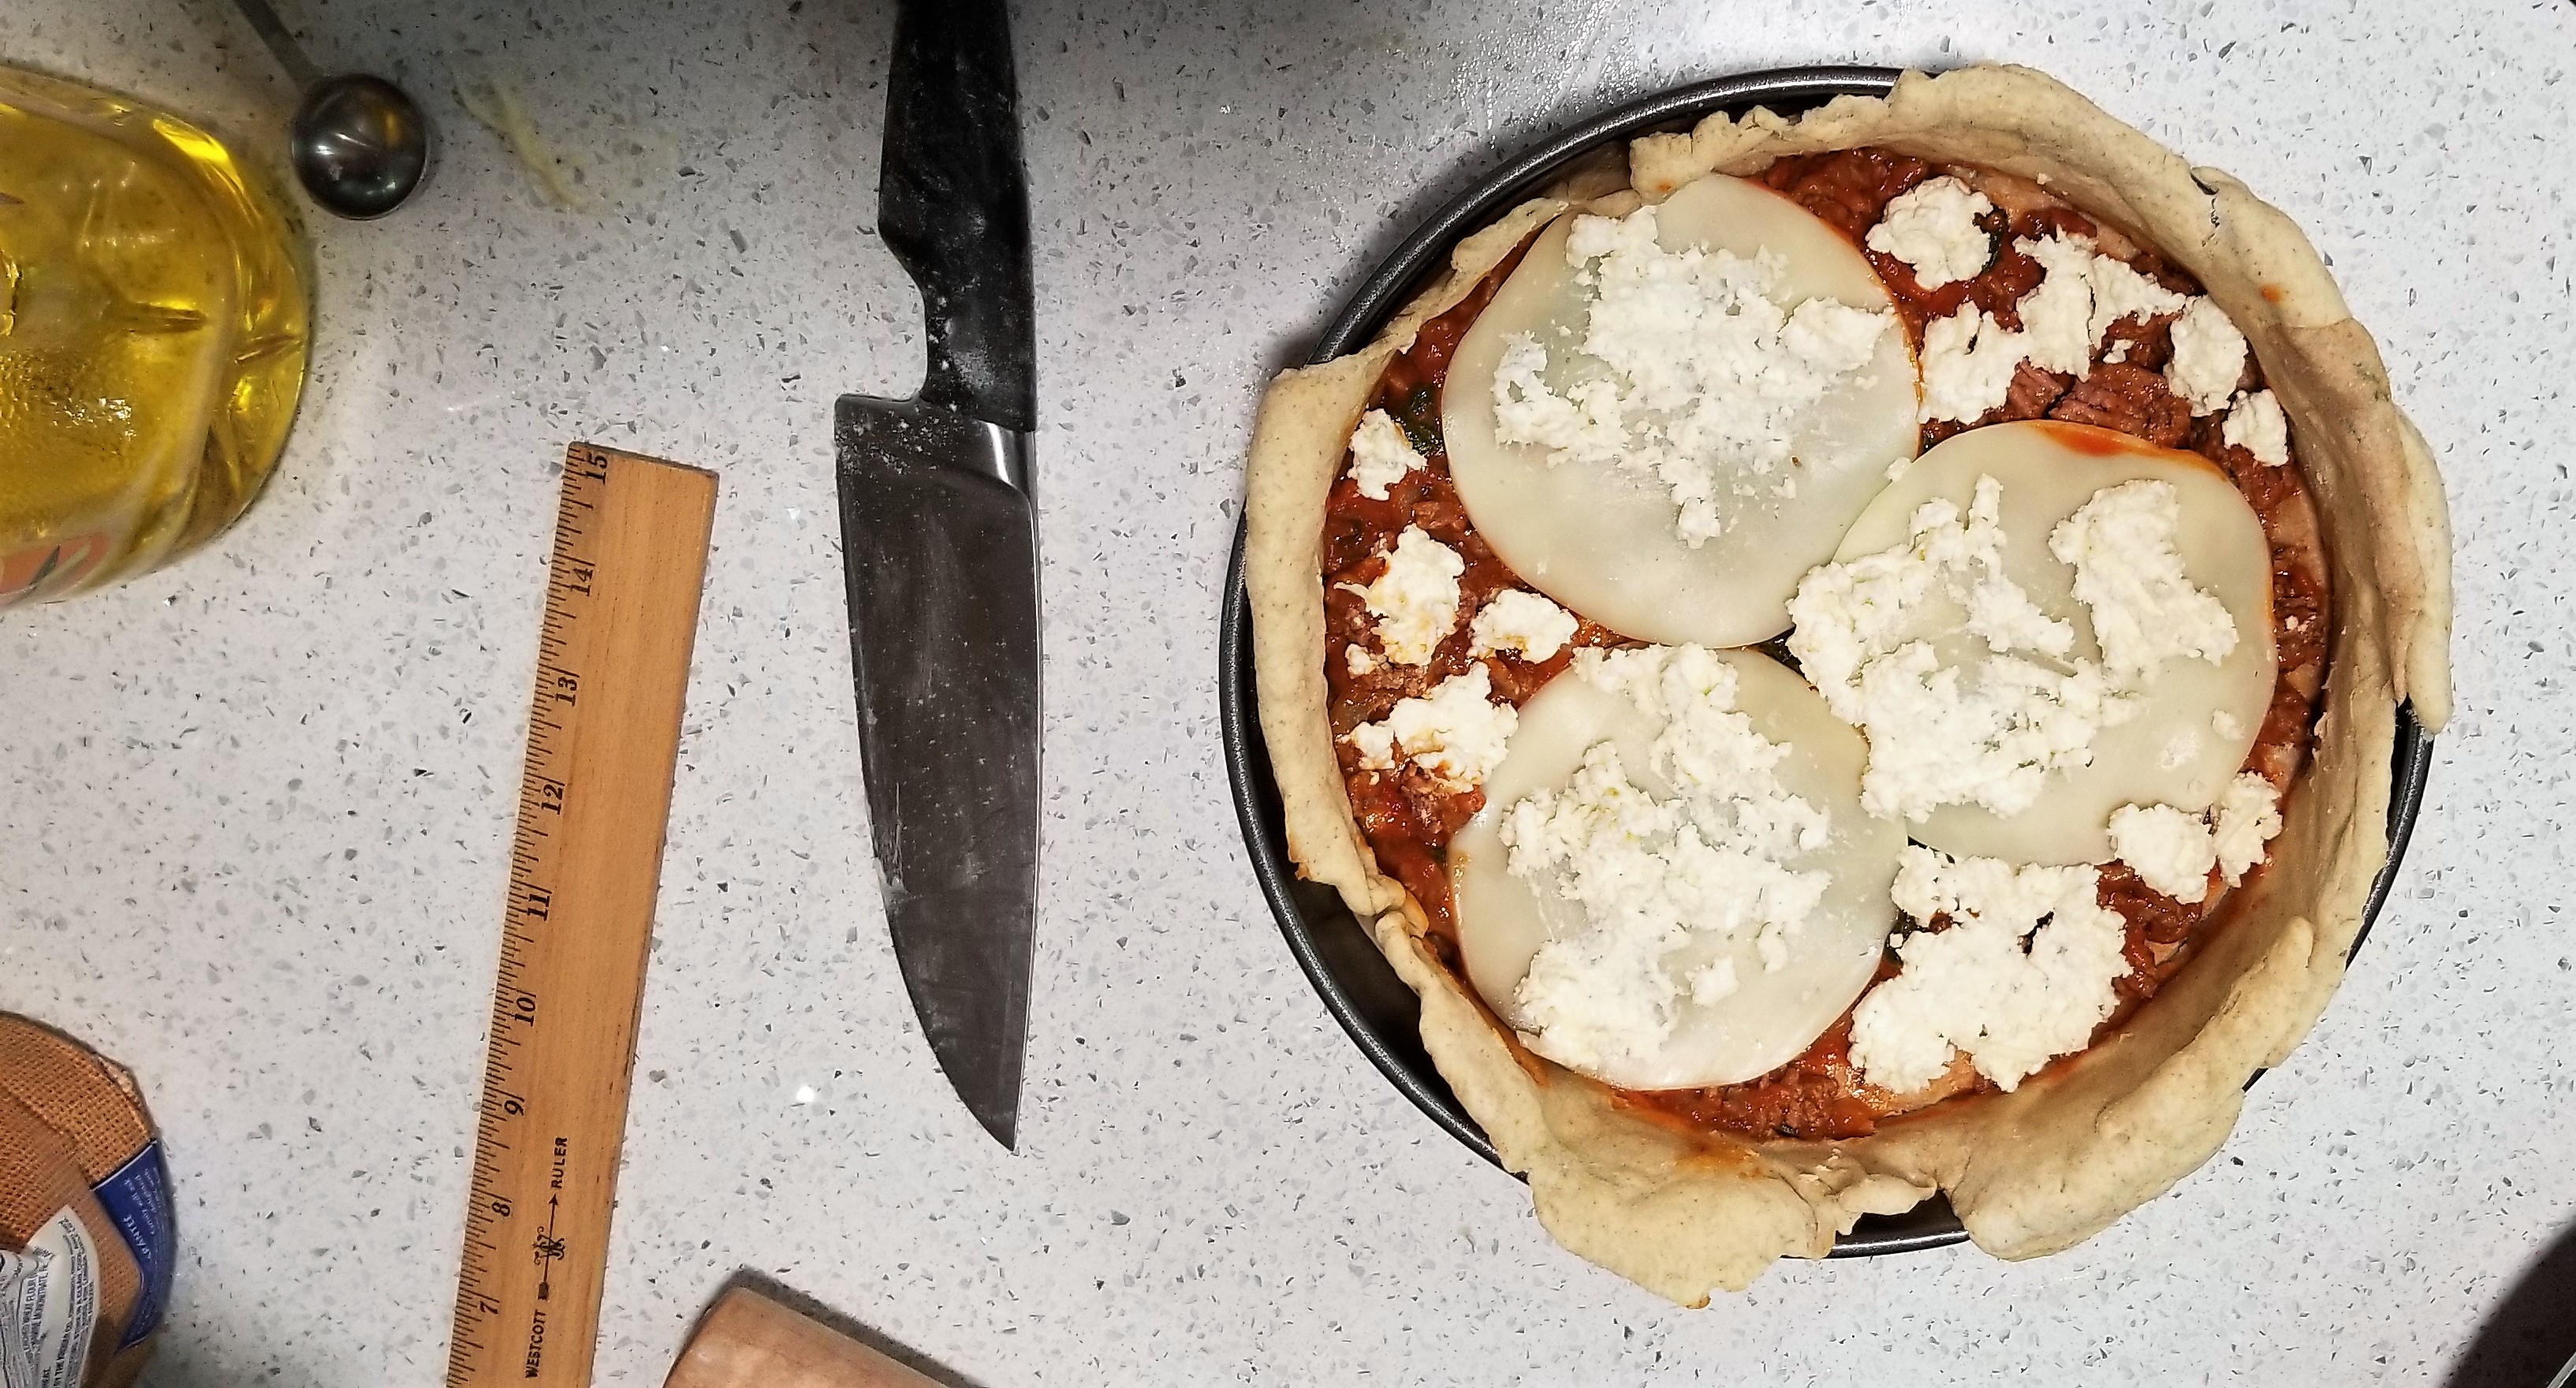
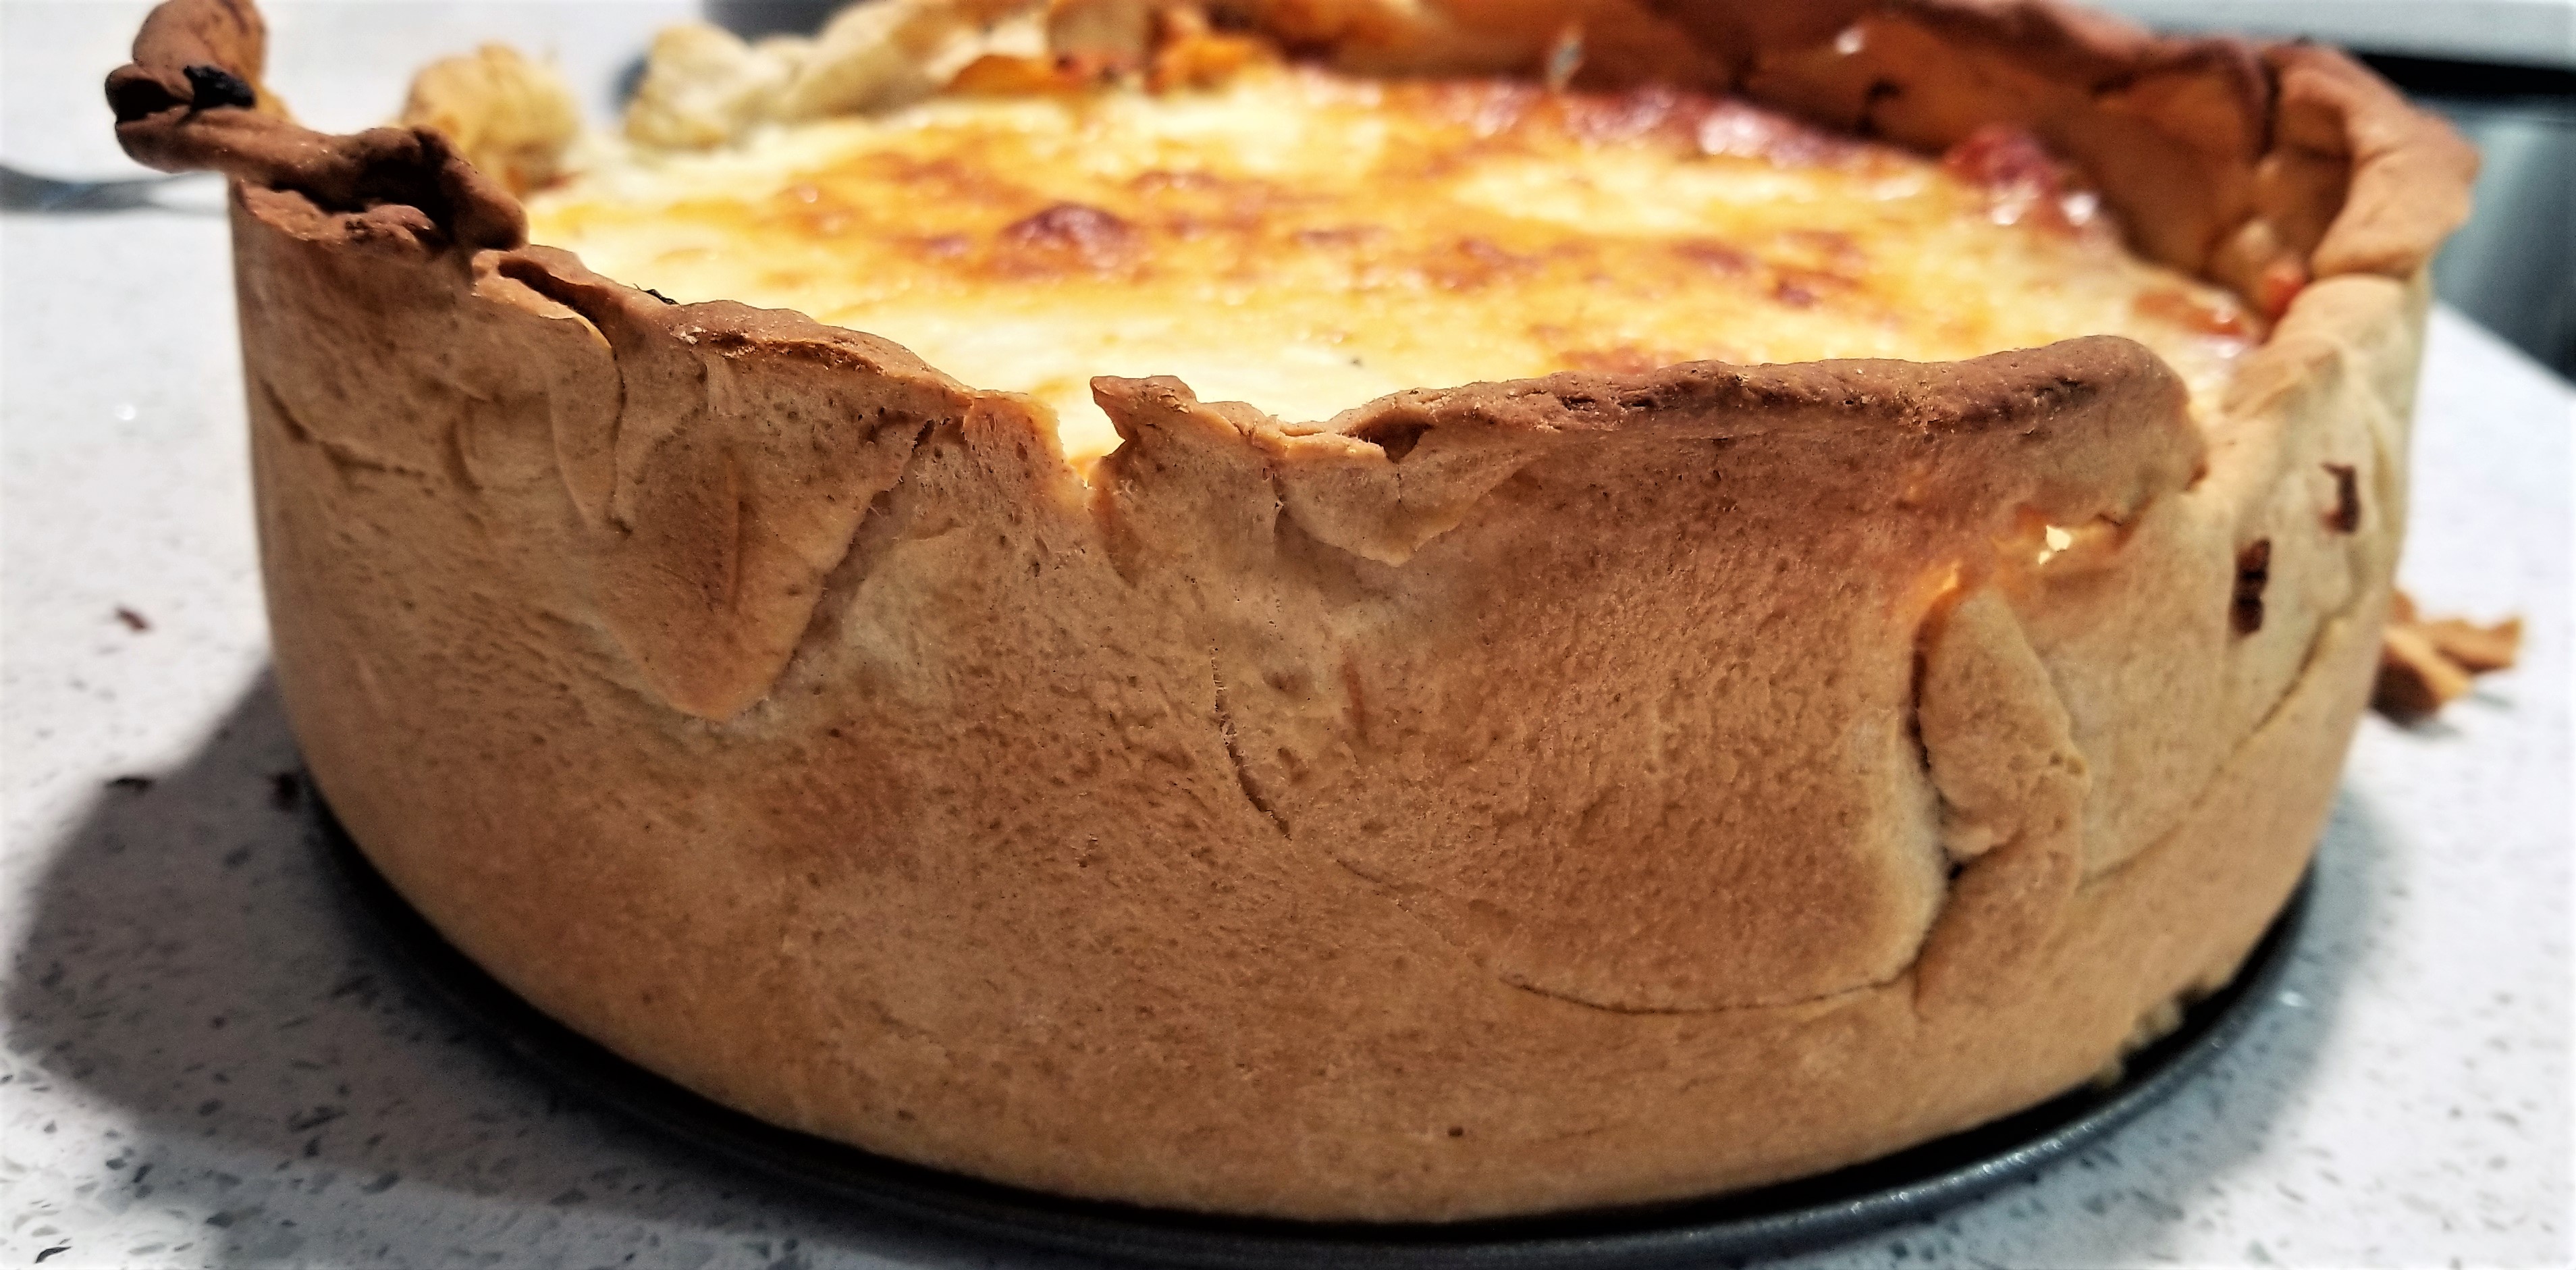
Take-Home Tips: The flavors were cheesy, but honestly could have incorporated more spice. You might add another onion, 2 more cloves of garlic and some basil, or the hot Italian sausage could do the trick. If you aren’t a fan of too much spice, then it will be ideal as described. The top edge of the crust was too crispy, as it was not covered by the layers. To fluff the layers some, try adding shredded mozzarella with each cheese step. Alternatively, cut the crust, don’t pull it to the top of the pie dish, or use a shorter dish. Although we baked ours at 425F for 30 minutes, after the 7 minutes of blind bake, I went ahead and modified the recipe below to reduce the crispy crust along the edge. We are accomplishing this by baking the crust at a lower temperature for a longer period of time (3 additional minutes), then adding the layers and continuing to bake 5 more minutes than the original 30. Both instances have 2-3 minutes of broil. To reduce the time it takes to prepare day of, make the meat sauce, cheese mixture, and doughs the night before. For the doughs, use active dry yeast rather than fast acting if you make ahead.
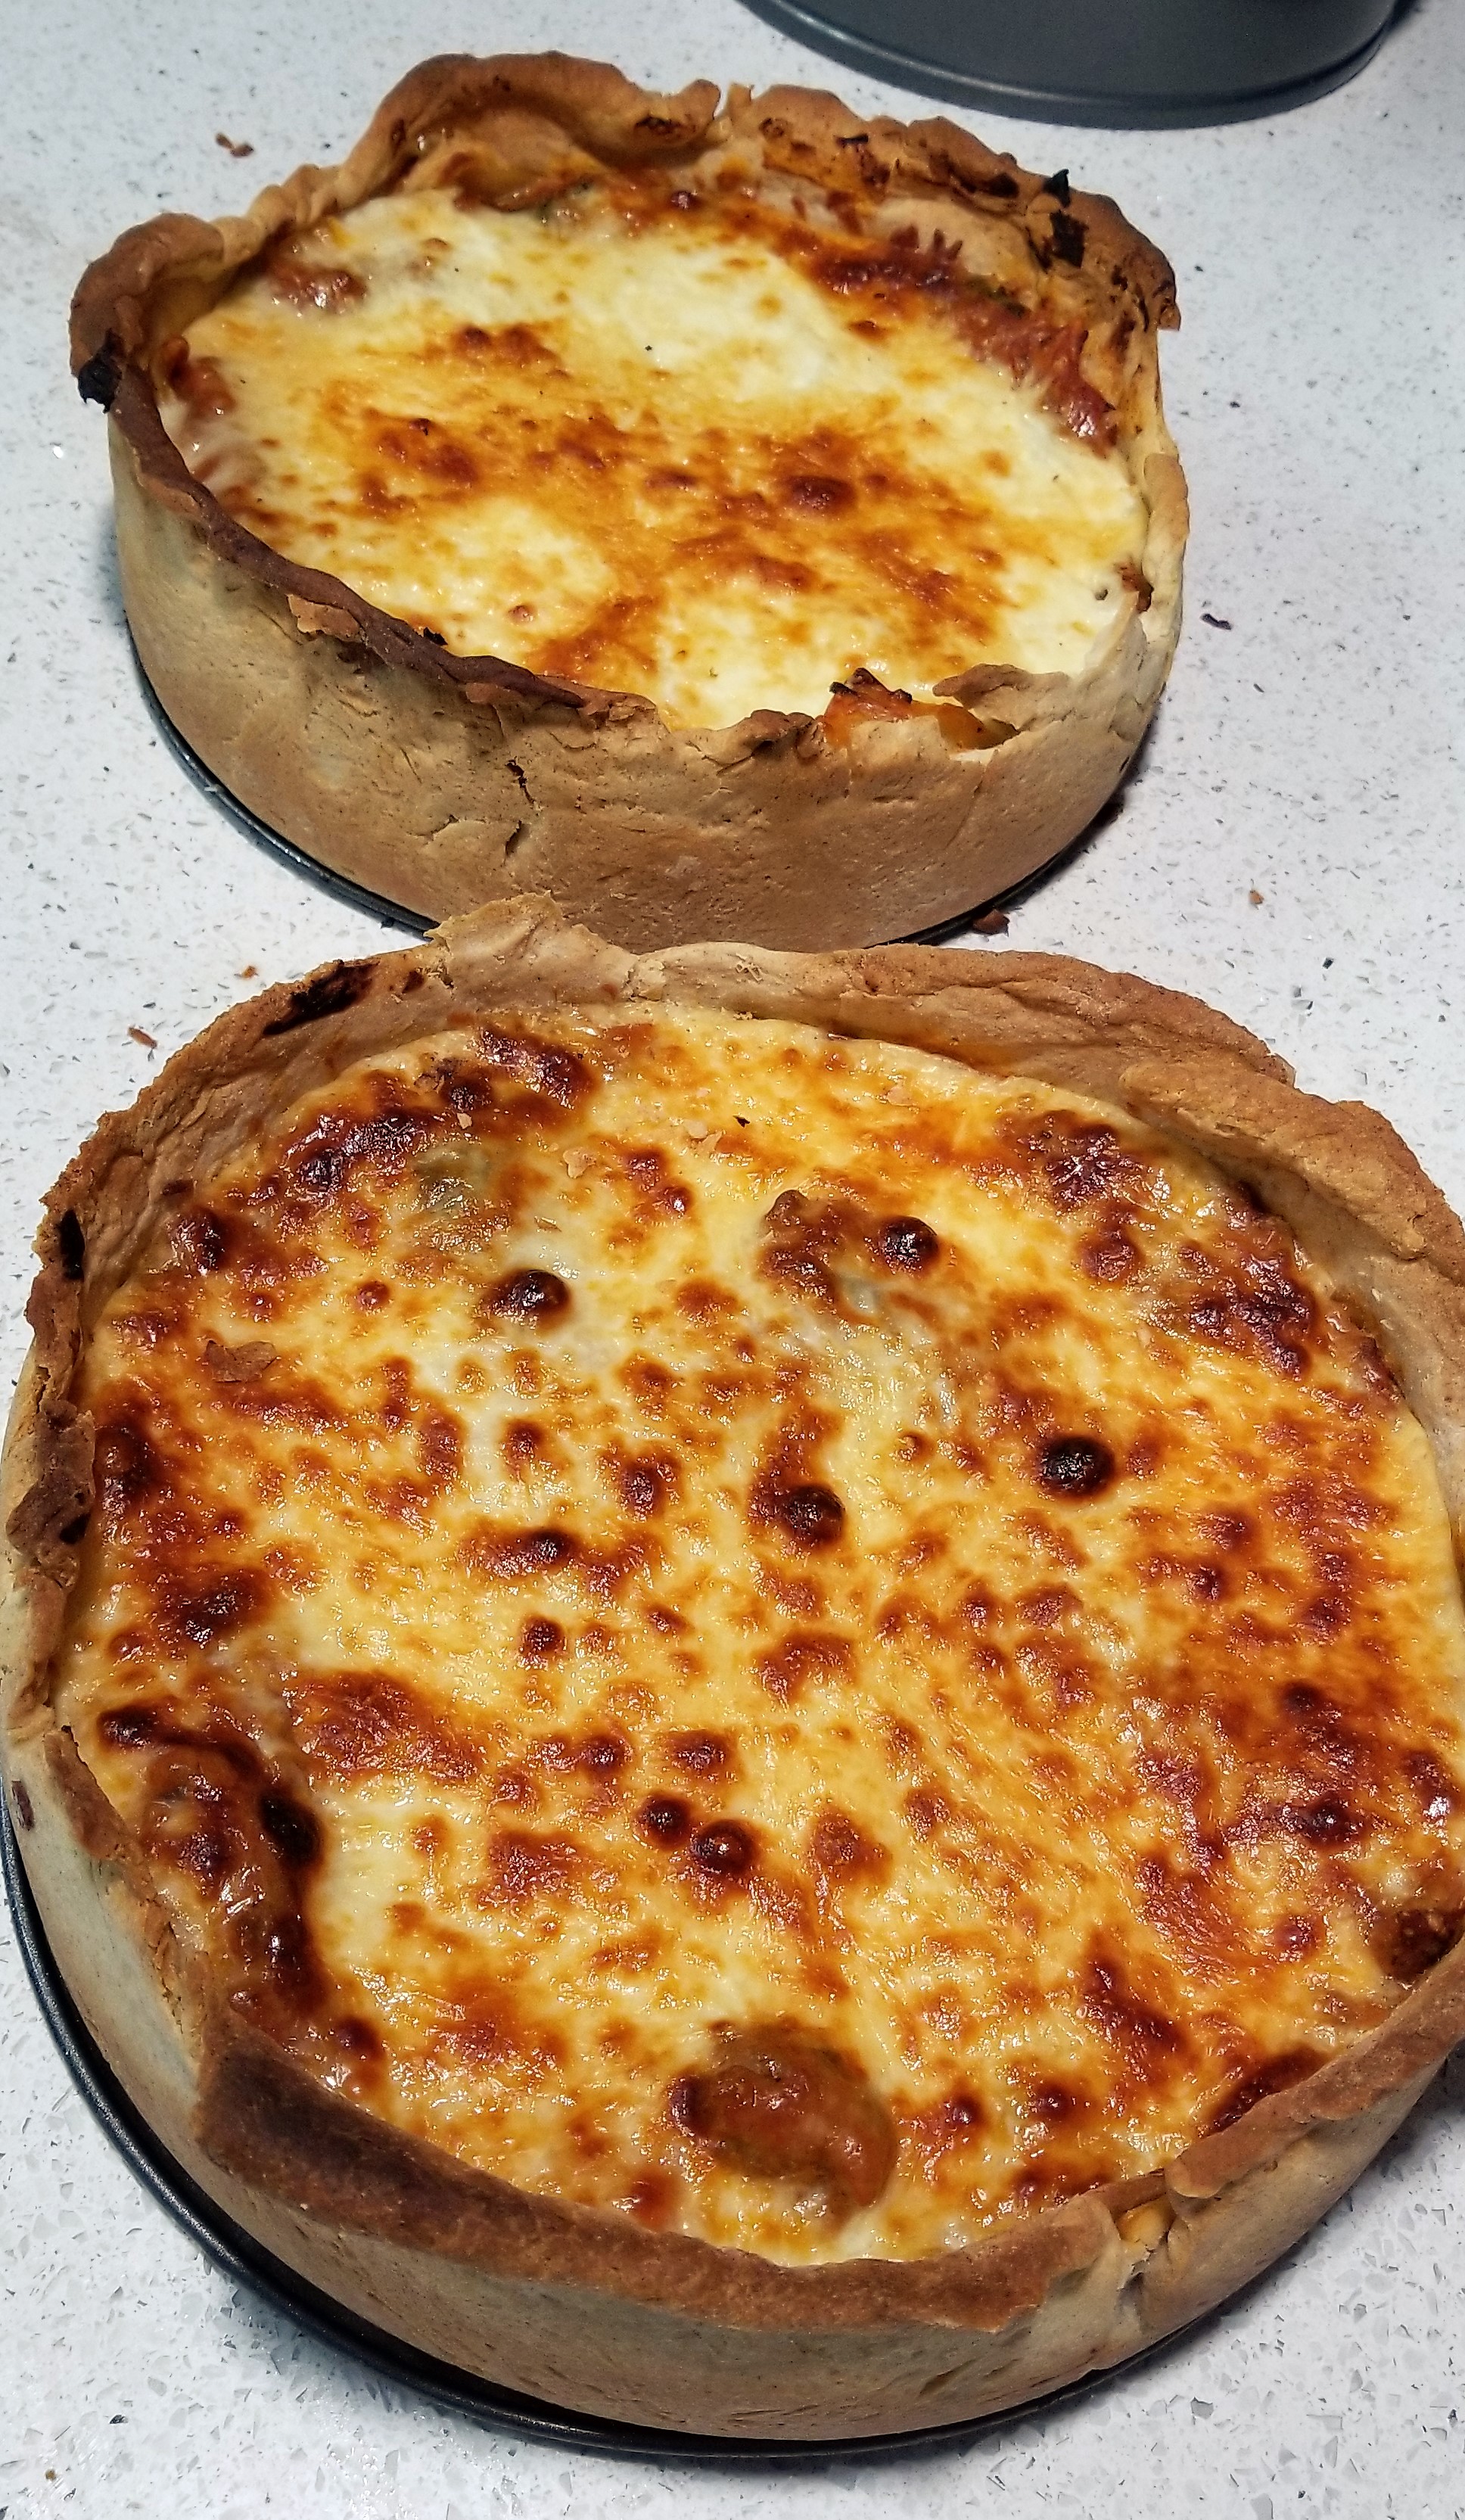
Scoring: Giving a
9 out of 10 for accomplishing a lasagna pizza. We accomplished 4 of the 5
goals. Although I was stubborn enough to eat mine with my hands, no one else
would, therefore it did not quite tick the box. We accomplished two full
layers, with an extra layer of cheese and meat sauce on each. As an overall
pizza, it is unfair to give a novelty pizza higher than a 7 of 10. This could
deserve a 6 or 7. One slice is enough to fill the stomach, it is very cheesy
which is really why we eat pizza, and it holds up for days of left overs.
One slice is a whole meal.
Other requirements: For the 26 unique ingredients I incorporated into these pies, it took about 4.5 hours from the first brew of yeast, to the final cool down and cut. I don’t think it should have taken that long, but be prepared your first time. You either need two 8×8 pie dishes, casserole dishes, or spring form rounds. I successfully utilized the spring form option and recommend it if you have the ability because its is easier to get the pizzas out and cut them. You will also need a rolling pin (wine or 2 liter bottles also work if you wash them beforehand).
Trying the Bon Appetit Grandma Style dough recipe again with
more modifications. Minor modifications.
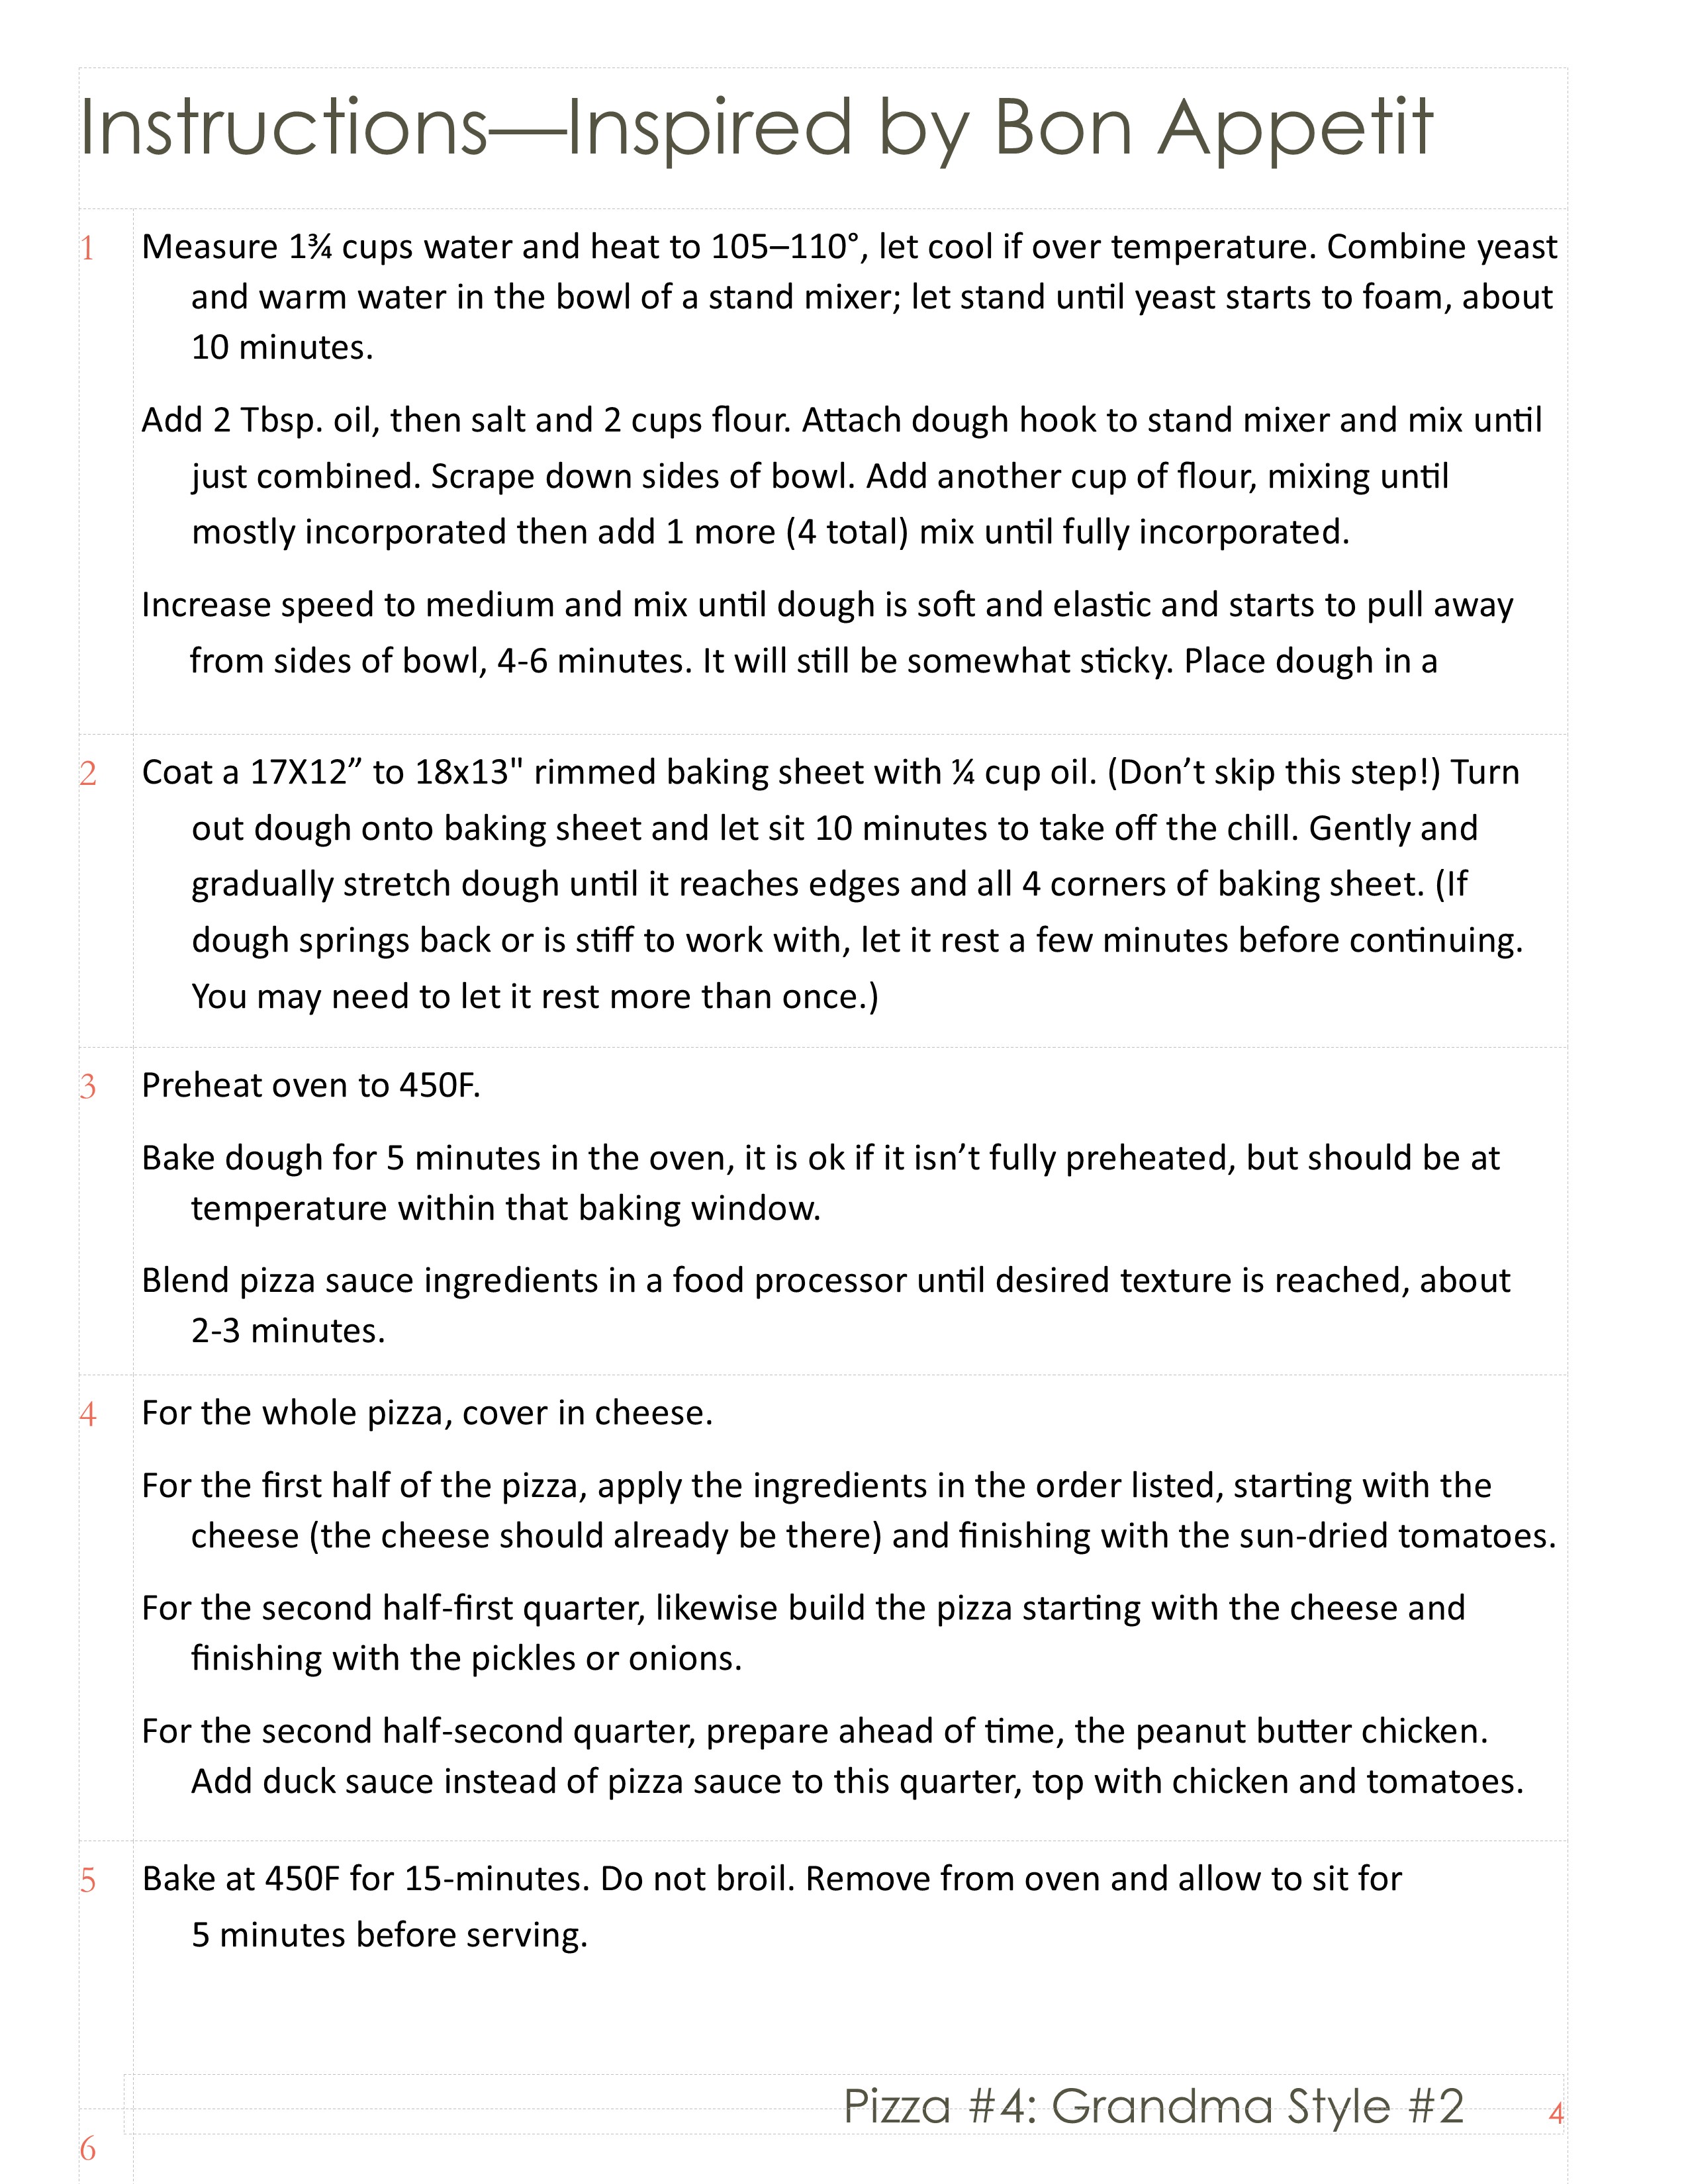
My (personal) problem with Pizza #3 was the crispiness of the crust. To test my recommendation from Pizza #3, we fully preheated the oven to 450F and cooked the pizza for 15 minutes. I failed to mention that the pizza needs to be cooked on the bottom rack. Although we did this for Pizza #3, we forgot this step for Pizza #4. Oops. To redeem brownie points, we added more sugar to the dough and it poofed up nicely. Is this cheating? I was always under the impression yeast needs fuel to activate. I hope it isn’t similar to giving it steroids. Buffed yeast.
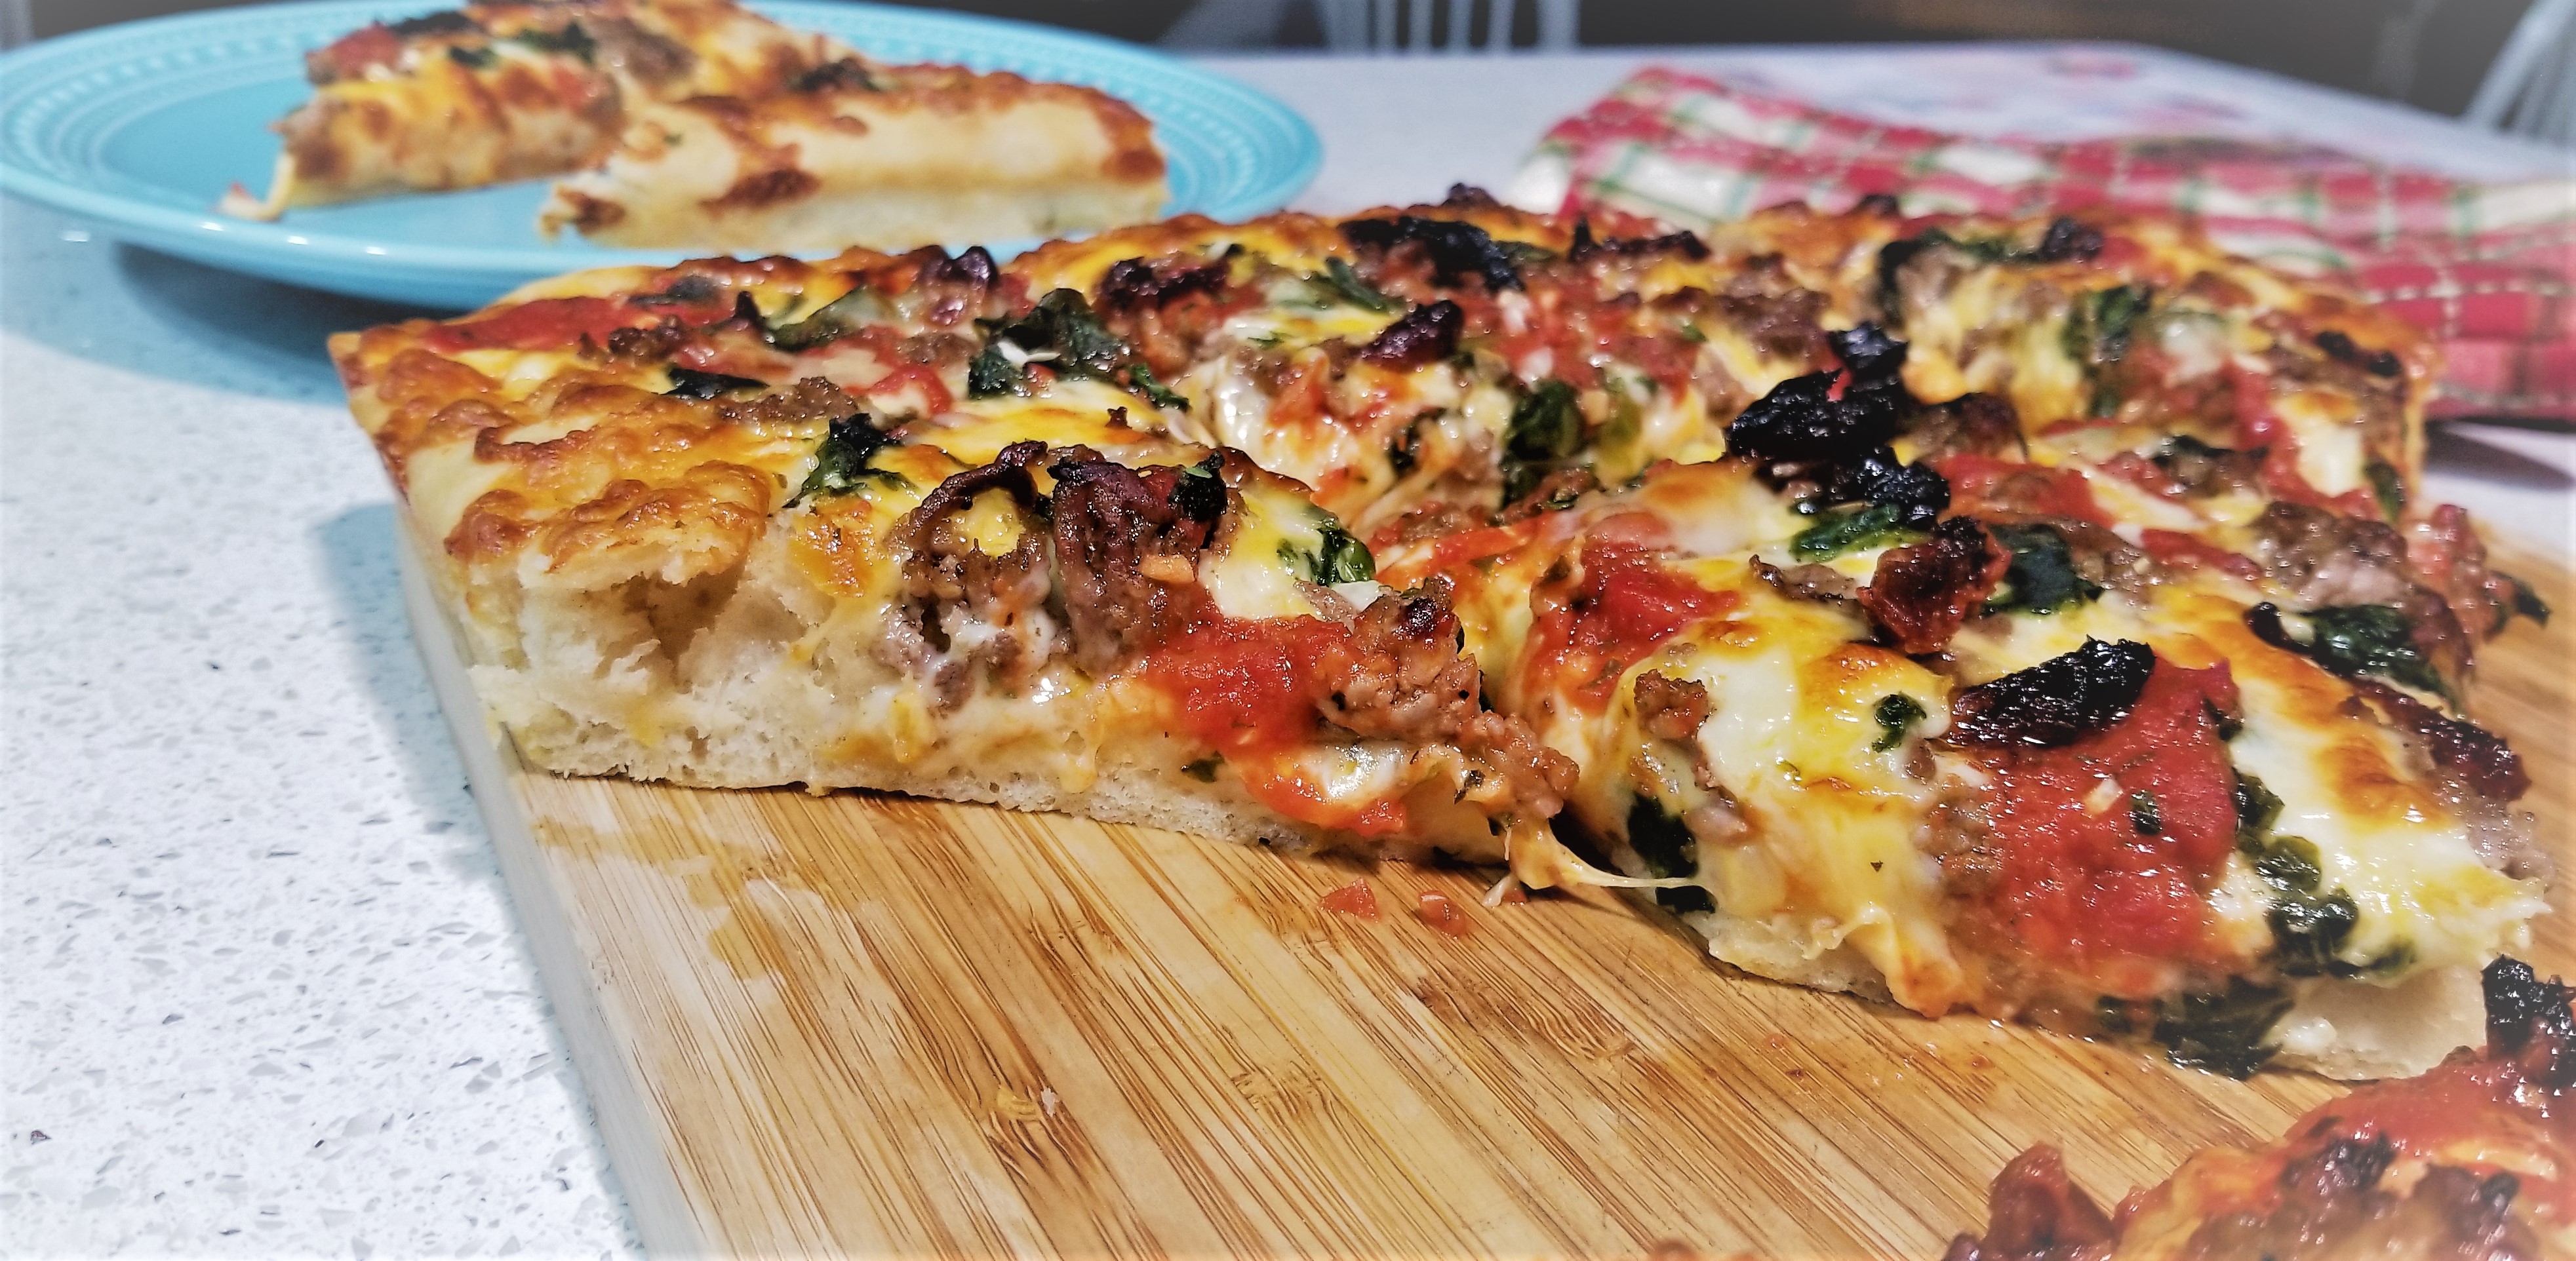
The pizza was perfect and exactly the way I would prefer it. Of course my husband insists the last crust was the one of his dreams, and consequently, this one was undercooked. To each his own. It wasn’t soggy, but it had a lightly colored bottom and a softness that matched the chewiness of the cheese. My quest for the perfect dough has been satisfied.
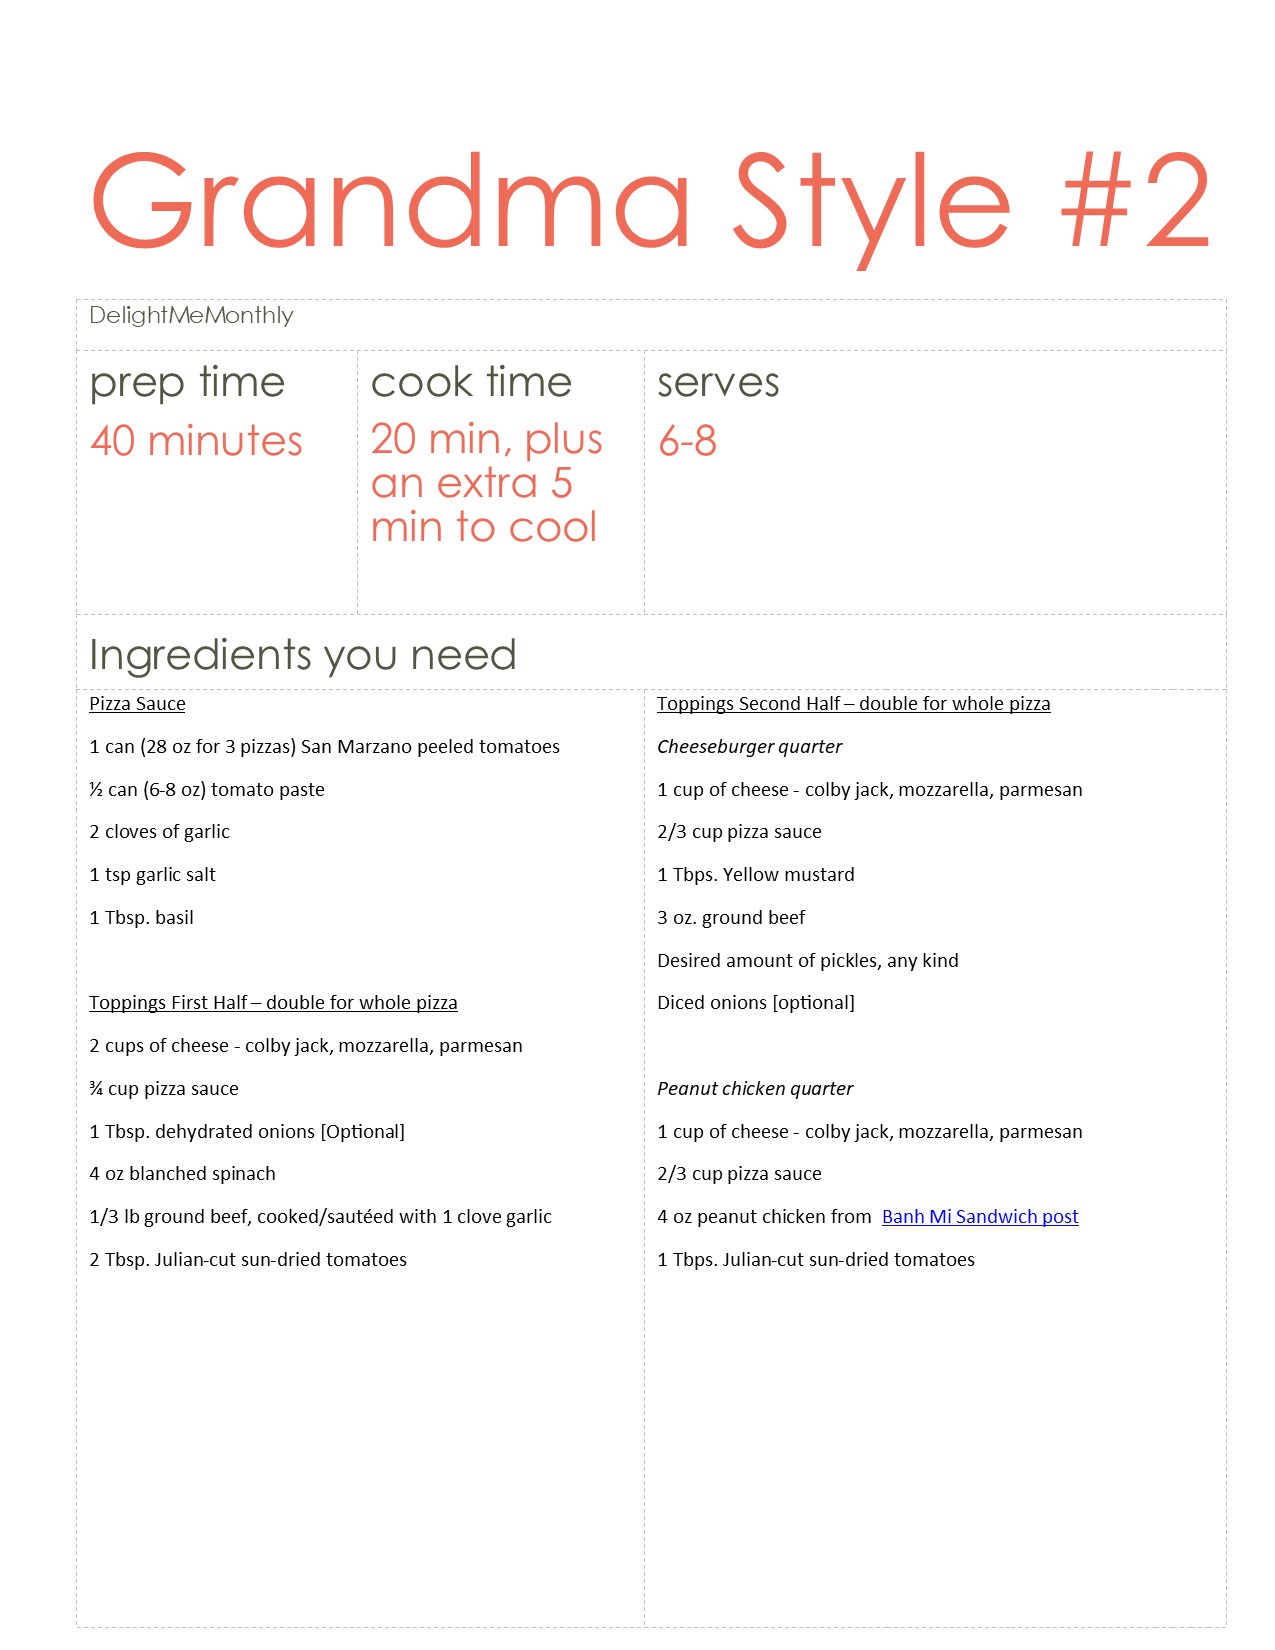
My half of the pizza consisted of 3 cheeses, ground beef cooked with 1 clove of garlic, chopped dehydrated onions, Julian-cut sun-dried tomatoes, blanched spinach, and of course homemade pizza sauce. For the spinach not to burn in the oven it is important it goes on a little wet.
The other half was divided in half again, resulting in 1 quarters of the pizza. Cheeseburger pizza again on a fourth of the entire pizza (as our consistent variable with the modifications), and peanut butter chicken on the other half. The whole pizza then had sun-dried tomatoes, sauce, and 3 cheeses.
Take-Home Tips: For the crust – not everyone will enjoy the softer crust. My recommendation if you like something in the middle of Pizza #3 and #4 would be to set the oven at 475F, cook the dough alone for 5-7 minutes, then add the toppings and proceed with another 15-minutes cook time.
Scoring: 10 of 10. Well maybe you might say 9 of 10. Every time I took the first bite of a slice, whether as left overs or fresh out of the oven, I was completely satisfied and wanted nothing more. If you want a crispier crust, take Pizza #3’s crust with these toppings and say 10 of 10!
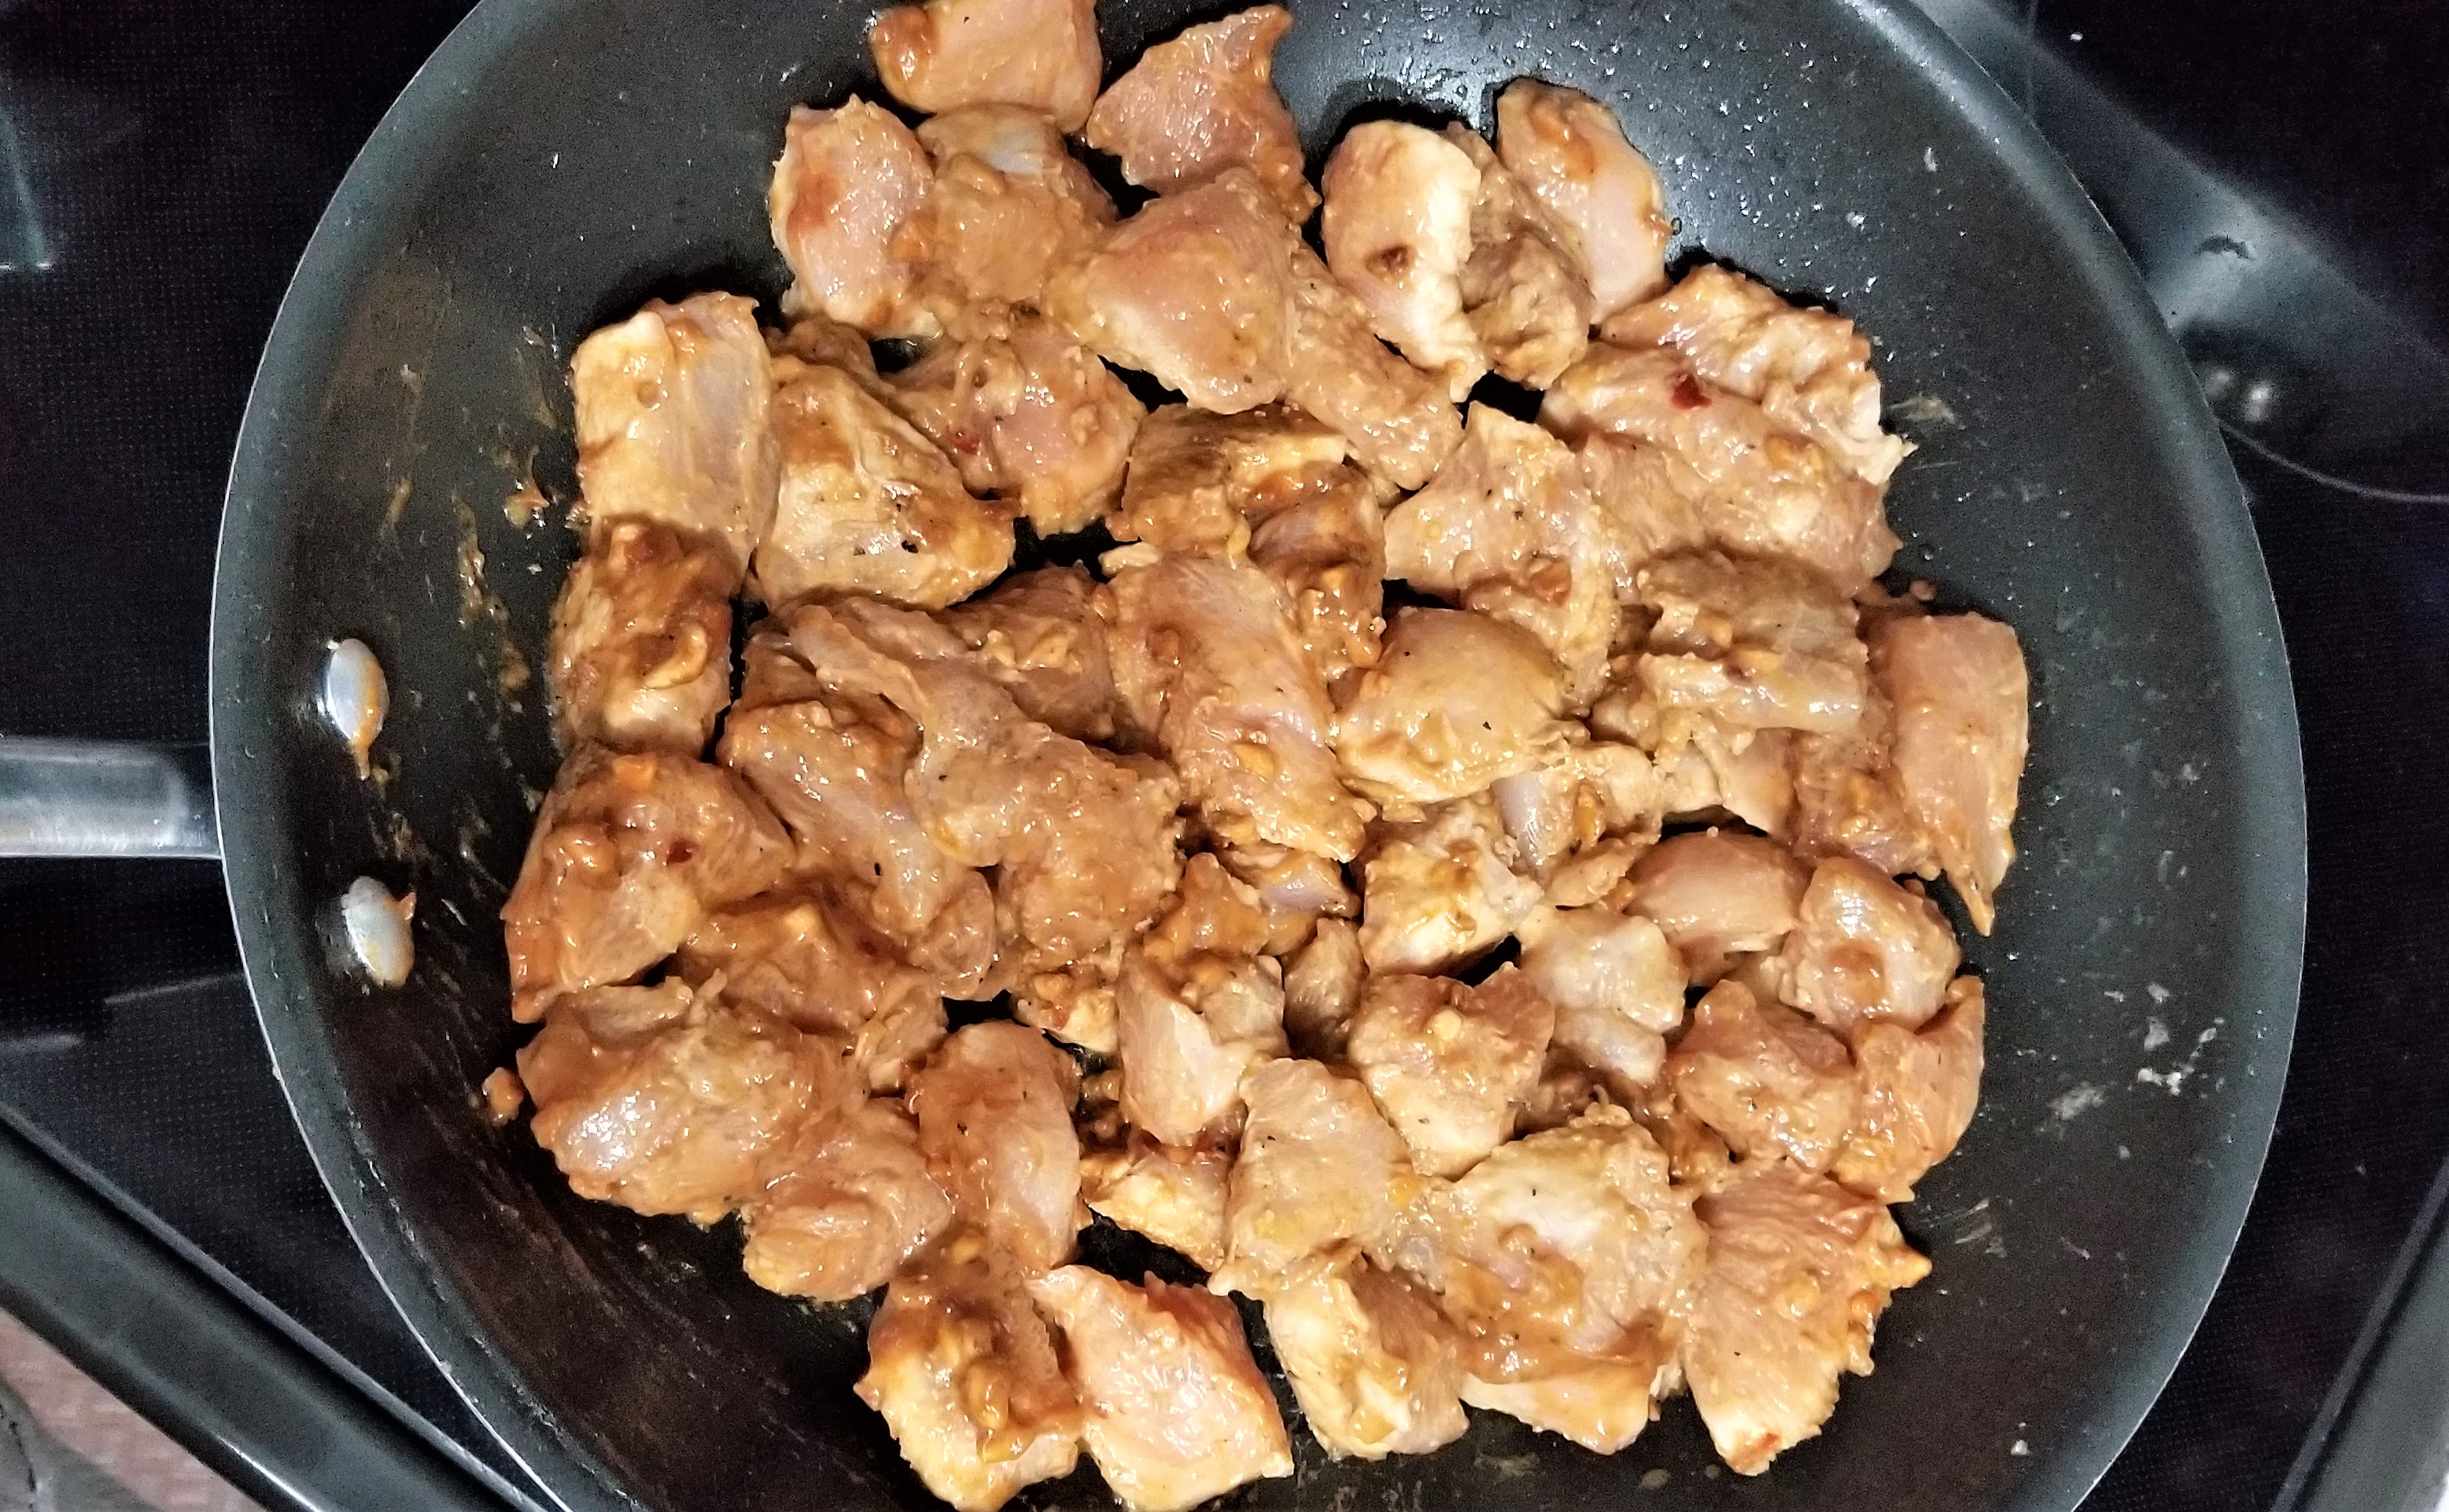
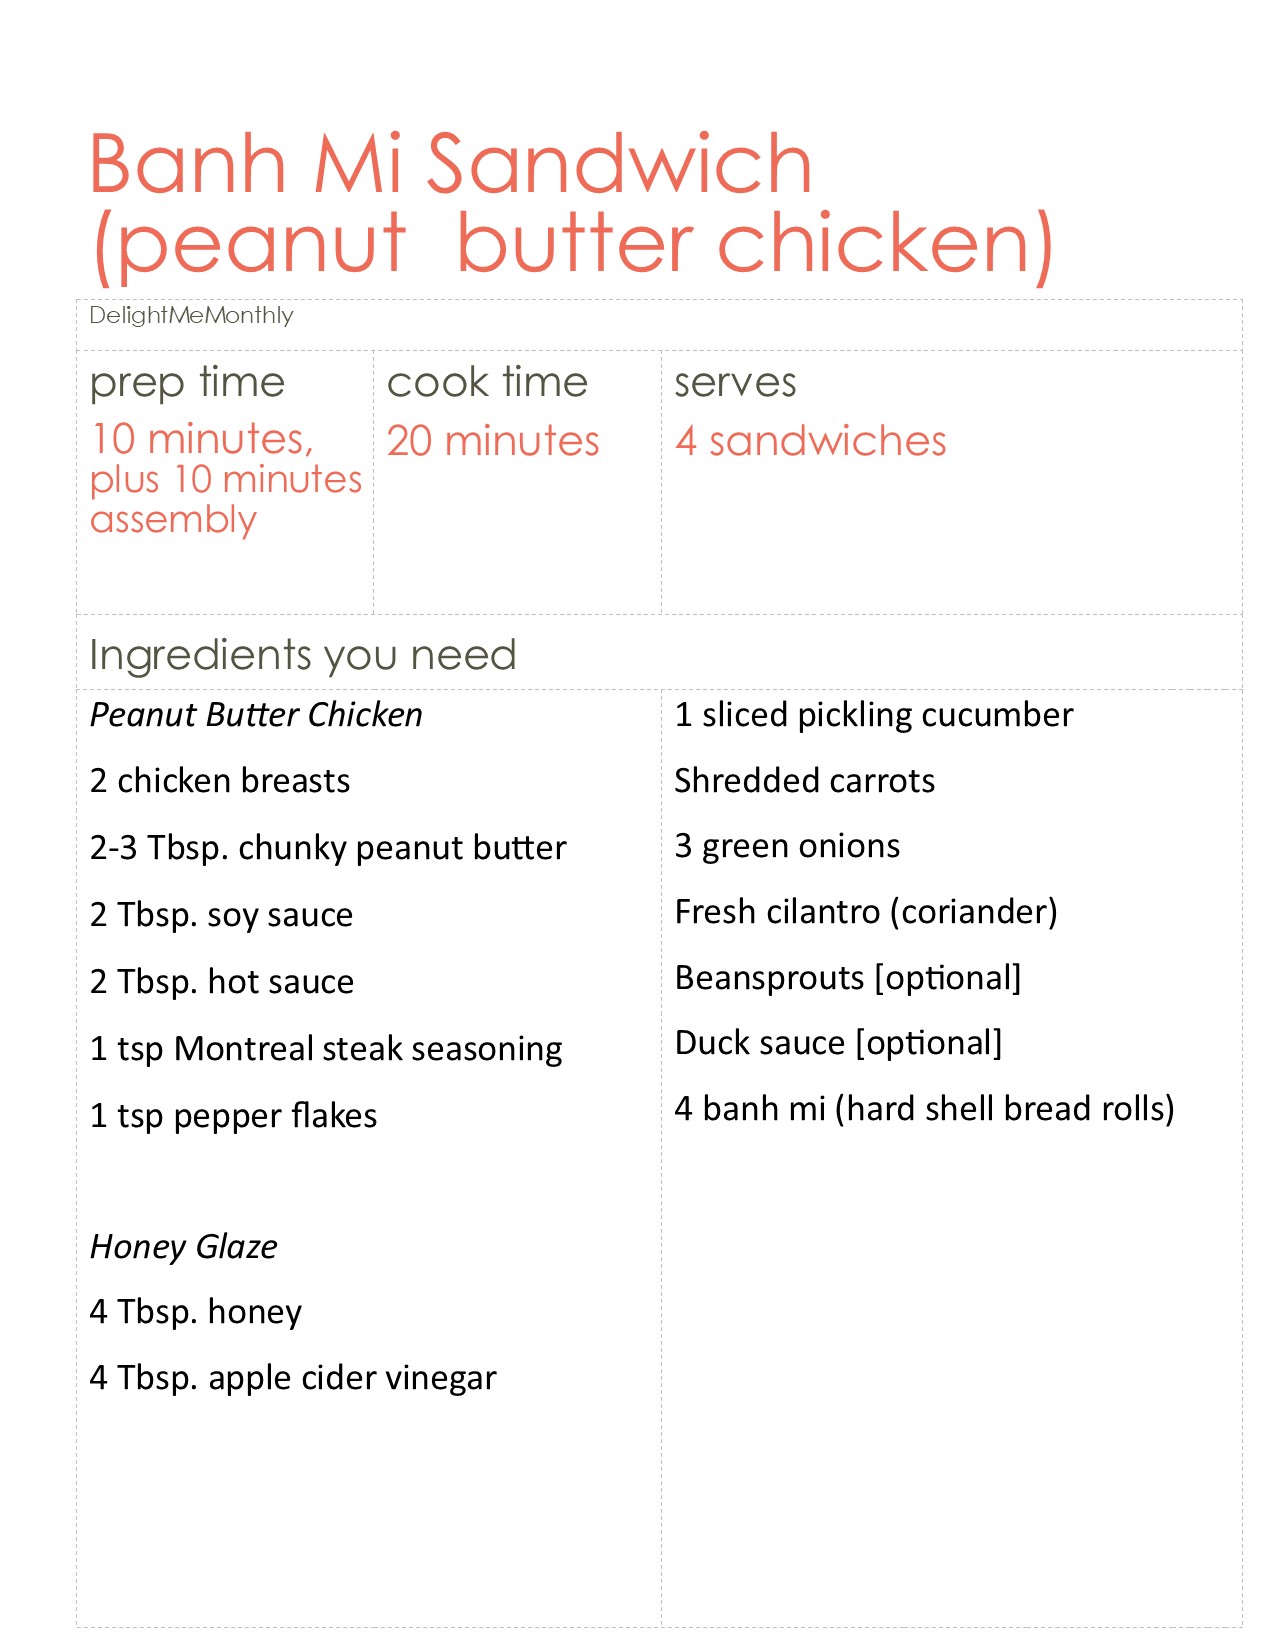
The peanut butter chicken goes great on pizza. This simple recipe has some modifications from the typical Banh mi while still capturing this Vietnamese (French influenced) sandwich. Banh mi is a type of bread that is similar to a baguette in that the outer shell is hard while the inside is soft. I would not recommend using a baguette unless you cannot find another long roll, because it is a little hard to eat as a sandwich.
If beansprouts are fresh in your area, feel free to use them instead or in addition to the green onions and cilantro. We enjoyed the onions better.
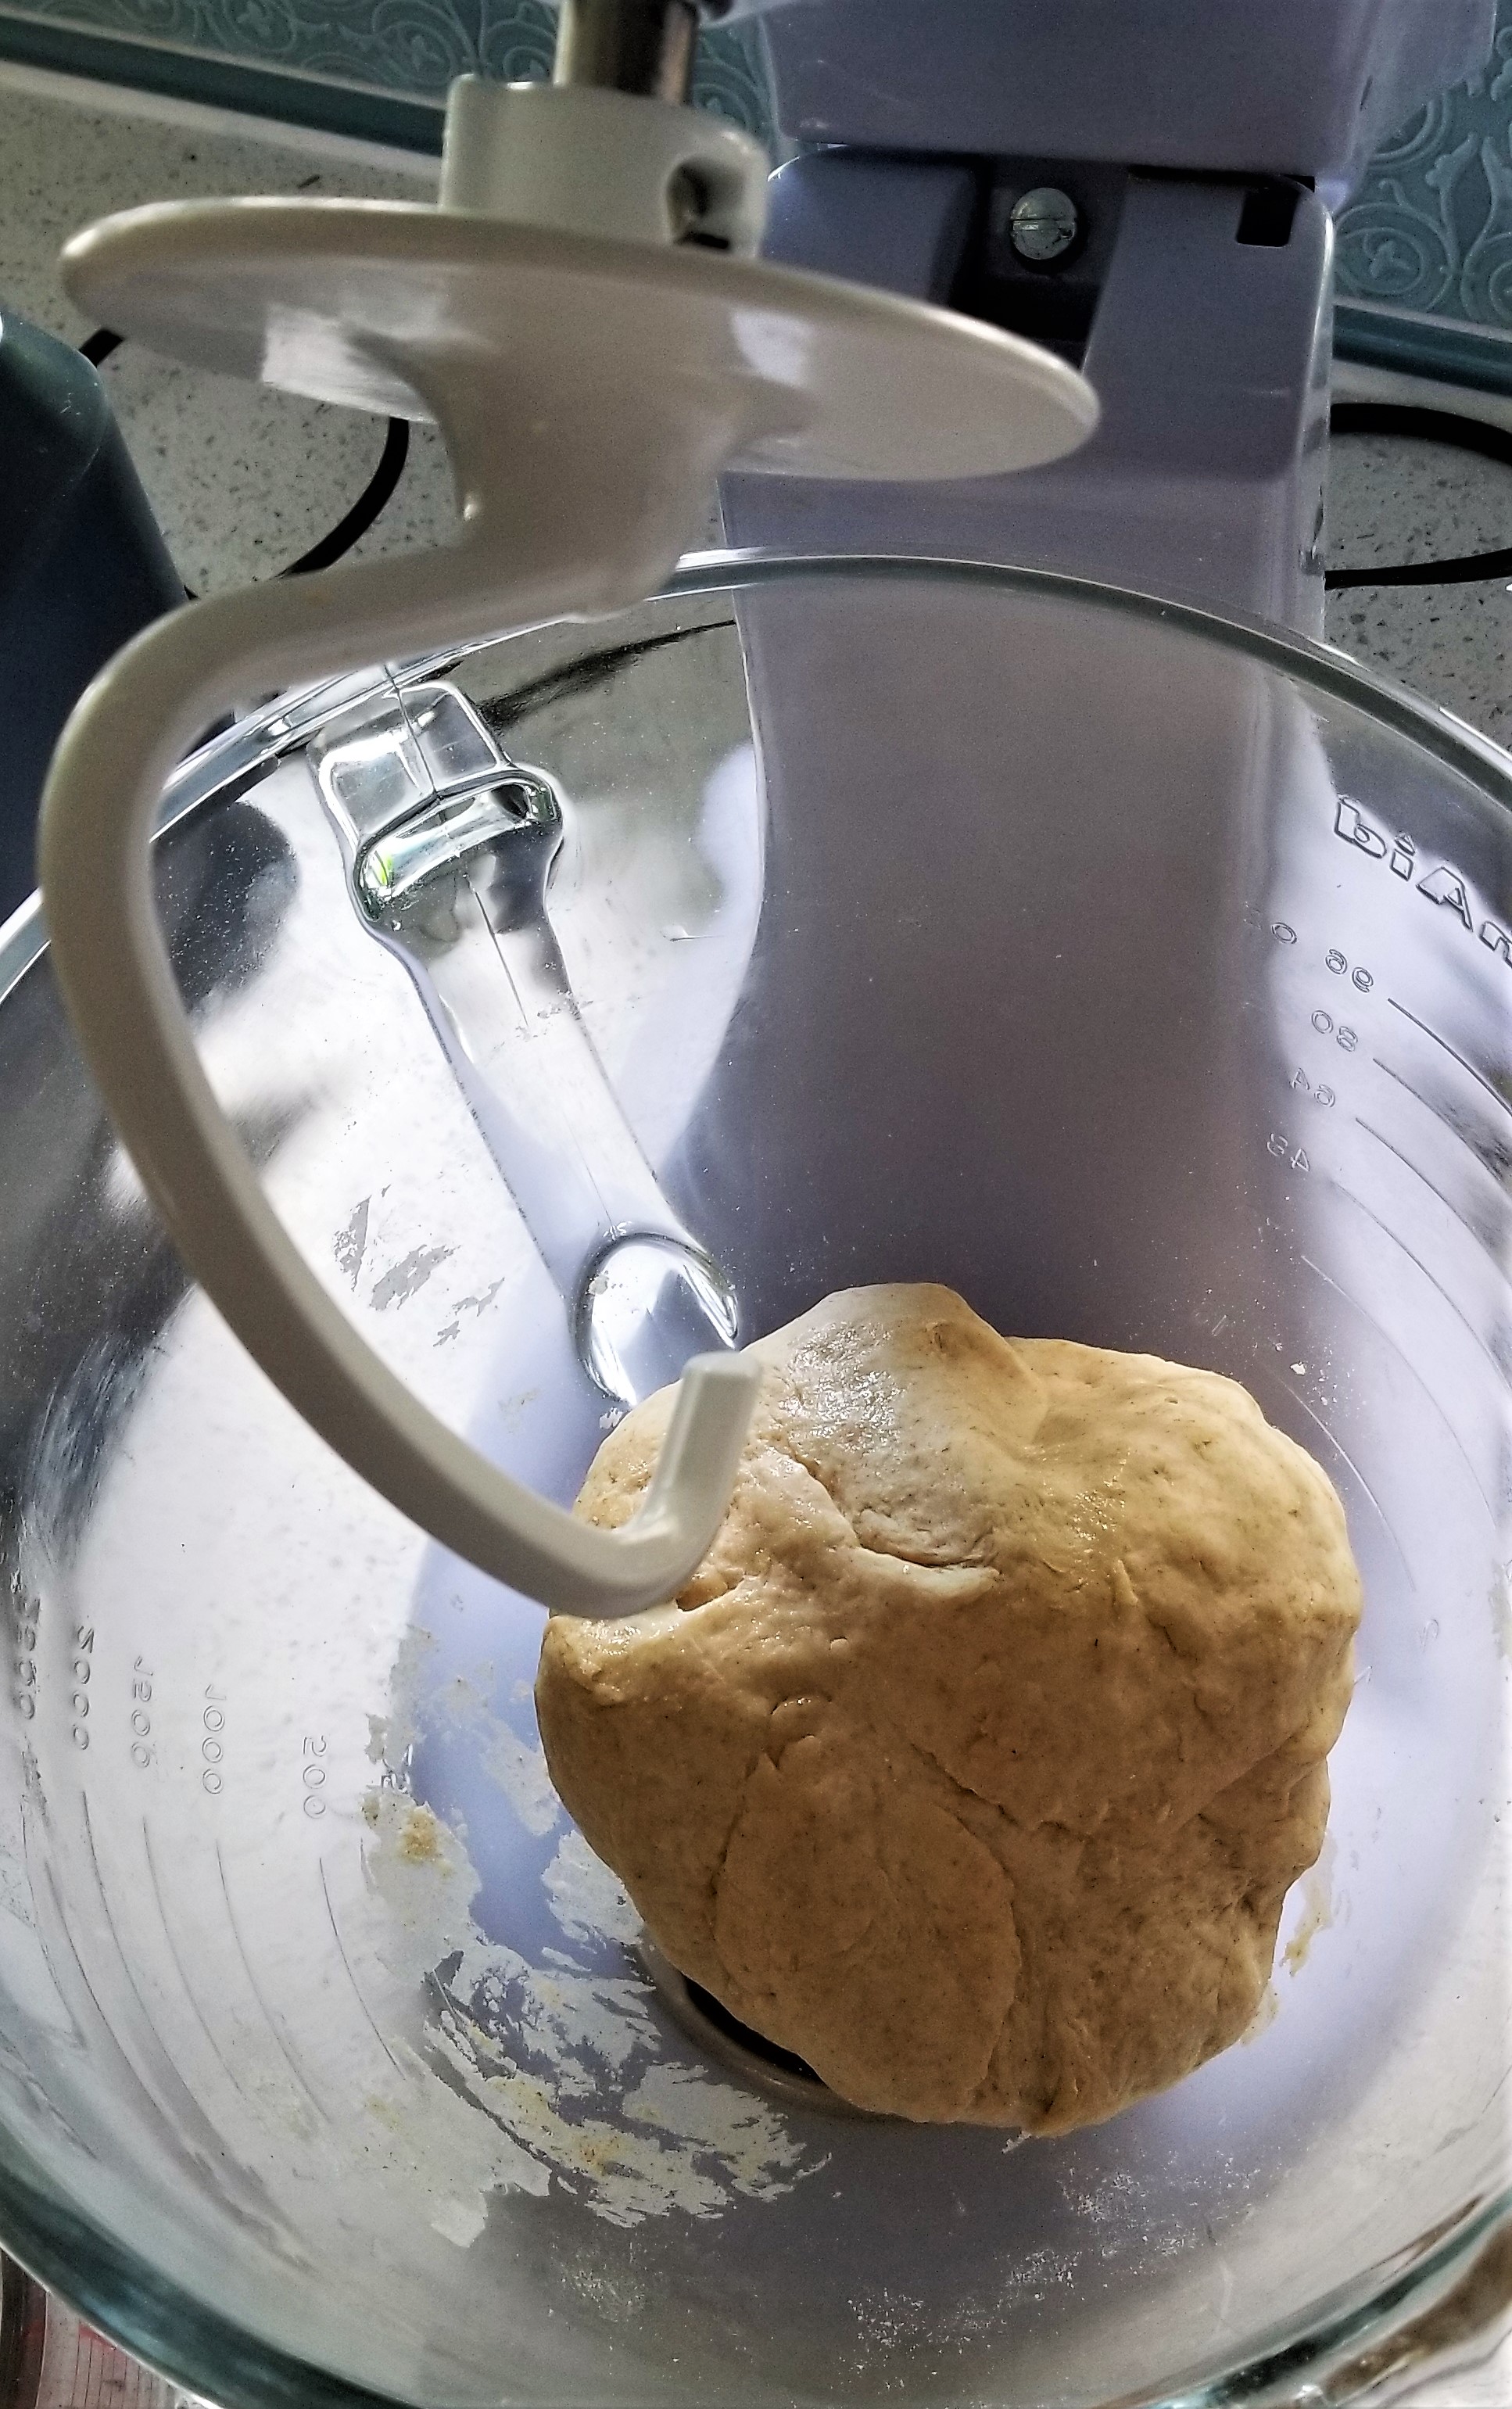
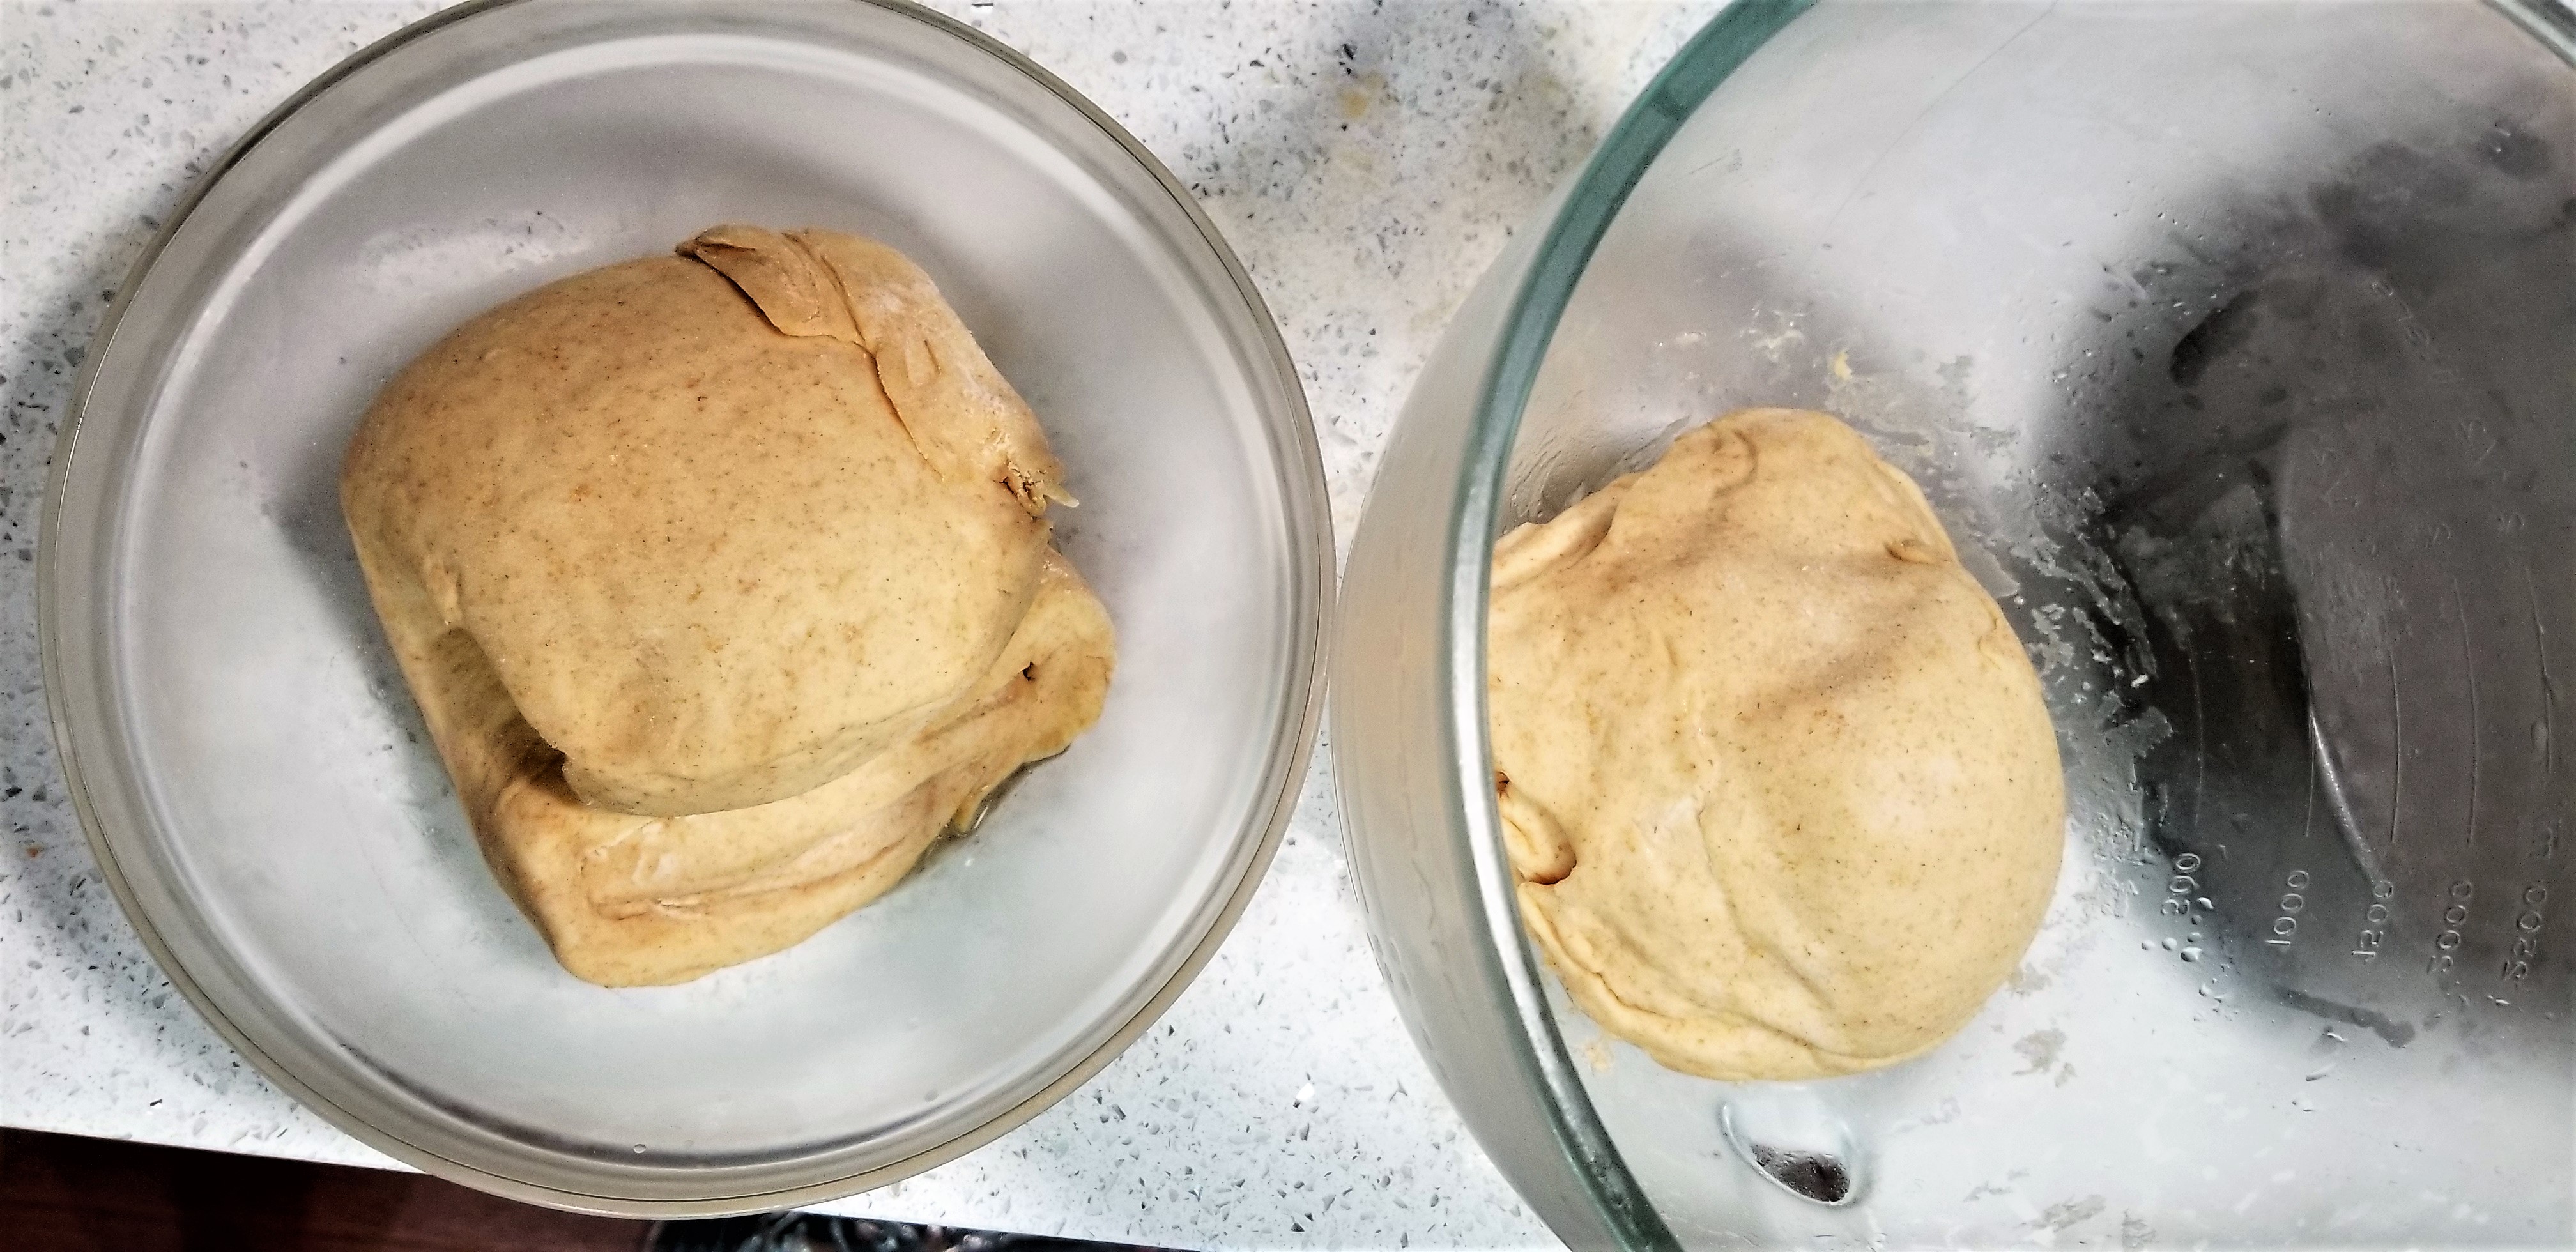
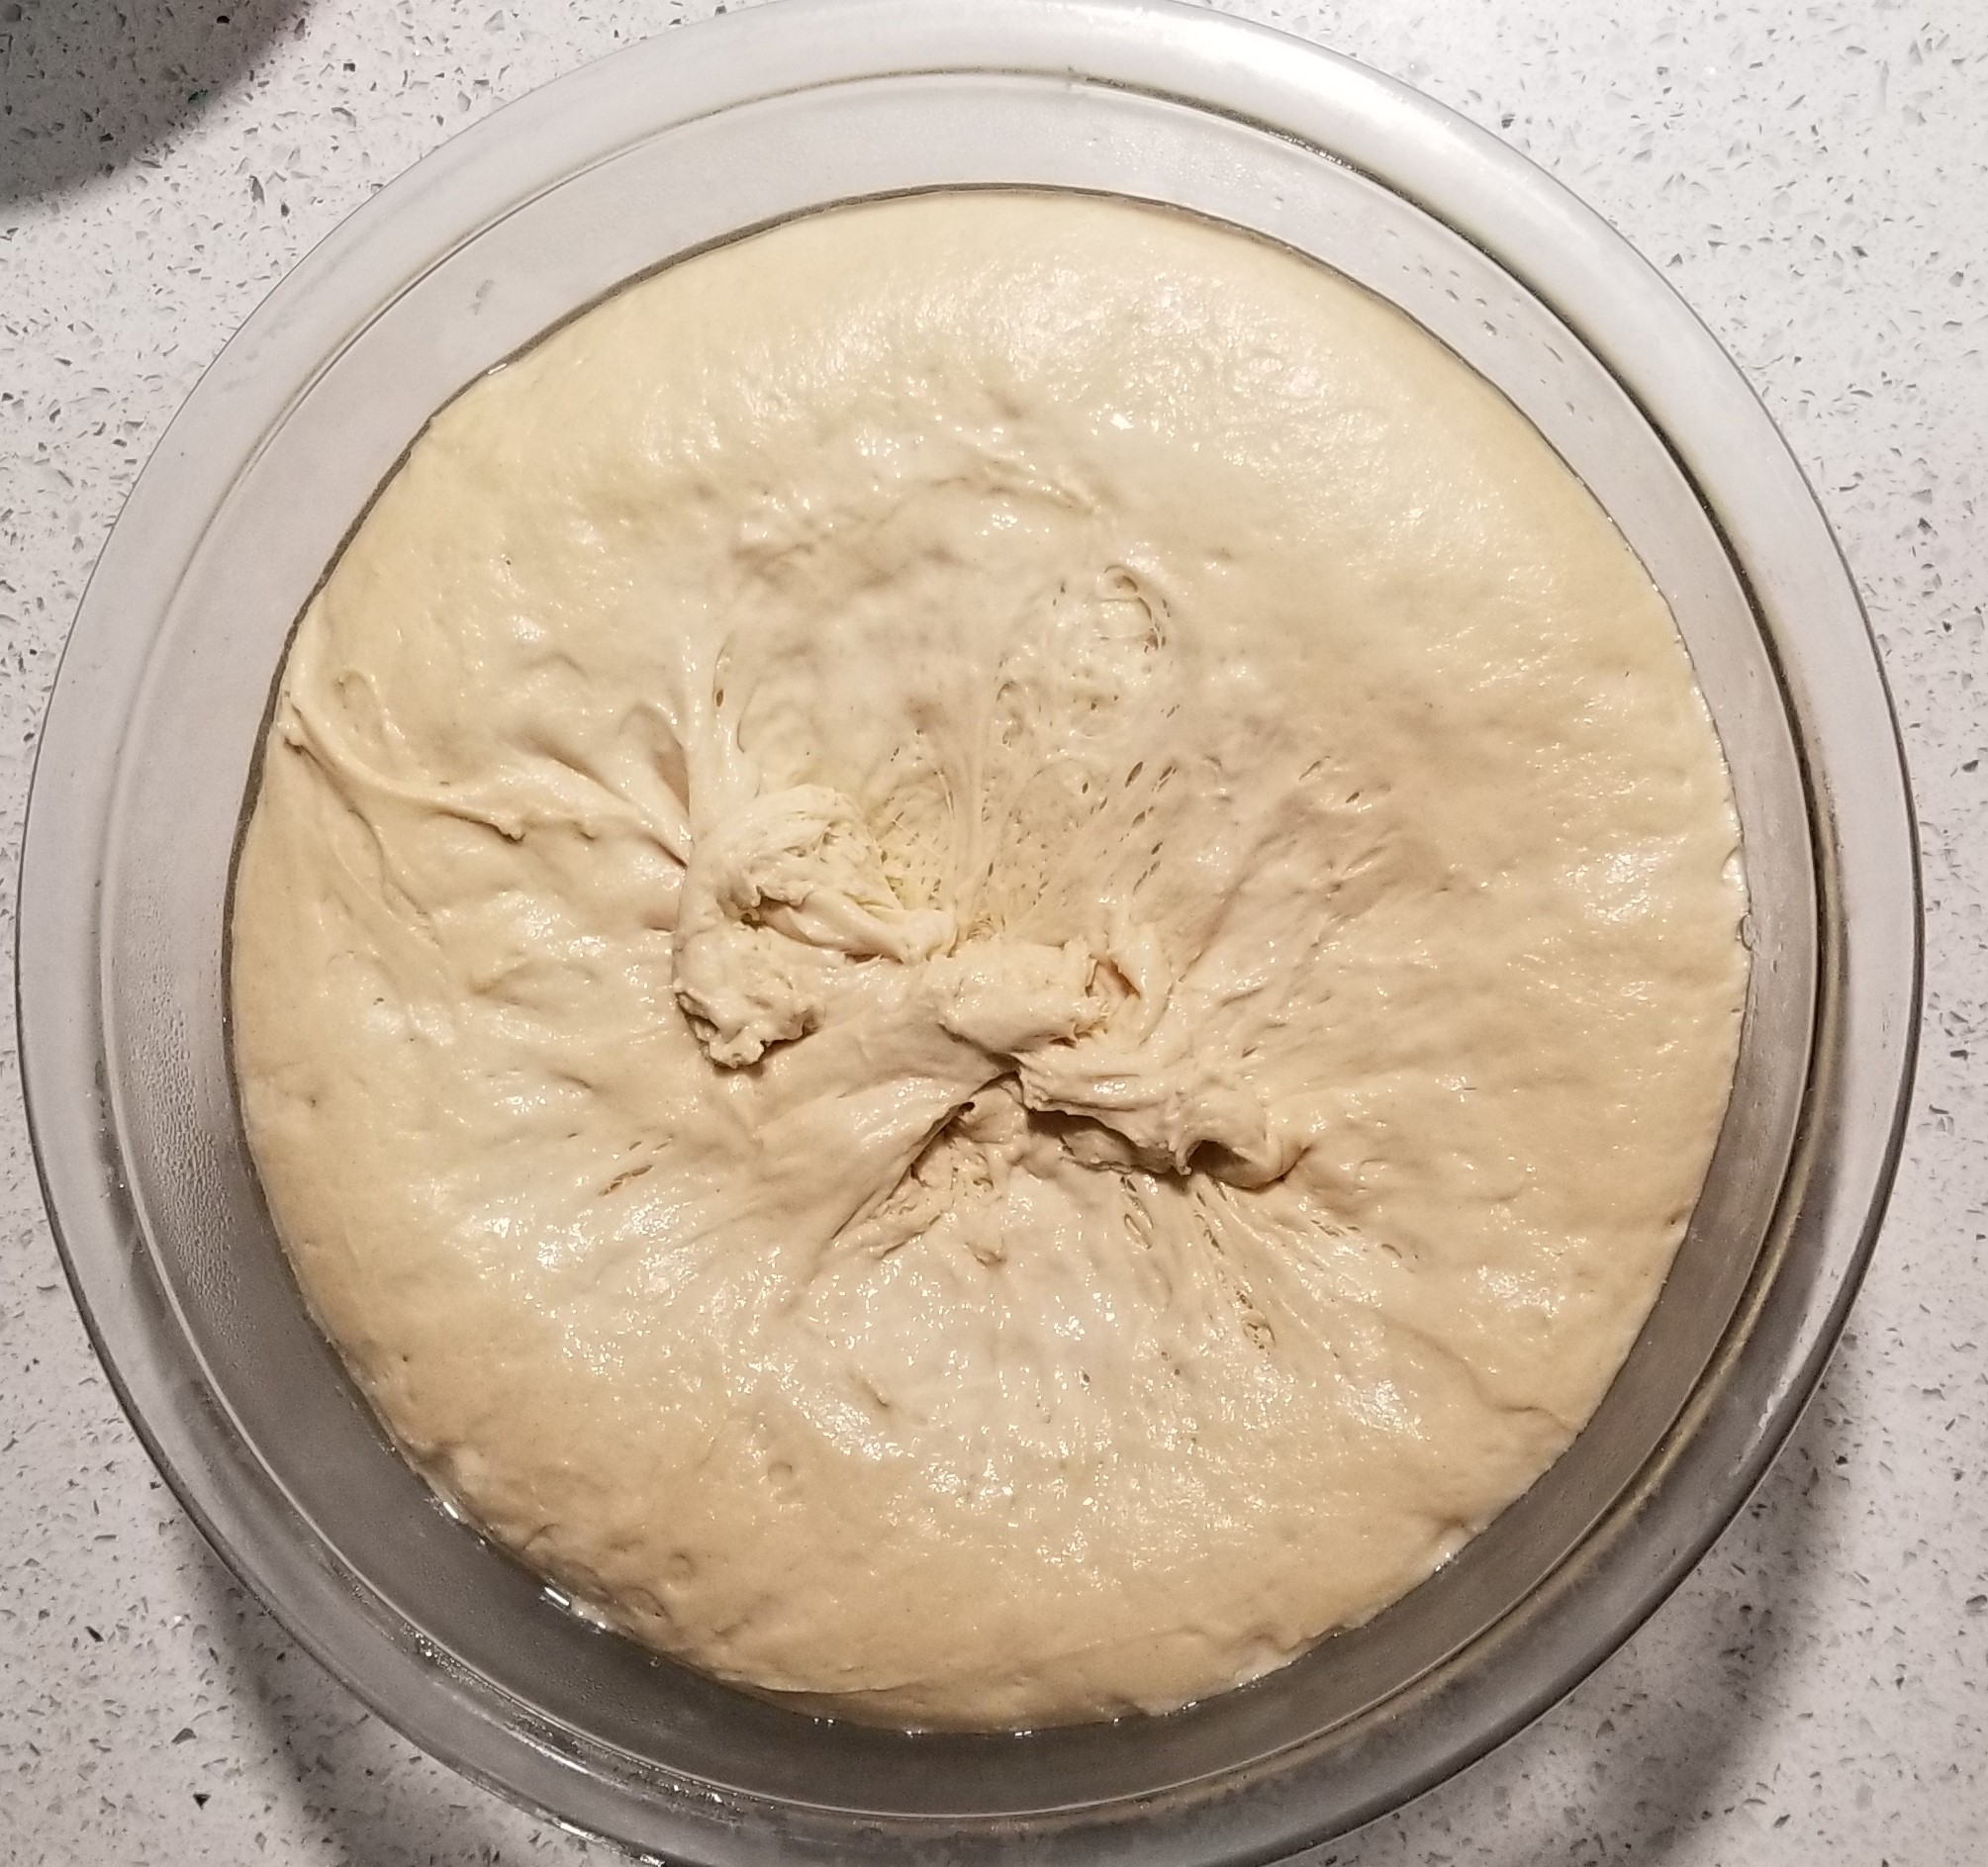
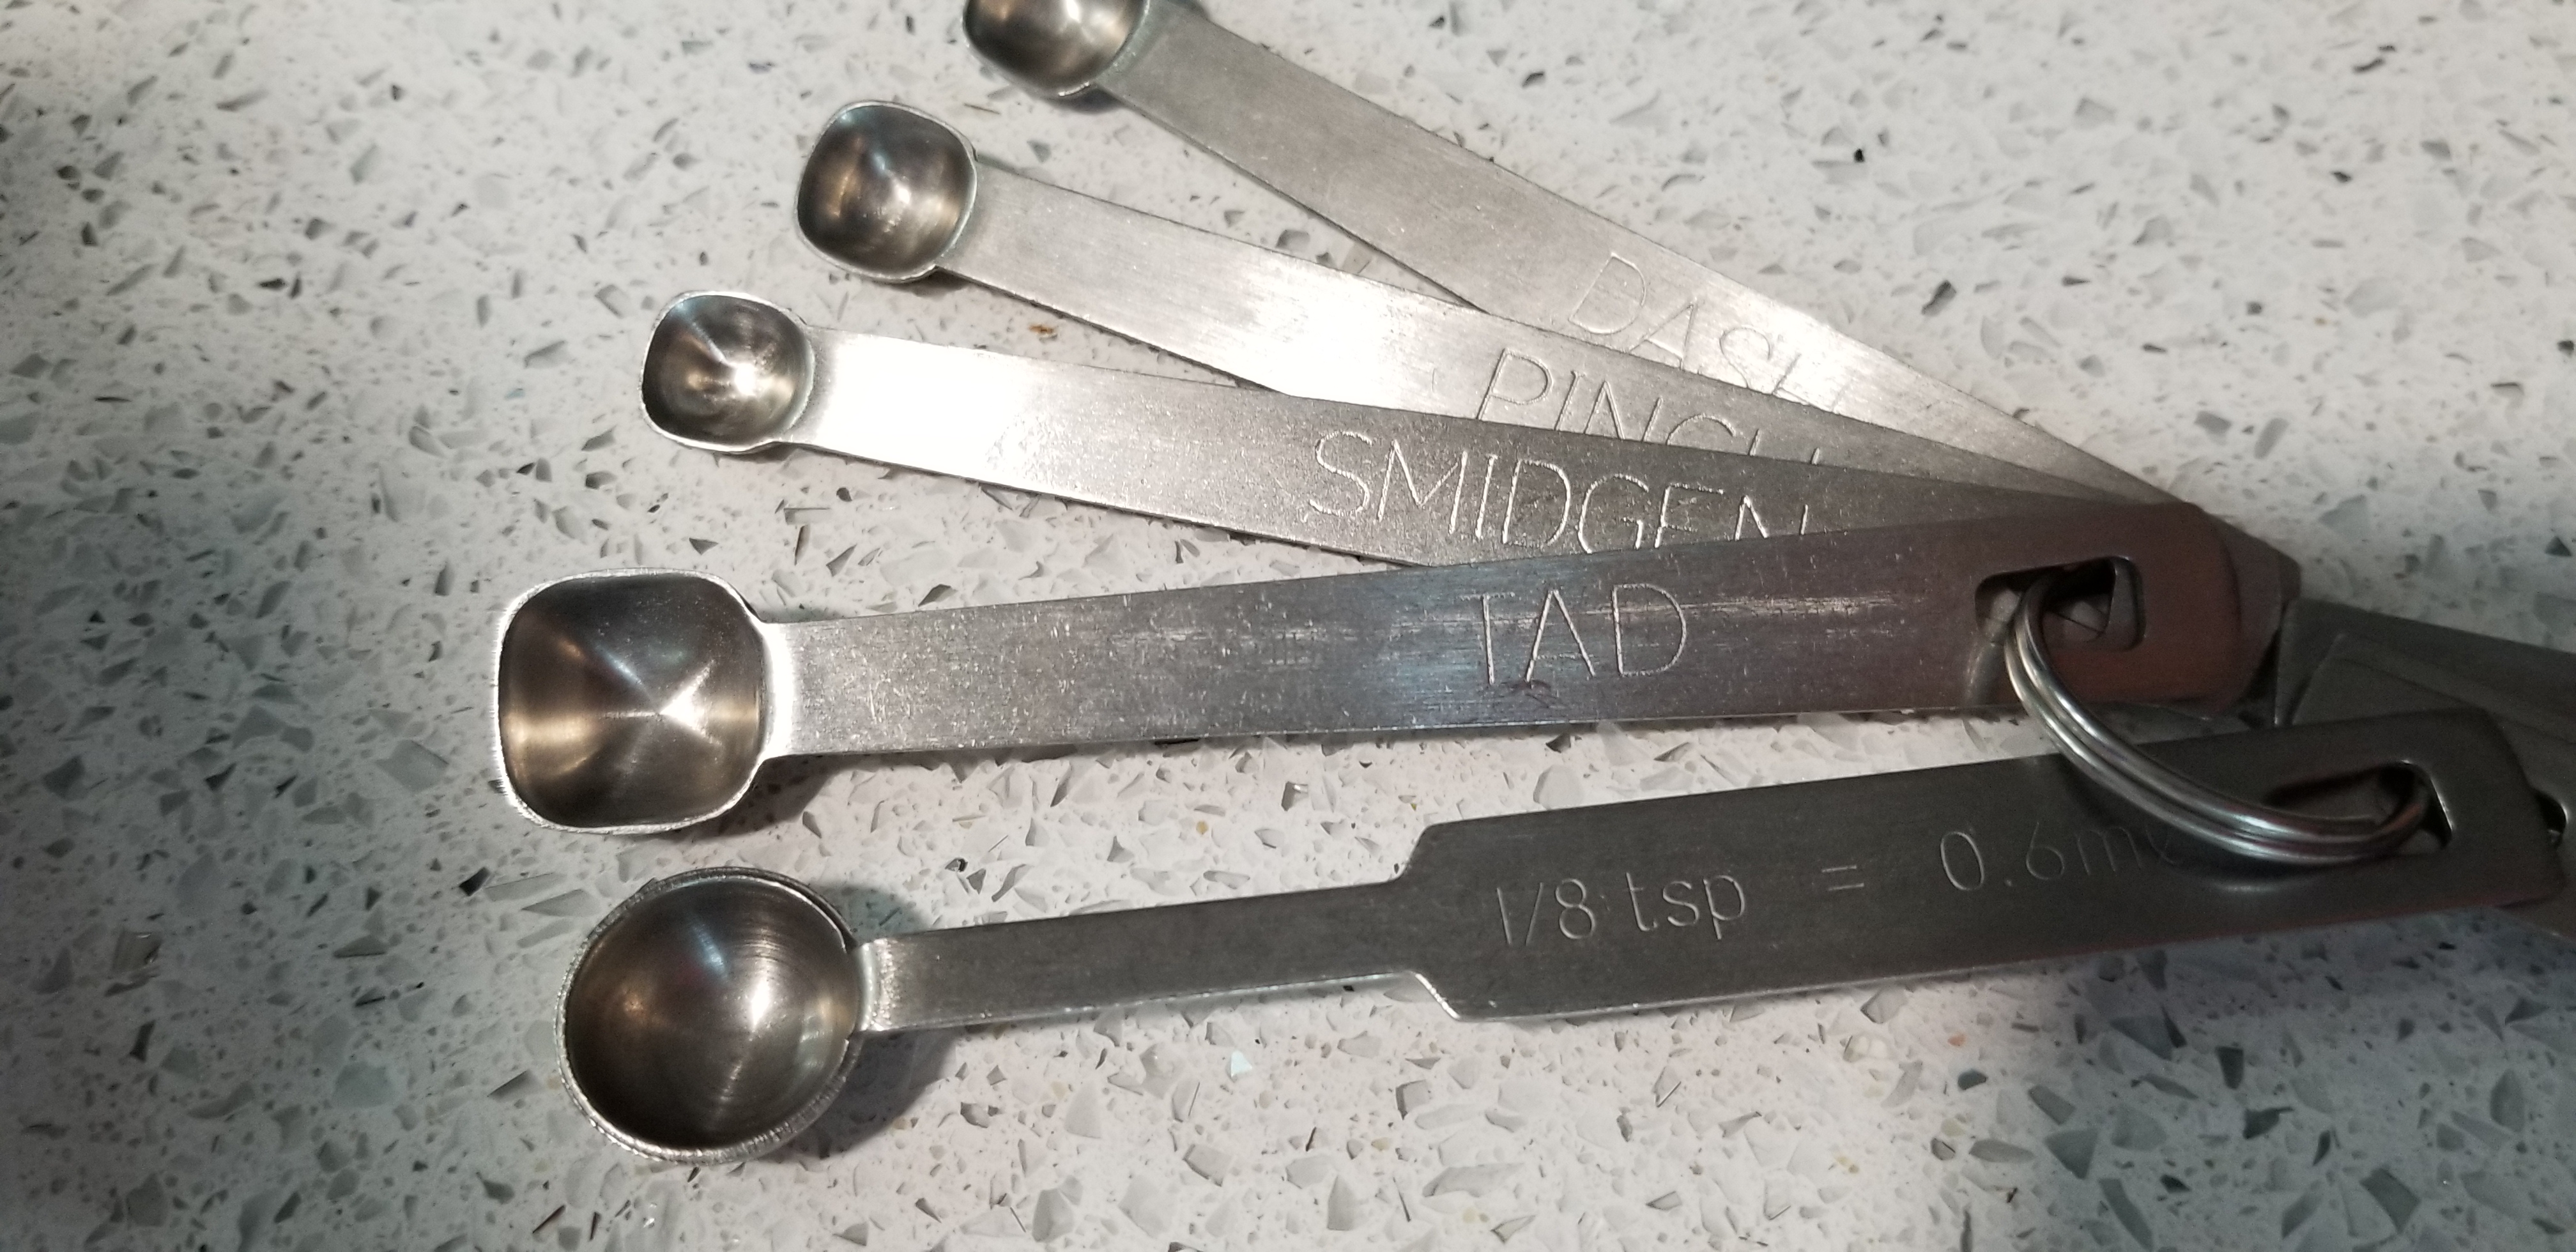
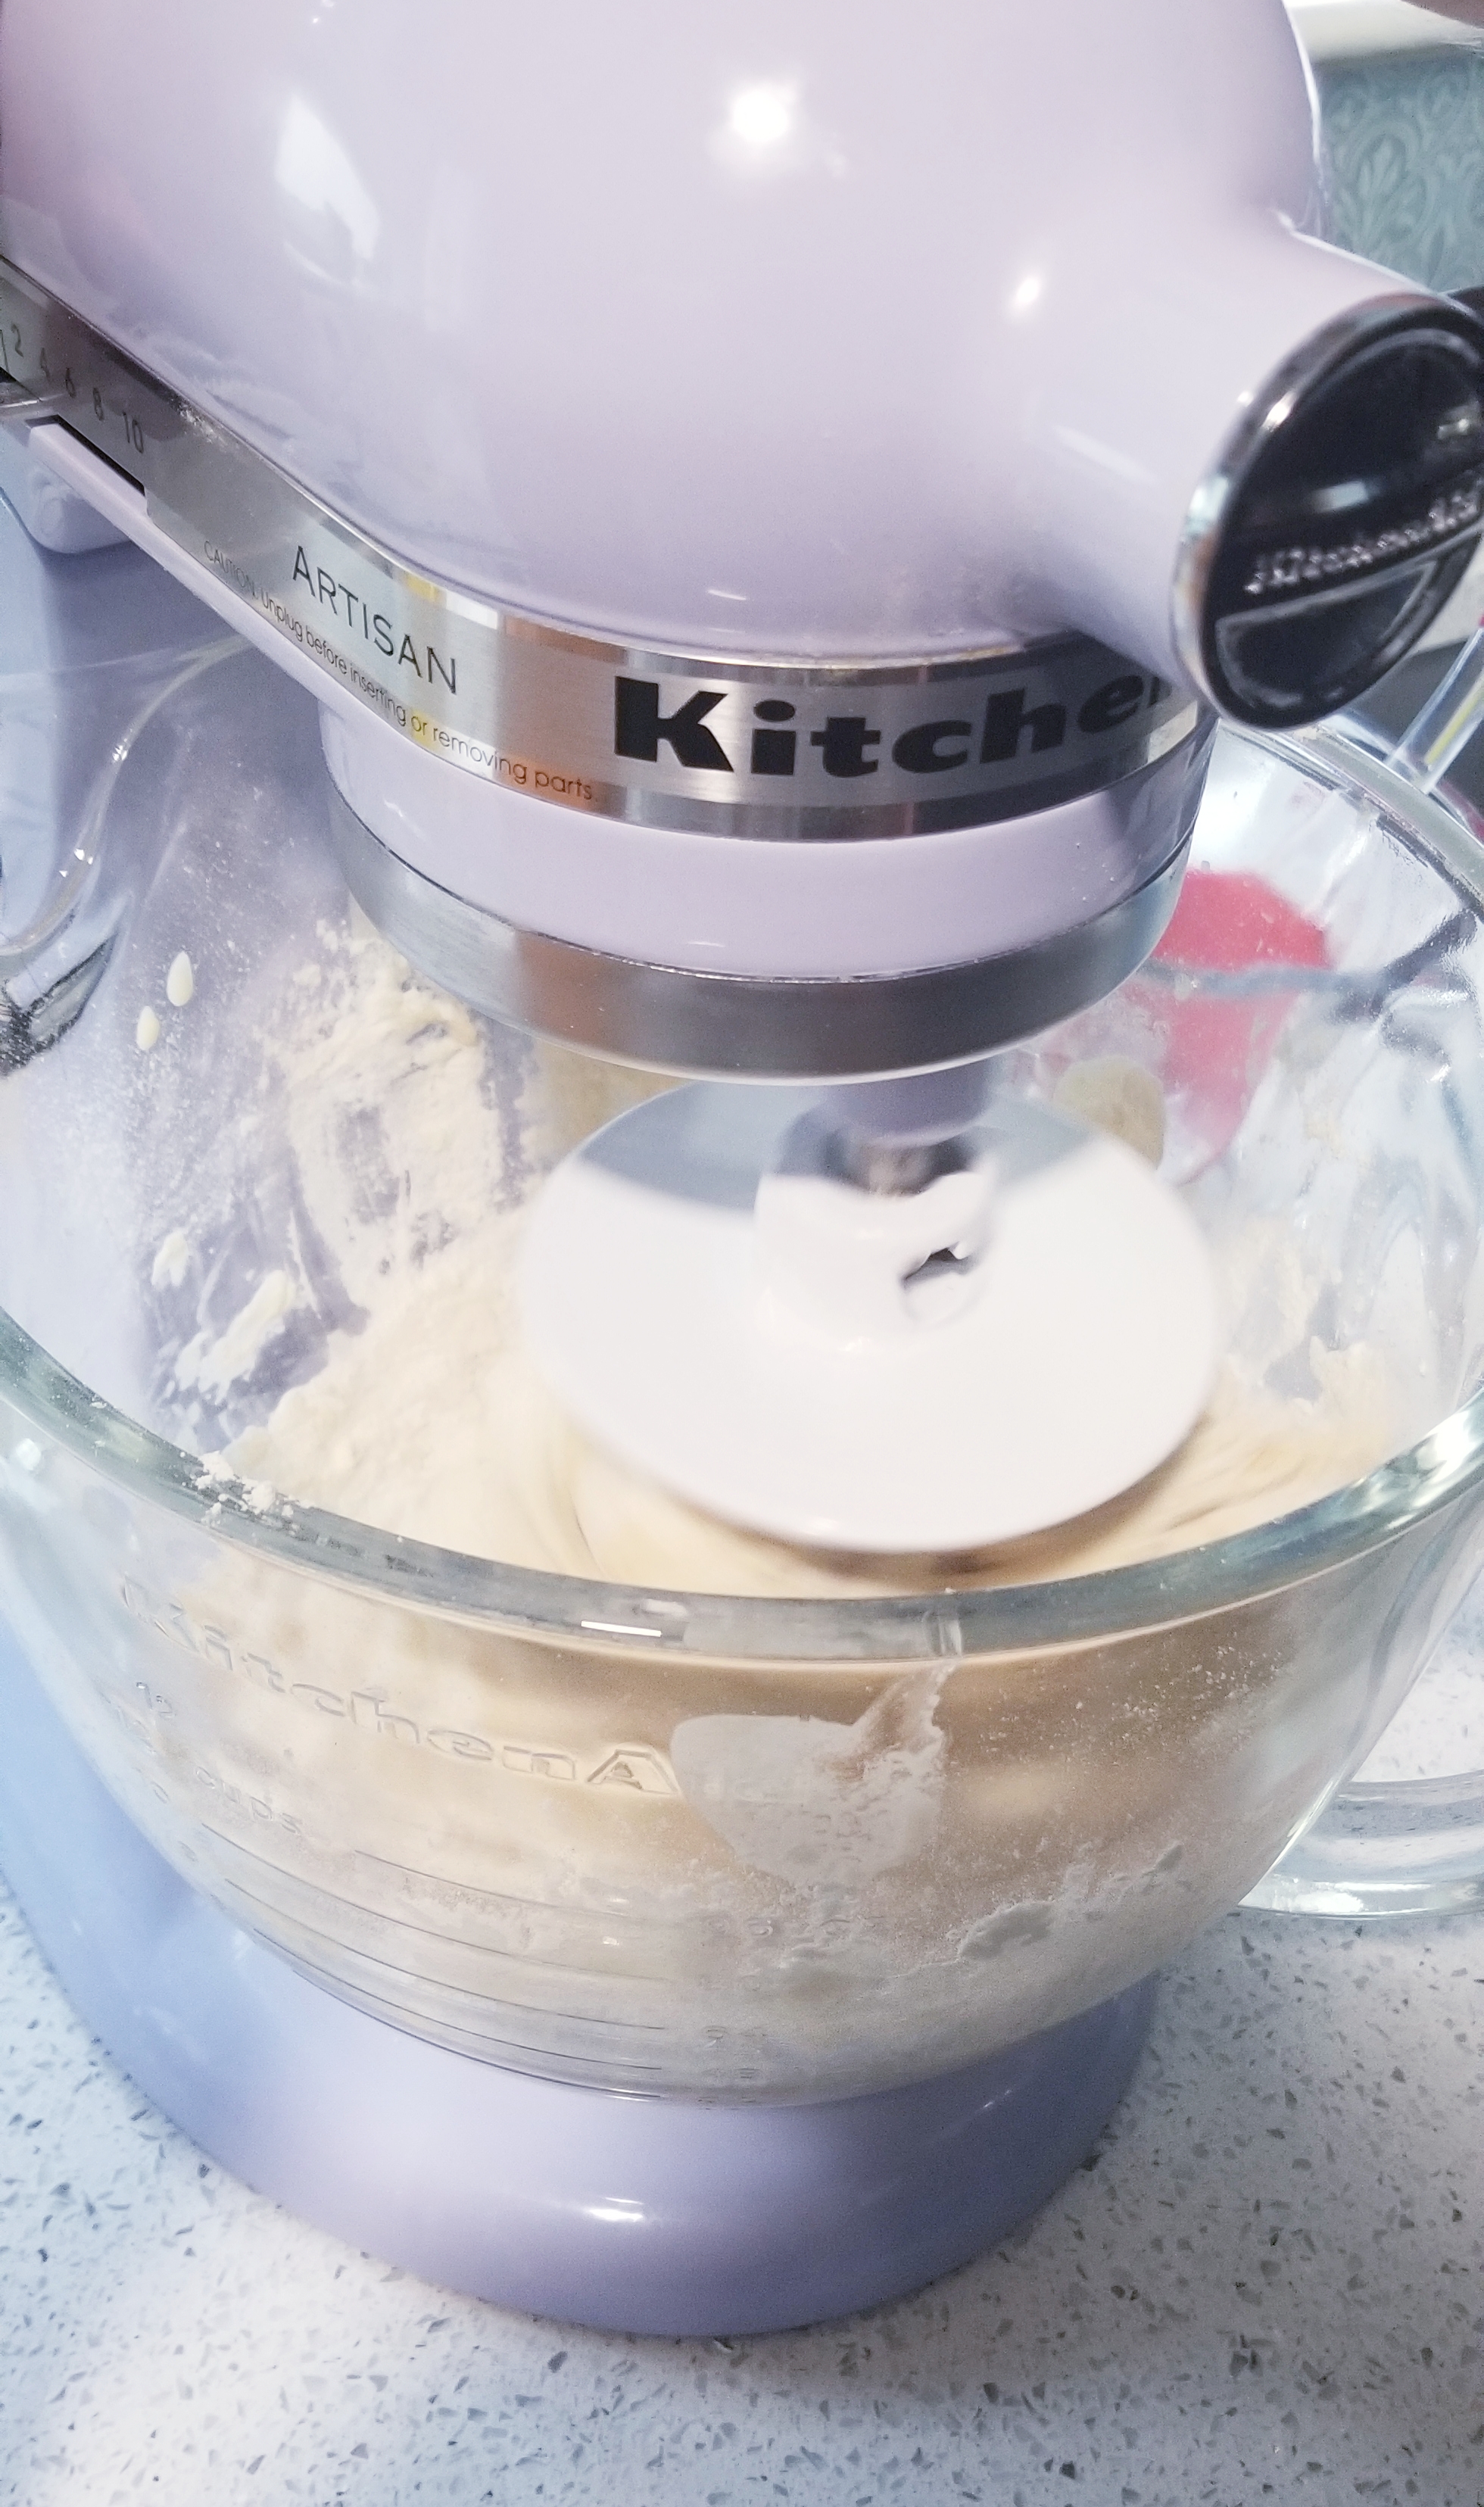
Let’s go pro! Time to step it up and do what the professional (Americans) do. For this pizza dough we adopted the Bon Appetit Grandma-Style Pie dough recipe to create a fluffy golden crust. Yesterday (the day before you want to devour) we took some dying yeast and tried to make the dough with what I considered too much water. The yeast did not bloom well. It spurted up in sad clumps that reminded me of a dying car. So we tossed it, got some healthy yeast (still just sticking with the dry packet sort) and started over. For good measure we added a “tad” of granulated/caster sugar to 1 ¾ cup of 110F water (make sure it doesn’t exceed 110F) and the yeast and left it in the KitchenAid mixing bowl for a little less than 10 minutes.
Just a tad.
Once the blooming sprouted smiles on our faces, we added 2 tbsp of Bertolli 100% pure olive oil, a decent amount of salt (shake across once…twice…and a third for good measure) and 2 cups of flour. The mixer turned on to “stir” until mostly incorporated, we stopped the machine and scraped down the sides before adding another cup and turning it back on. The final cup was added soon after and we turned it to 4 (medium) for 4-5 minutes. It was pretty sticky, but apparently we wanted that, so, awesome.
The dough went straight into a well-oiled large bowl, covered in plastic wrap (sorry environment), and into the fridge for 24 hours. Honestly, it was probably only 23 hours, but who’s counting? When we finished prepping the dough we made homemade sauce. Bon Appetit used San Marzano peeled tomatoes (1 can) and we added Hunt’s tomato paste (6oz+), 2 cloves of garlic and a couple shakes of garlic salt and basil. It tastes a bit more garlicky when cooked than it did raw. Only about ¾ of the sauce we made went on the pizza.
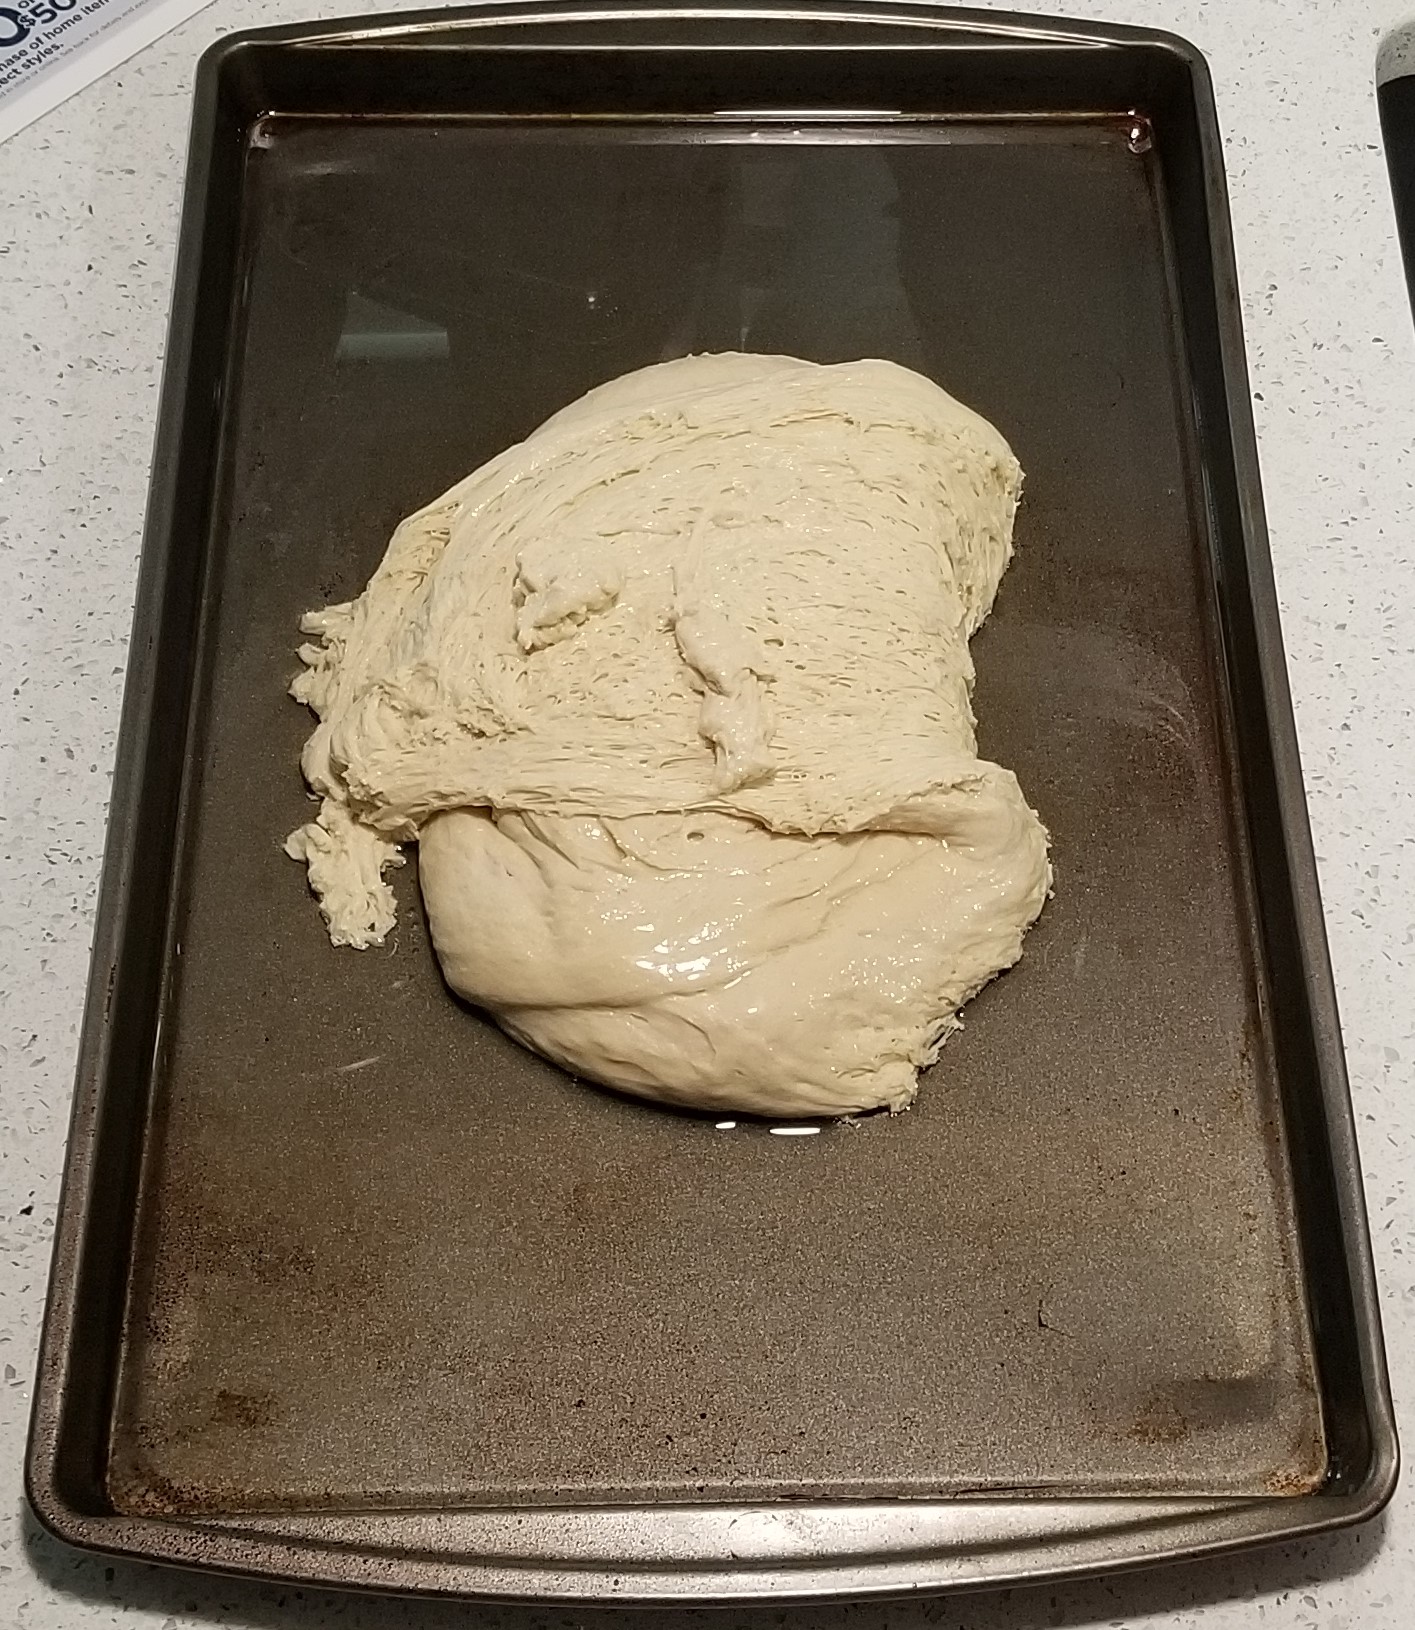
Fast forward to the next day (today), the dough rose nicely,
with the condensation bubbled on the underside of the plastic wrap. Still fairly
sticky, but much less so. We poured (too much) oil onto a baking sheet with a
lip. Then turned the bowl upside-down and encouraged the dough to release from the
bowl. We let it sit in the pan for about 10 minutes, stretched it towards the
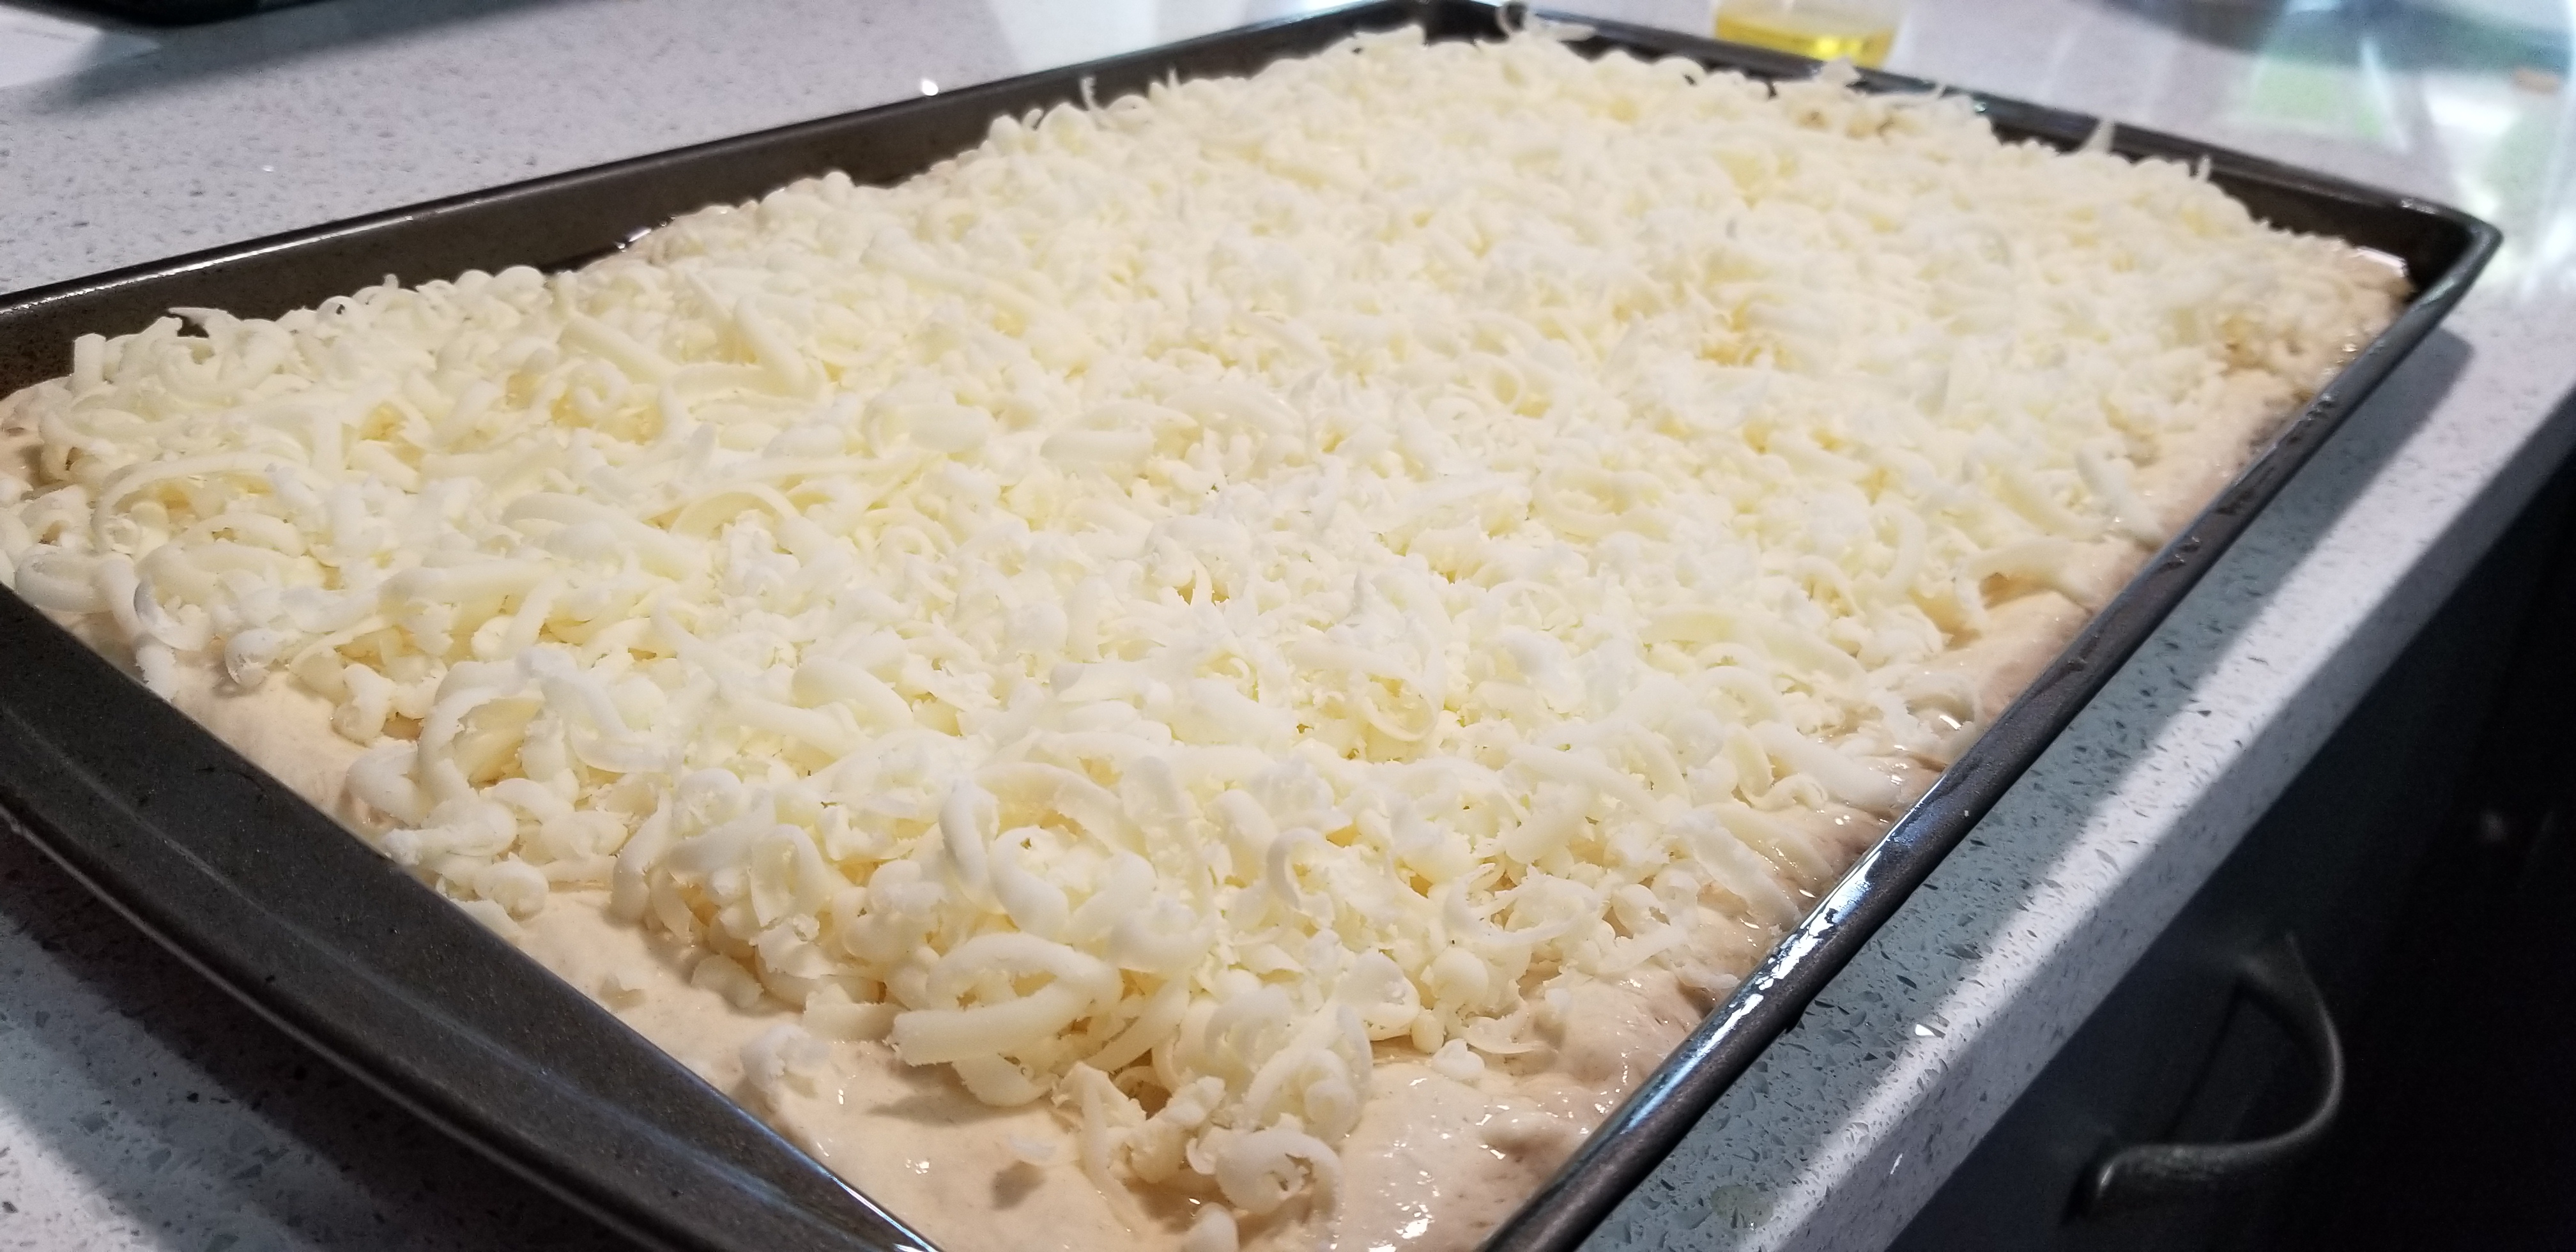
corners with well-oiled fingers, and let it rest again. Eventually it stayed
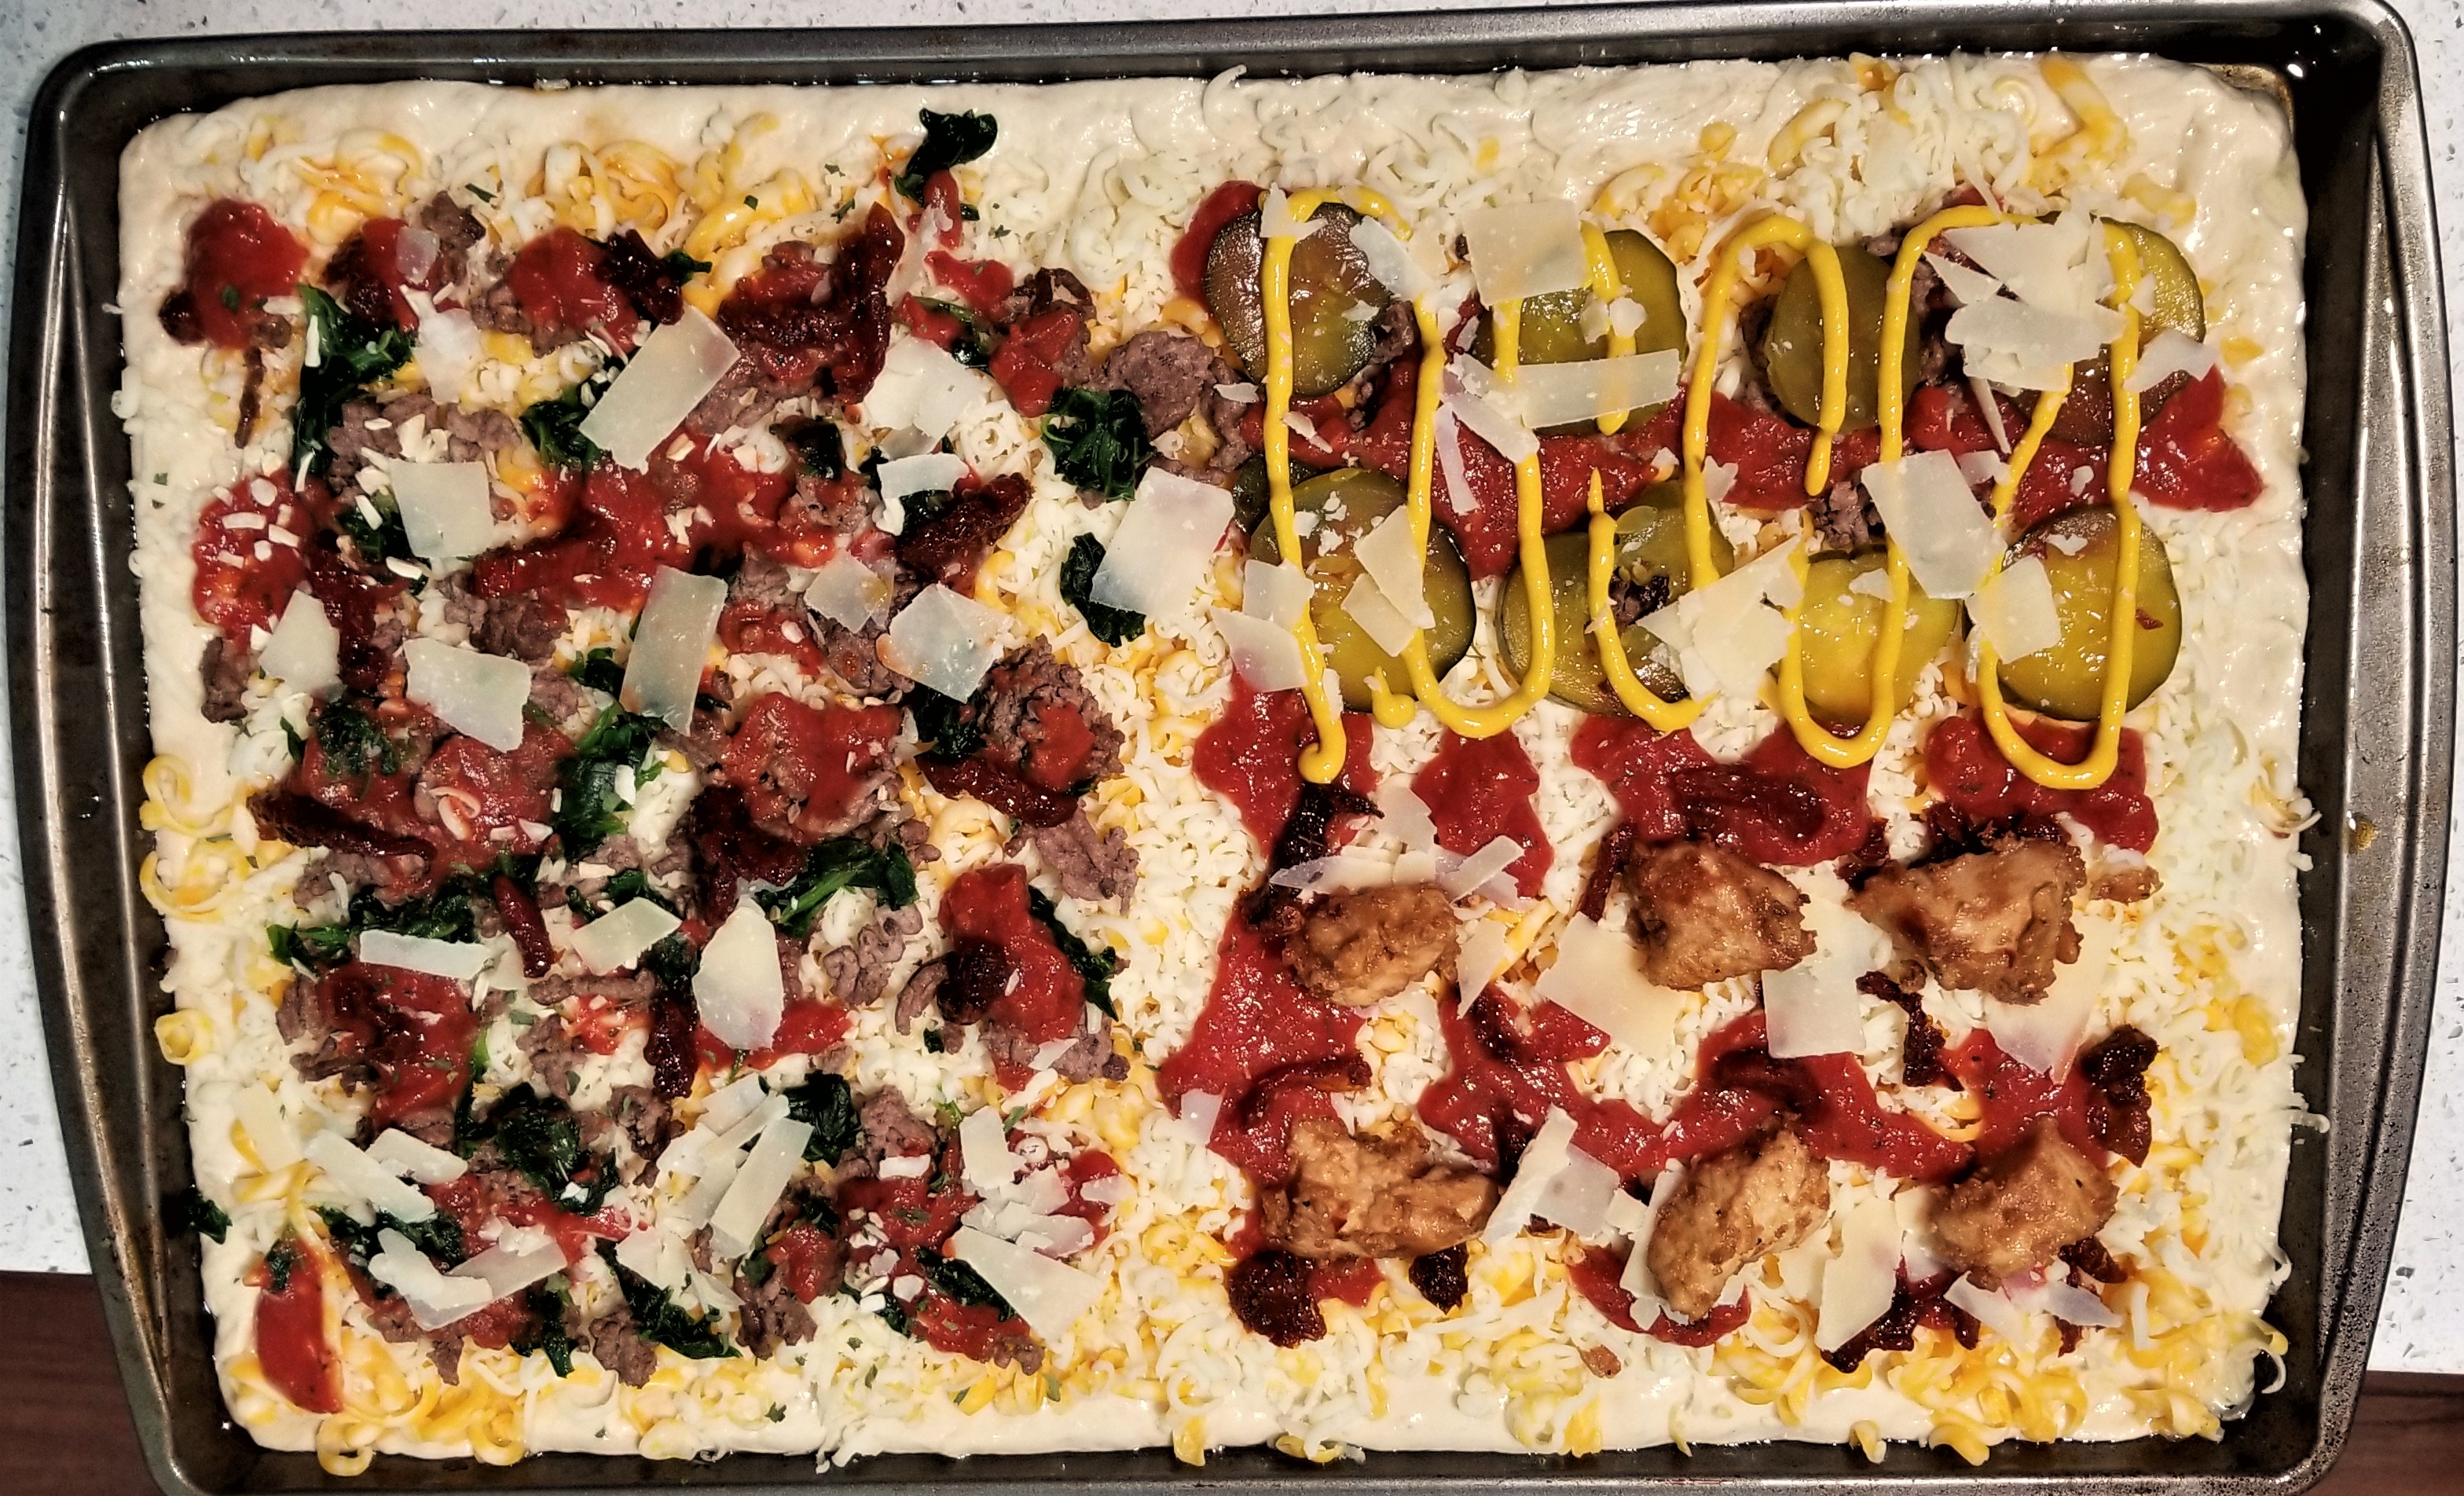
stretched out and we added about 3 cups of home-shredded (KitchenAid
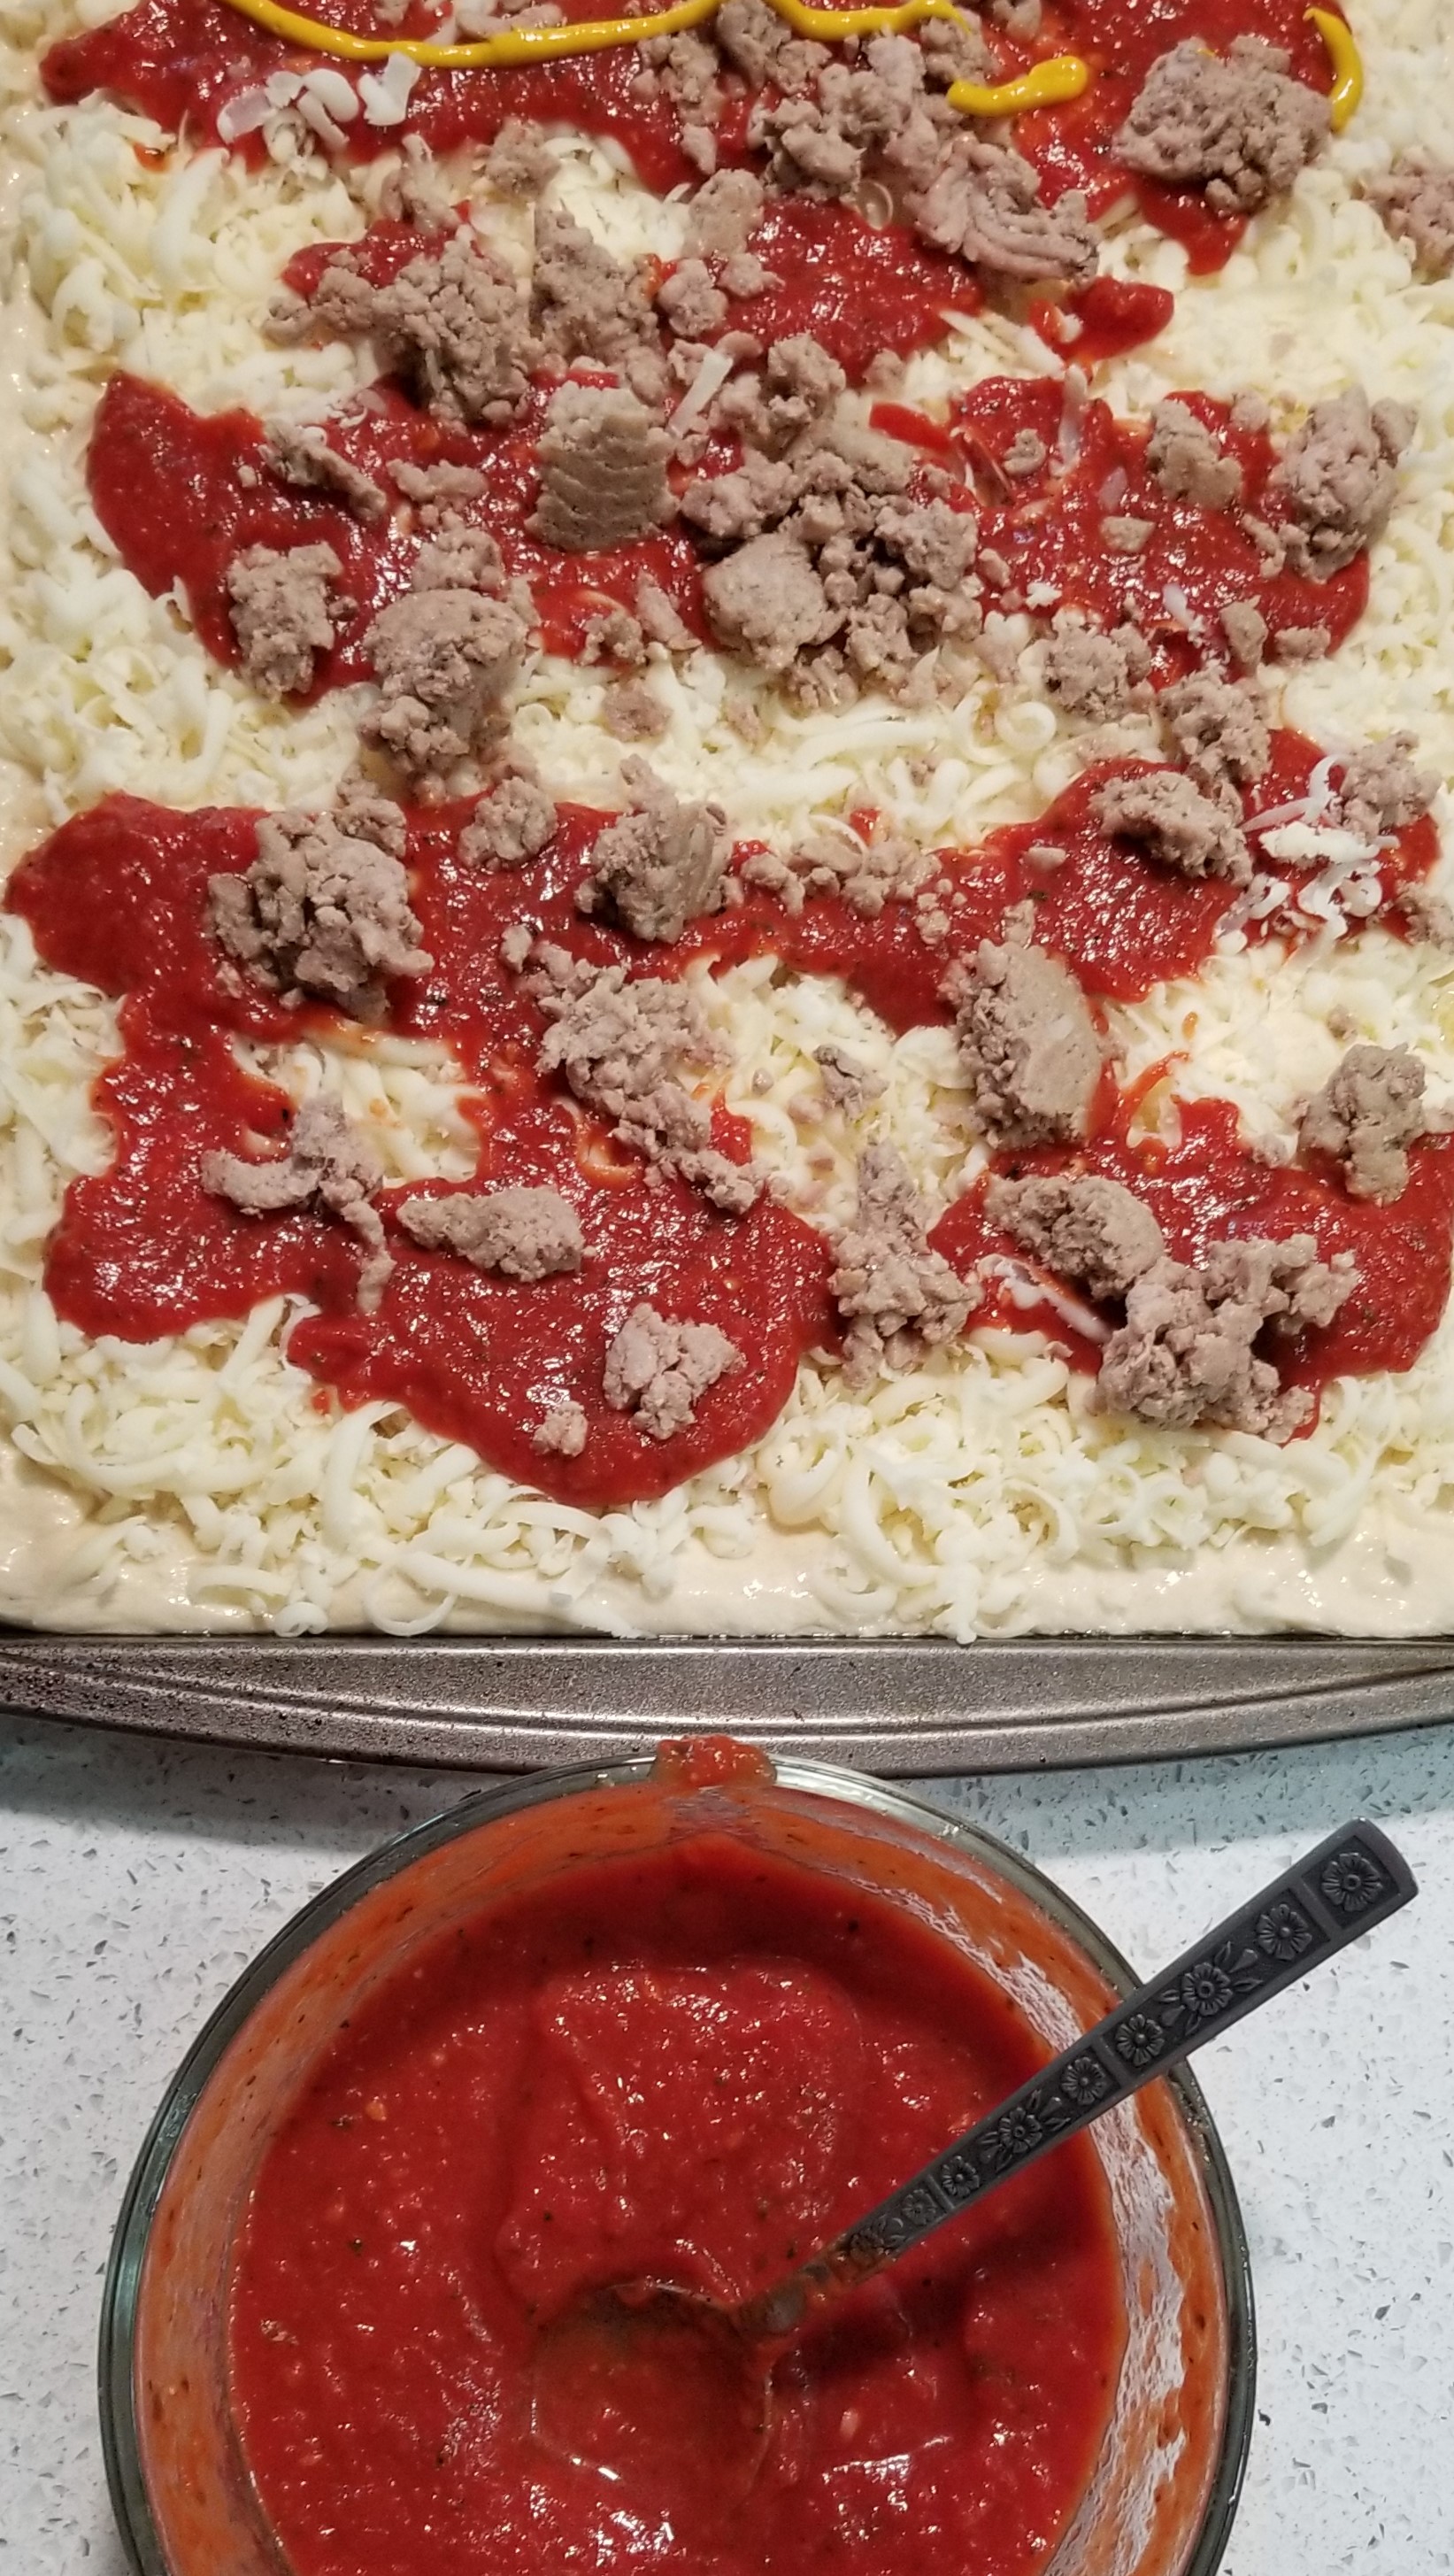
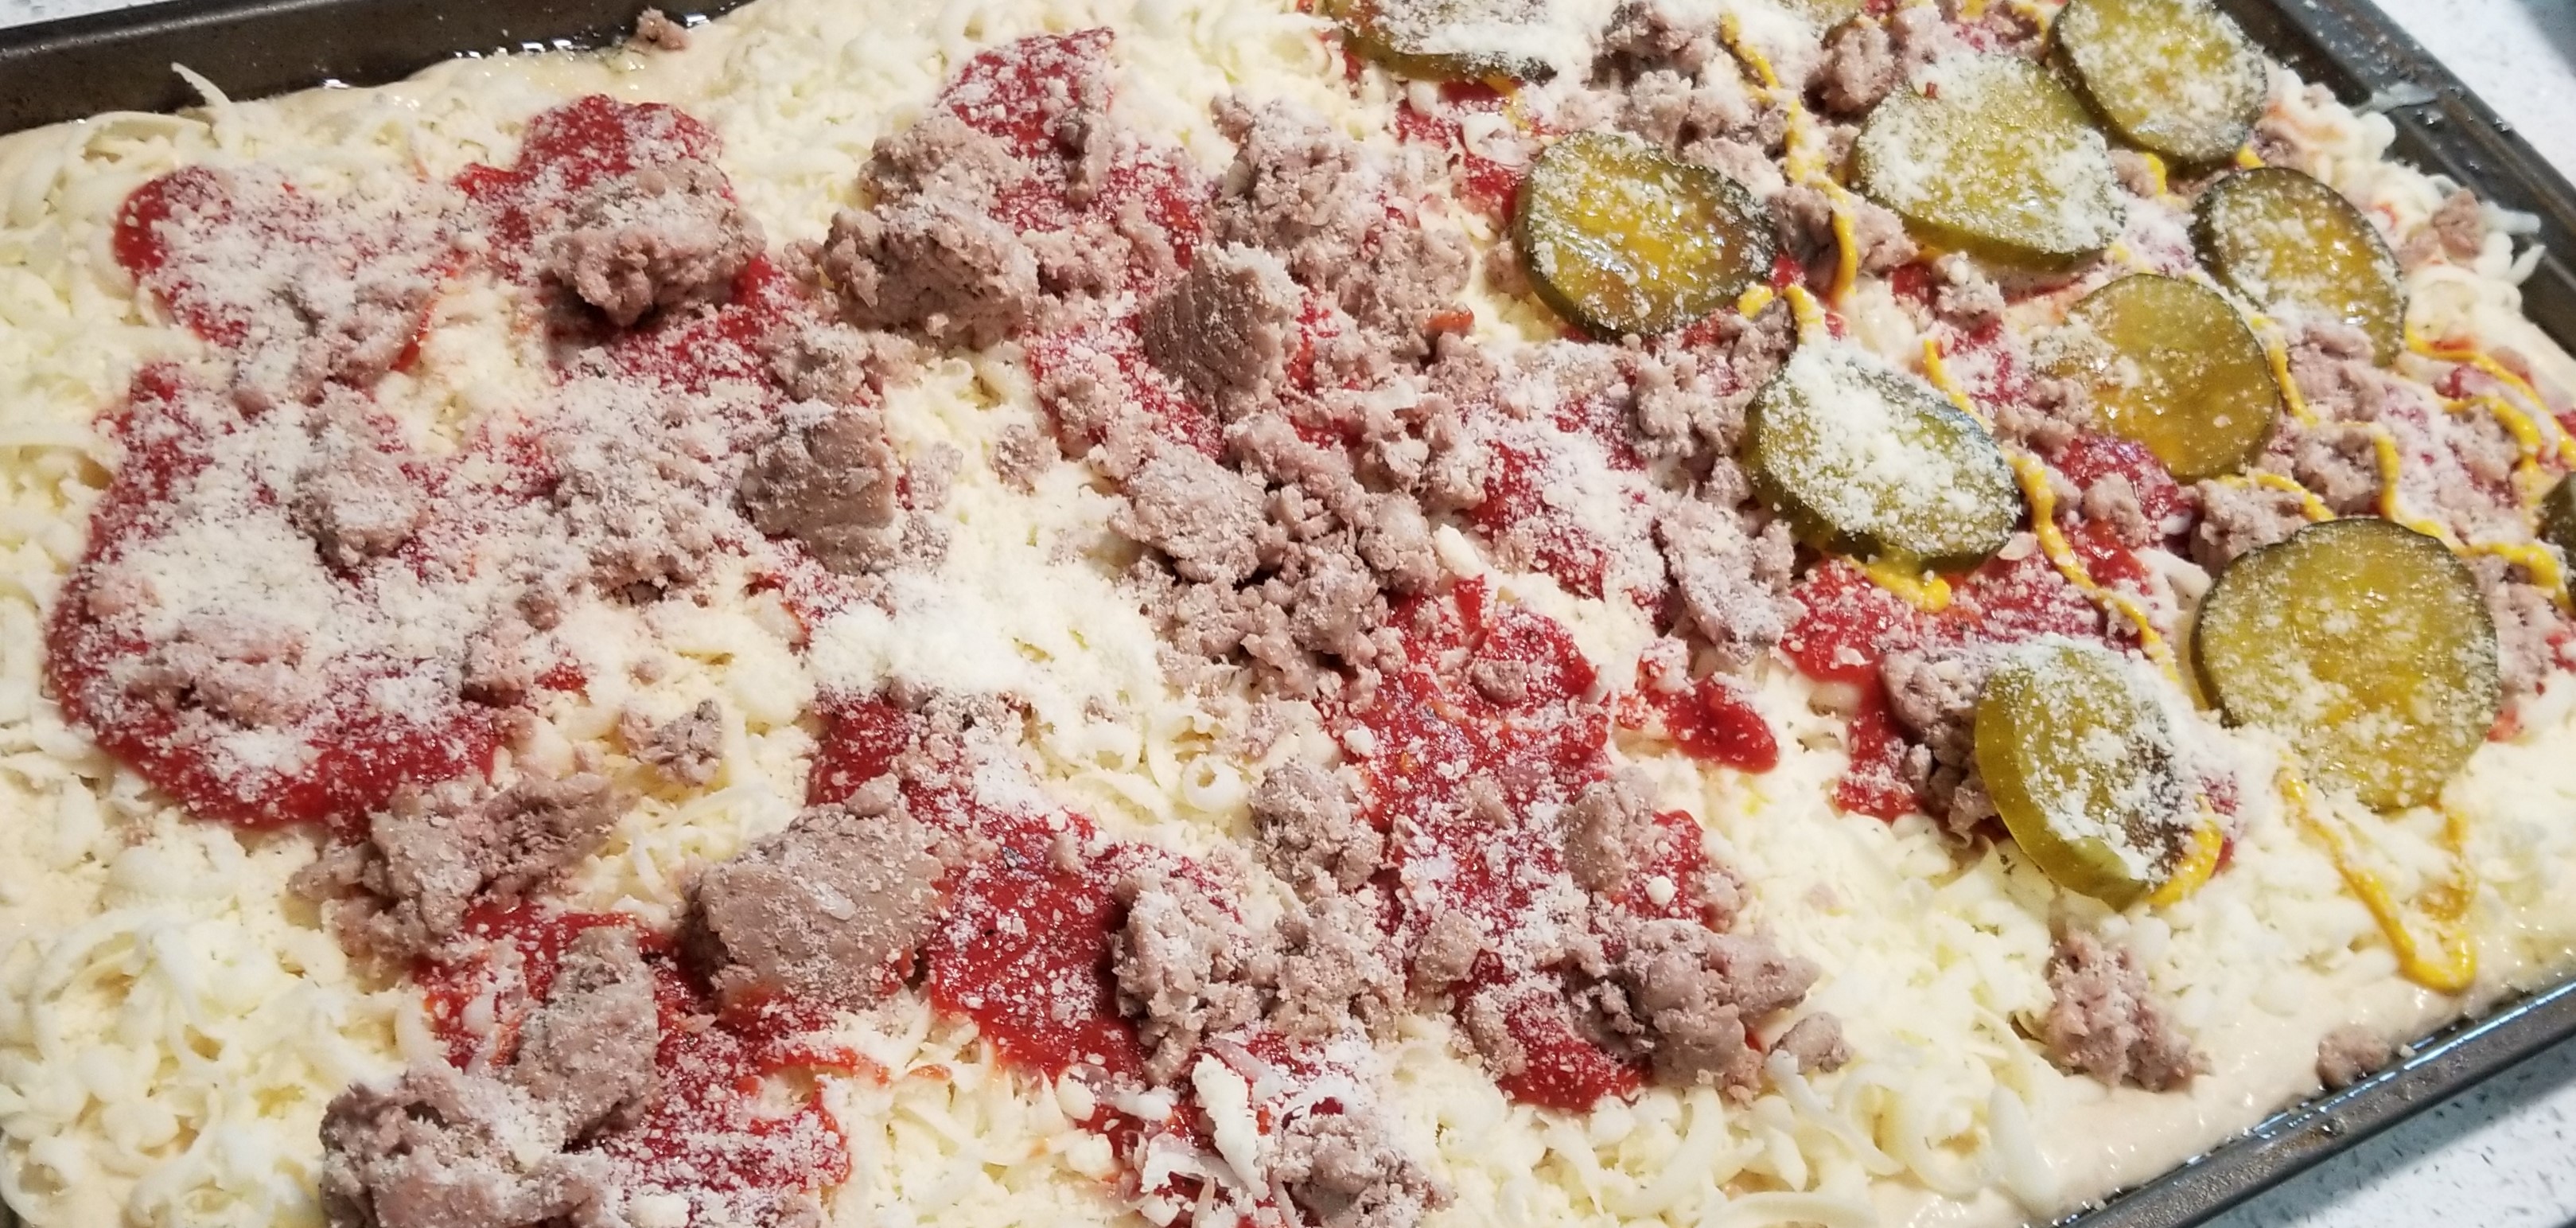
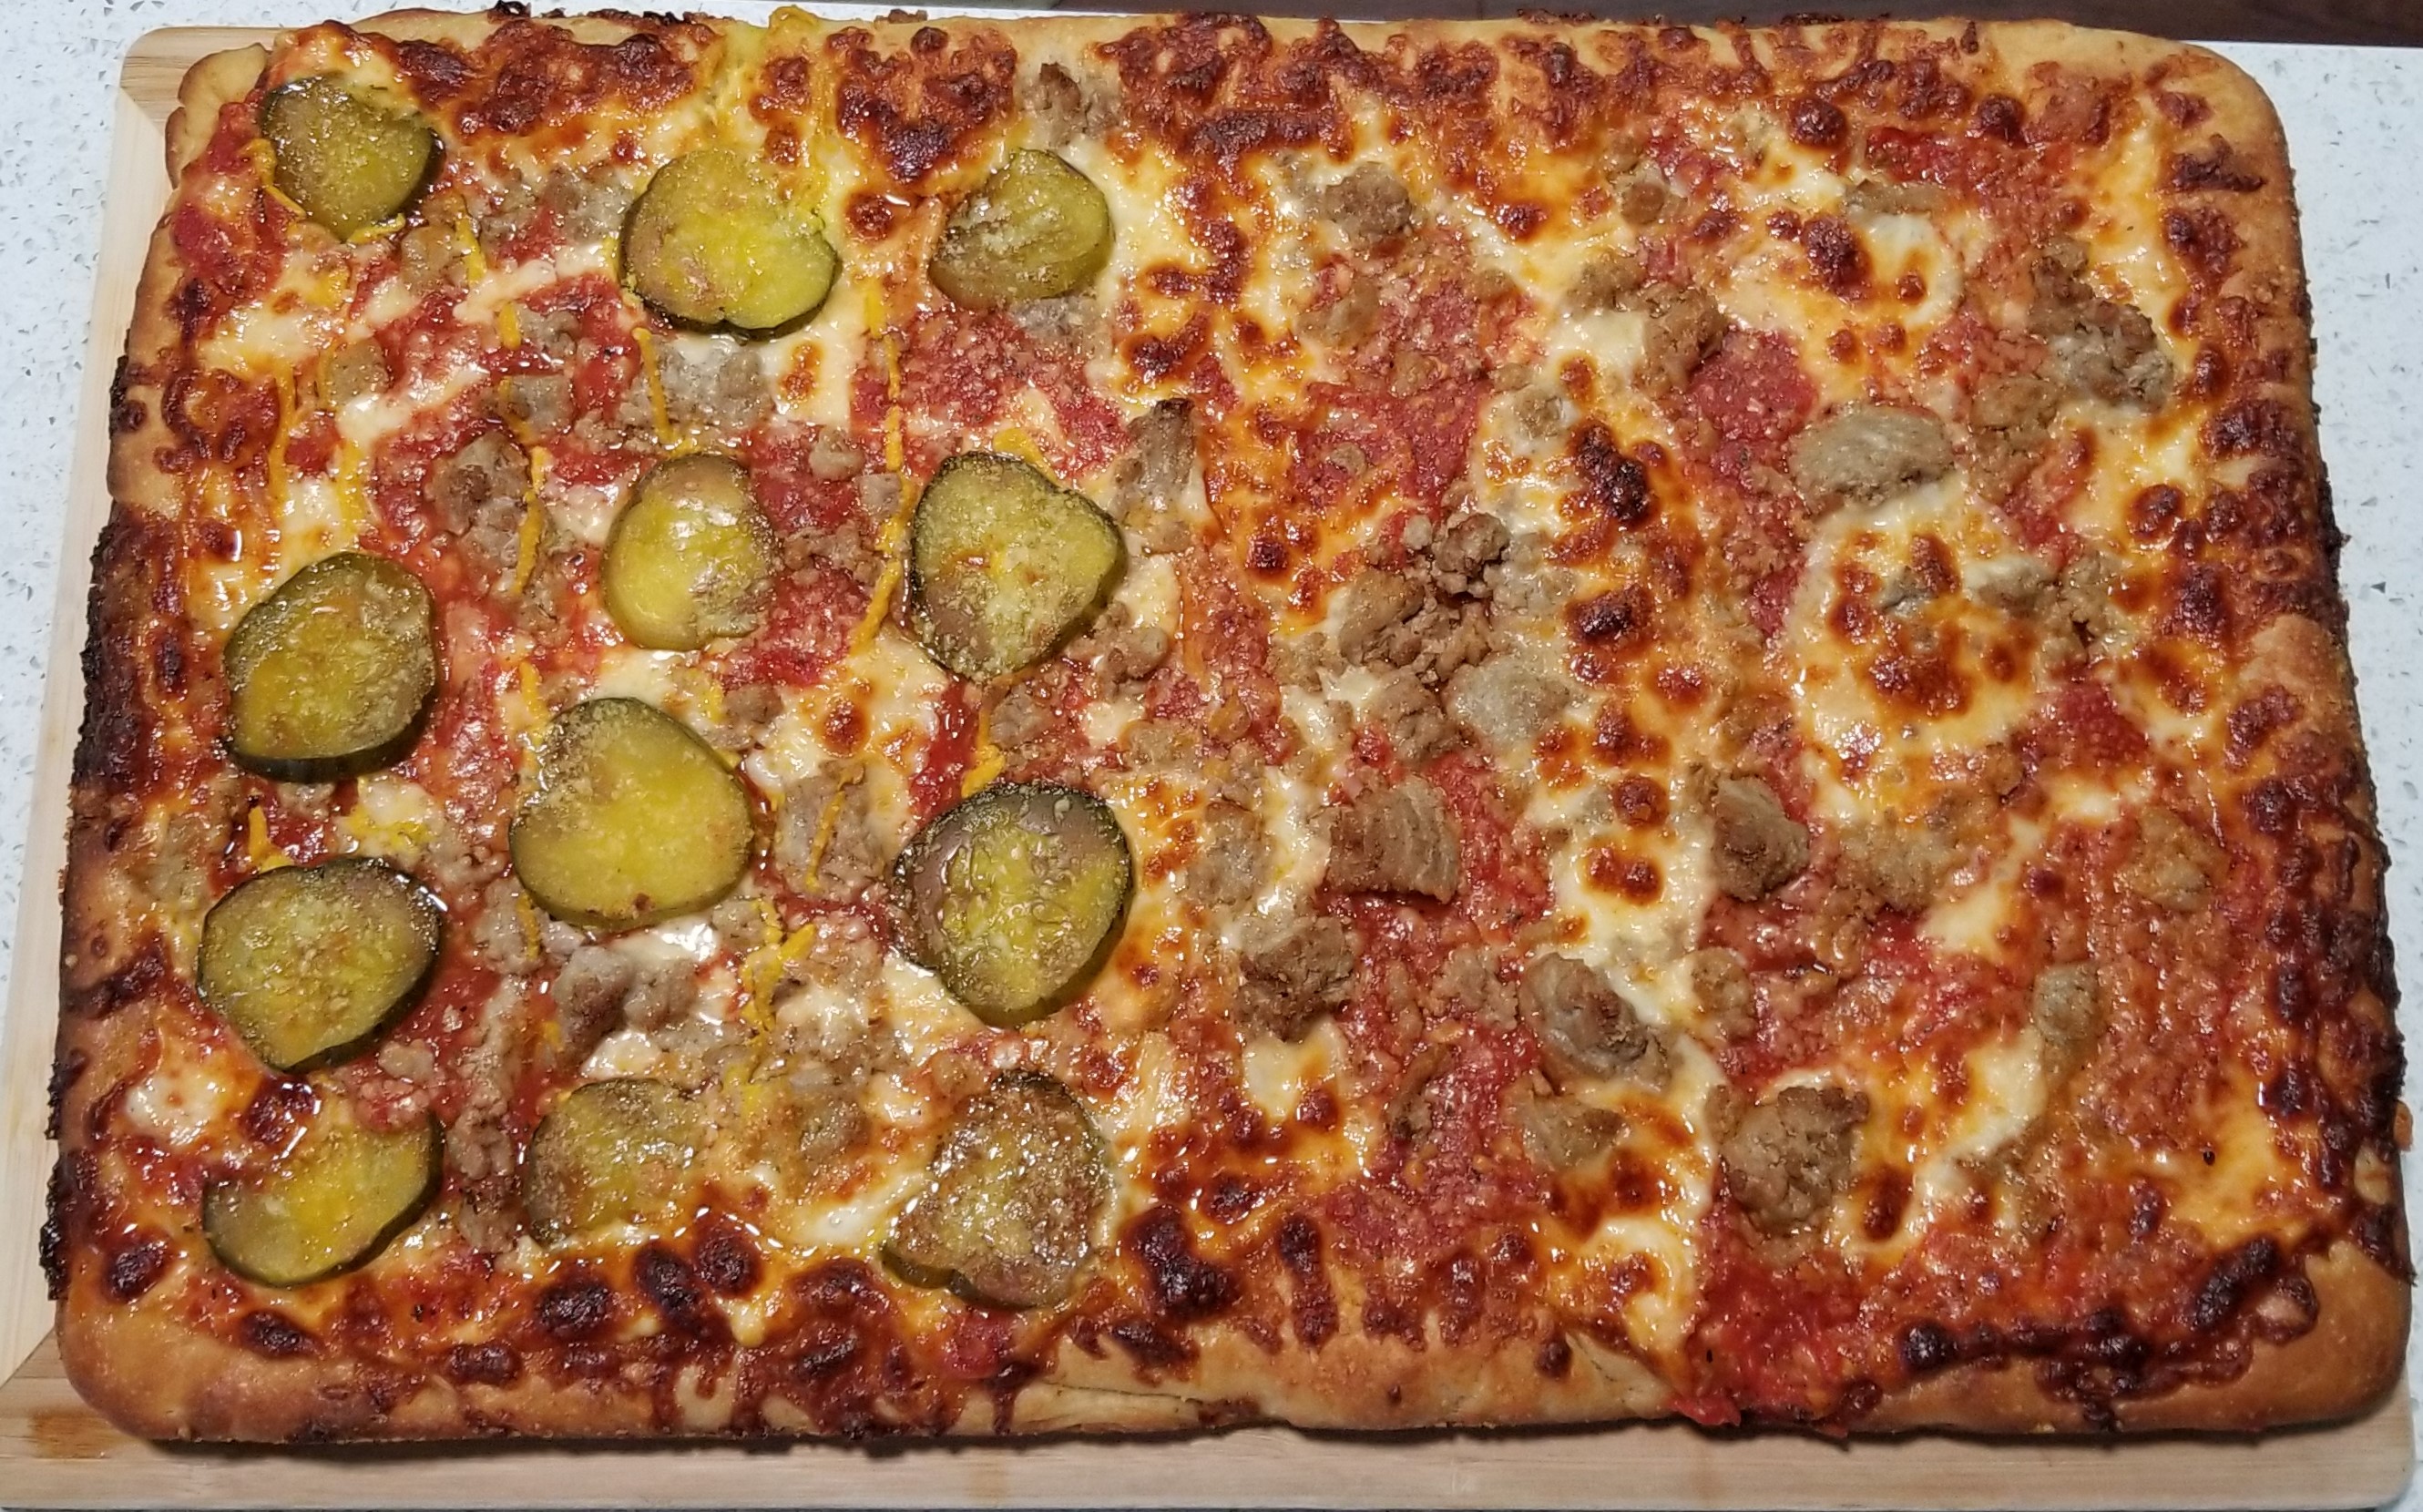
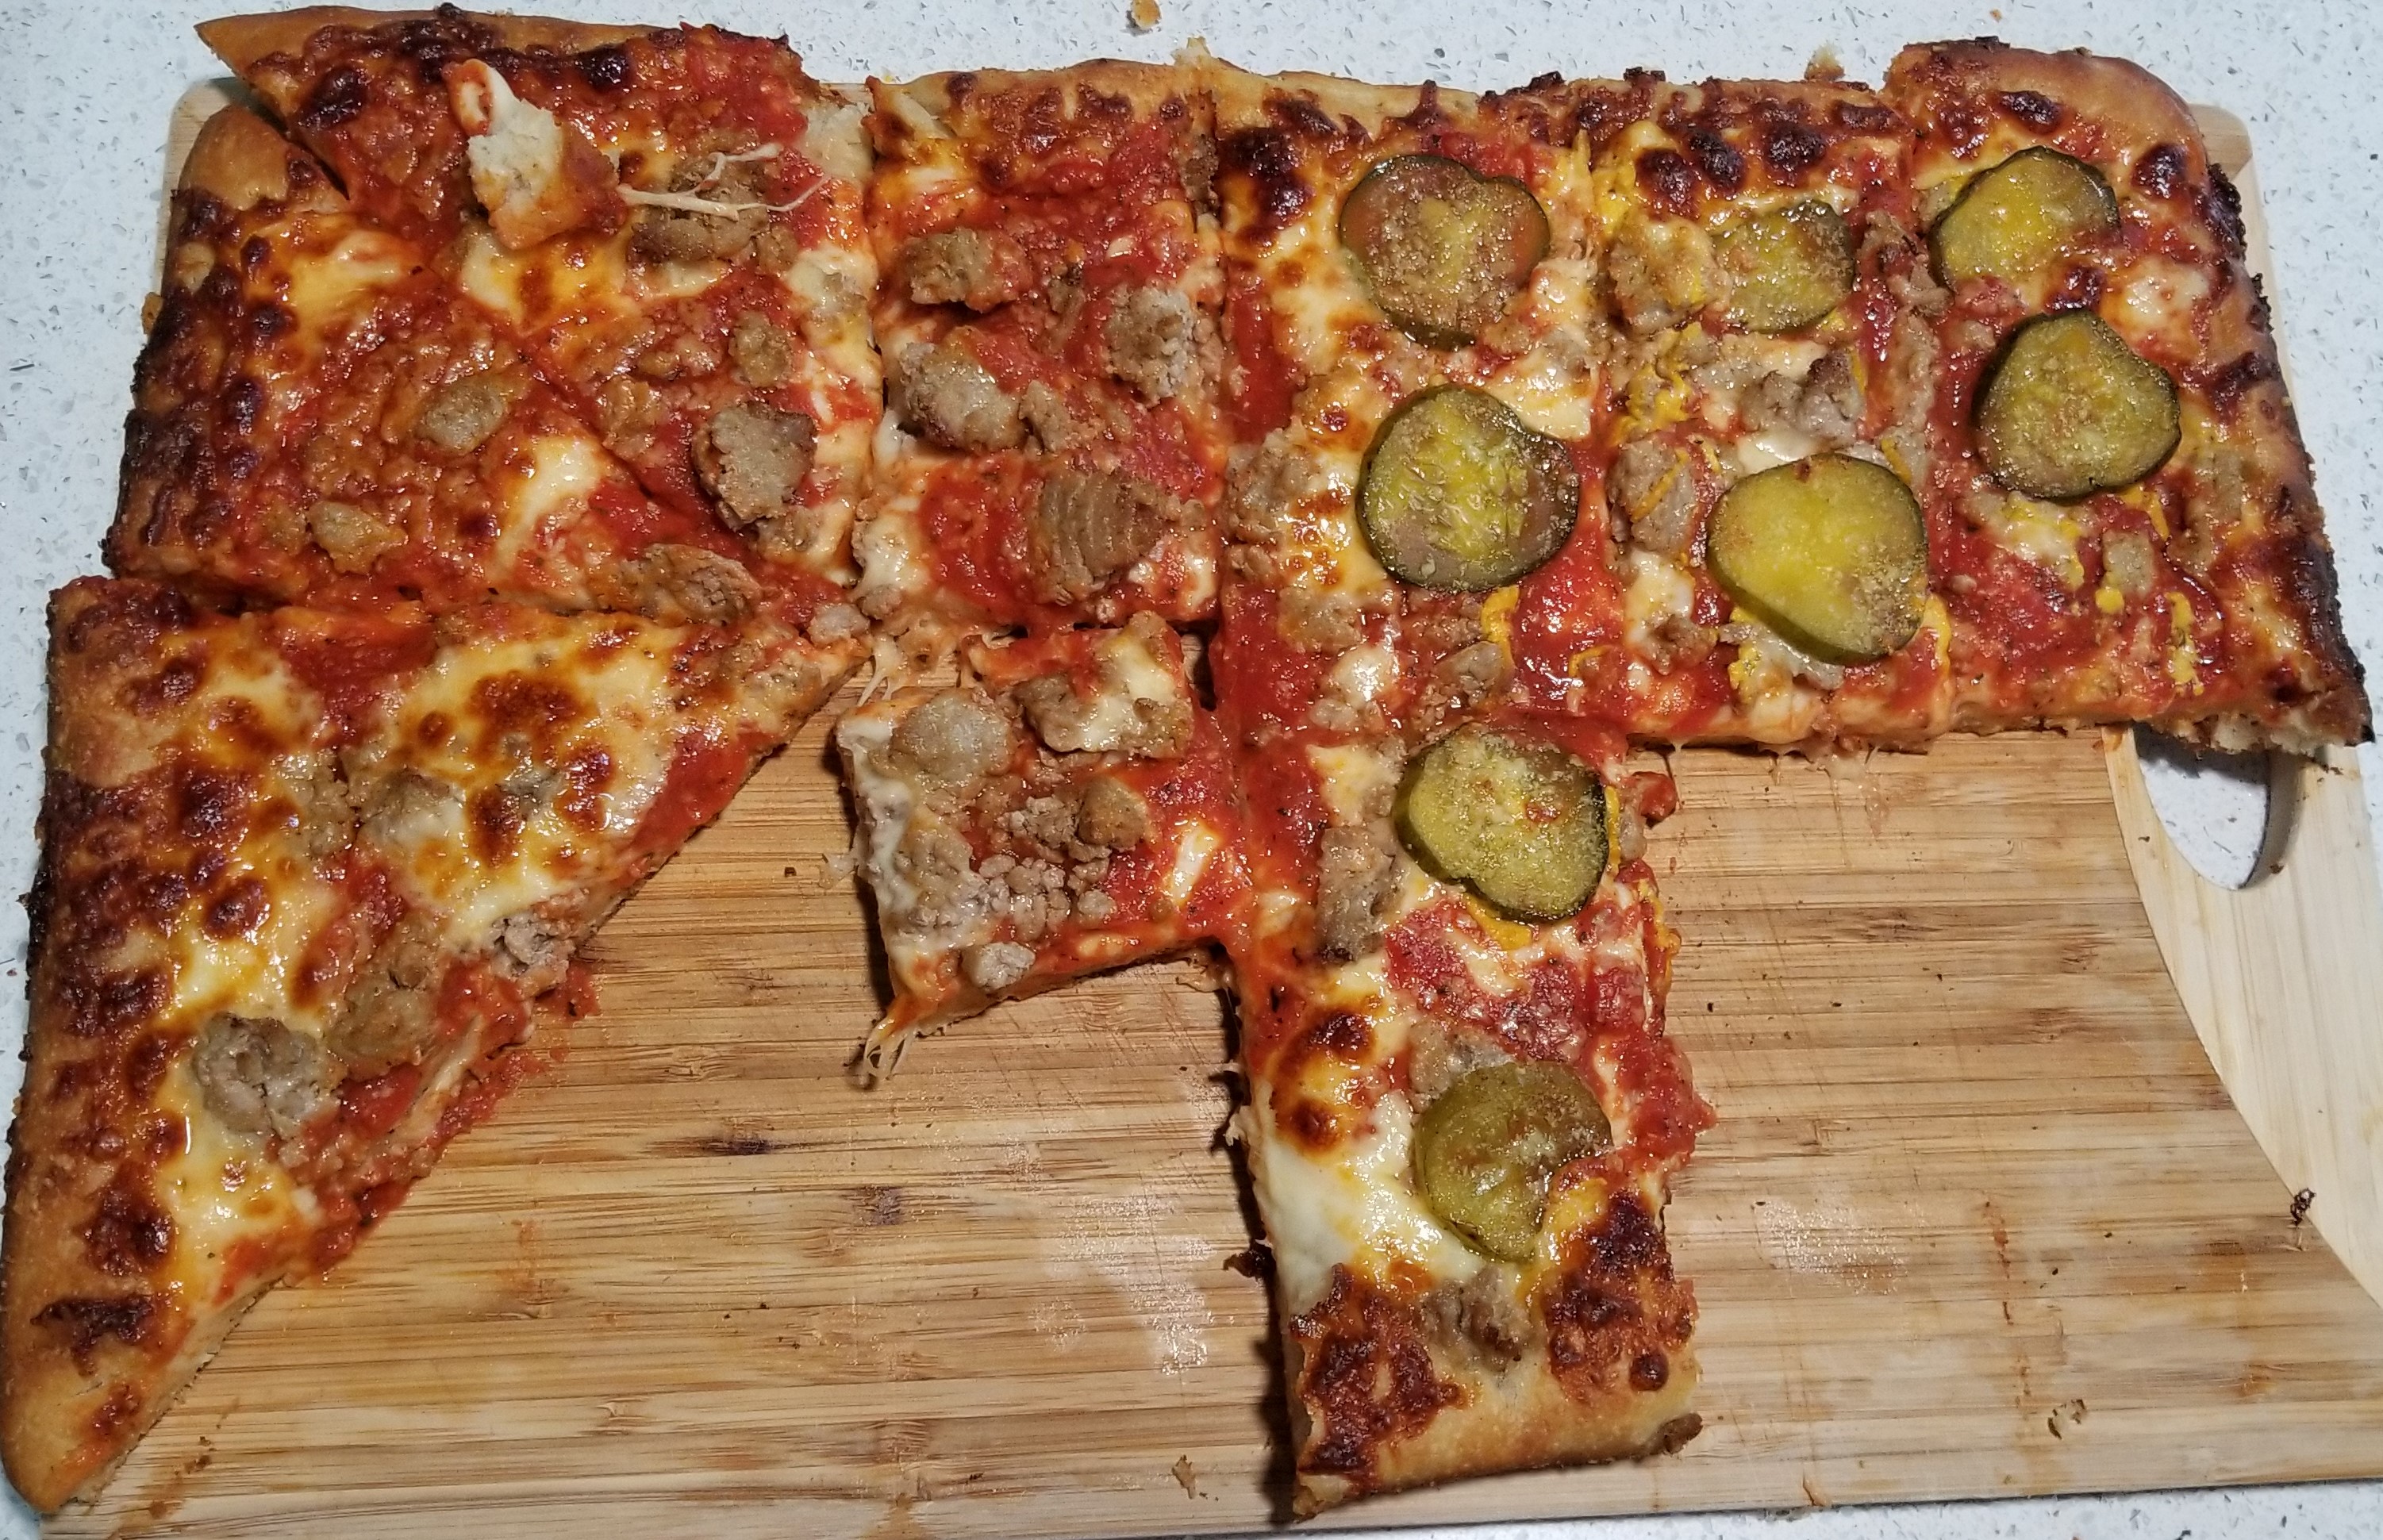
attachment) mozzarella. We spooned the homemade sauce on in stripes and made
half with ground turkey and turned the other half into a cheeseburger pizza by
adding yellow mustard, the ground turkey, and pickles (spicy ones). I am just
realizing that onions would have been a good cheeseburger pizza topping too… oh
well, next time.
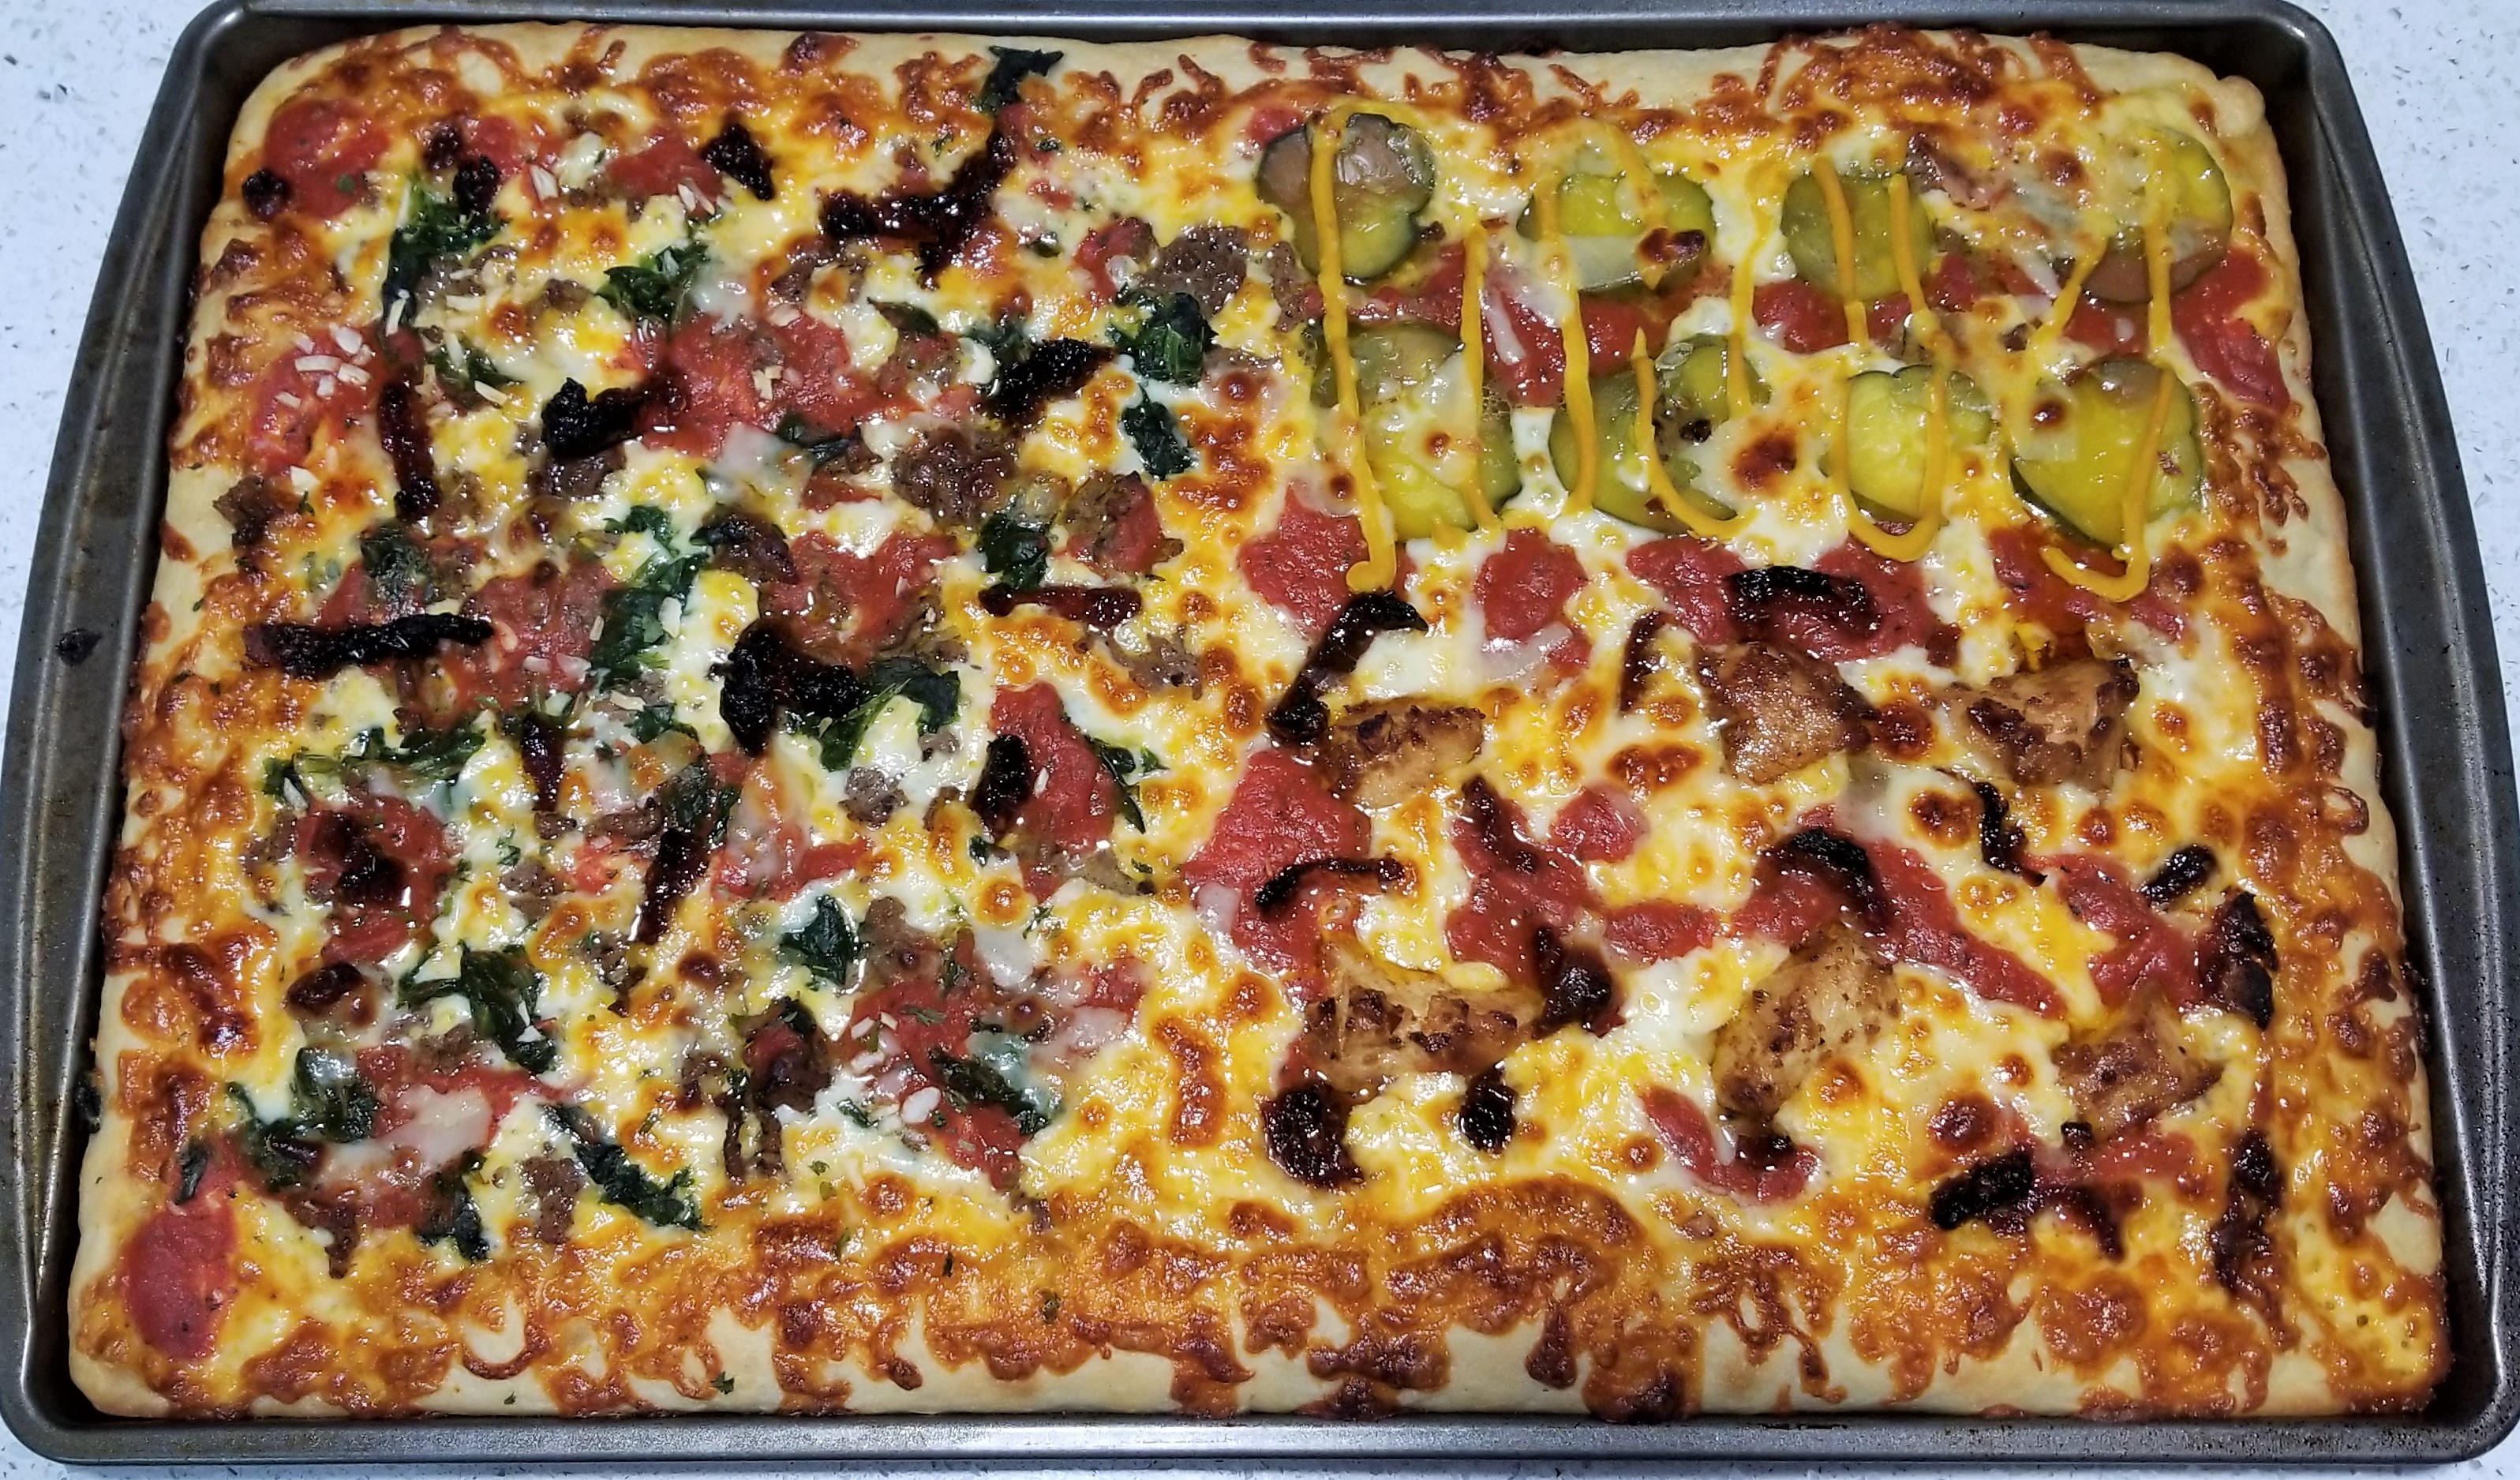
Bon Appetit suggested 525F for 20-30 minutes for this pizza.
I would not recommend that unless you want your pizza burnt. We became
impatient halfway through the oven pre-heating and ended up putting the pizza
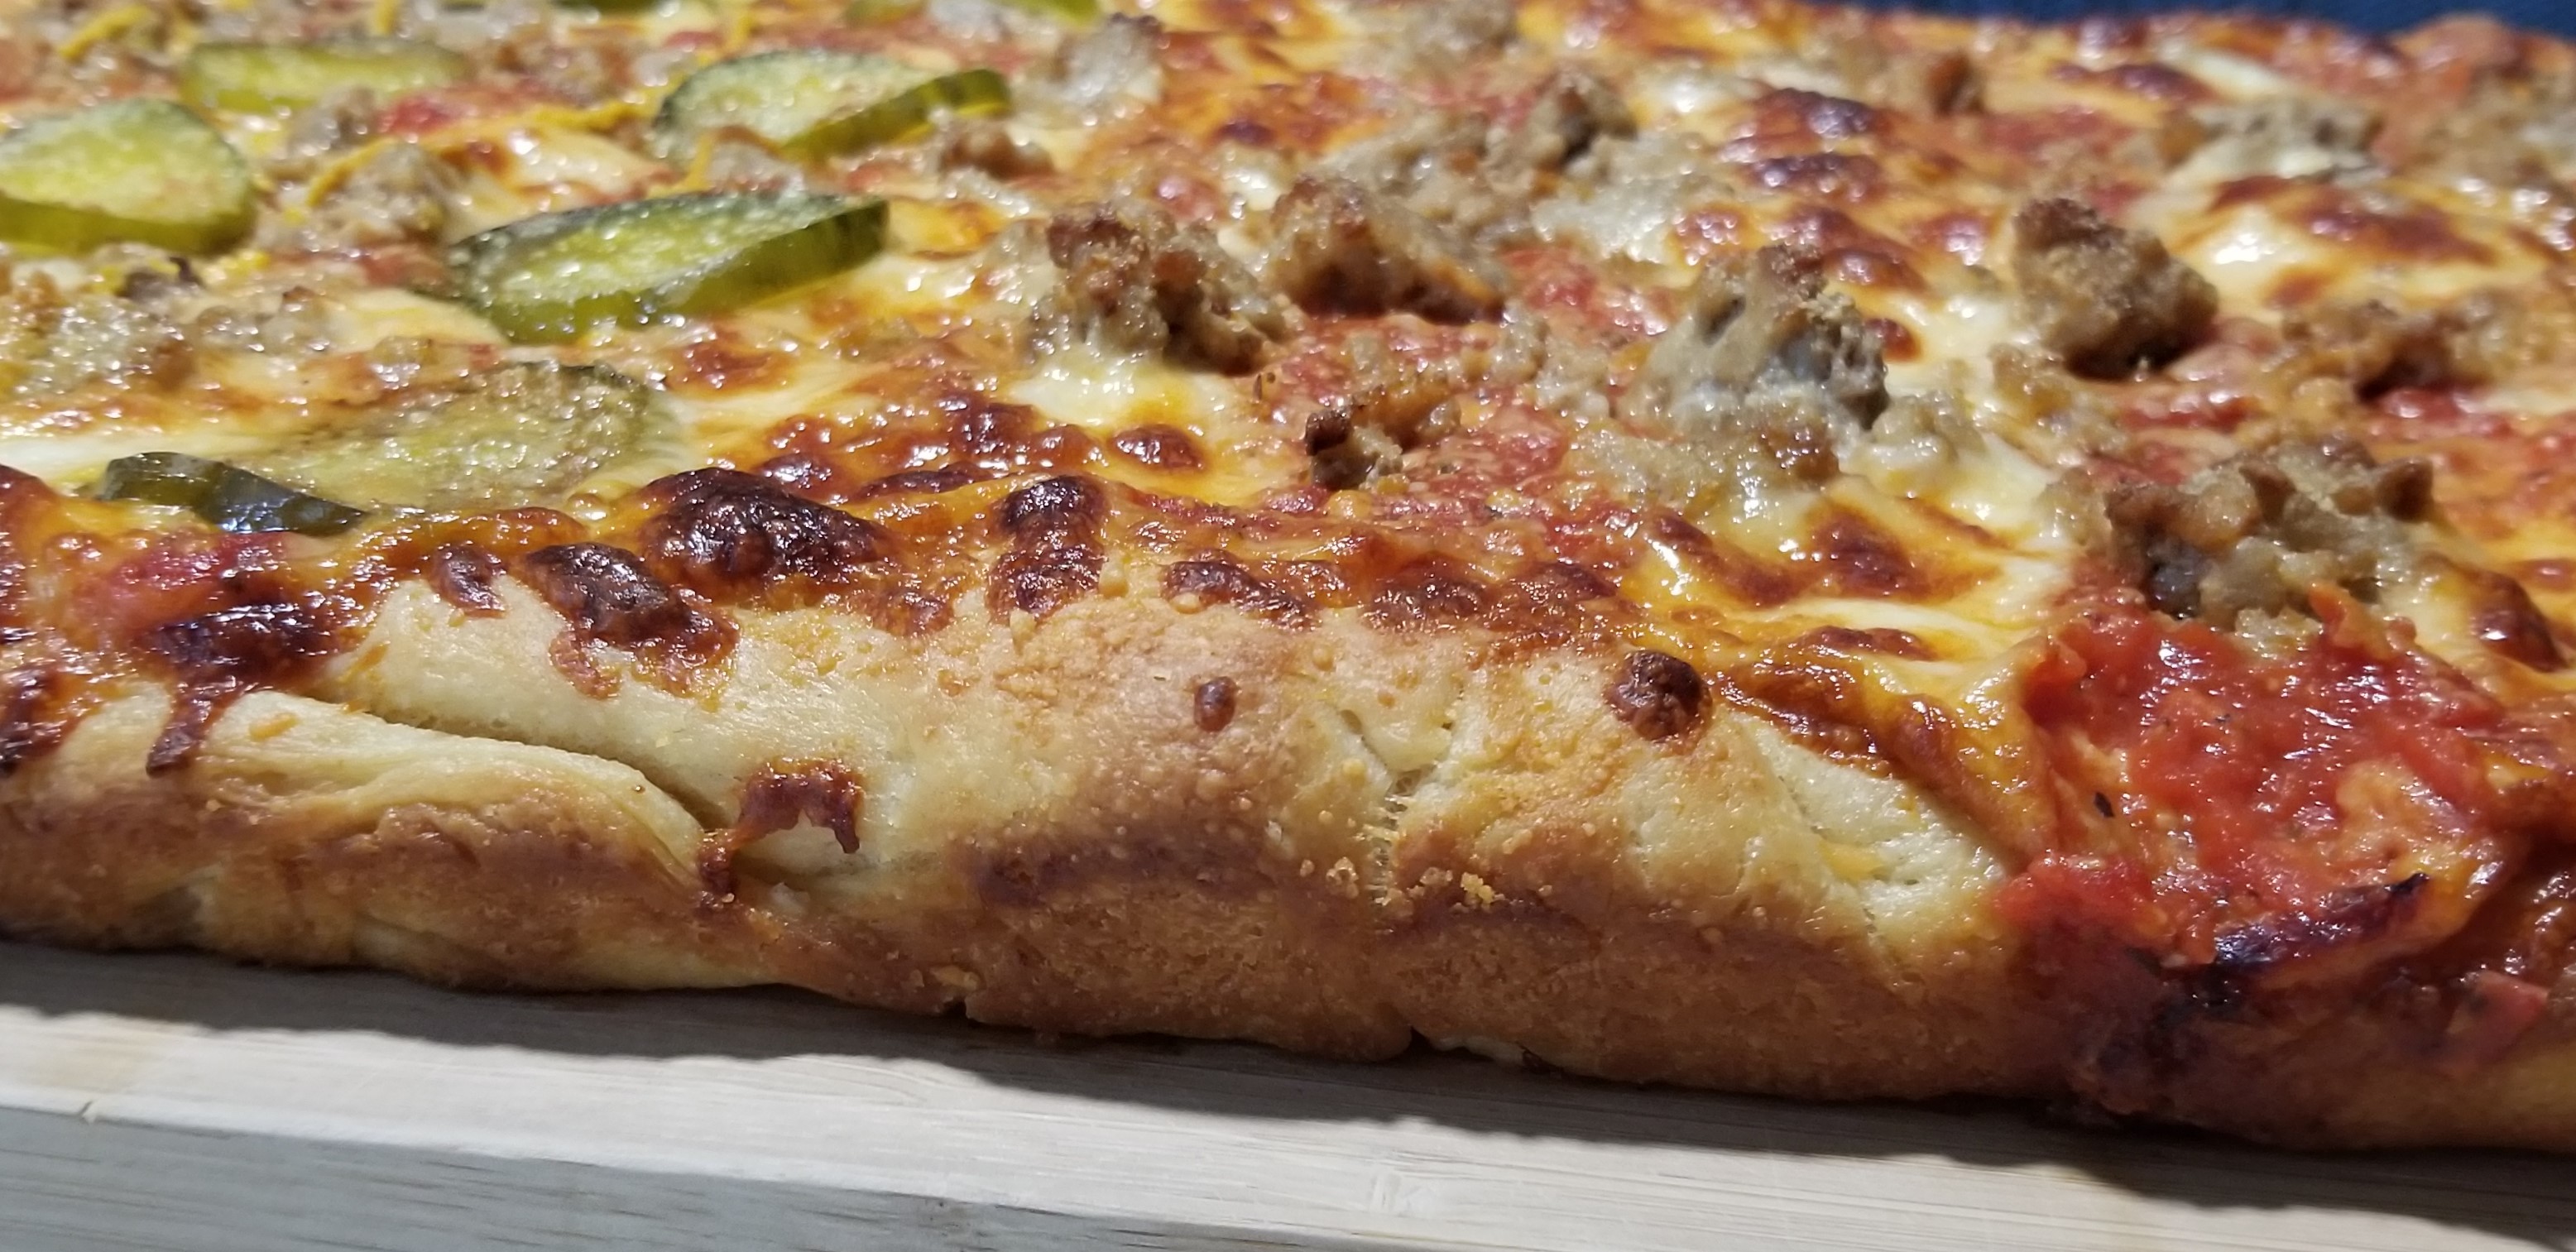
in early, then cooked it for 15 minutes. It was about an inch thick, had a
well-defined crust, and was 1-2 shades from being burnt on the bottom. Well
cooked. I prefer my pizzas really soft and slightly tan on the bottom, but my
husband thought this medium brown crust was perfect. The texture was great,
there was definitely a stiffness to the layer of the pizza bottom that helped
when picking it up and protected the softer layer between the bottom and the
cheese. Crispy but had some flex still. It was similar to the inside of a
biscuit. Three cups of cheese were the perfect amount. Very yum.
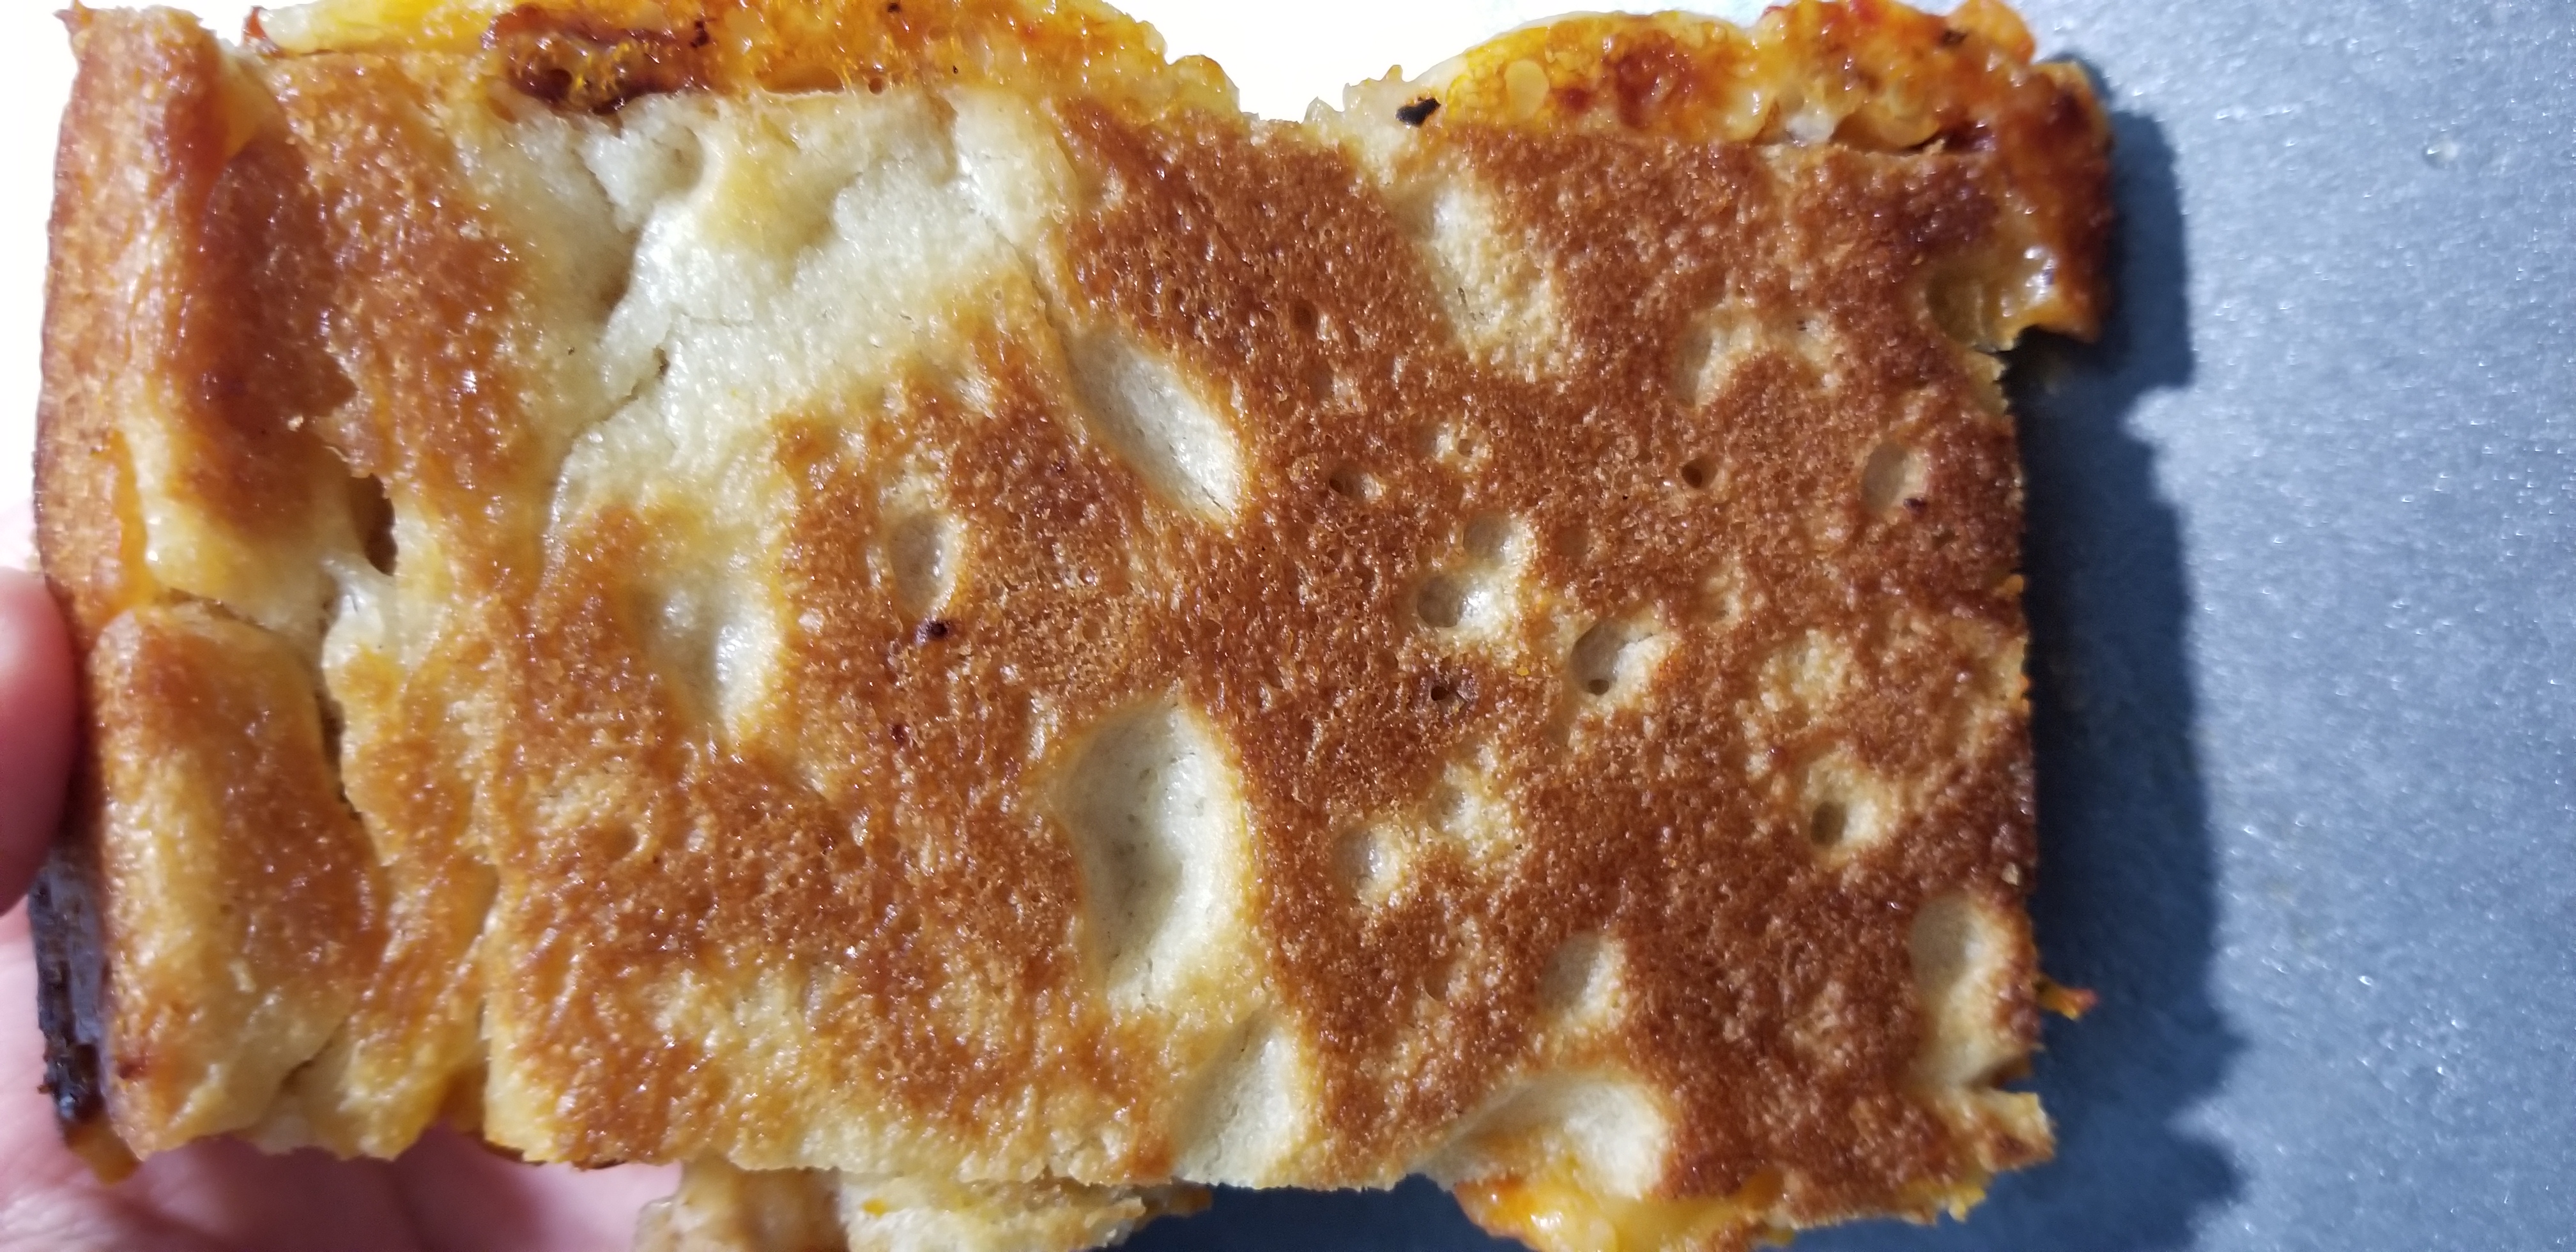
Grandma Style
Take-home tips: For this recipe, if you would prefer a lighter crust, set the oven to 450F and cook the pizza for 12-15 minutes. You still want a high temperature to crisp up the crust and keep the inside soft. You can add more garlic, pepper, red peppers, a little sugar, 2 anchovy fillets (for the umami), fresh basil leaves, or any spices you prefer.
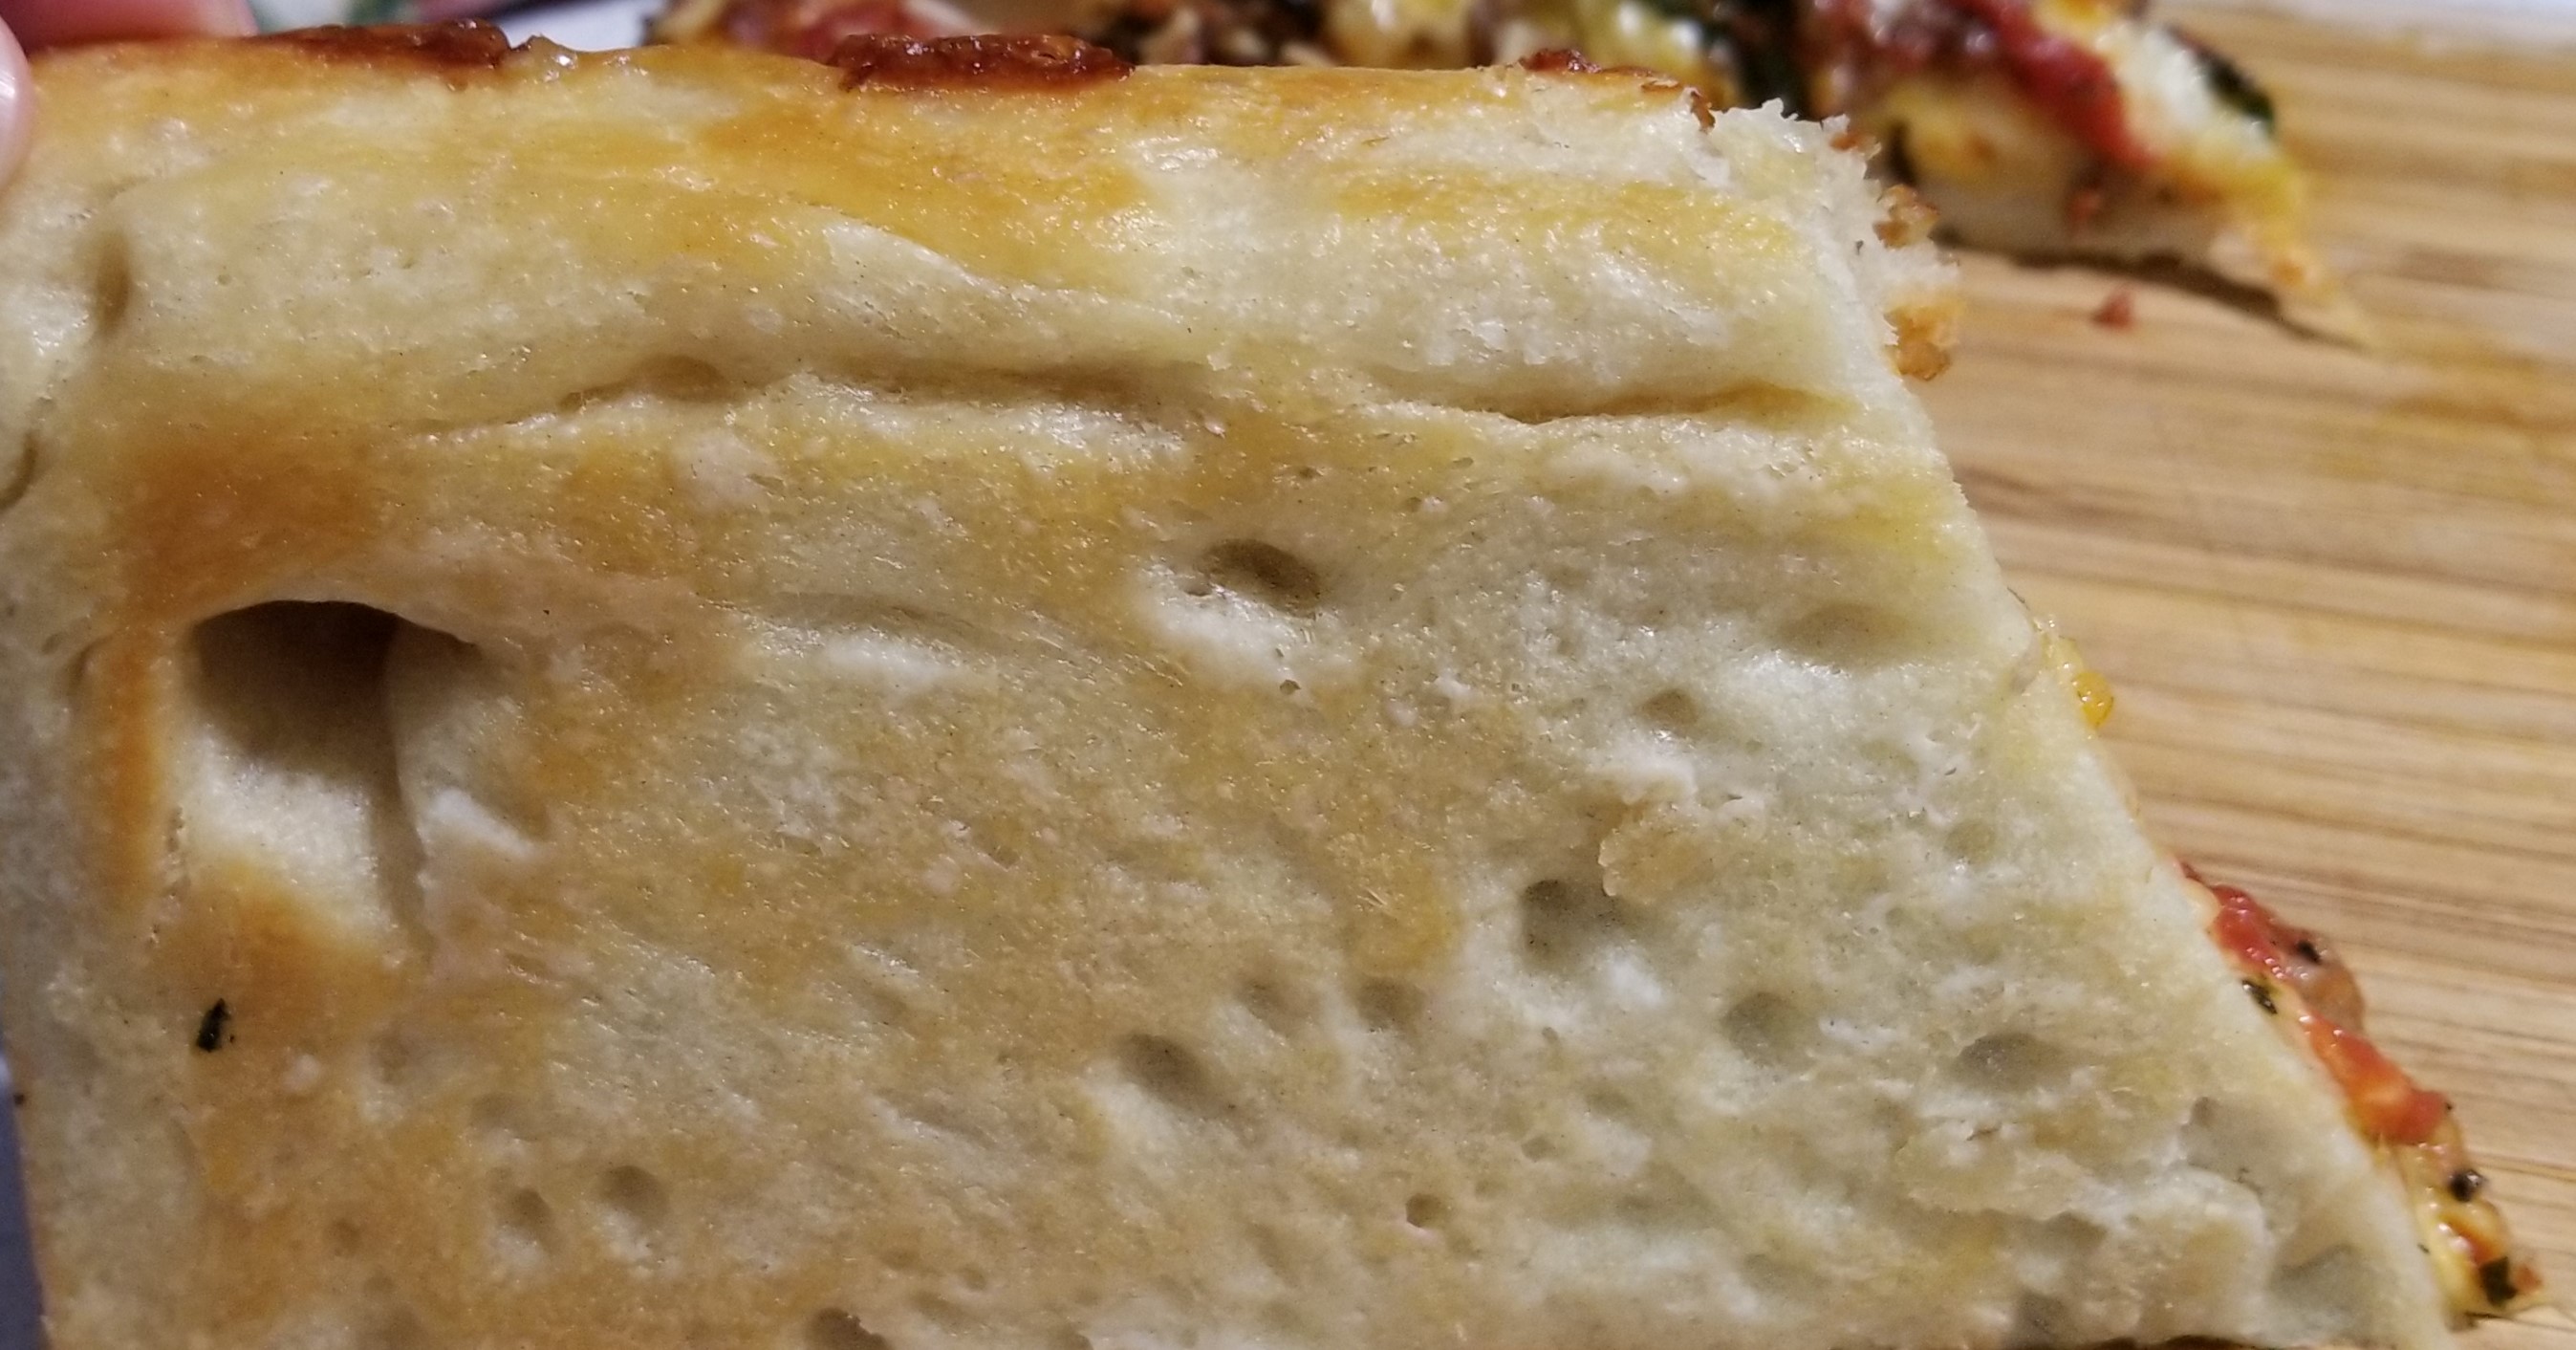
1-inch crust
Golden bottom of the pizza.
Scoring: 8 of 10. The dough had a little crunch but maintained the softness I enjoy, the cheese was the perfect amount, maybe we could had added more sauce, and the ground turkey half was plenty. The cheeseburger half left the pickles with an extra crunch, and helped keep it extra moist. Next time I would add a little seasoning to the crust, more garlic overall, and cook it for less time.
For this pizza we found Kroger Homestyle Ready to Bake Pizza Crust (13.8oz) on sale for $1.25, that’s $1.34 saved in my pocket. Generally, the rule at our house is if it isn’t healthy it has to be on sale or have a coupon to justify the purchase. The sale resulted in us taking unhealthy pizza dough home. When I was a kid we would make pizza with Pillsbury pizza dough a couple of times a month, however I had never tried the Kroger brand.
We have to pause to ask ourselves, is this really cheaper than homemade dough? Let’s assume we are fresh off the plane, college students heading toward our parent’s cabin in the mountains and we have kitchen utensils there, but we don’t keep any food there. We just spent most of our budget on the plane ticket so we want to make our food budget last the duration.
As we look at the cost we are selecting the cheapest prices, regardless of the quality. Pulling out the Kroger app and looking up flour, I see I can get 5lbs of flour for $1.59. Well that is already more than the $1.25 but we aren’t using all 5lbs. I hope. That would be a hefty pizza.
In addition to the flour, for homemade dough we also need yeast (3pks for $1.19), oil (olive: 17floz $2.99, vegetable: 32floz $1.69), sugar (4lb for $1.99 or 1 packet from your chosen restaurant or pick one up in the airport), and water (priceless). The estimated total for whole ingredients is $4.77.
Next we have to ask ourselves how many pizza doughs could we
make with these ingredients. A quick search reveals that 3.33 cups of flour are
about 1 pound. However, the serving size on the 5lb package (1/4 cup x 75
servings) indicates we can make 4.69 pizzas, or 4 because we are looking at
whole pizzas. This means we can get 4 pizzas out of one parcel of flour
(assuming 4 cups per pizza). Assuming 4 pizzas, each pizza’s dough would cost
$1.19. Compared to our on sale dough at $1.25, based on unit cost it is cheaper
to make homemade dough.
Wait just a minute. It isn’t that simple. We don’t have
enough yeast to make 4 pizzas. Assuming we buy ingredients to cover 3 pizzas
(for the 3 pkts of yeast) then our cost per pizza dough will be $1.59. This
brings the cost over the sale price dough, but not over the original price. It
is most likely that we do not come across on sale dough in our quick run to the
local grocery.
To make 4 pizza doughs our cost would come to $1.42, making each pizza cheaper. In this case, it is worth buying another 3pkt of yeast for another pizza dough.
The Sauce and Toppings
It’s all great to have the dough, but we still need sauce,
cheese and maybe some other toppings to call it a pizza. In this scenario, the
college students are going to buy the cheapest jar of sauce they find, which
happens to be a $1.00 Hunt’s garlic tomato sauce. Although thin and acidic, it
is still sauce. The cheese will need to be shredded, but the cost of the 32oz
block vs the 32oz shredded mozzarella are equivalent at $6.99. I found that pleasantly
surprising. That only gives us 1.33 cups
of cheese for the 3 pizzas, but it is doable. Our cheese pizza total now comes
to $12.46 or $4.15/pizza. Any other toppings would depend on what is left in
the budget and whether everyone can agree on one topping. Kroger has a package
of pepperoni for $2.50.
Our Budget Pizza
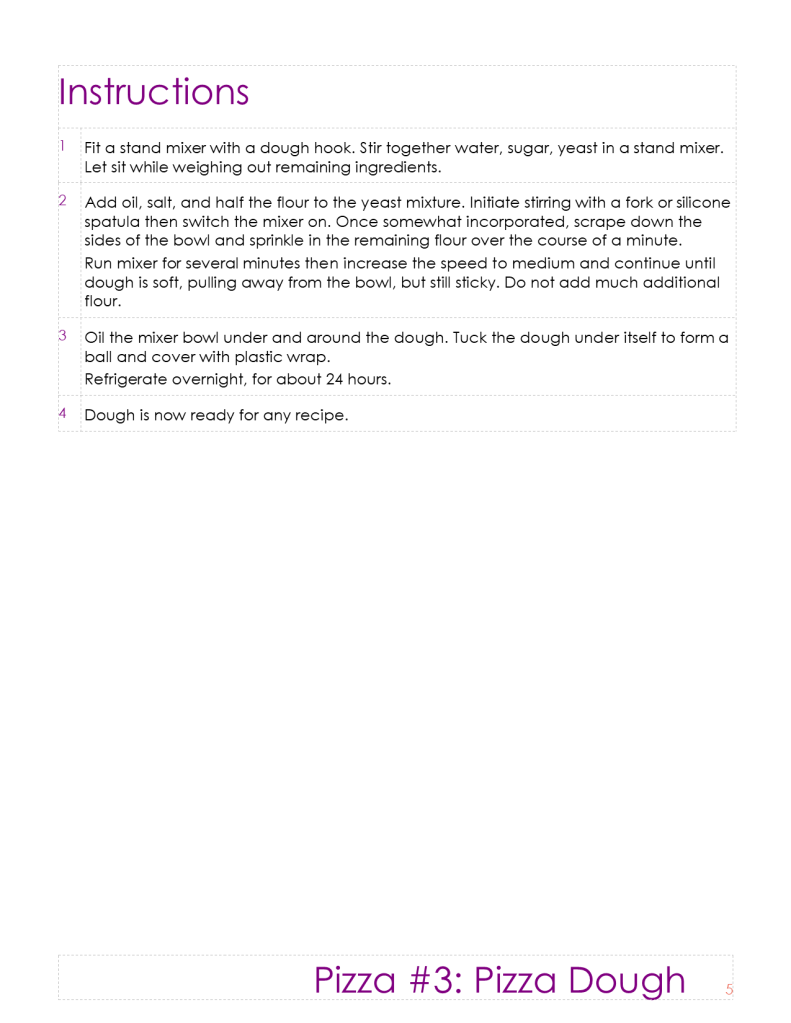
Back to the on sale dough for $1.25. Since we are not college students anymore we are able to make Budget+ pizza and home-make our sauce. We made enough sauce for 3 pizzas (look forward to Pizza #3!) so we will cut the cost by a third.
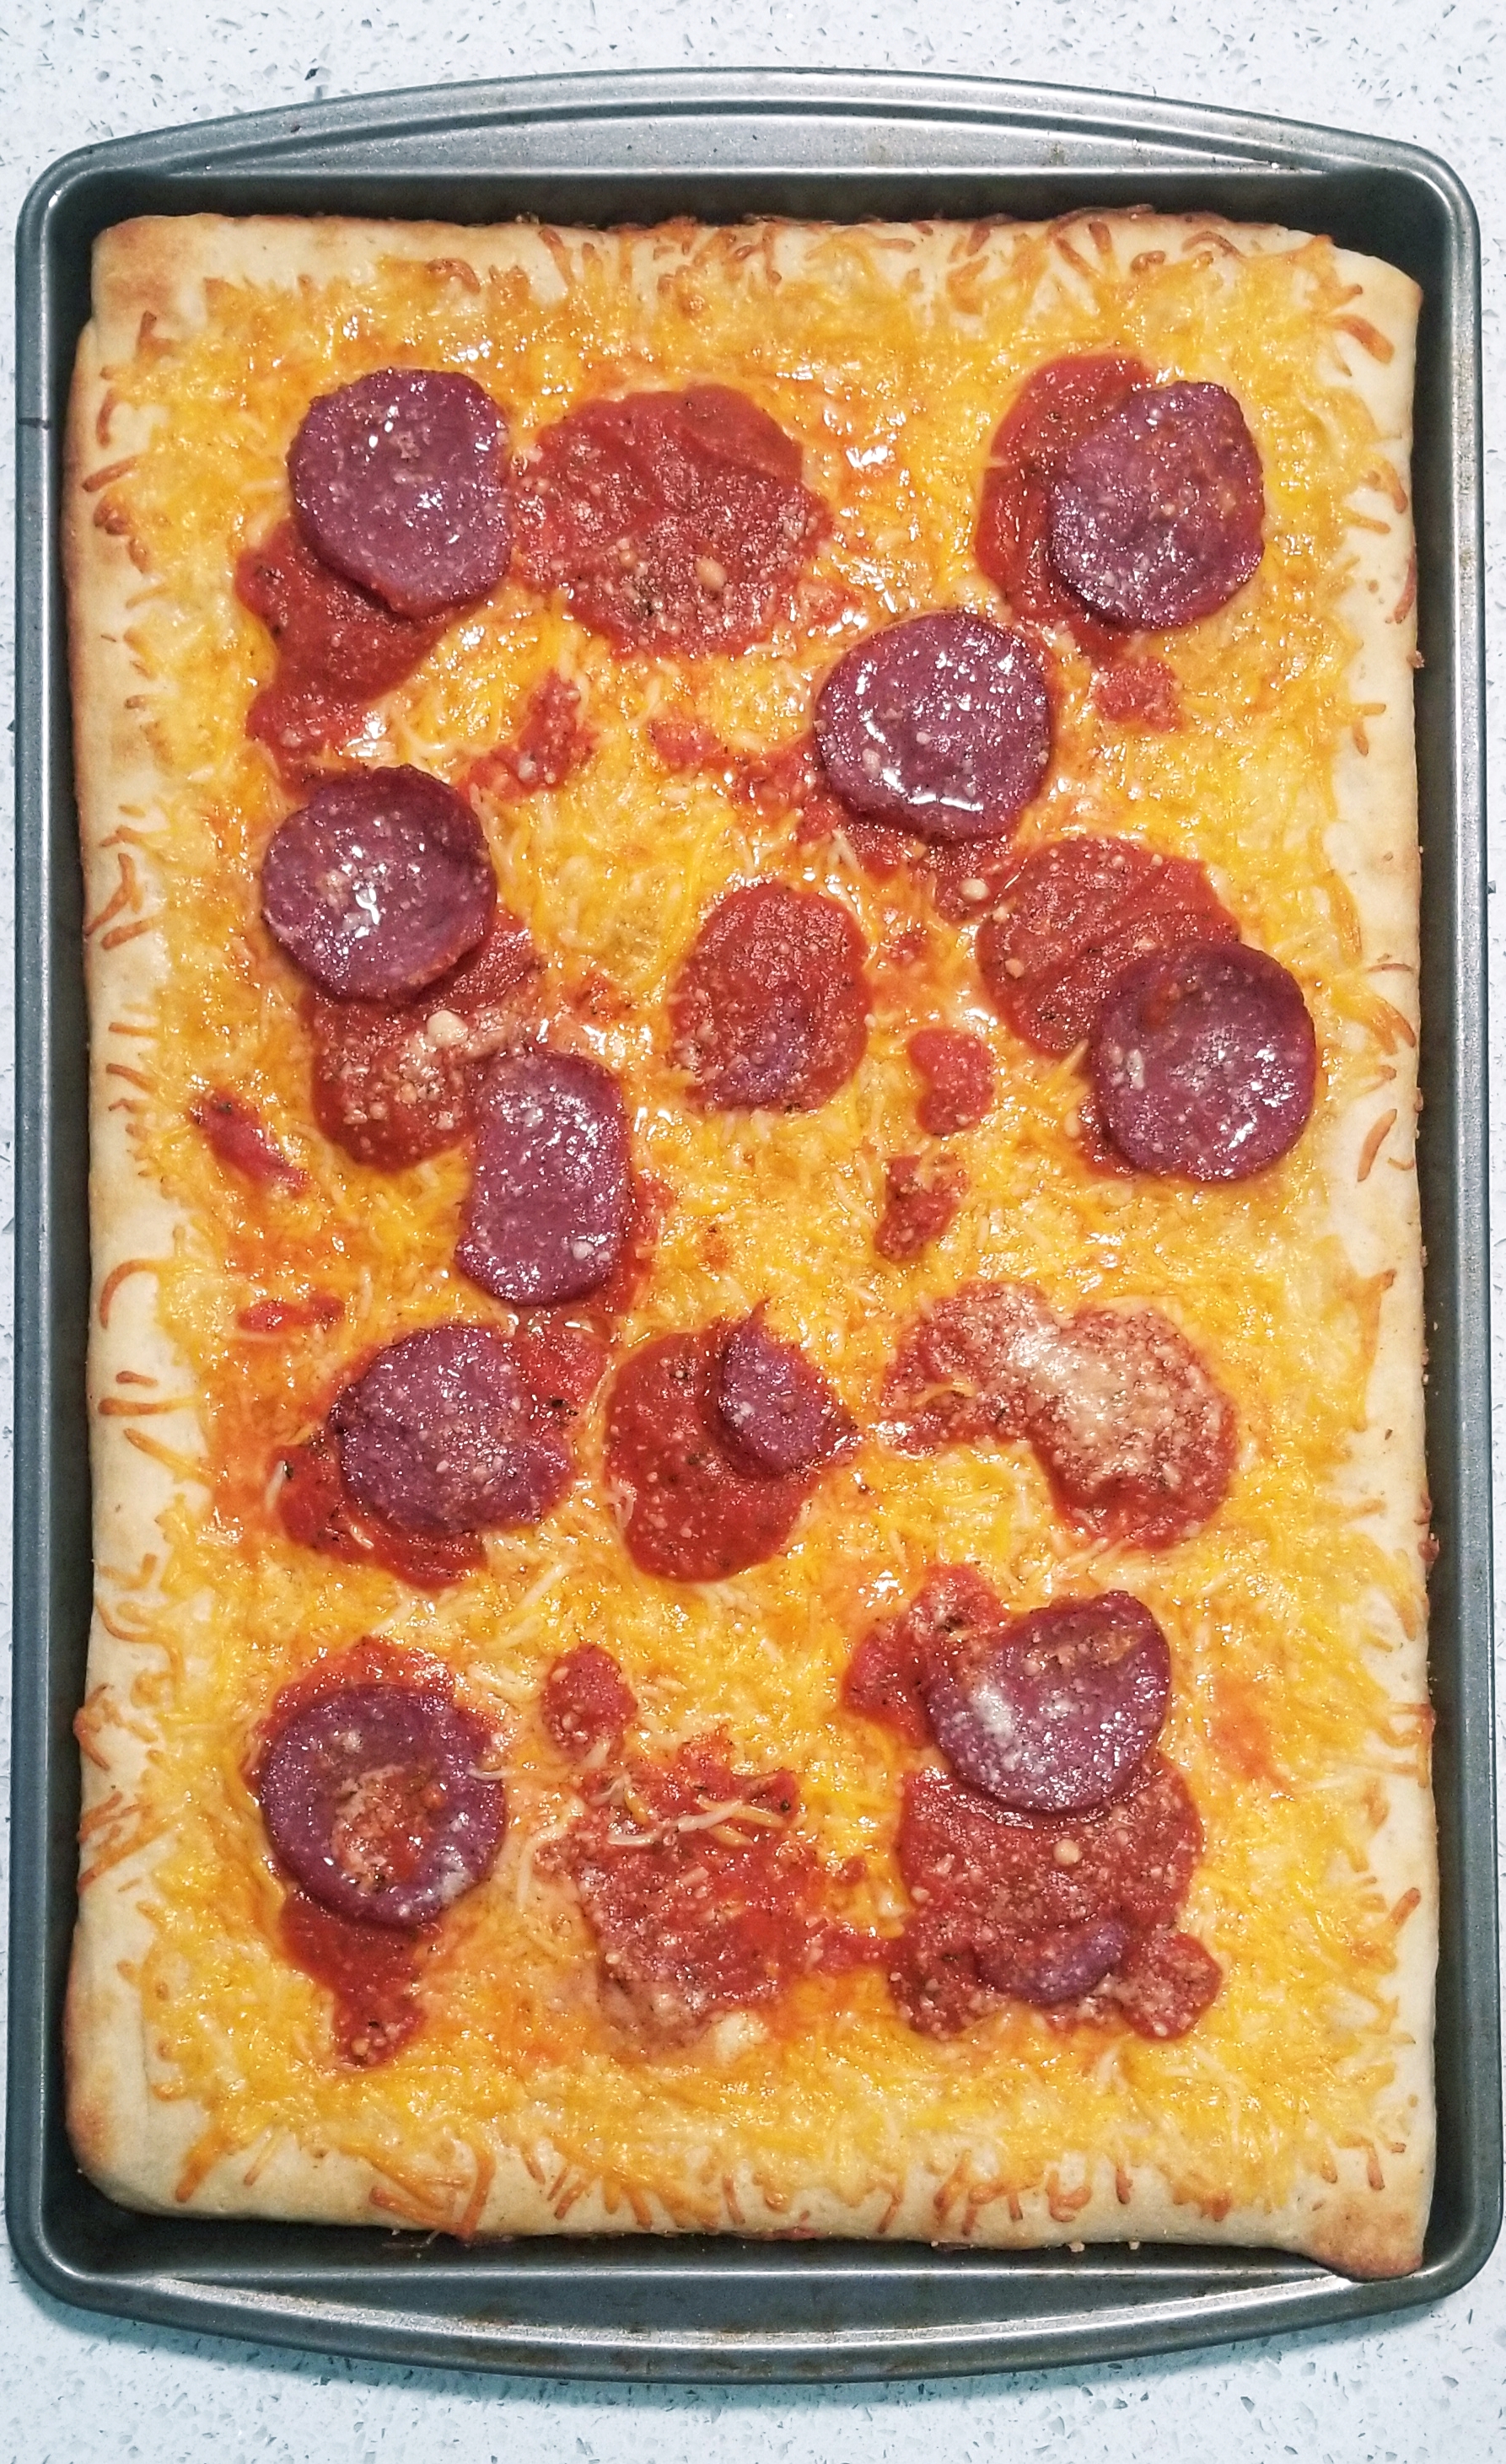
Homemade sauce: San Marzano peeled tomatoes 28oz – $3.99, Kroger tomato paste – $0.49 (or $0.89 for Hunt’s), 2+ garlic cloves – $0.50 (for the whole head), fresh basil – $1.99 or dried – $1.59, or other spices such as oregano. We blended the ingredients in a food processor. This brings our sauce to $2.19 for 1 of 3 pizzas. More than double the cheapest Hunt’s sauce. By the way, 1 jar of Kroger pizza sauce is $1.29.
Homemade sauce does not cut the bill, and it is definitely cheaper to buy the sauce.
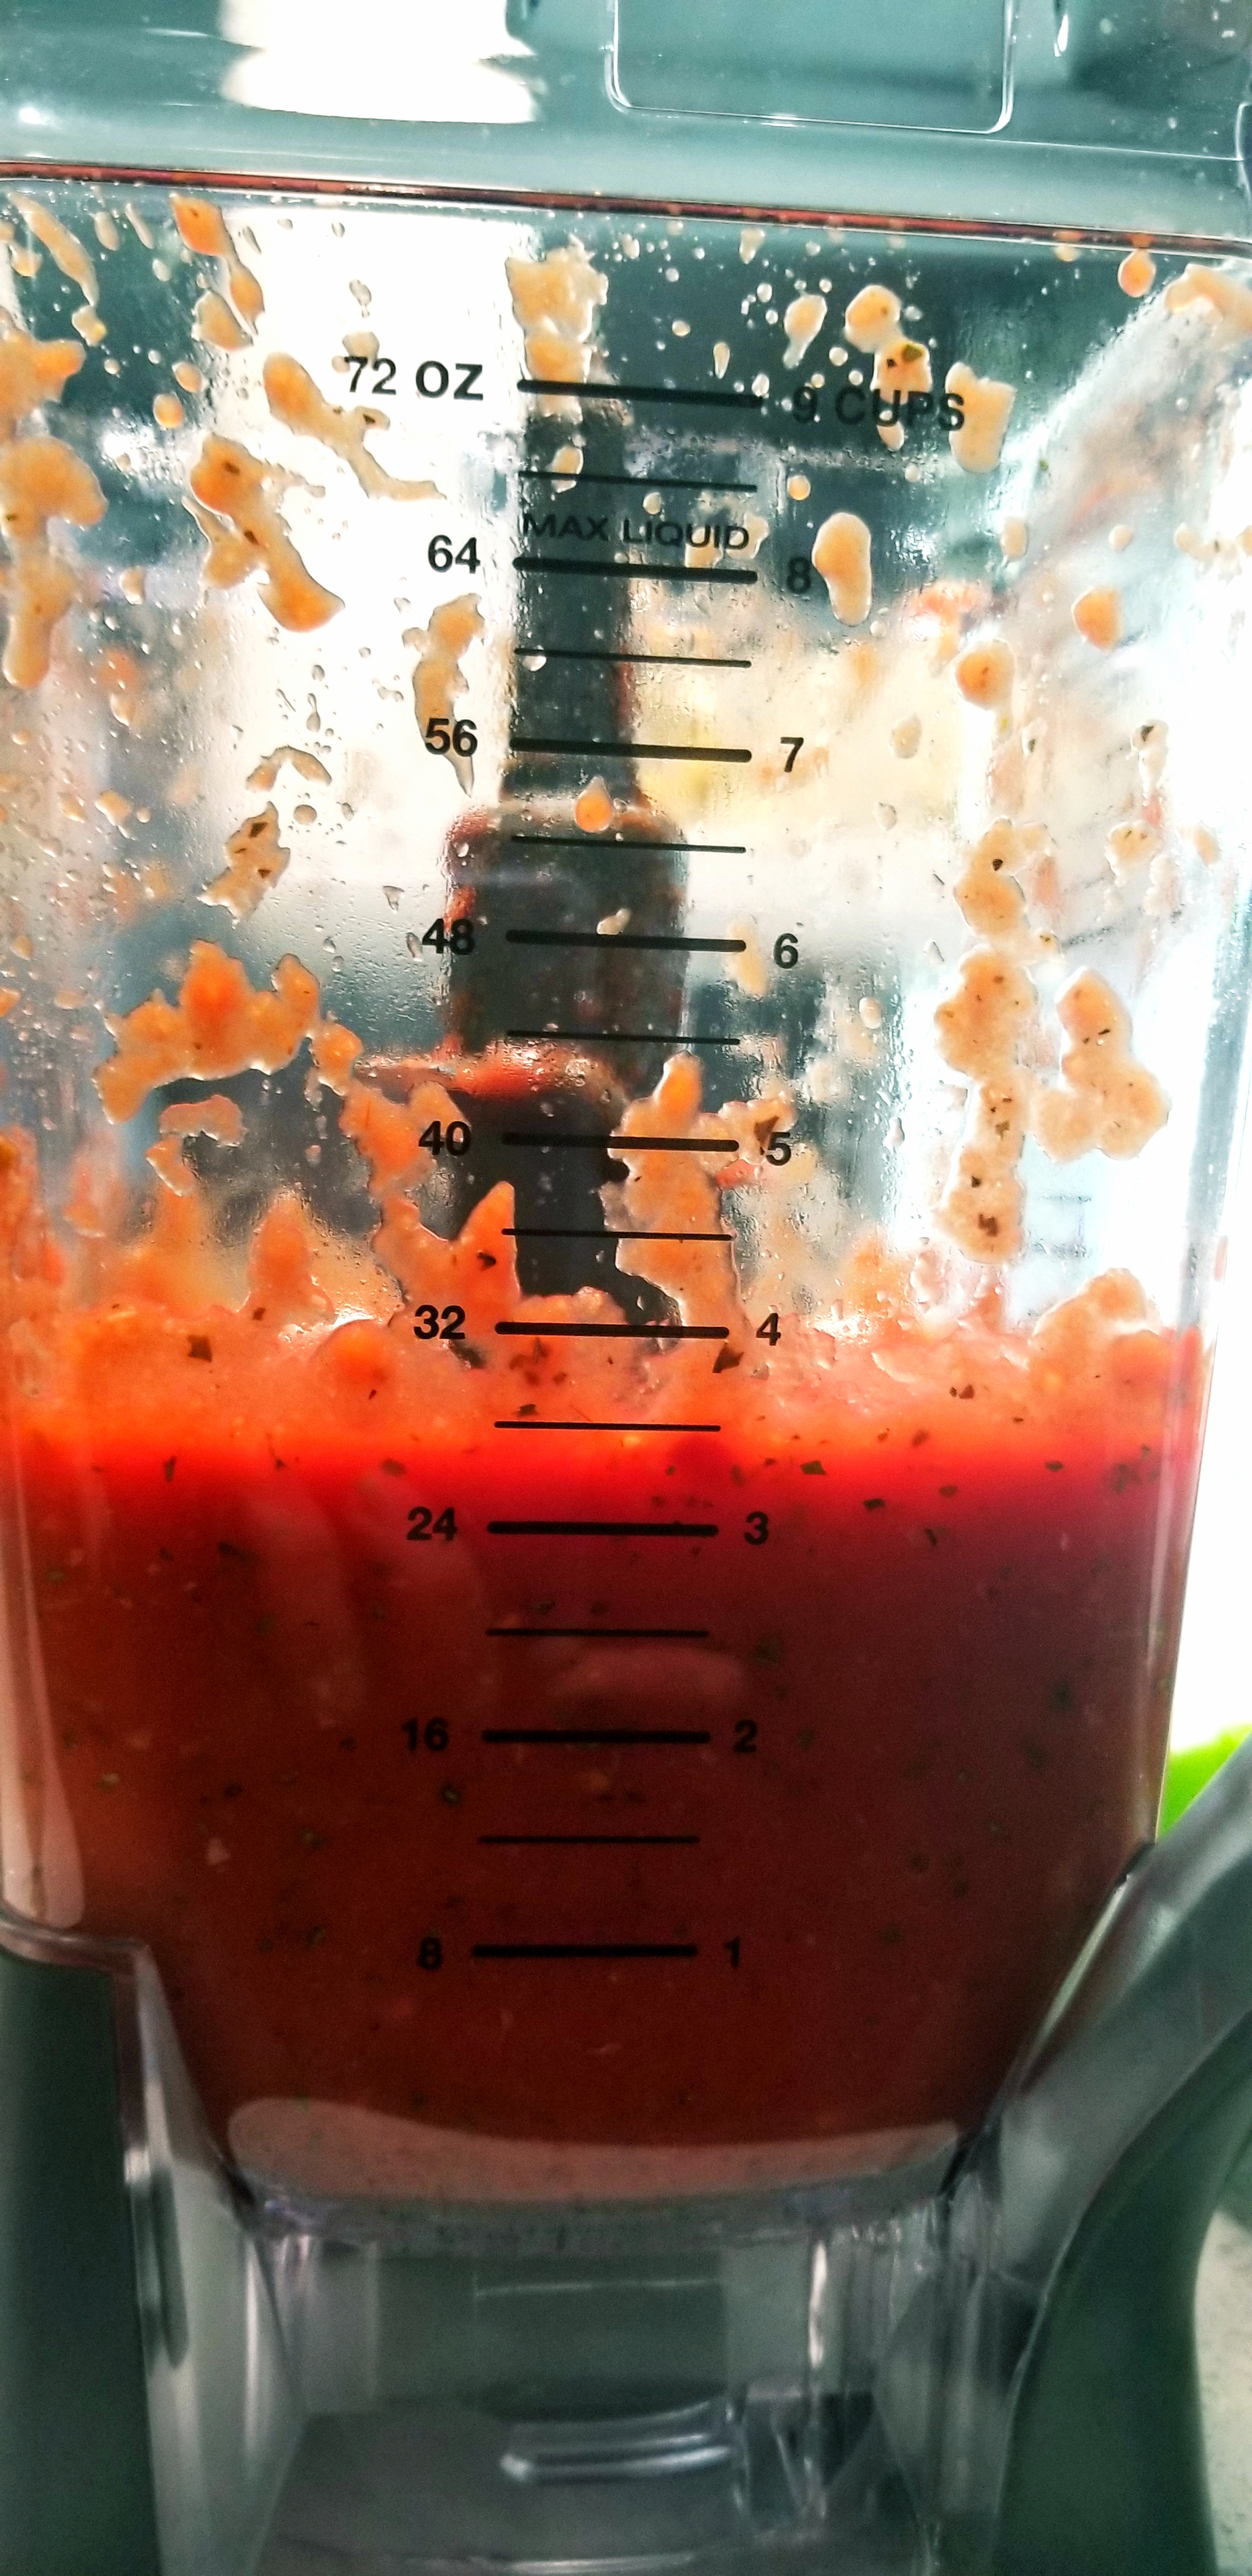
For the cheese I found a bag of shredded Mexican Style Kroger cheese in the fridge, which is listed at $2.29. We then added salami which was a gift and free to us.
Budget+ pizza consists of purchased packaged dough, homemade sauce, and purchased shredded cheese. We estimate that it cost us $6.39 to make 1 Budget+ pizza. Considering we owned the flour, spices, cheese, etc. this total includes only the portion of the total ingredients we estimated we used.
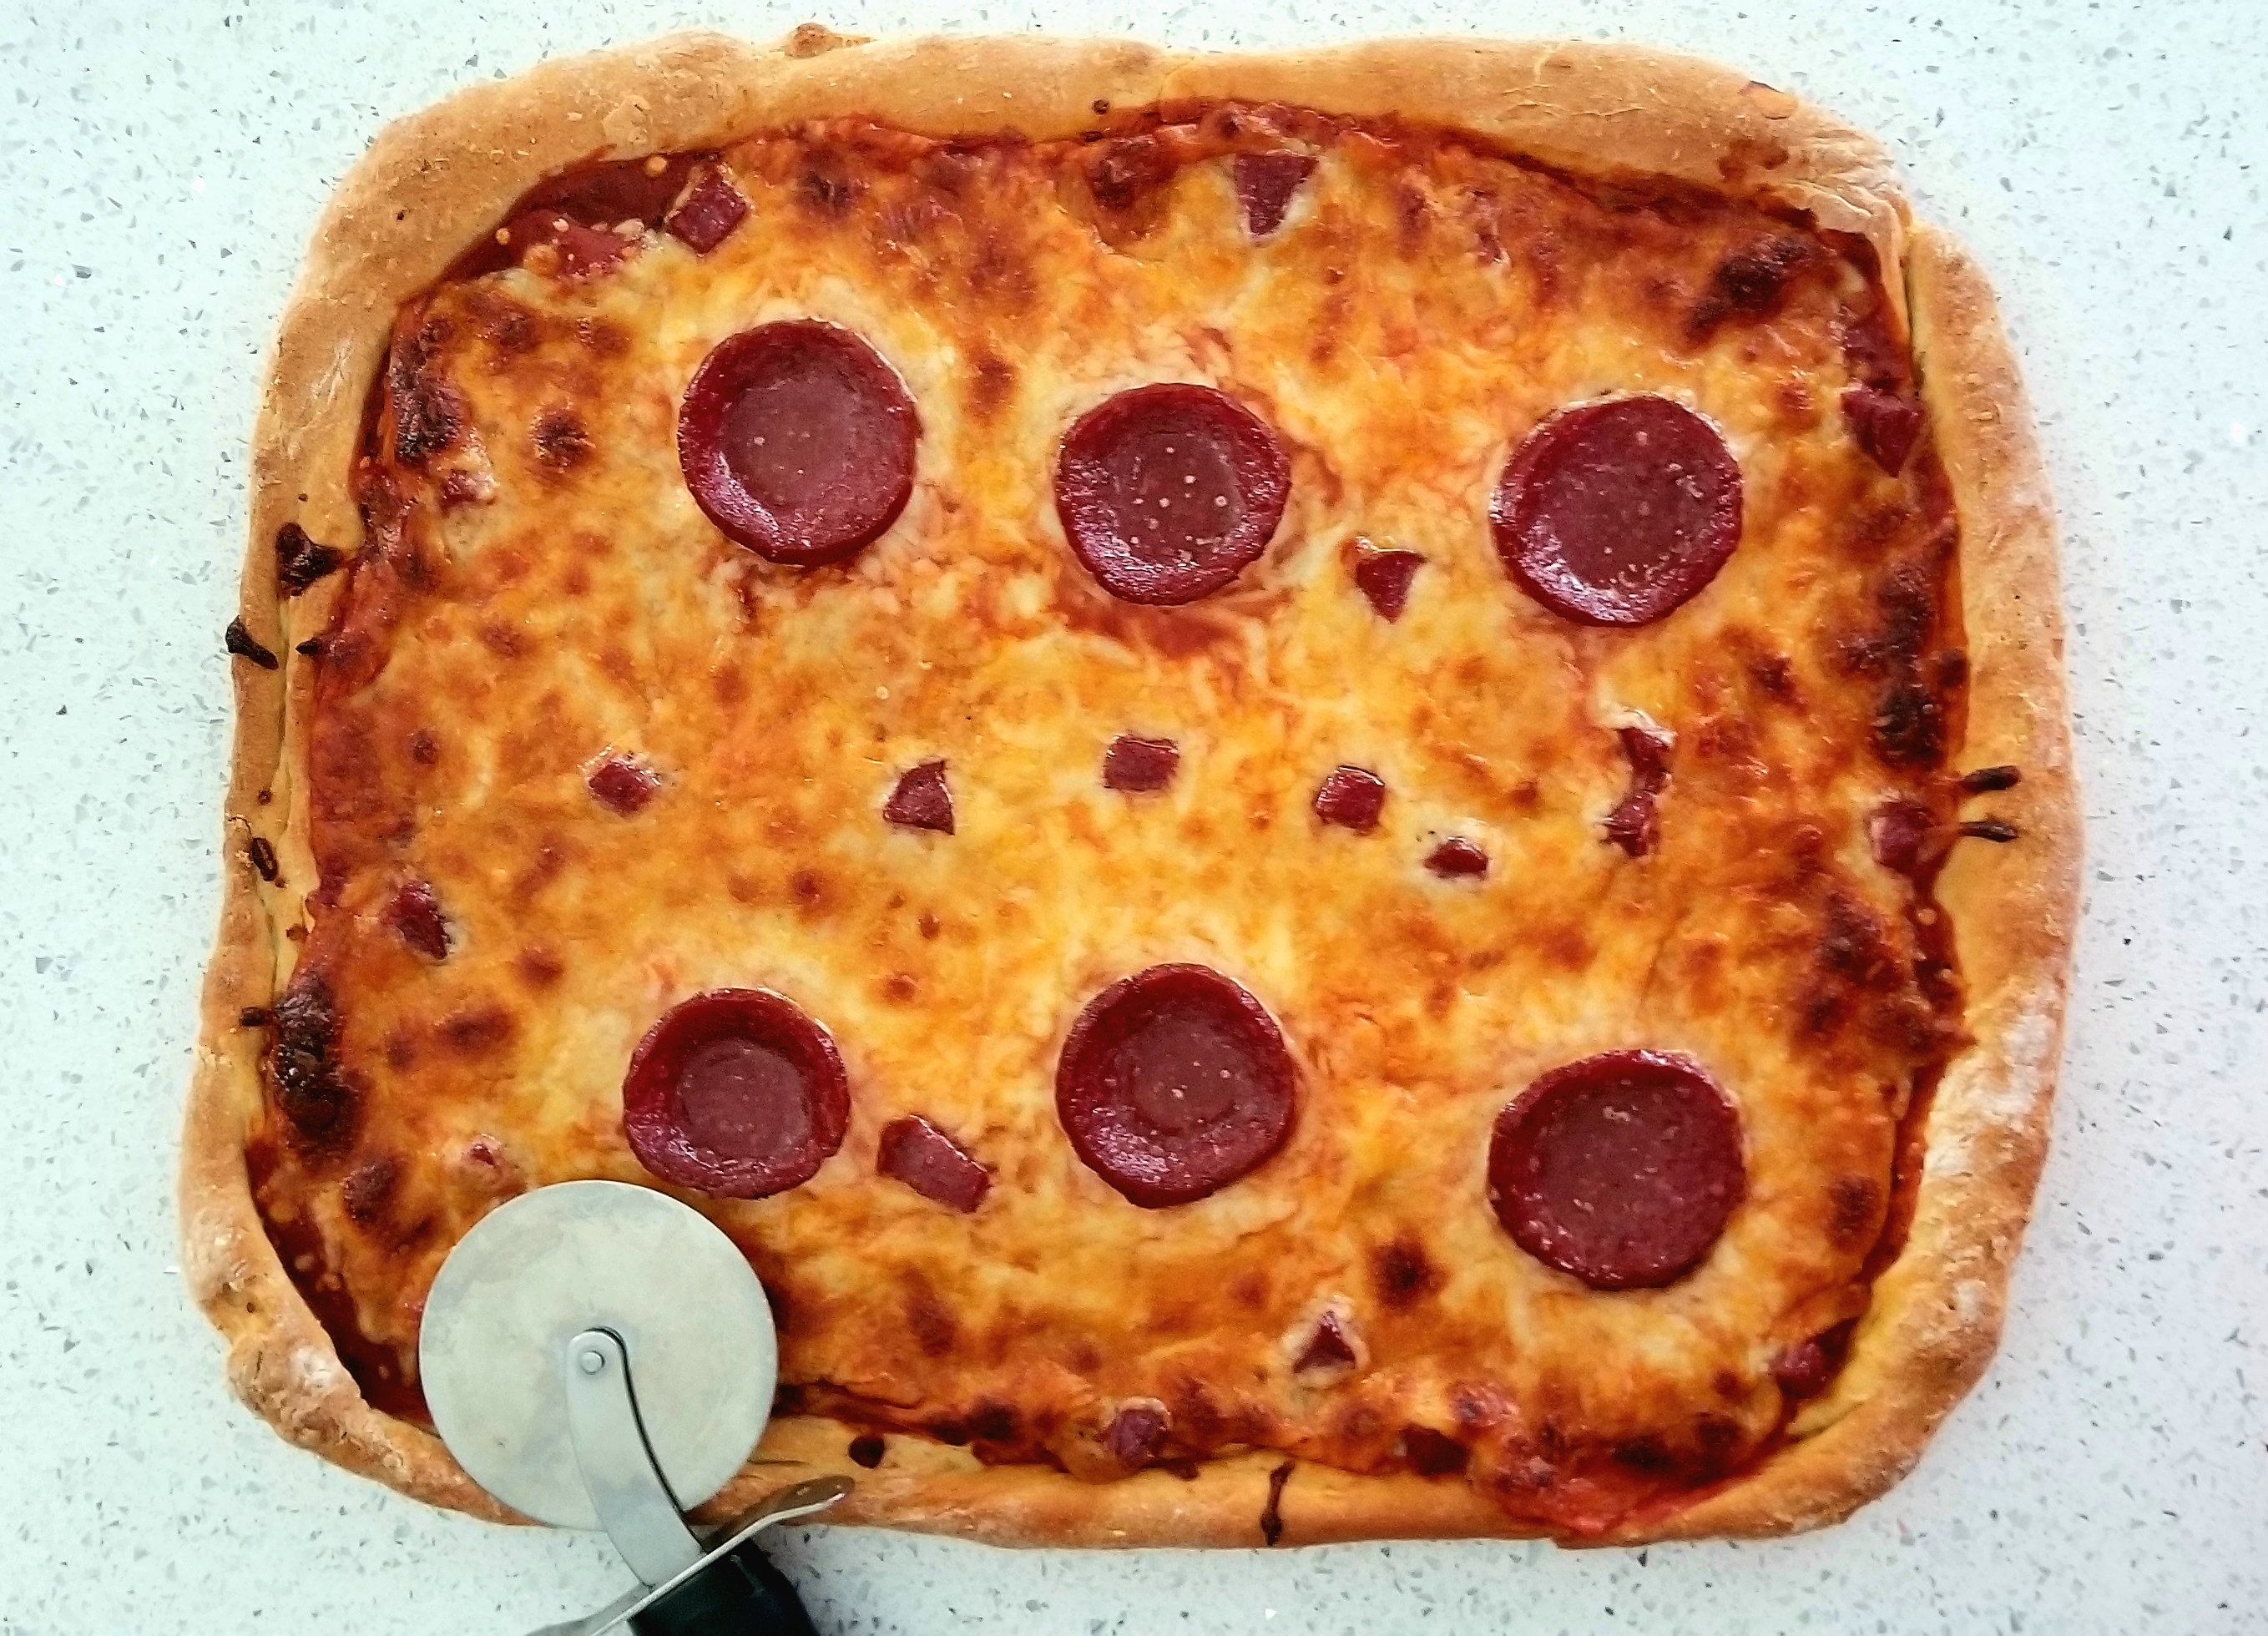
Scoring: 4.9 of 10. It does not deserve to be in the top half of pizzas I have eaten. Considering the flavor, it was alright; hard to say anything bad about it but it didn’t wow either. The crust tasted like the tube it was raised in and it did not have any substance behind it. Between the two of us, we ate the entire pan pizza in 1 sitting, comparatively (sneak peek) it took us 3 meals to eat Pizza #3. It was not as filling and I think that is due to the dough. The sauce did not have as strong a garlic flavor when cooked on the pizza as it was on some meatballs I had for another meal.
To start the adventure off on the easy path, some friends came over and we decided to use portioned ingredients to make the pizza dough. We purchased Bob’s Red Mill gluten free pizza crust mix which contains whole grain brown rice flour and the yeast necessary for the recipe. To create the dough we did need to add 2 eggs to the water and yeast mixture and oil for the bowl was understandably not included.
Following the directions on the package was a mistake. The very sticky dough insisted on ripping each time we picked it up. It started well in the Kitchen aid mixer with the dough hook in place, but tumbled down hill. The dough would rip apart and had a consistency I have never before experienced. I can only describe it as too wet and sticky, dense, unwilling to stretch, and lacking. After reading the reviews on the Bob’s Red Mill website, after the fact, I discovered I am not the only one with this same unusable dough.
My attempt to salvage lunch involved adding about 3 cups of flour in the end. Fortunately for me, no one in my party had any gluten aversions and we were able to use bread flour (what I had on hand – traditional flour would also have the same effect). If you plan ahead and want to use this flour, I would recommend 2 packages of flour for the ingredients recommended for 1 package’s worth (e.g. don’t double the eggs, water, and oil for the 4 cups of flour).
We managed to make a sort of dough worth using by gradually adding flour and kneading it on the counter, and a bit more in the bowl. My friend insisted on helping, which I generally encourage, however it was painful to watch someone else knead differently (incorrectly?) than how I do it. A quick lesson in technique (folding and handling) and I took over. Definitely need to learn to be less of a control freak. But it was a challenging dough. We left it in the fridge to rise while we drove to the store to get cheese, sauce, and grapes (the latter being our snack as we waited for the bake).
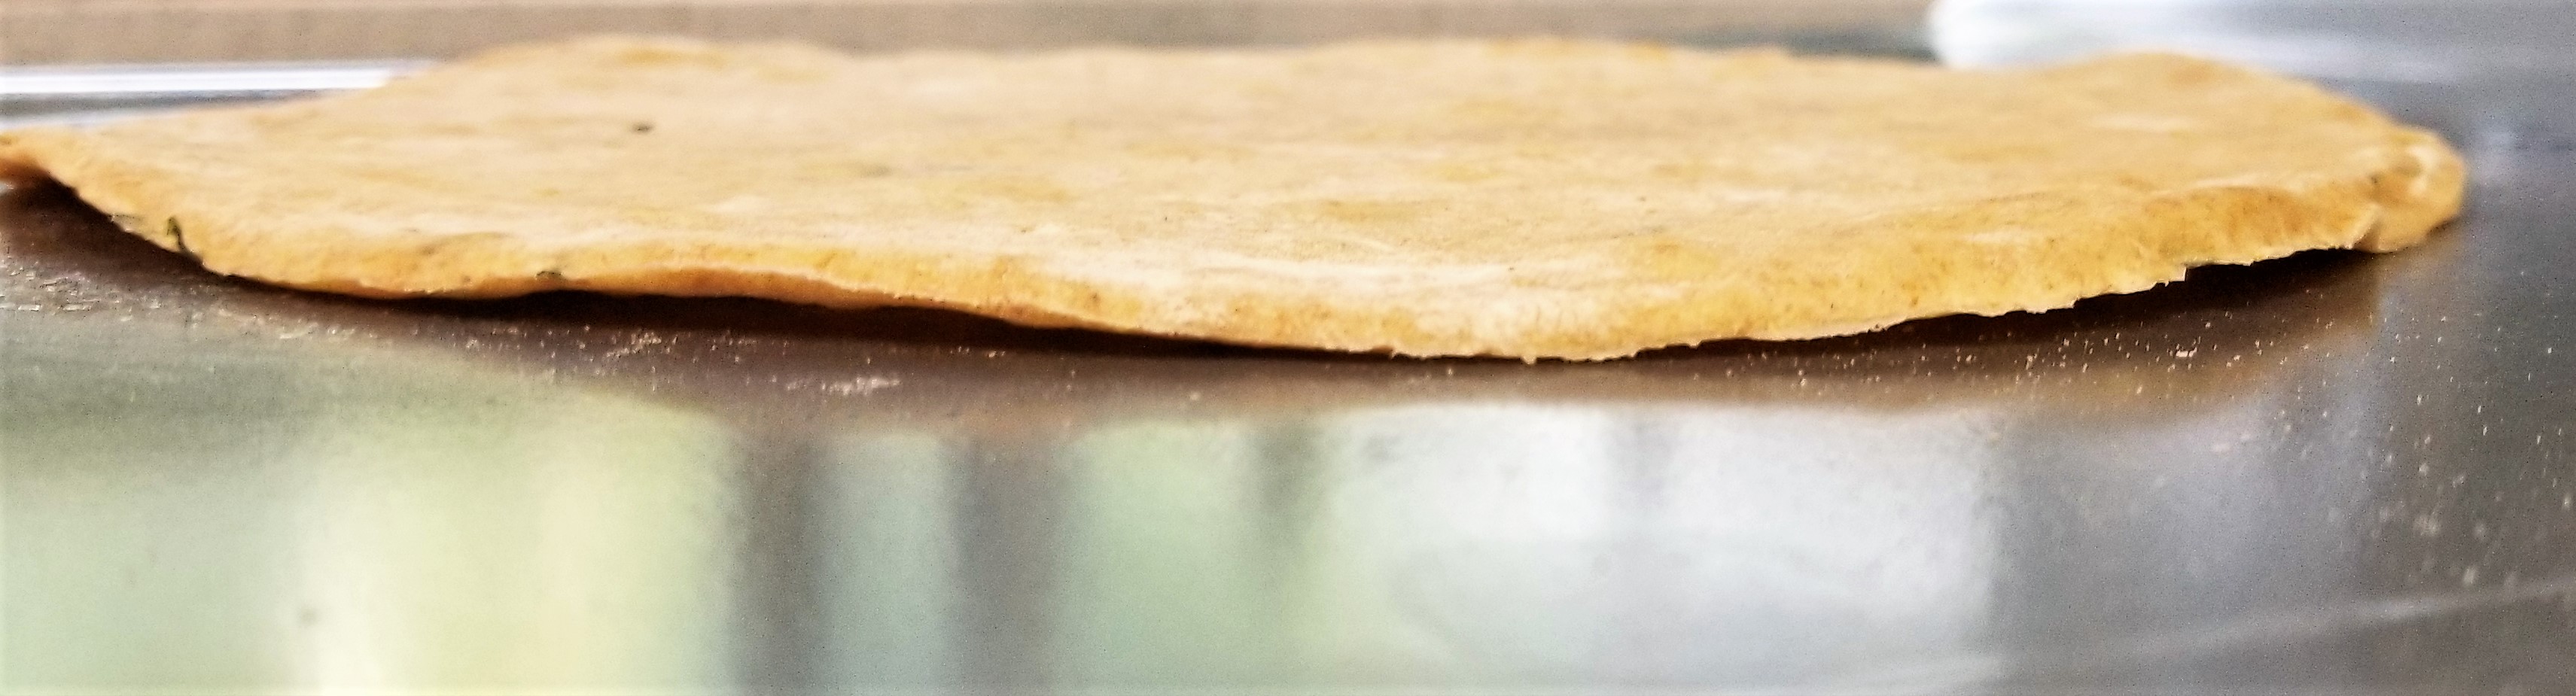
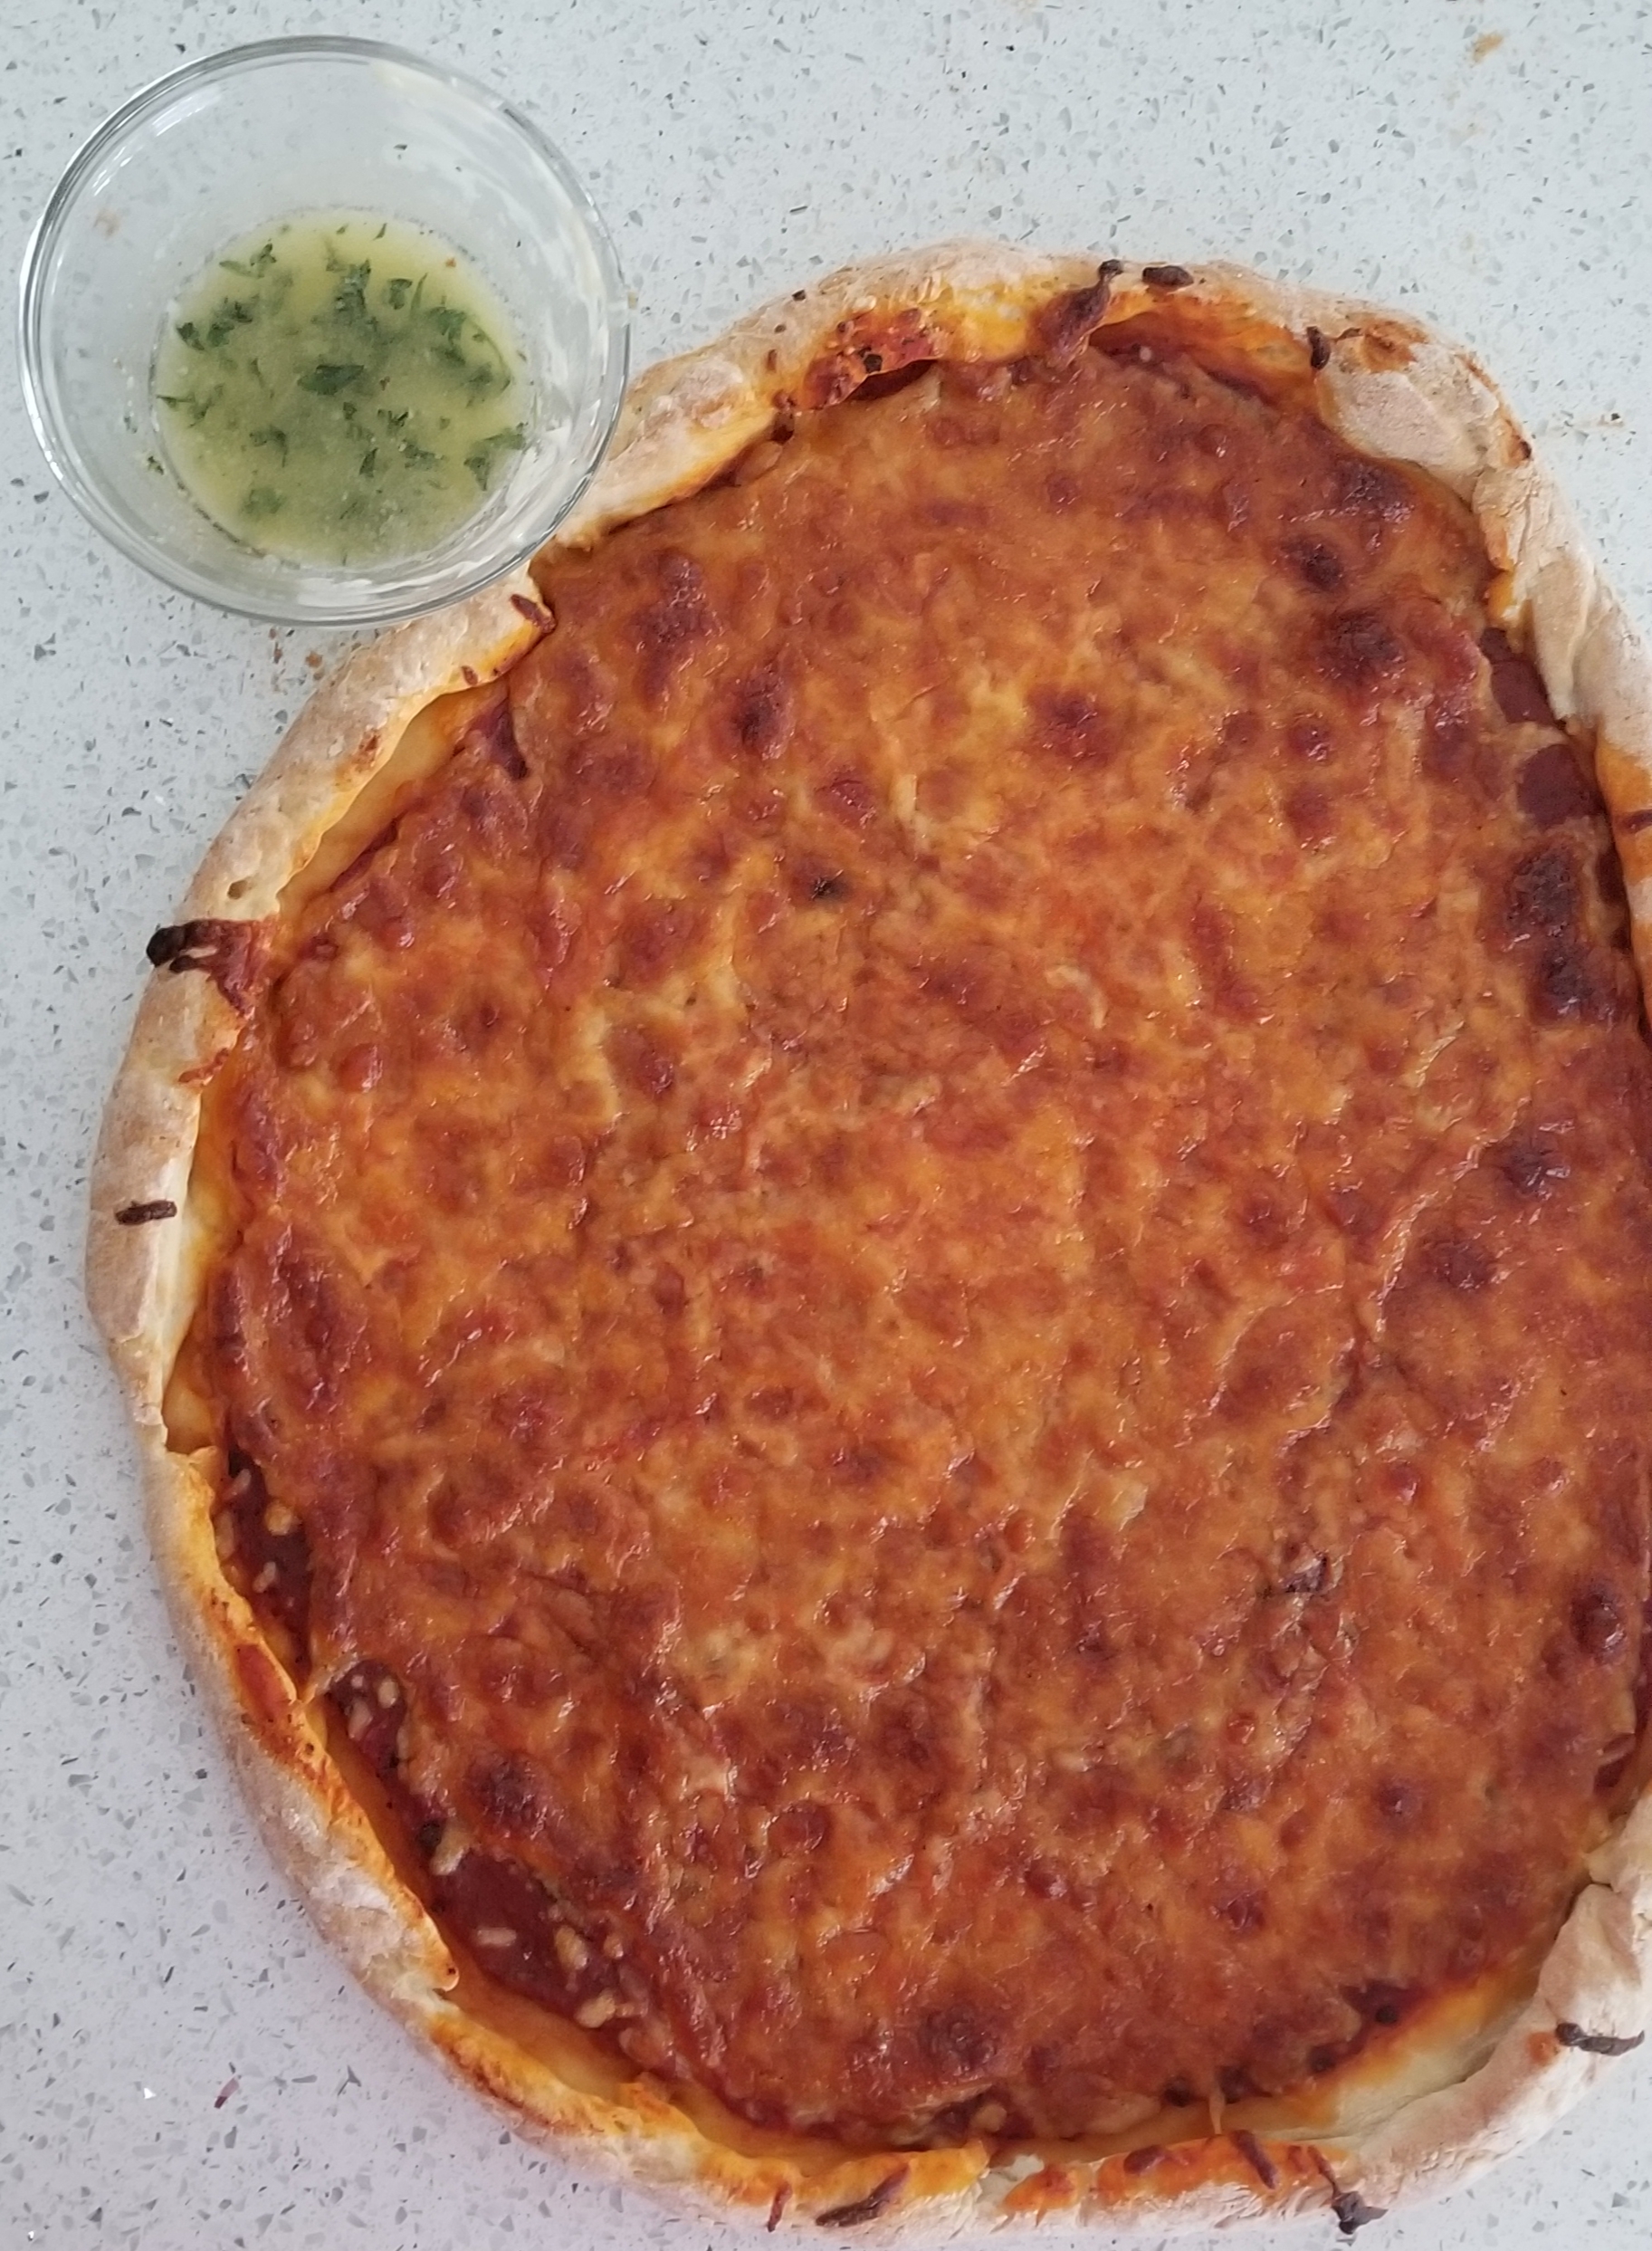
The dough was enough for 2 ~12 inch pizzas. We preheated the oven to 425F and free formed them on 2 oiled, air-bake cookie sheets. For one of the pizzas we baked the crust alone for 8 minutes before removing it and added organic basil marinara (rather than pizza sauce), 8 oz shredded Colby-jack cheese, and salami (my favorite pizza topping). To the other pizza we did not cook it ahead, and did not add salami. We cooked them both on convection (changed to convection when we added both pizzas) for 20 minutes, removed the pizza with the salami and pre-bake, turned the oven off, and left the other pizza in there for another 10 minutes. The crust on both ended up with an even tan color, not too dark, but definitely fully cooked. They were delicious. The sauce was plentiful and sweet, the cheese was easy to bite in to and didn’t pull like a mozzarella deep dish pizza would, and the grease pulled mostly in the salami slices. We did not broil the cheese, and it definitely did not need it. With the oven at 425F it isn’t far from a broil anyway.
Tips for next time: Cooking the dough for a few minutes first ensures the dough will not be raw with you cut into the middle. If you want a stringier cheese, mozzarella would be a better choice. For children, I would recommend the highest fat variety shredded (or block to shred yourself) so that there is an even layer across the whole pizza. For adults, fresh mozzarella sliced and plopped around the pizza would provide a more authentic flavor. Although our pizza ended up not being gluten-free there is still the possibility to use to packages of gluten-free flour, or possibly adding some almond flour (though I would not recommend due to the difference in the textures). Use marinara if you like a sweeter sauce and note it will thicken when it cooks.
Scoring: Giving the original recipe a 3 out of 10. The end result deserves a 6.5 out of 10. We all really enjoyed it, but it wasn’t gluten-free. It did reheat well though.
Cheese pizza on half Bob’s Red Mill gluten free flour and half Gold Medal bread flour, with garlic sauce.
Everyone has their version of the best pizza. Some prefer the thin, foldable yet crispy crust typical of a NY style pizza while others crave the upside-down cheese and sauce combo of the Chicago style “deep dish” pizza. Considering the concentration of people living in NYC and Chicago and the immigrants who introduced pizza to America in the early 1900’s, it is not surprising that they developed their own methods and specialties. Outside of Italy, these two cities might be the most famous for their claim to the pizza crown, but there are several U.S. cities with a stake in the game. The east coast holds the strongest claim – regardless of the California Pizza Kitchen restaurant – with New Haven, CT., Providence, RI., Philly, PA., Boston, MA., hosting a pizza culture.
It might not be as simple as which city you want your pizza to originate, rather your focus could be on the toppings, cut (e.g. square, round, heart shaped), sauce or no sauce, gluten content, or how it is cooked. This month we are going to try all the viable options for each layer in order to understand what makes a pizza worth the calories.