

Be yourself; Everyone else is already taken.
— Oscar Wilde.
This is the first post on my new blog. I’m just getting this new blog going, so stay tuned for more. Subscribe below to get notified when I post new updates.
Be yourself; Everyone else is already taken.
— Oscar Wilde.
This is the first post on my new blog. I’m just getting this new blog going, so stay tuned for more. Subscribe below to get notified when I post new updates.
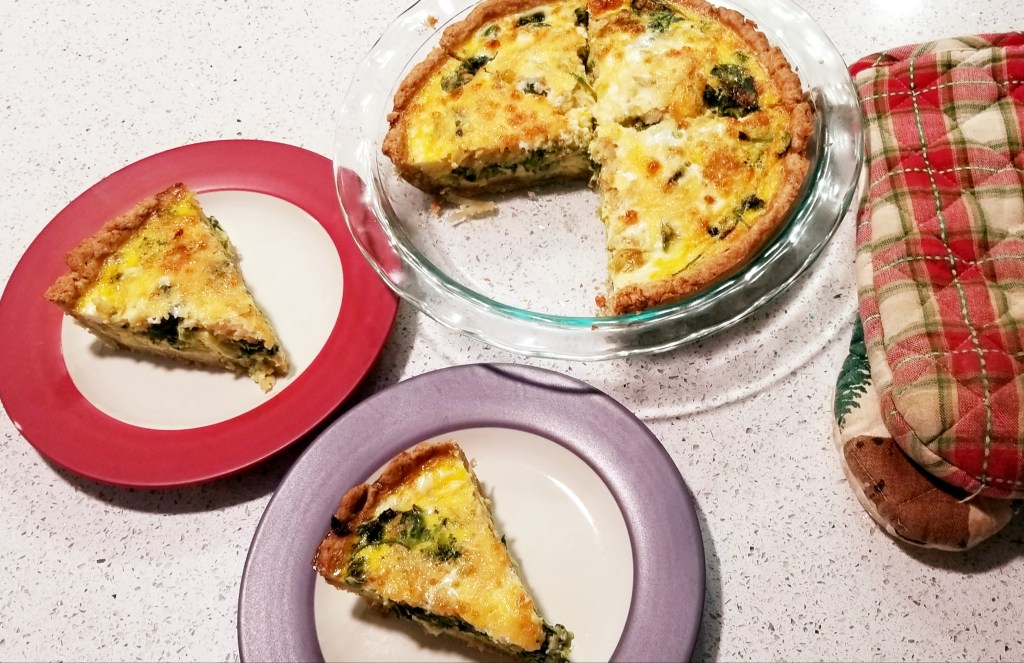
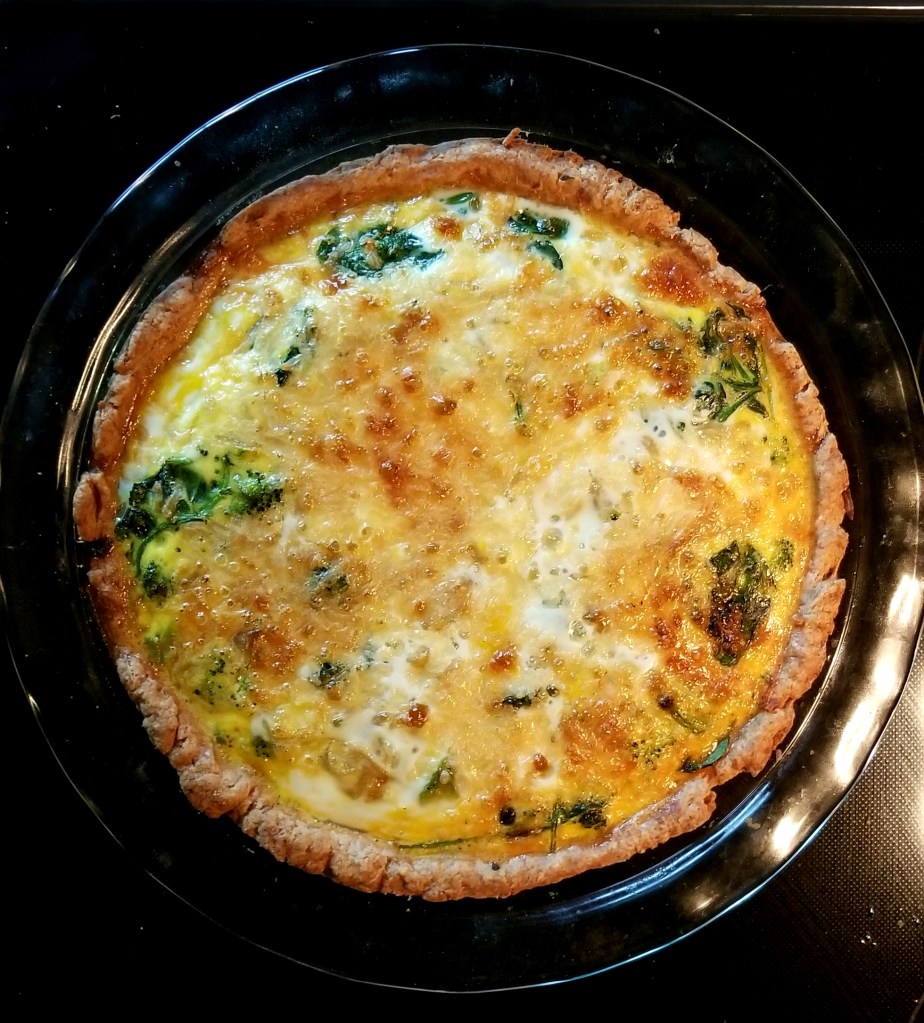
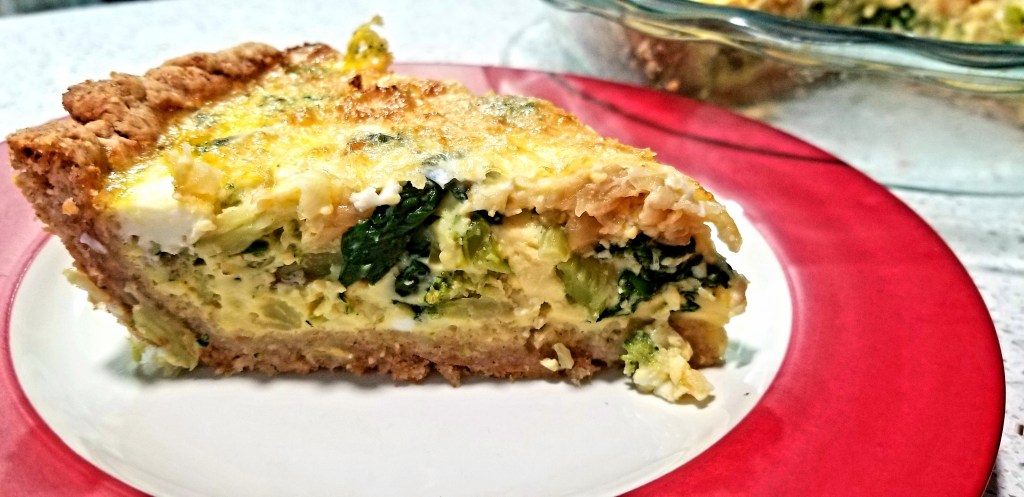
As we close out this unusual year, we remember how it brought us closer, how we are all in this together, and that in the end we are a whole pie. All individual slices on our own but when joined we are as solid as a whole pie.
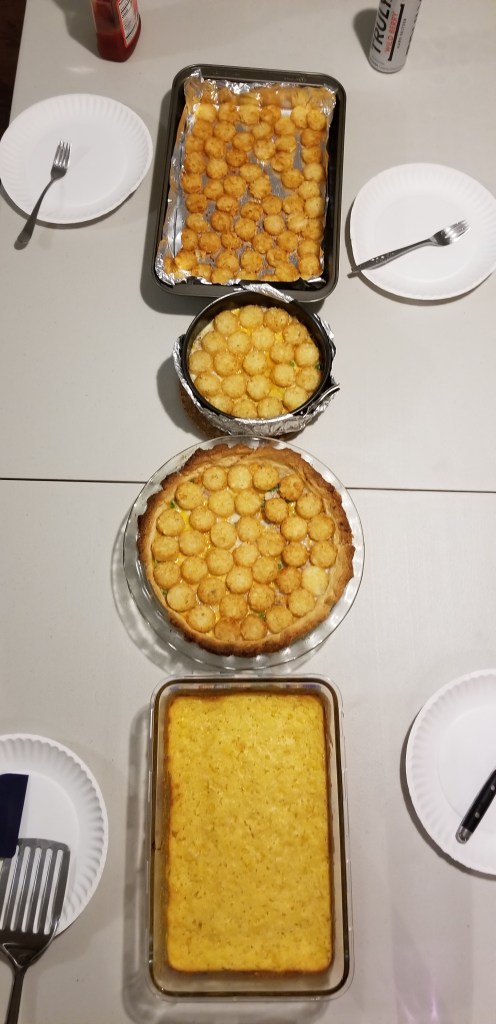
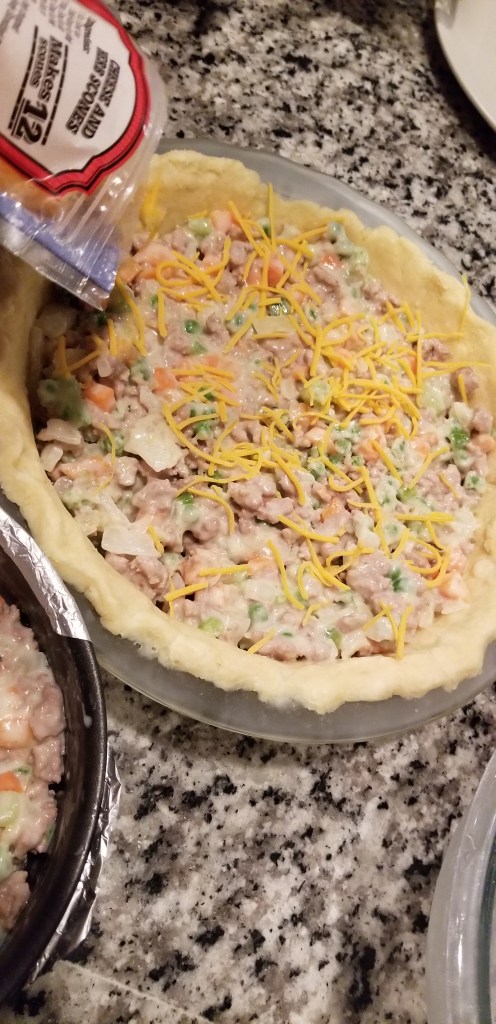
Pies come in all shapes and sizes. Hand pies, quiches, pizzas, cheesecakes, on and on.
Enjoy it by the slice, or as a whole. On it’s own or with a side. Ice cream for the sweet and veggies for the savory. Solo or with family. Just be sure to enjoy it.

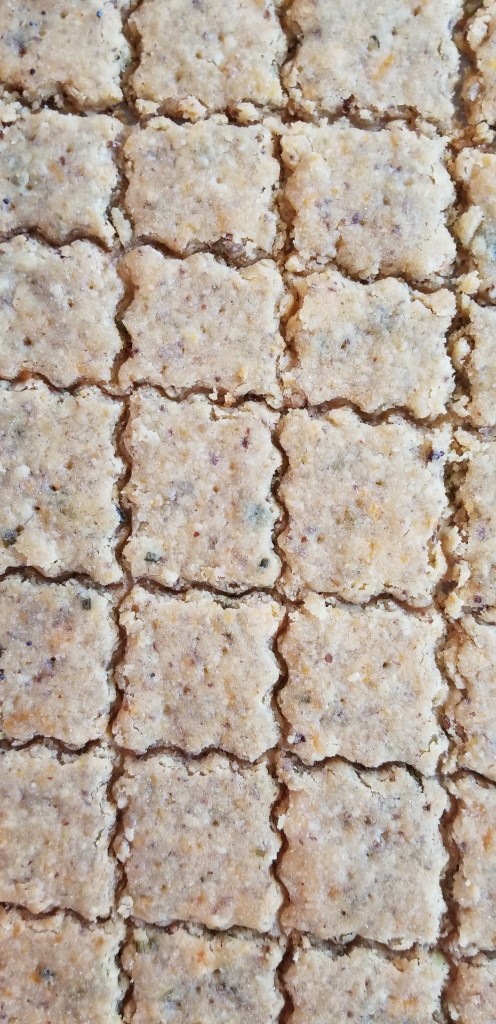
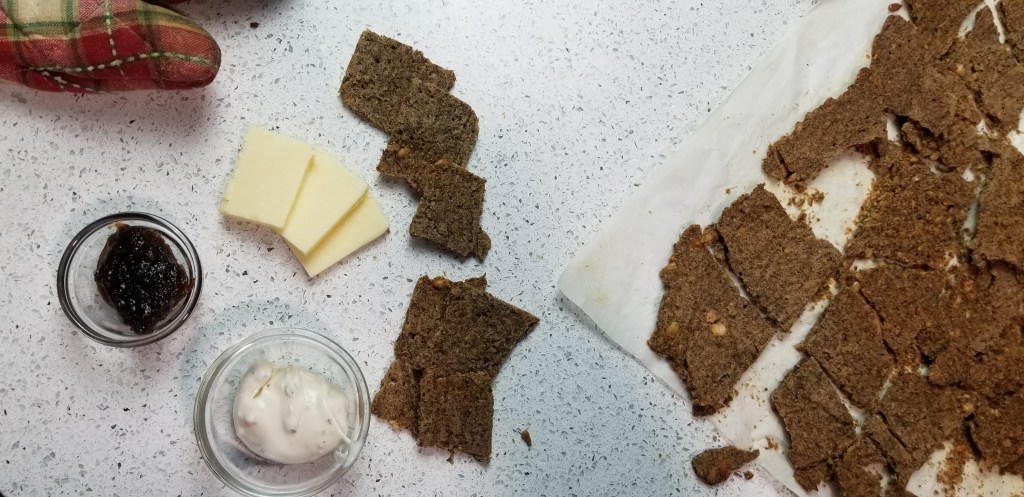
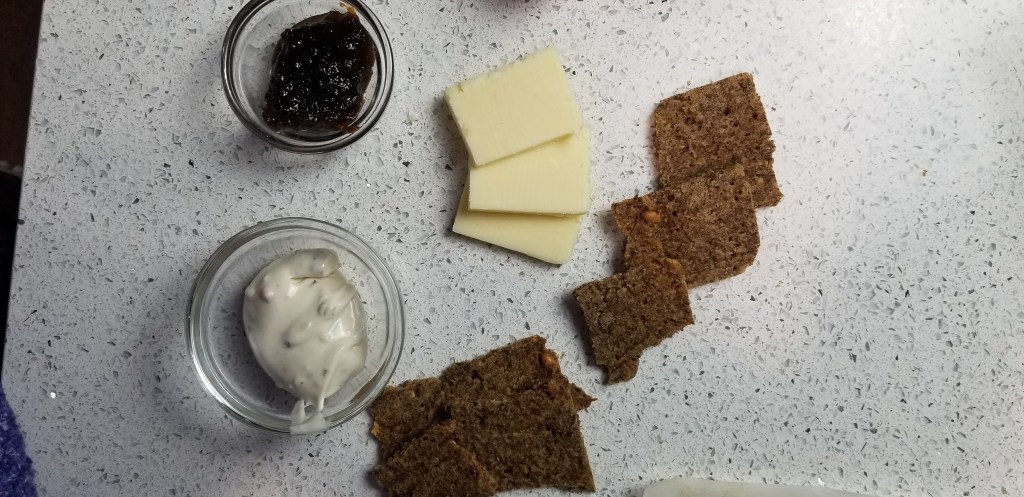
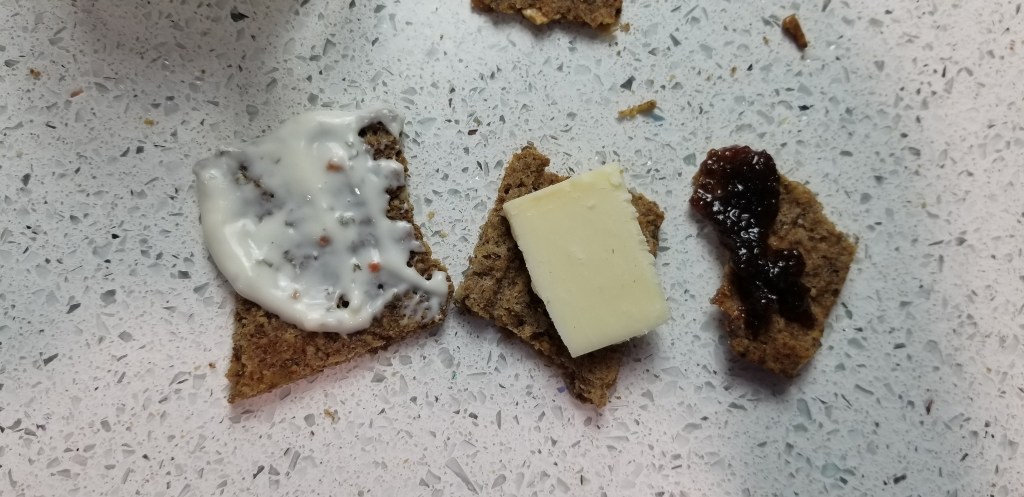
The cracker that is not improved by jam, spreads, or dips, but is perfectly happy going solo is the cheese cracker.

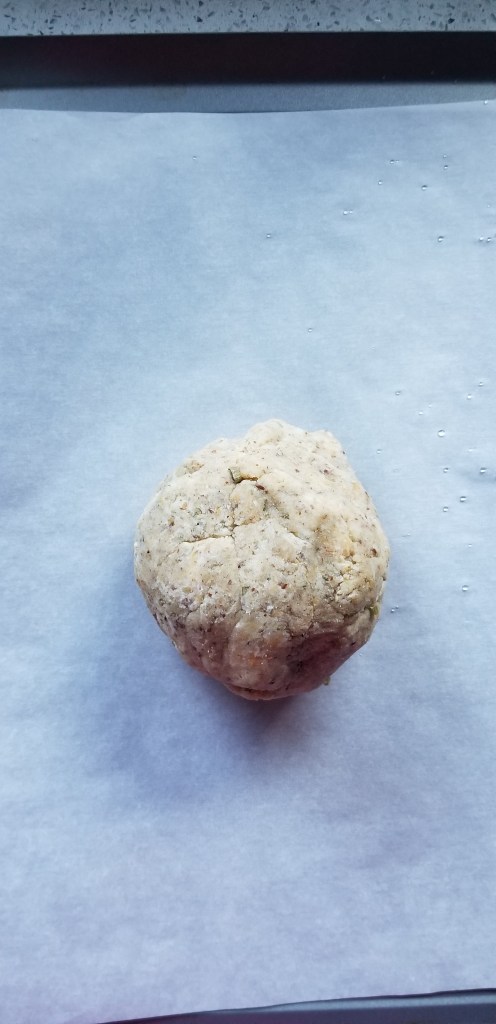
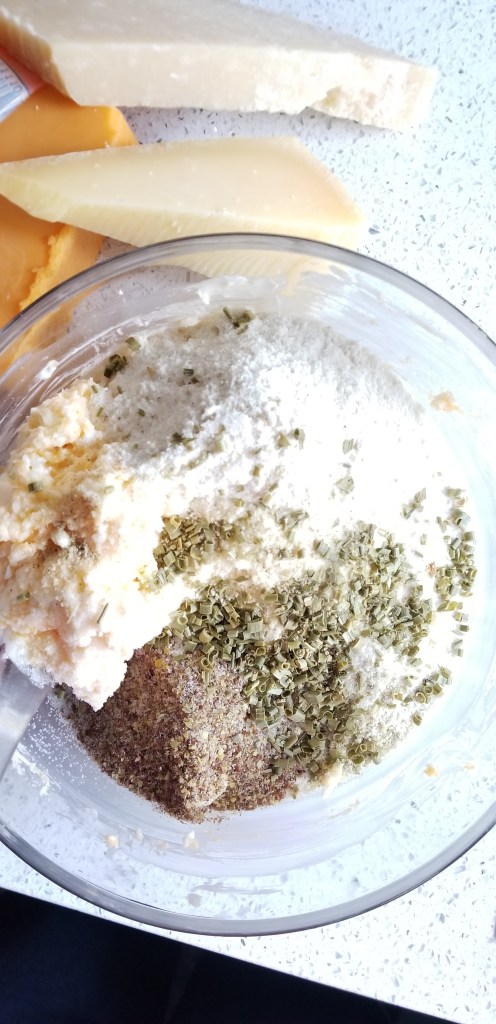
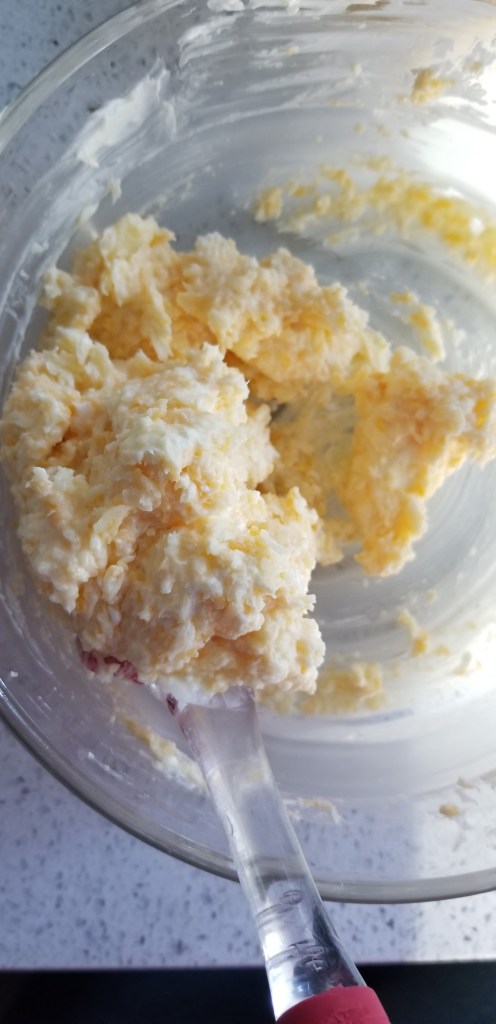
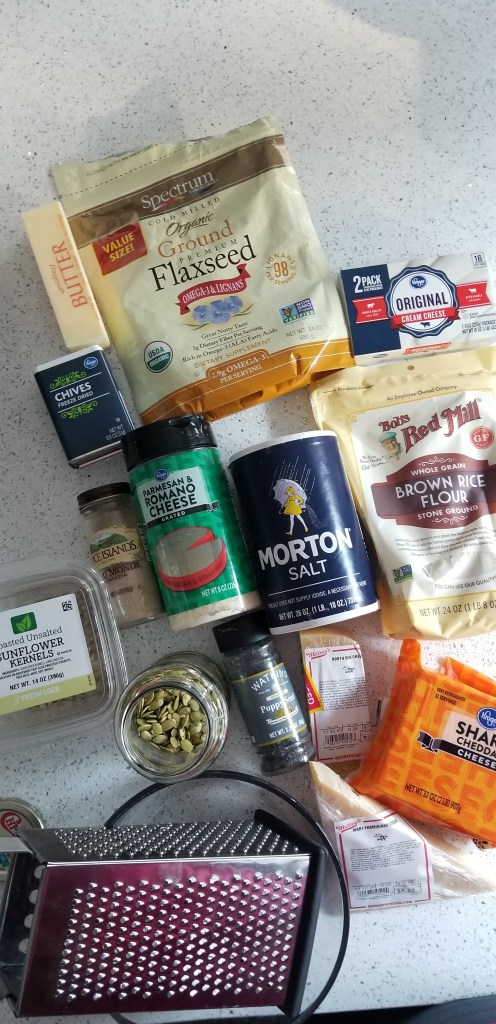
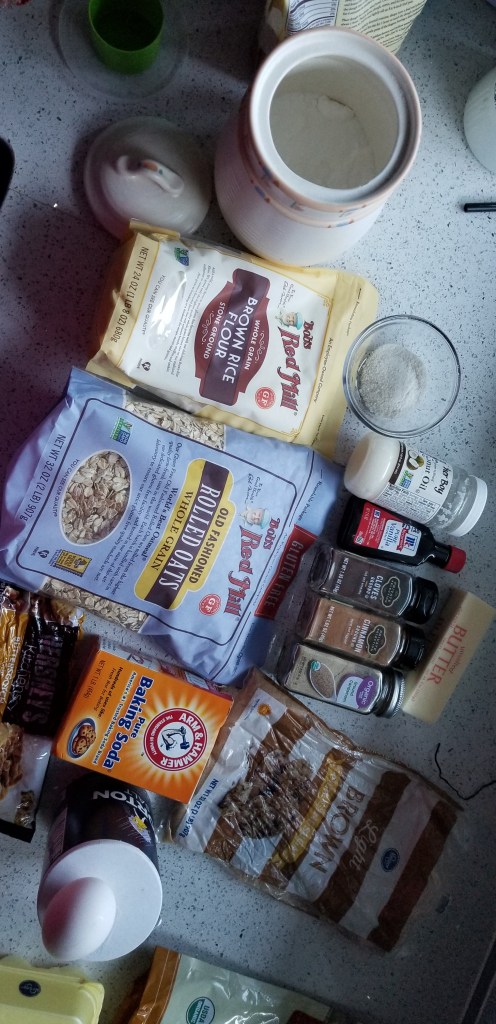
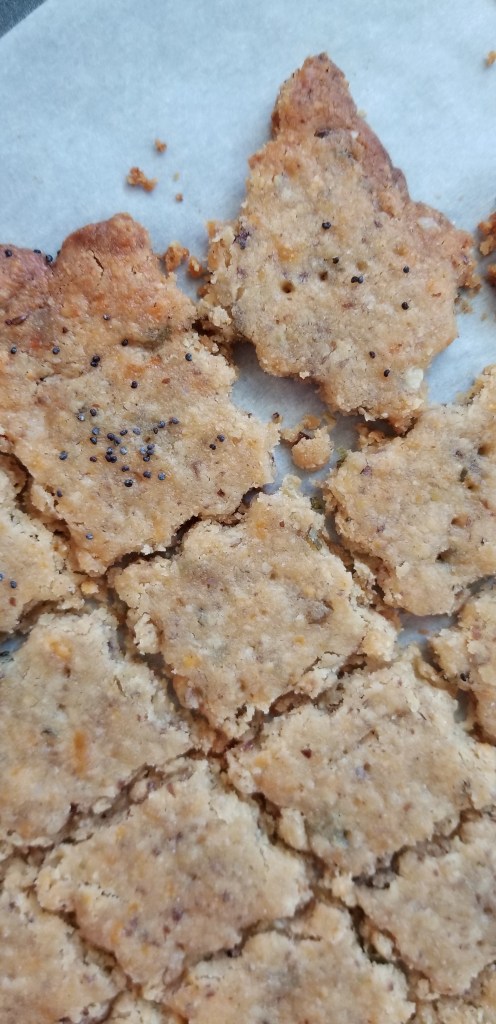
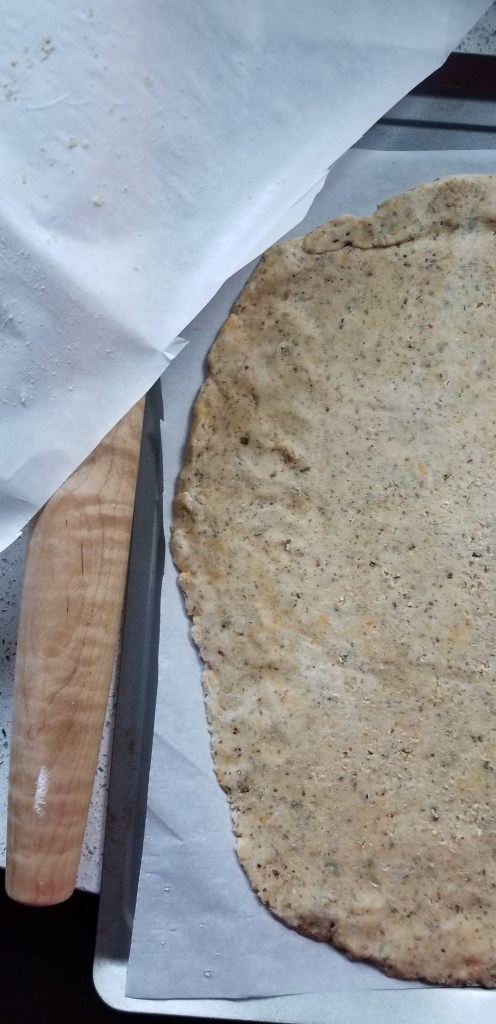

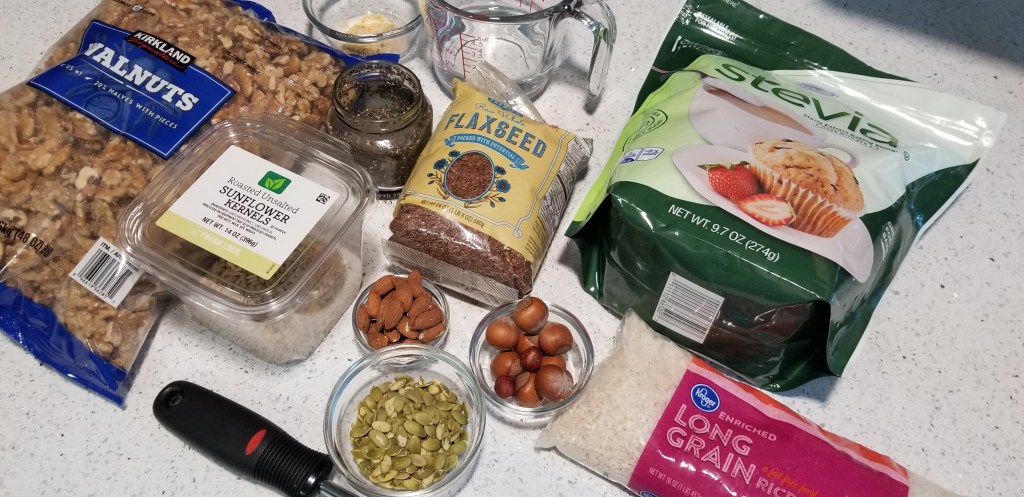
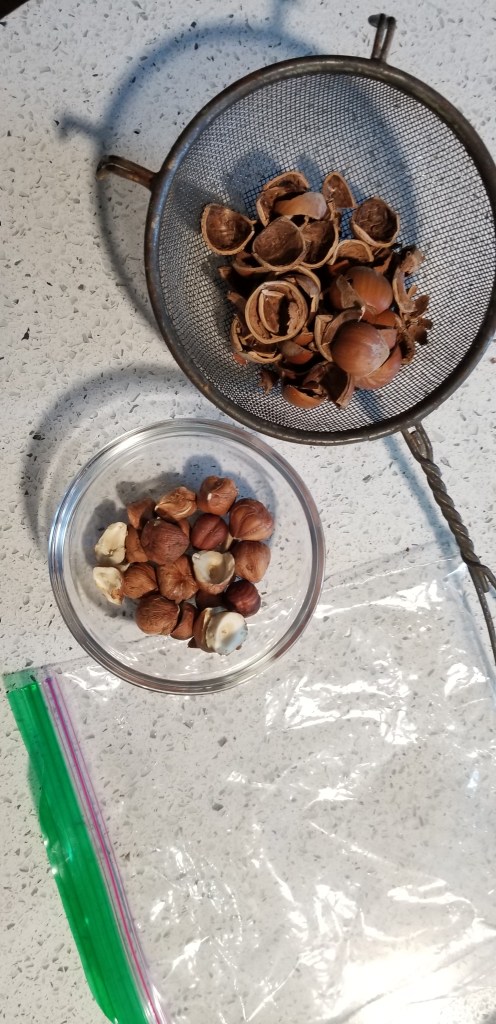
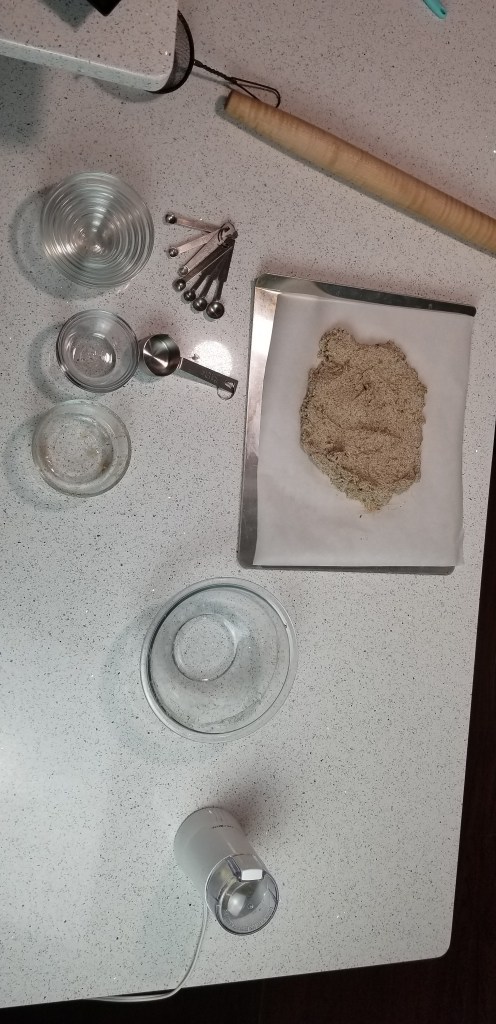
Sturdy and versatile are key qualities for homemade crackers. These nutty flackers (flaxseed crackers) are as healthy as crackers can be, with lots of healthy fats, omegas, and fiber. The best reason to justify making crackers at home would be for health benefits and allergies. When the time is taken to create your own, you will know what goes into it and can remove anything you are sensitive to. These flackers are replace gluten rich wheat flour with brown rice flour so they are worry-free for our intolerant friends.
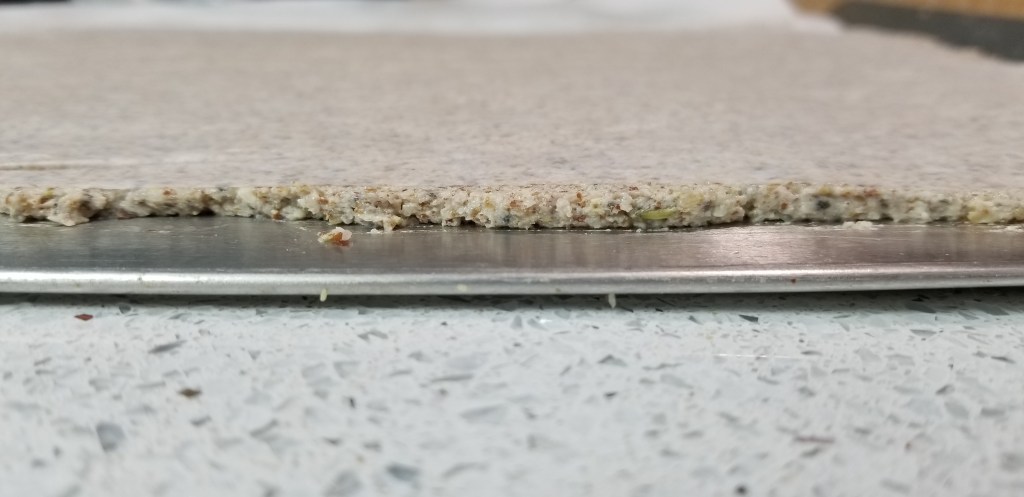
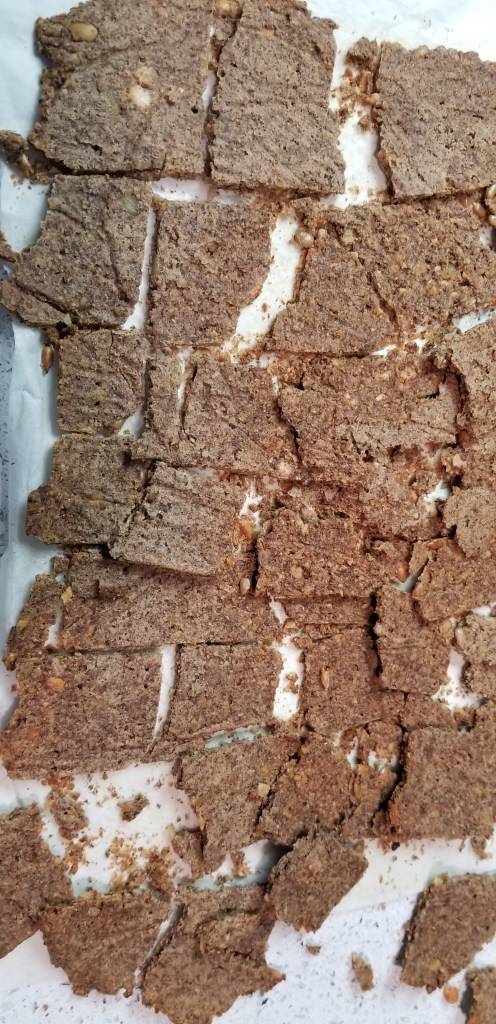
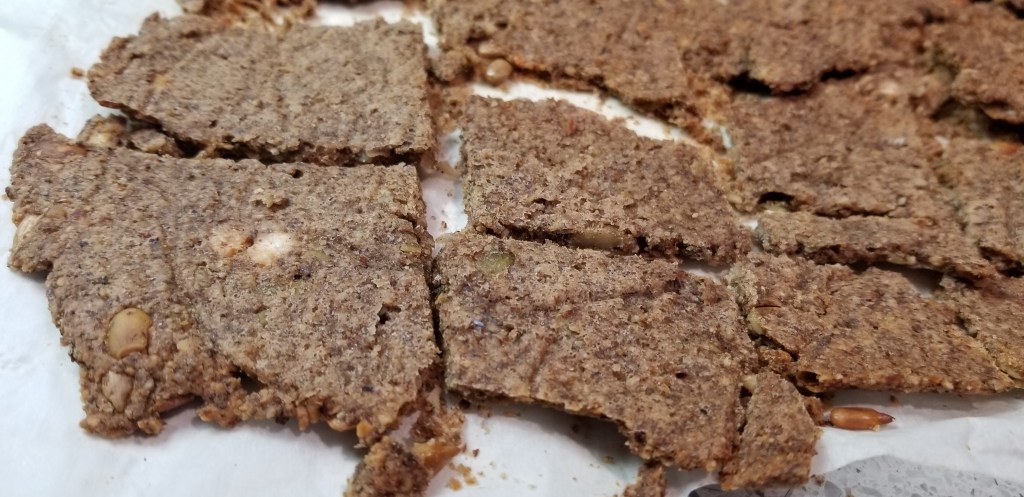
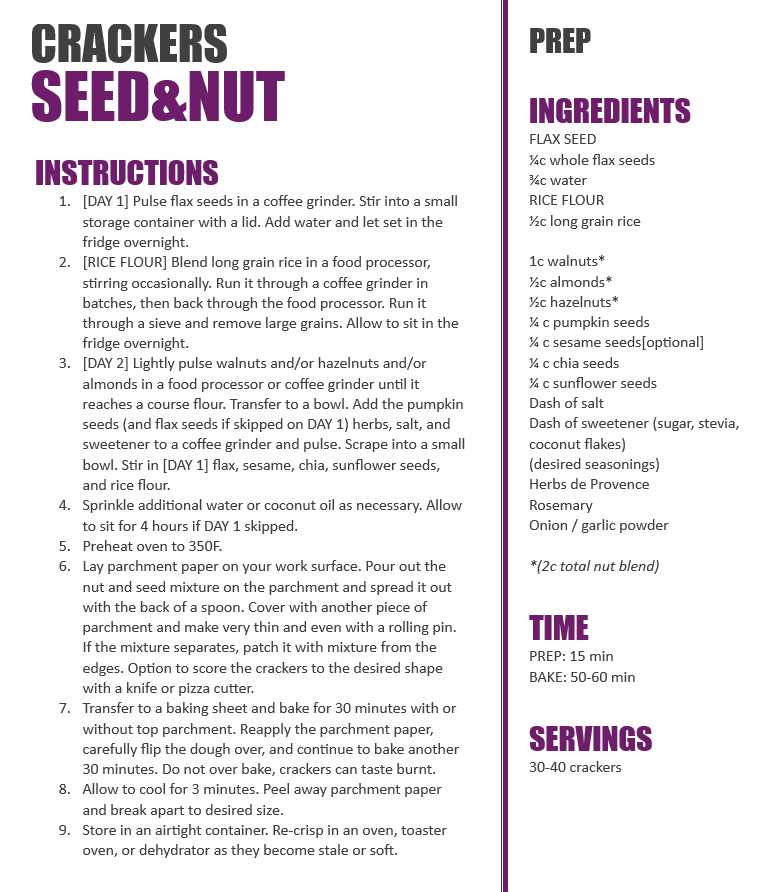
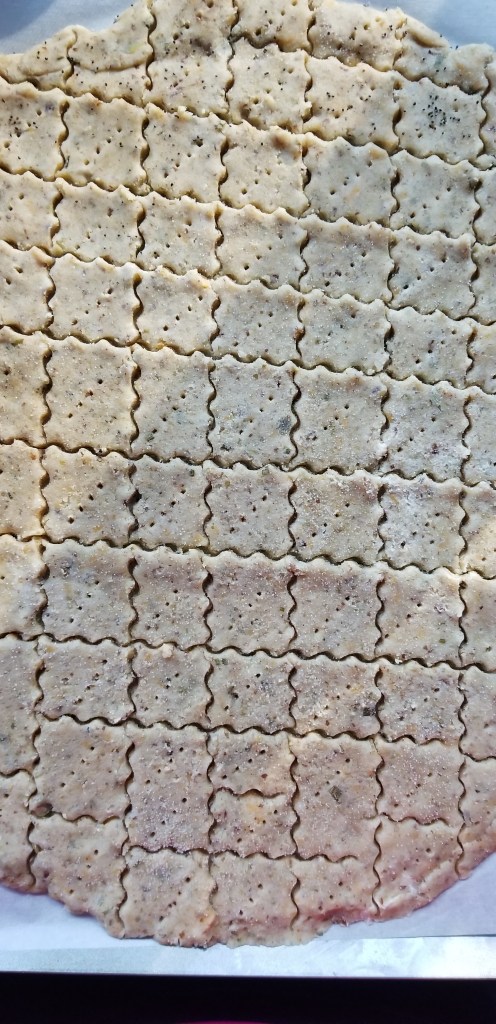
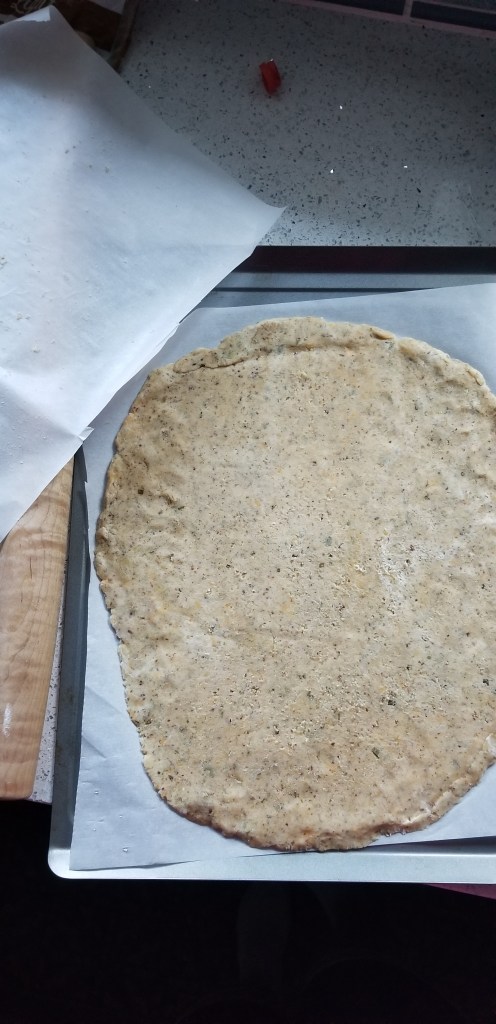
Are crackers worth making at home? They are inexpensive and last “forever” in the pantry. It can be challenging to find specific flavors, or specialty crackers (e.g. gluten-free), although it is getting easier. I would love to try some cracker varieties and shapes that I have not seen in the store. This is the opportunity to see if making due with whatever the grocery offers, is worth the sacrifice for the perfect cracker.
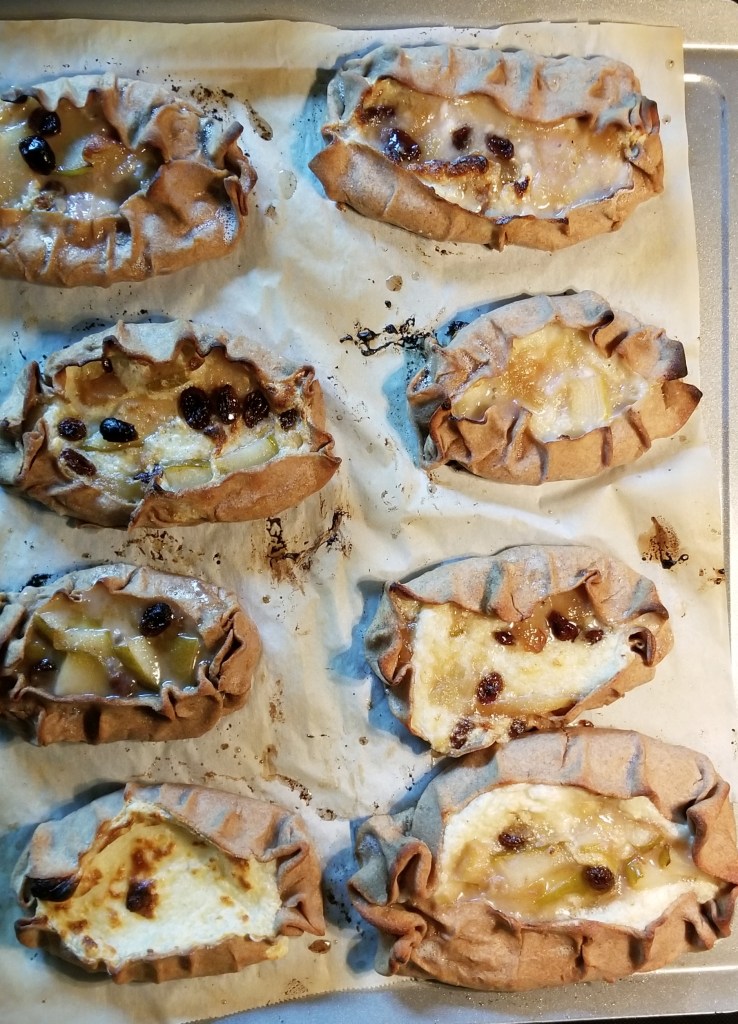
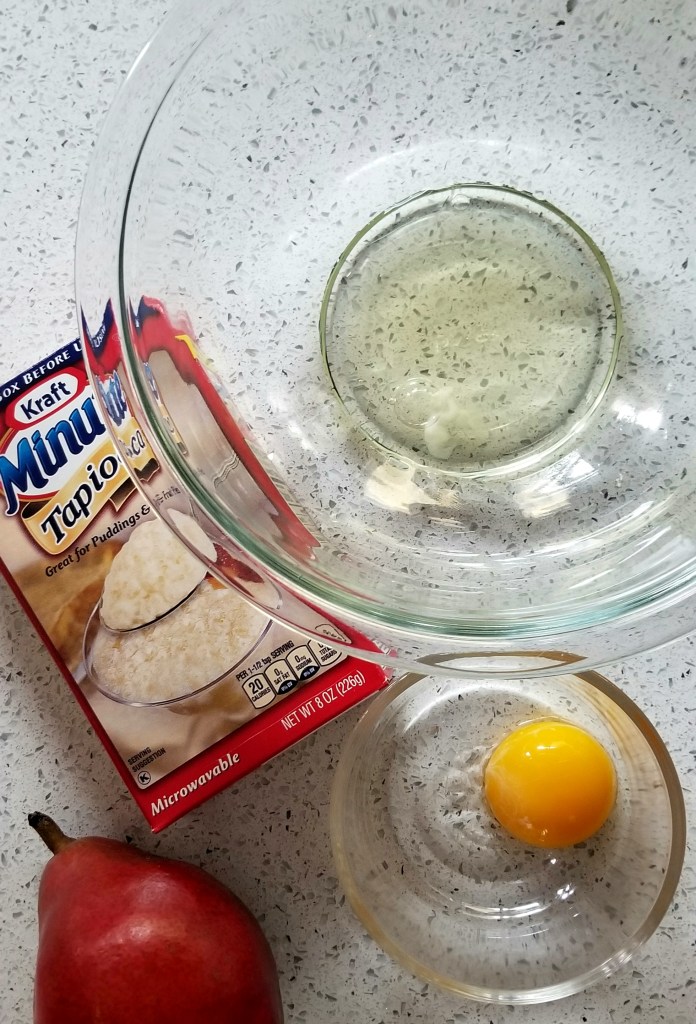
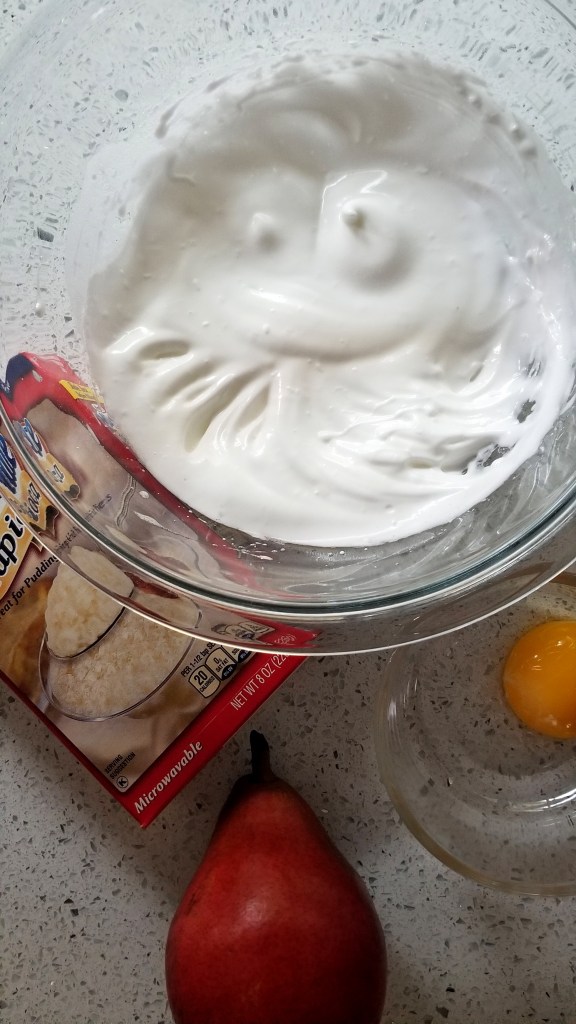
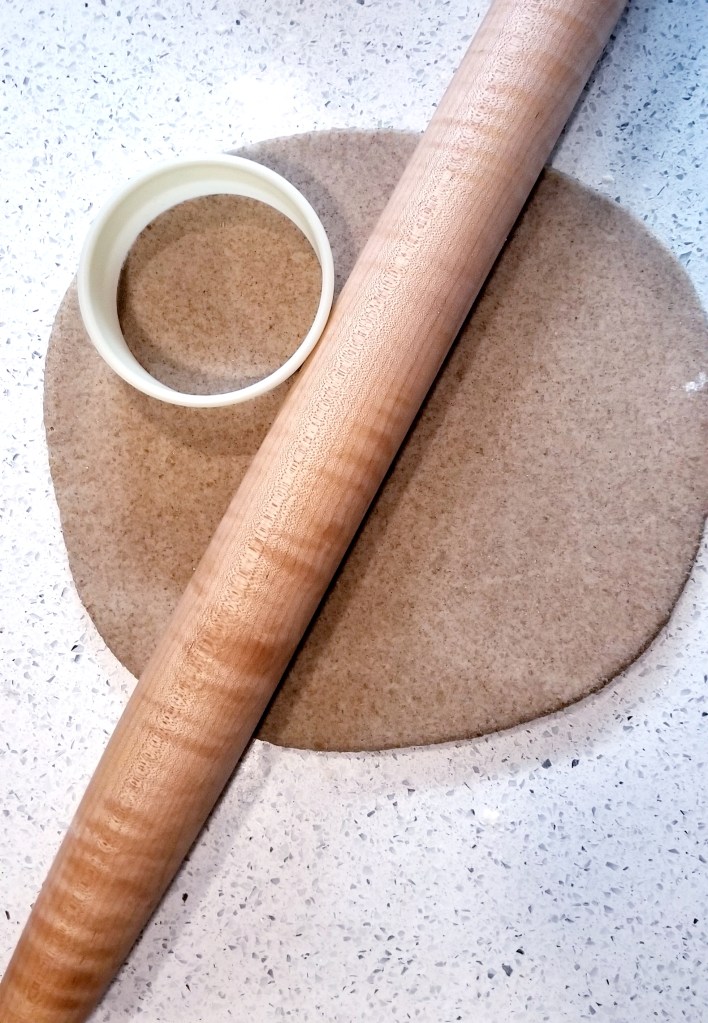
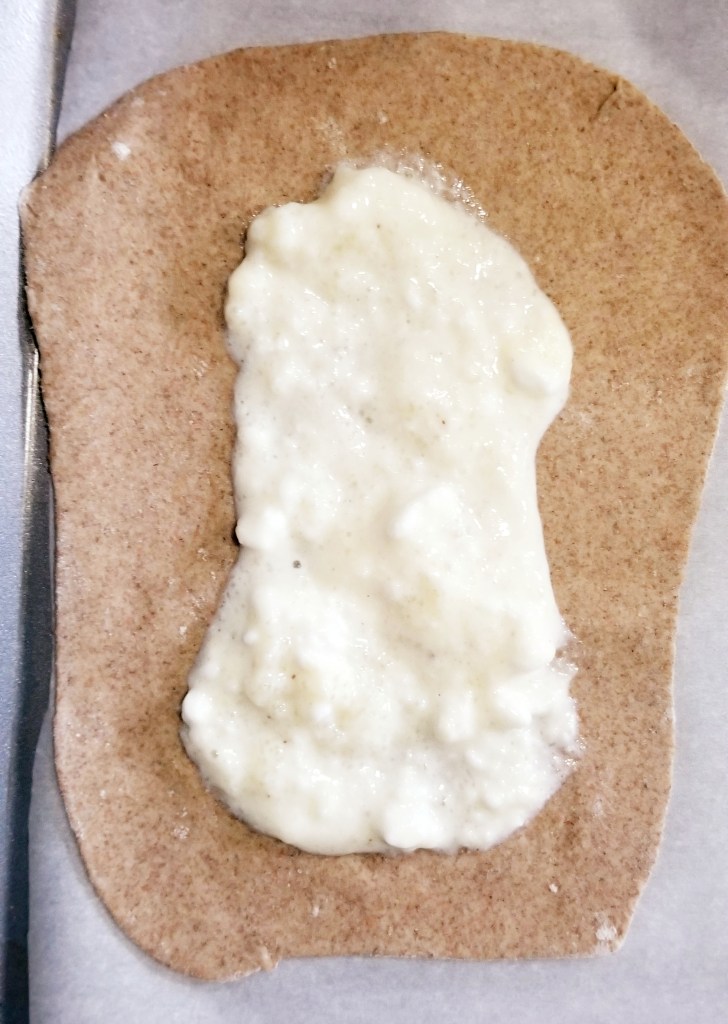
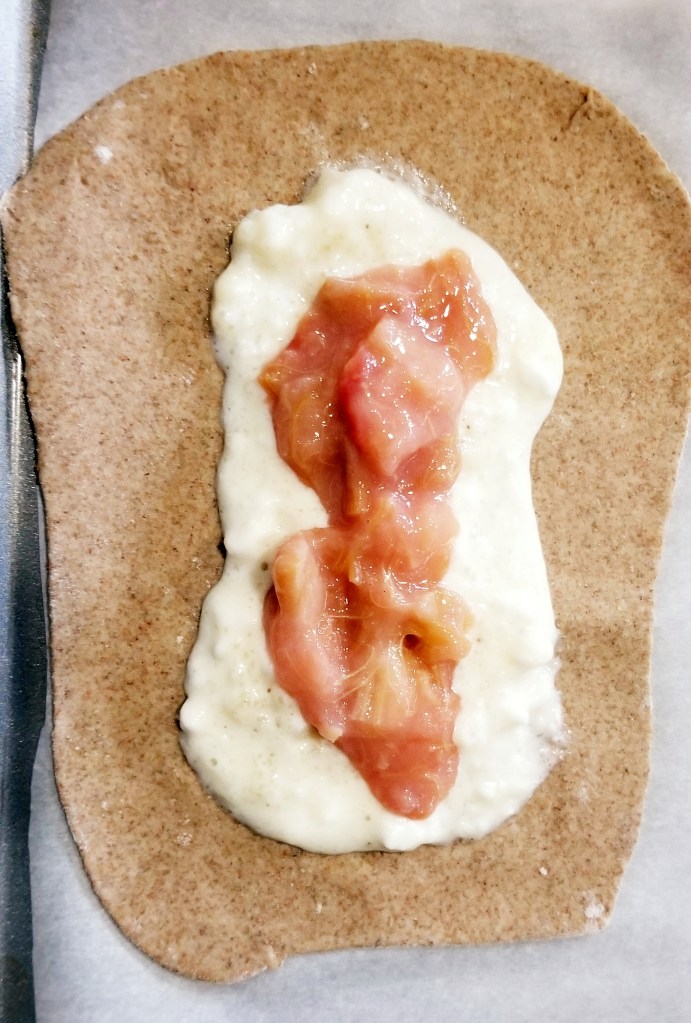
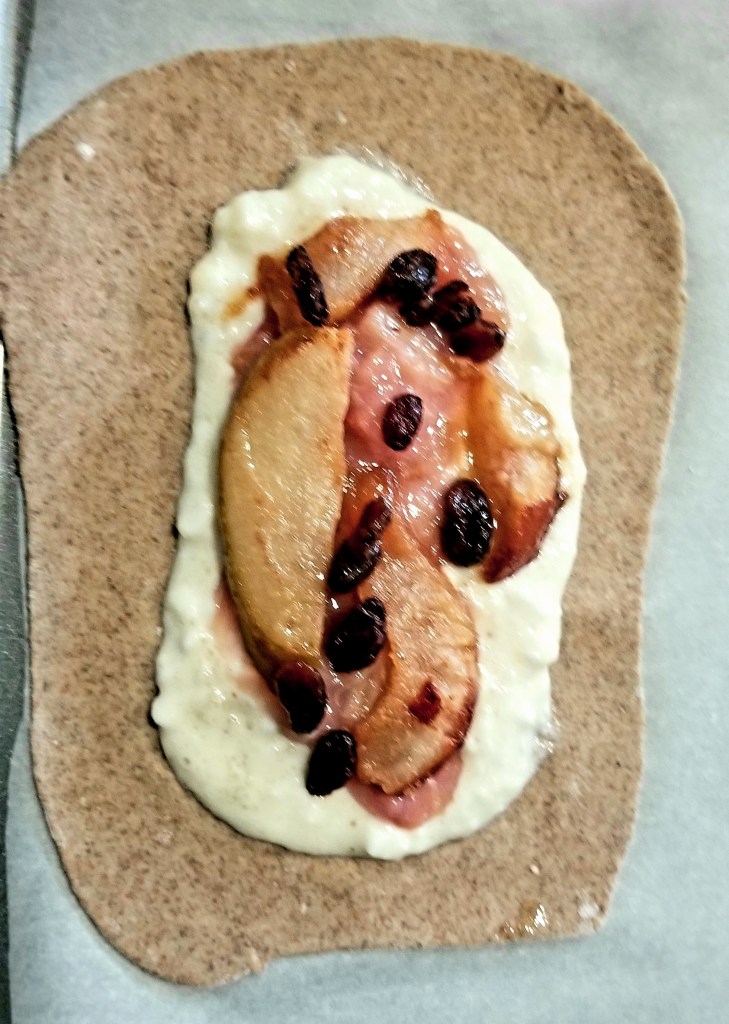
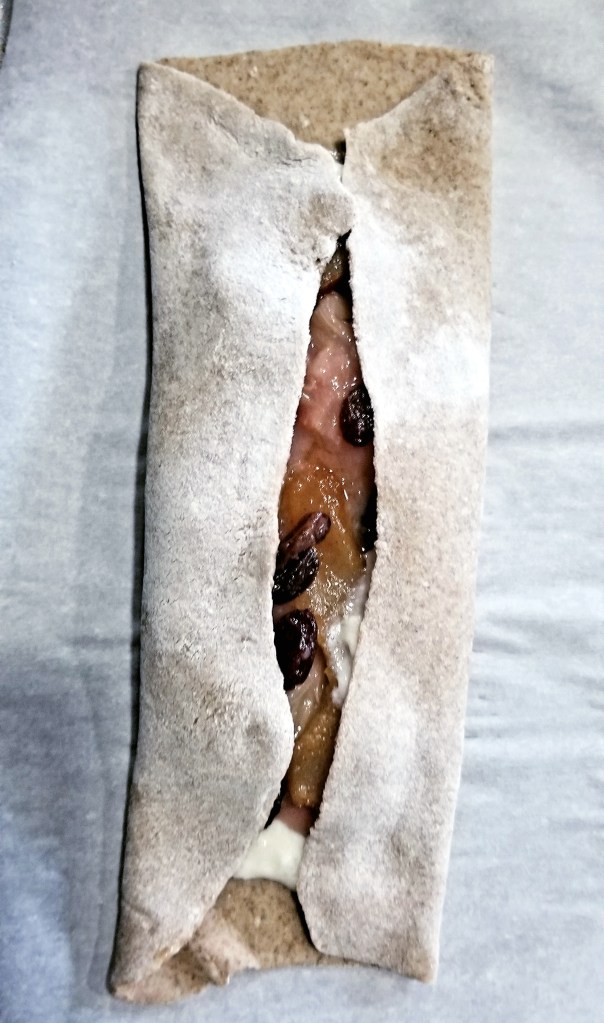
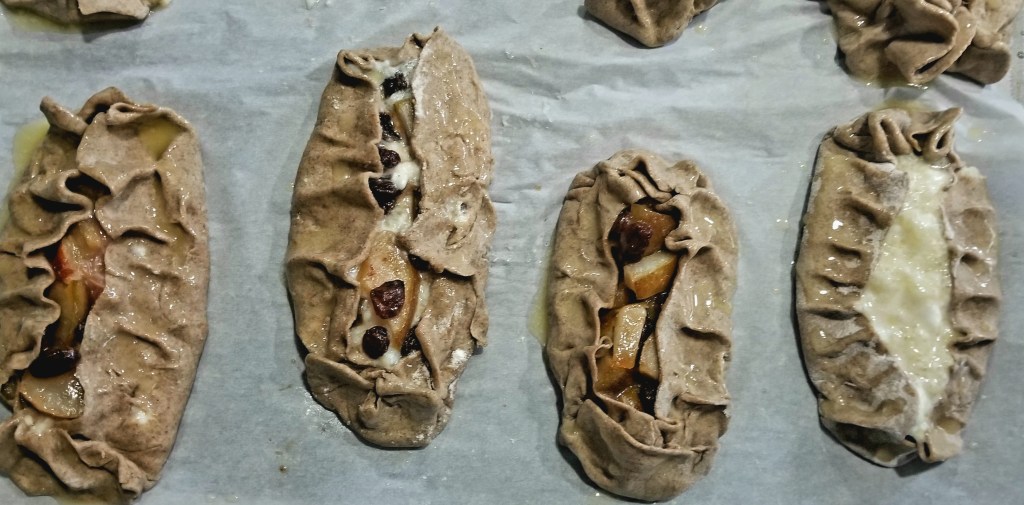
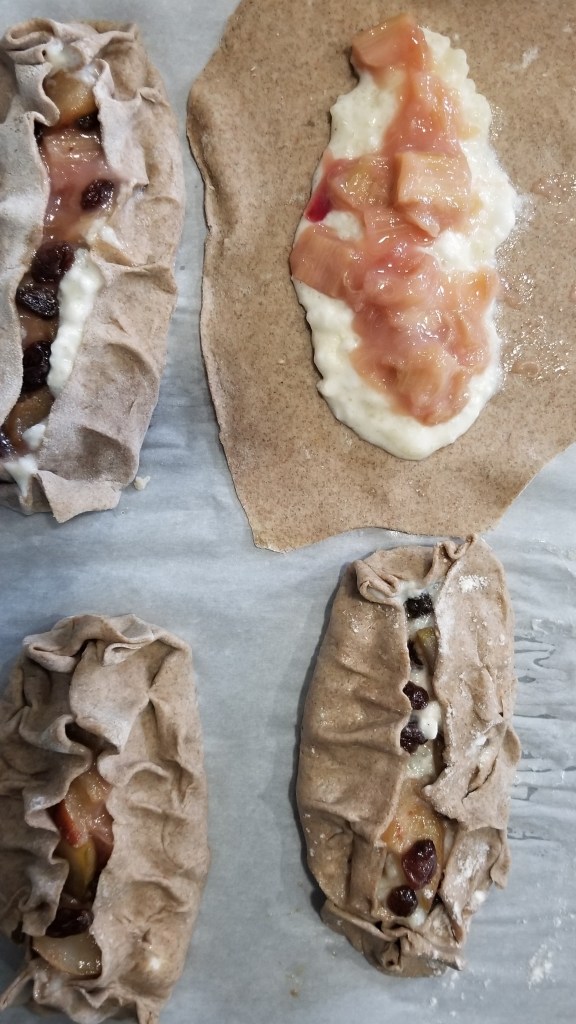
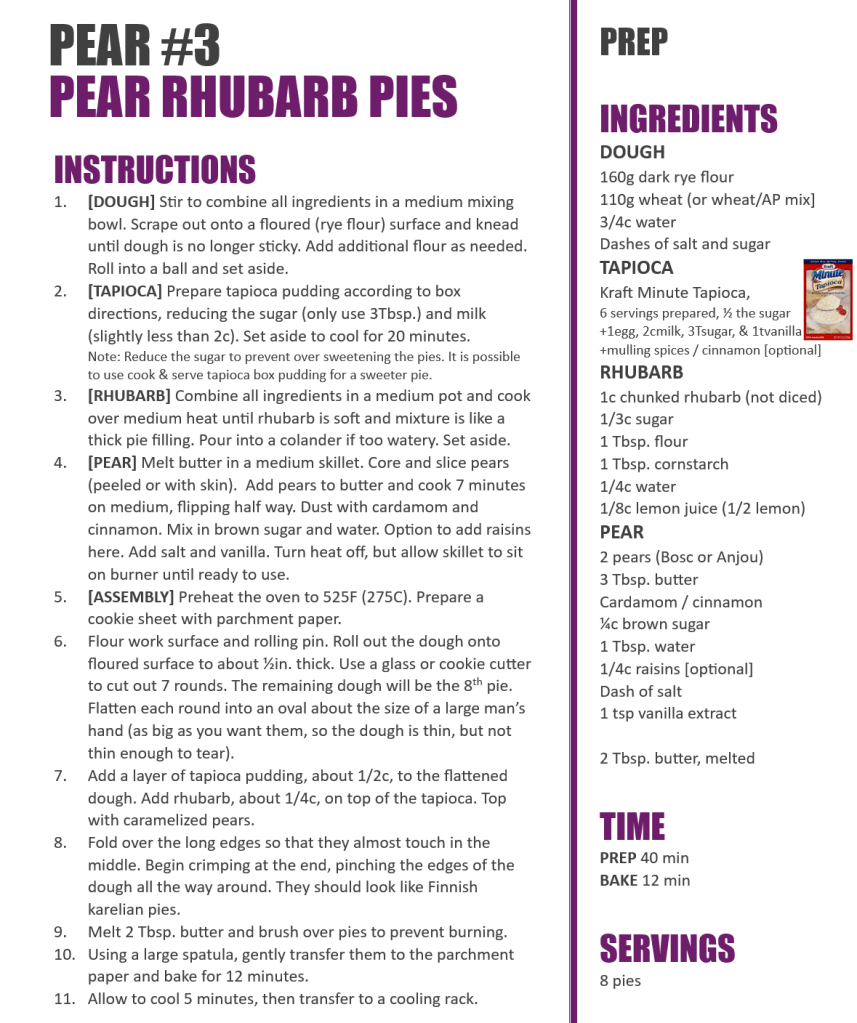
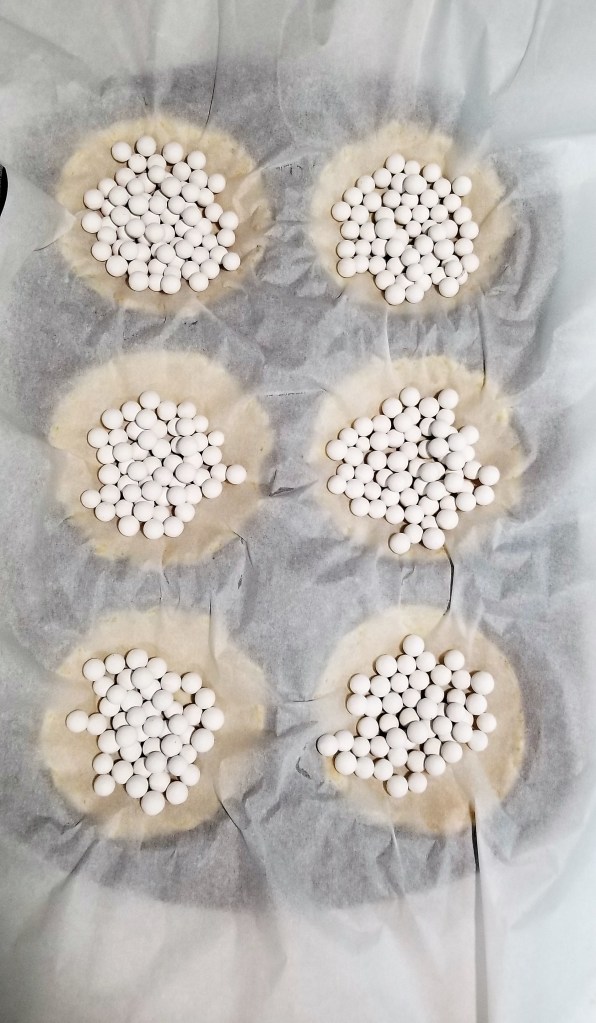
Fighting to show pear as a key ingredient resulted in sweetening the fruit. This recipe caramelizes the pears, which can be used as a topping for ice cream, crumble, or pie filling. I took the traditional Finnish karelian pies and replaced the rice pudding with a reduced sugar tapioca pudding.
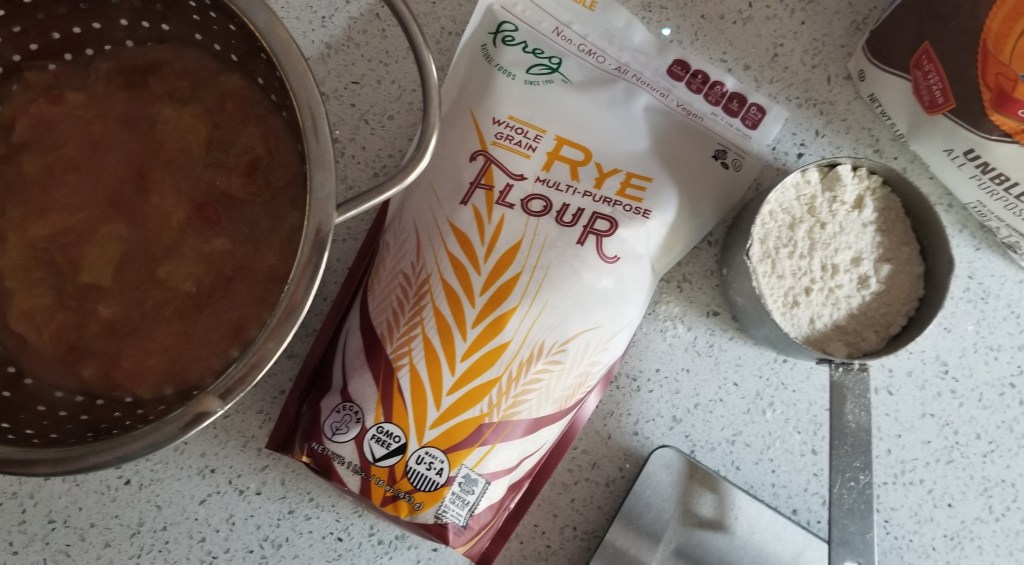
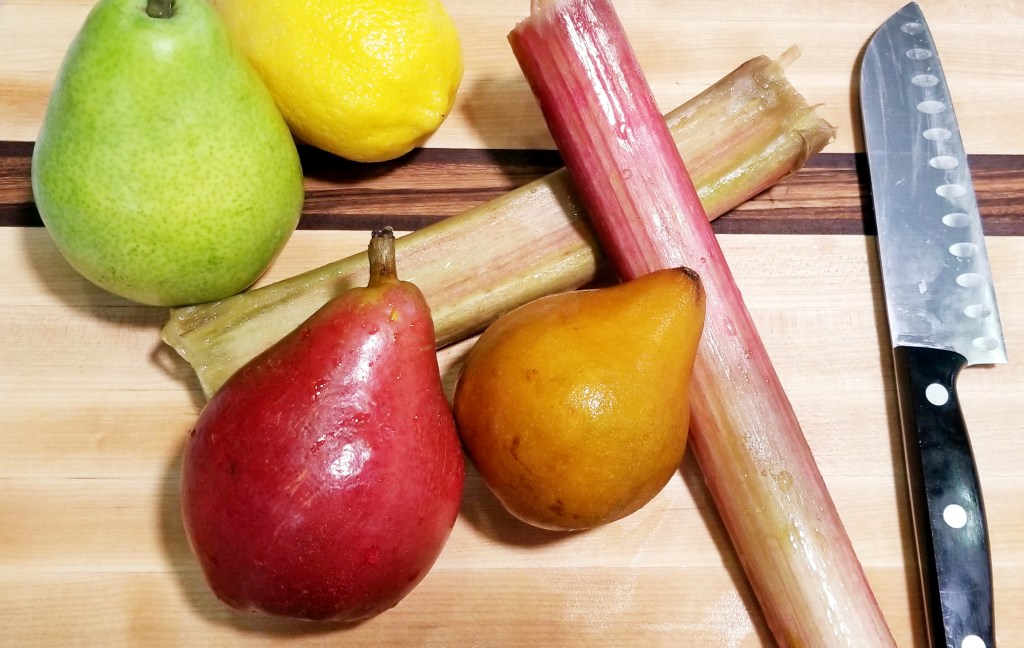
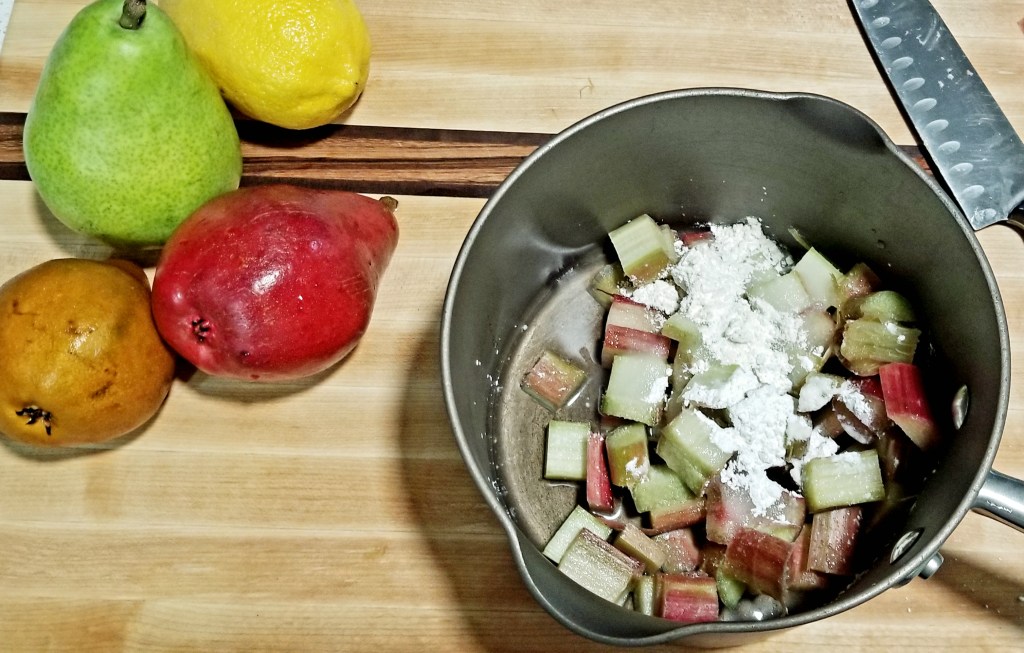
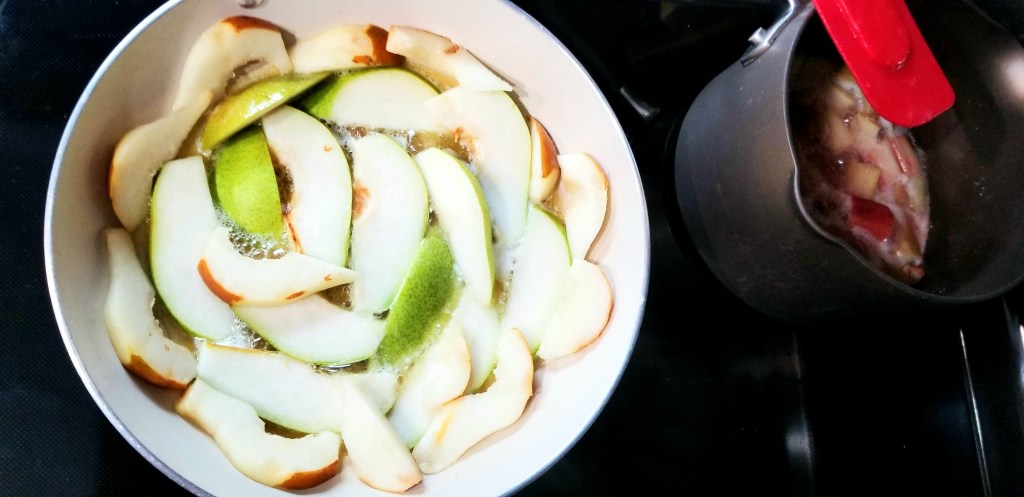
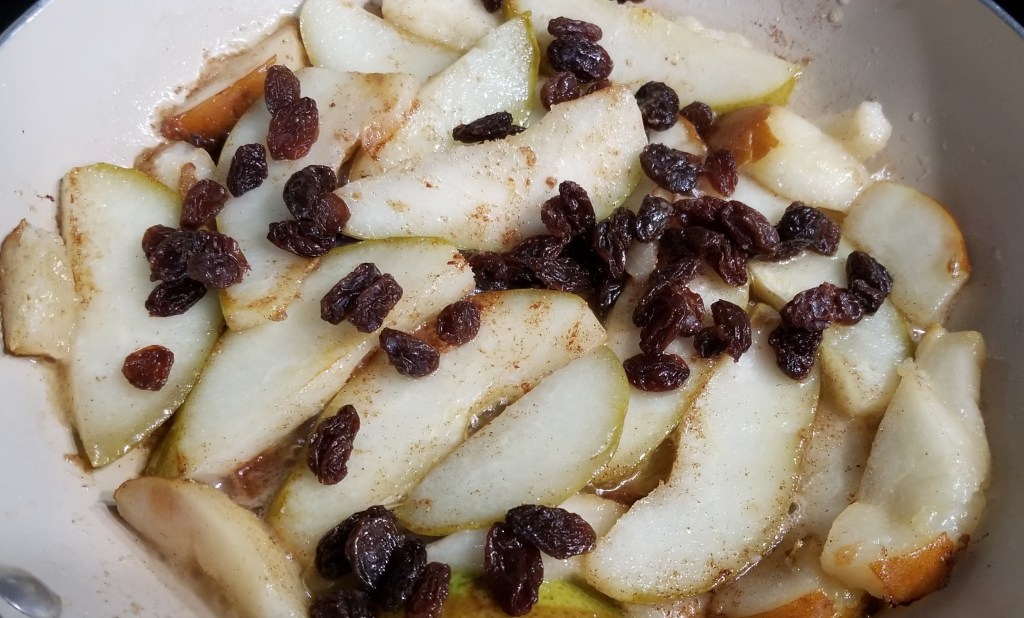
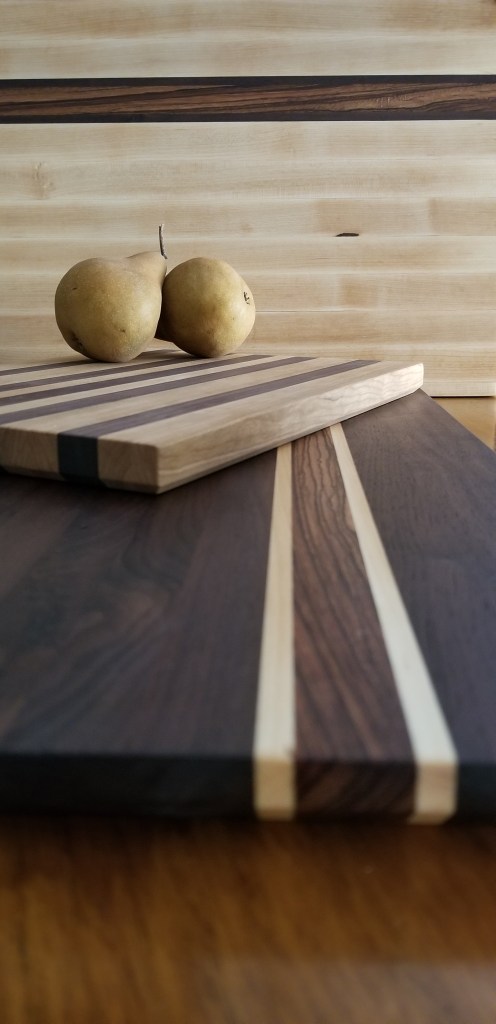
Take-Home Tips: Use any combo of the three ingredients (pear, rhubarb, tapioca) to make the pies your own. Apple would be a great substitute when rhubarb is not in season. The Bosc pears will be more tender and can be cut thicker. The Anjou pears will be firmer and can be cut thinner.
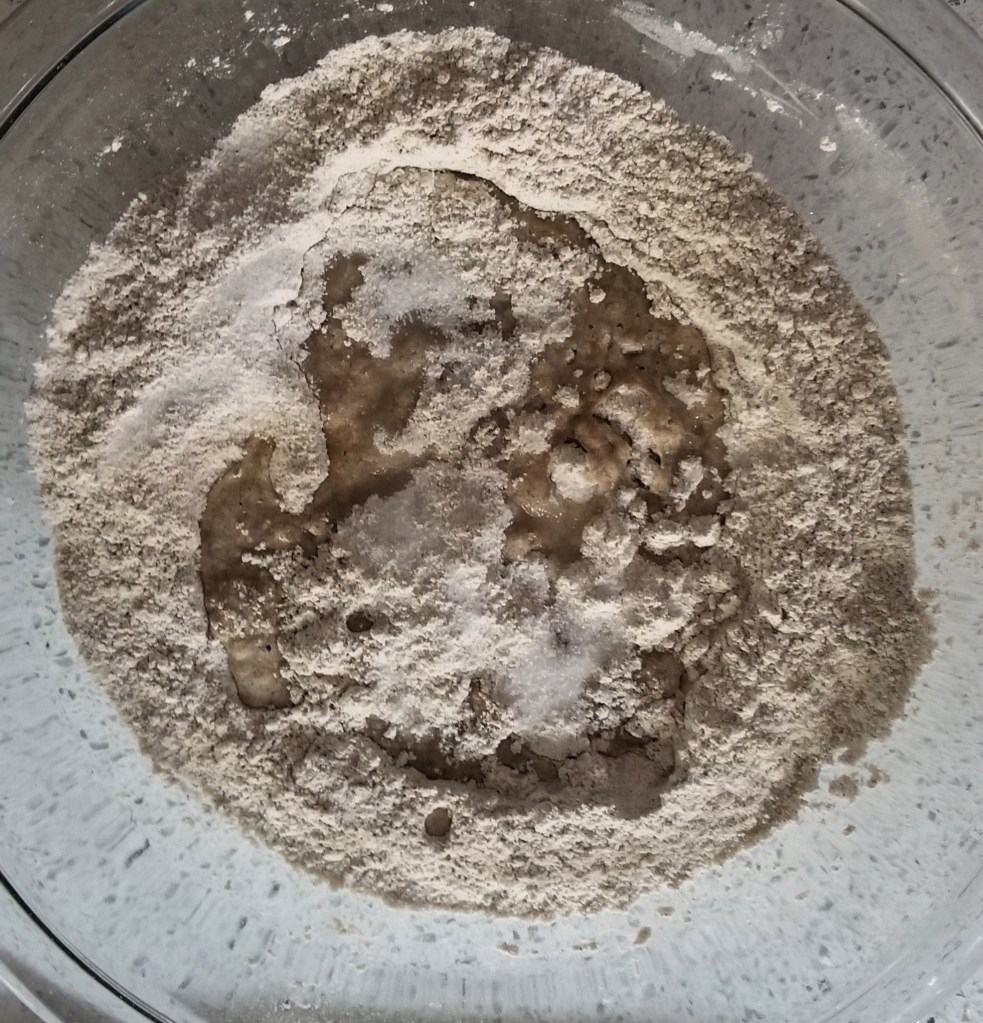
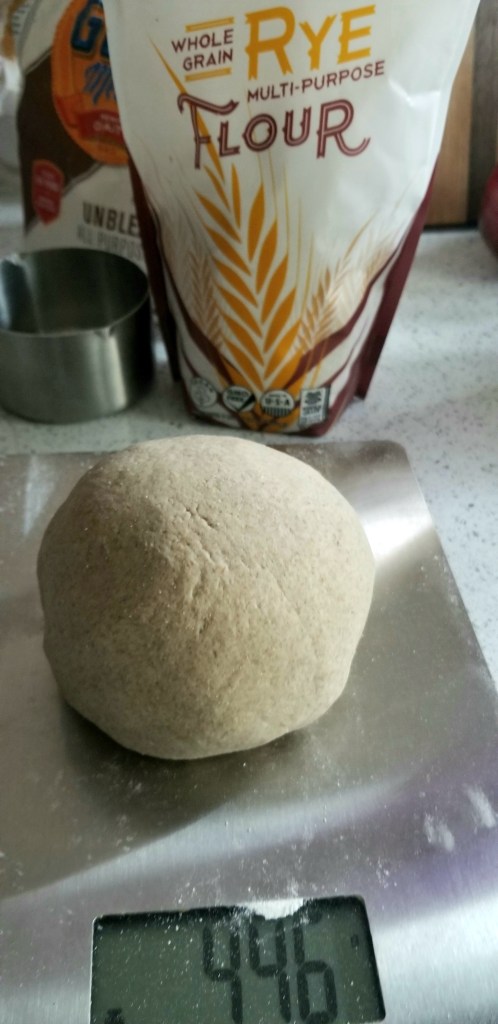
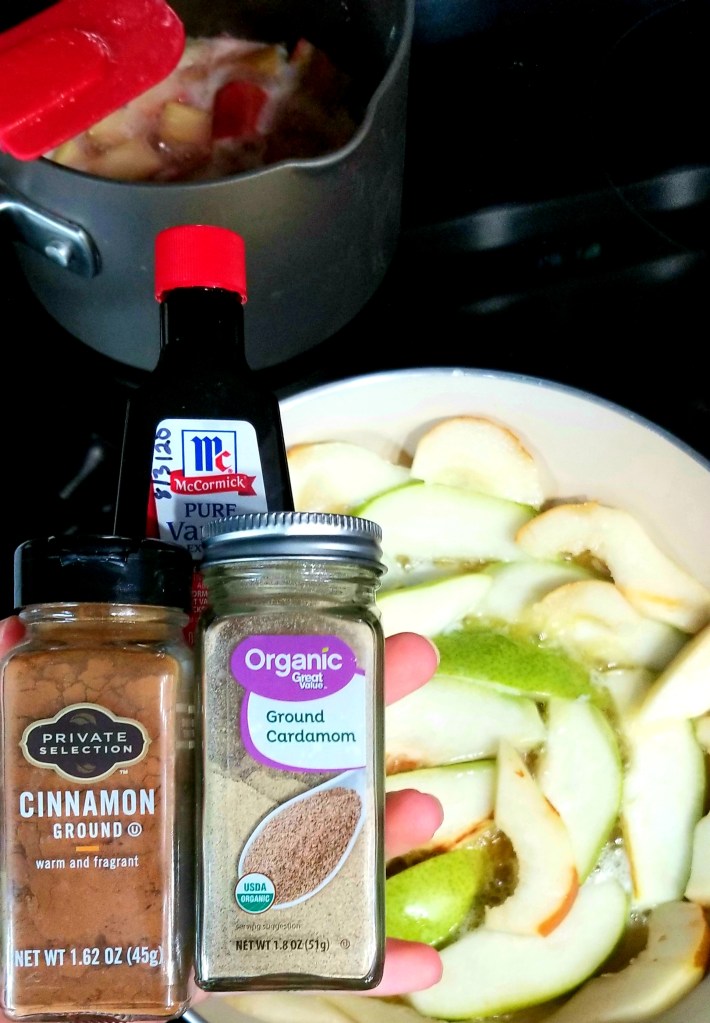
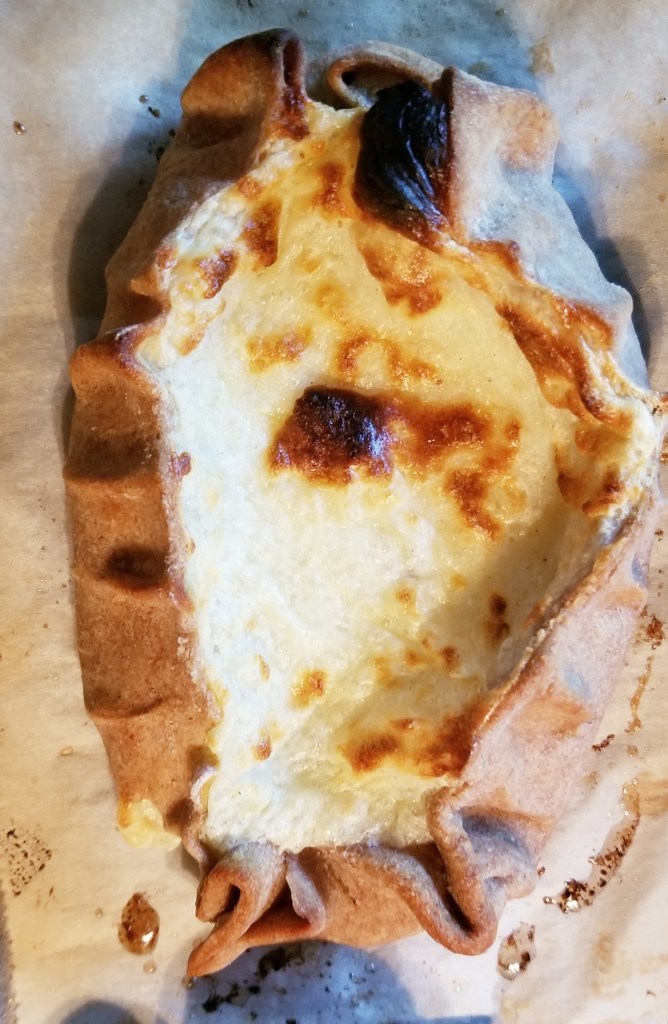
Scoring: 8of 10. They were sweeter than I expected (yeah, I know I used caramelized pears and sugary rhubarb). Even my husband who confesses to disliking rhubarb thought they were pretty good. The rye and tapioca really balance the strong flavors of the fruit but a rice pudding would be an alright substitute. The pear and rhubarb complement each other well and I will definitely combine for future recipes. Definitely needed the cinnamon and cardamom! My friend’s mom said she wouldn’t change a thing and like them reheated.

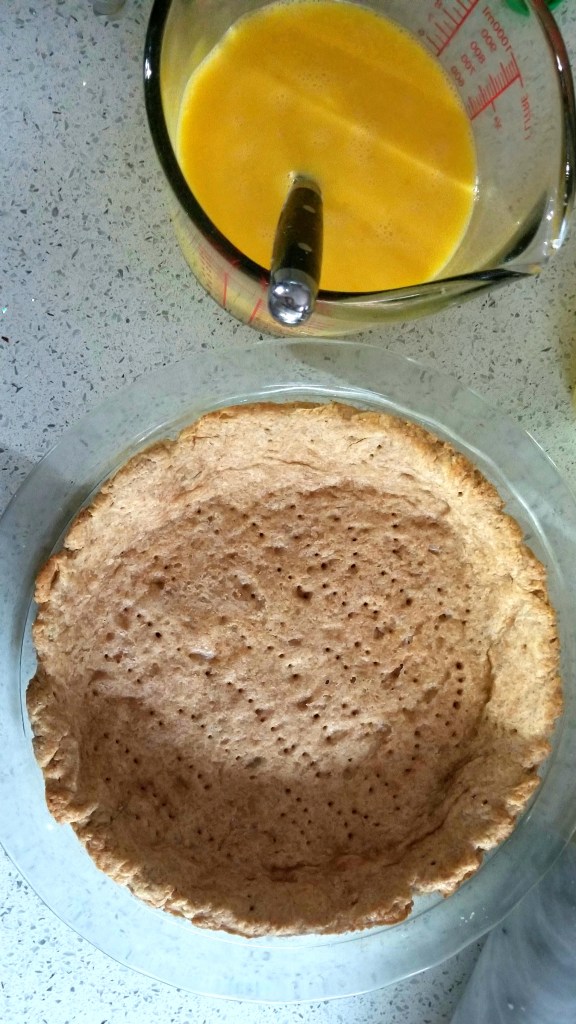
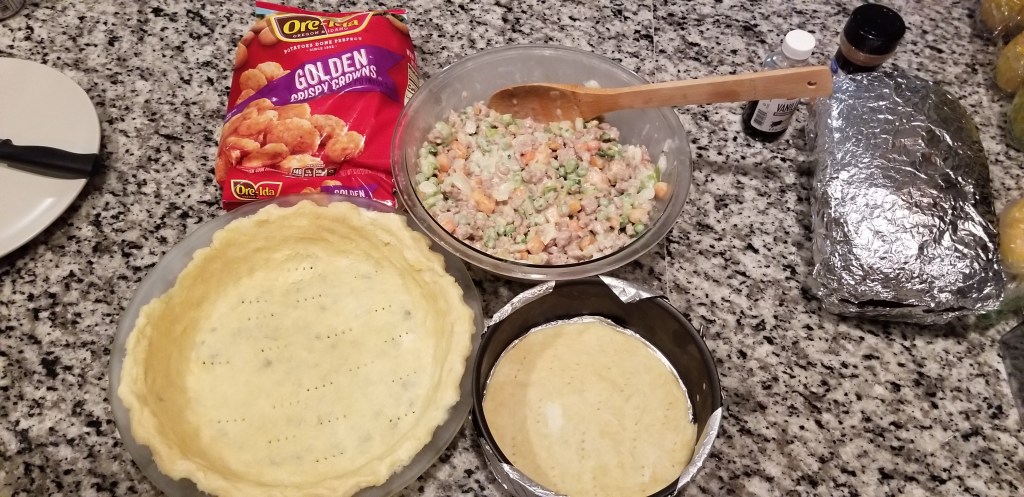
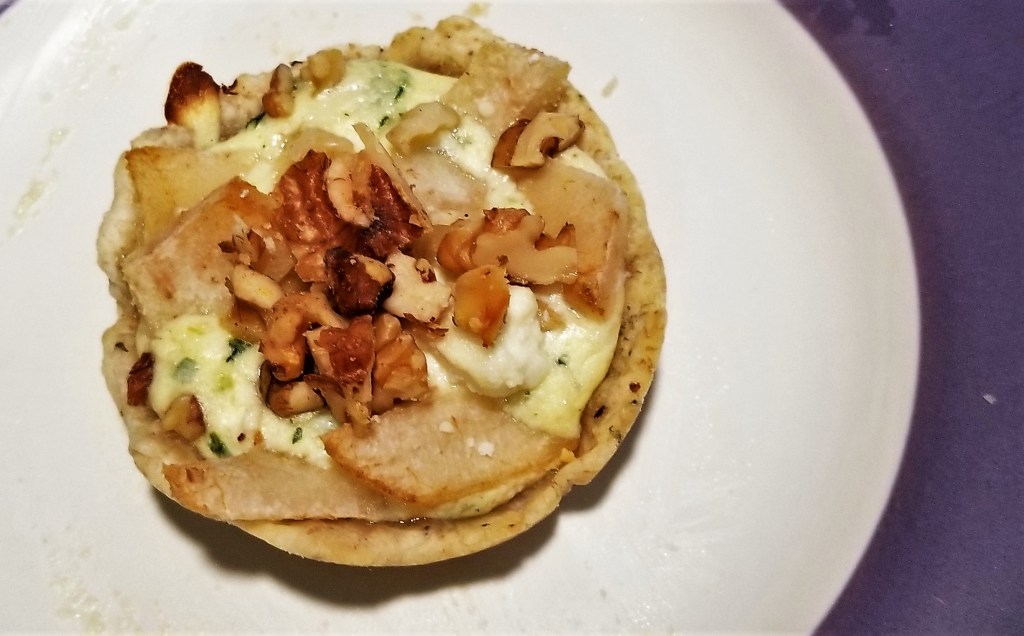
Back in Pastry month (June 2020) we explored short crust for making pies and mini-pies. I decided to recreate that cheesy dish with a new star. Pear, meet tartelette! The thought of eating cheese and pear was not immediately appetizing, but 3 mini tartelettes in and I was stuffed with satisfaction.

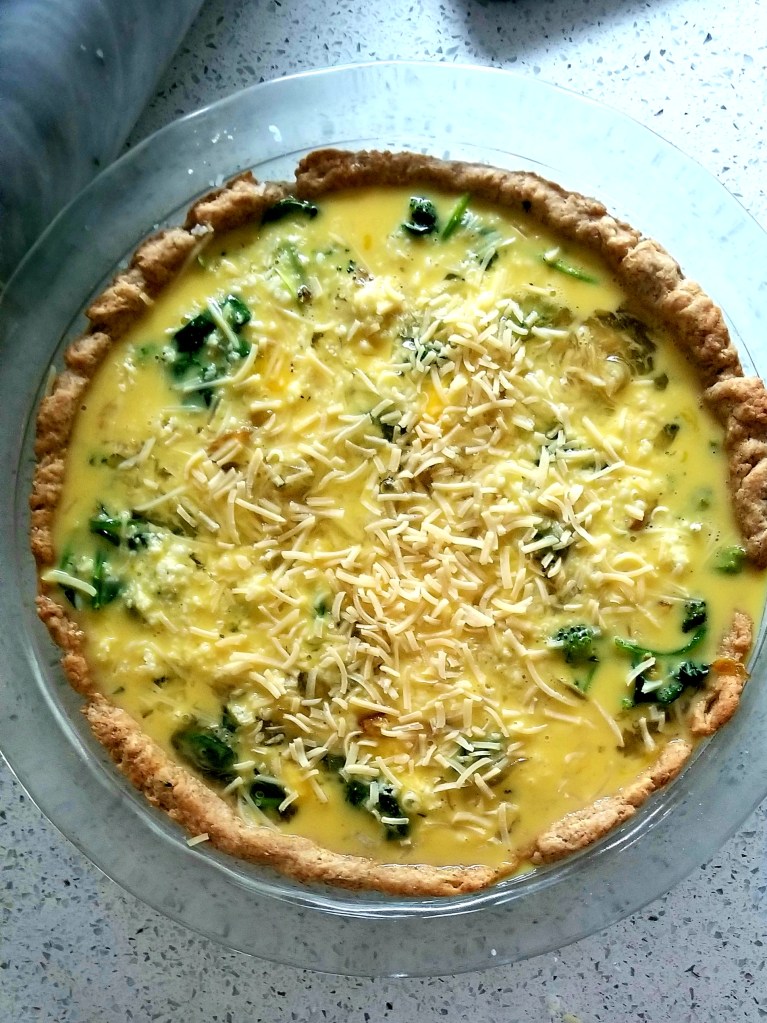
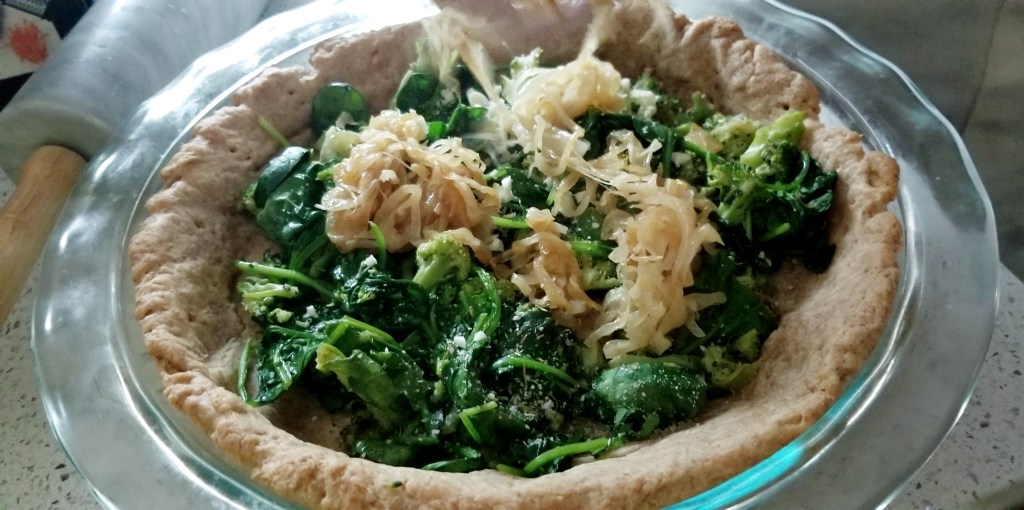
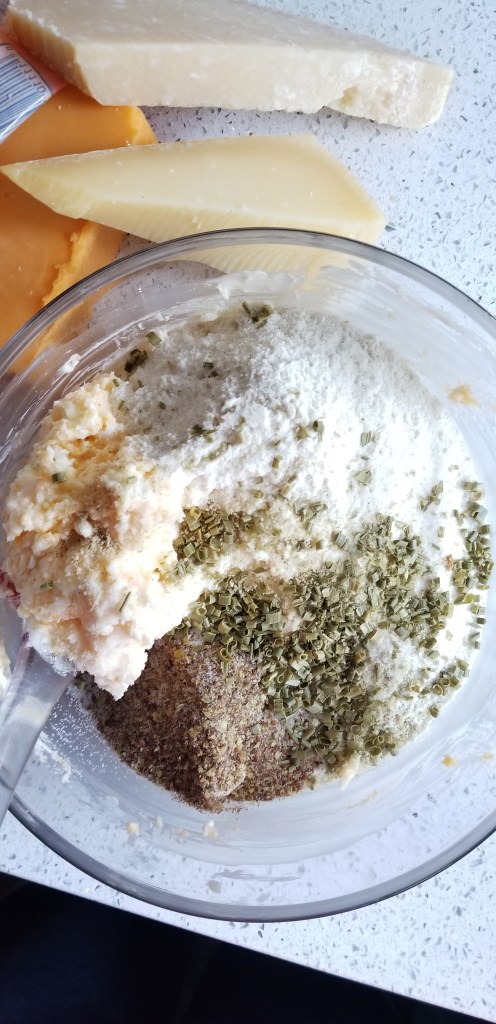
Instructions: Take the short crust mini-pies recipe as it comes with the option to leave out the spinach and parsley, if (not) desired. Otherwise prepare the pies crust and cheese filling the same way. Instead of topping with onions, peal and chop fine slices of Bosc pears and walnuts. Without pre-cooking the pears or walnuts, add them to the top of the cheese mixture and bake as directed.
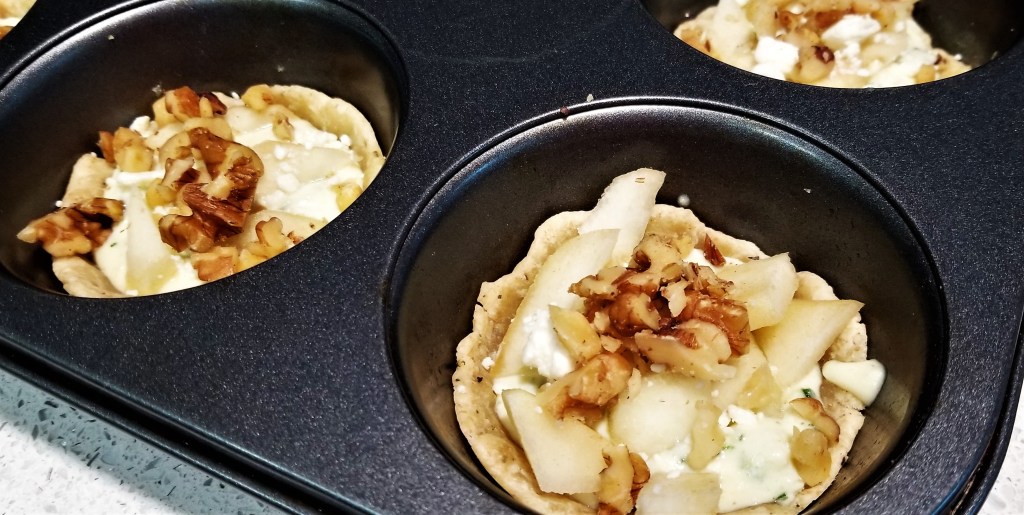
Take-Home Tips: Add (2 tsp) cinnamon to the short crust (after adding the butter) for a warmer taste. Make sure the dough is well chilled before dividing into the tin. Use a muffin tin as a substitute for a tartelette or mini-pie pan. Incorporate diced pear into the cheese for a stronger pear aroma. Substitute the cheeses for blue cheese, white cheddar, mascarpone, or your favorite white cheese.
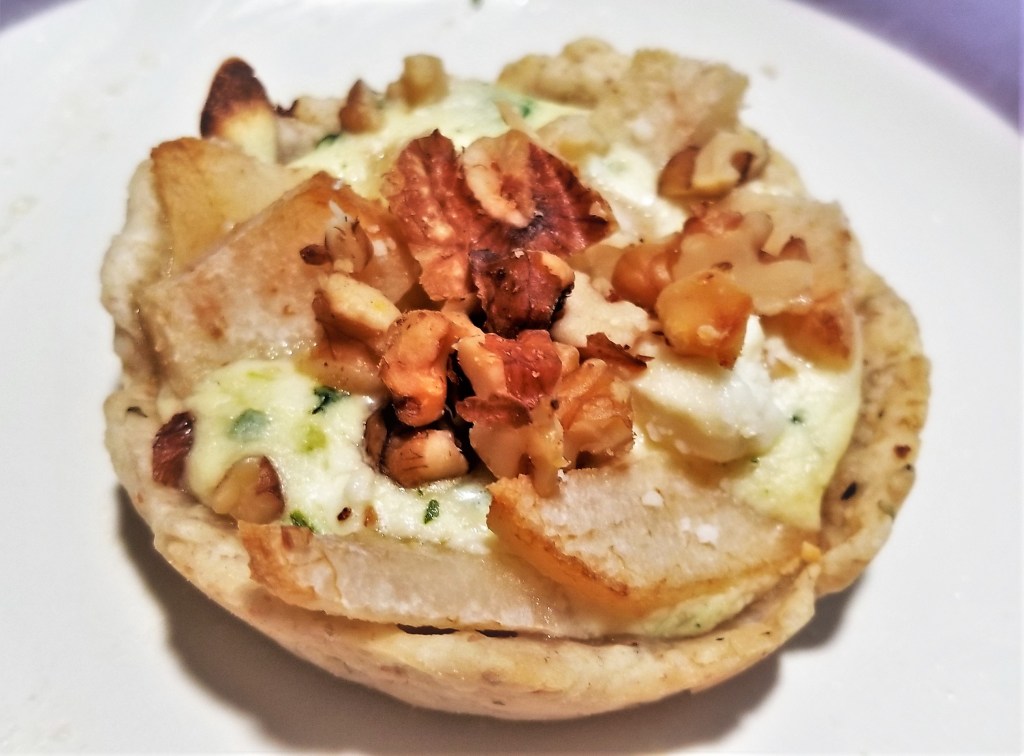
Scoring: 7 of 10. My husband and I both enjoyed them, they were even delicious cold. However they weren’t strong pear flavored and were better reheated in the toaster oven than microwave.
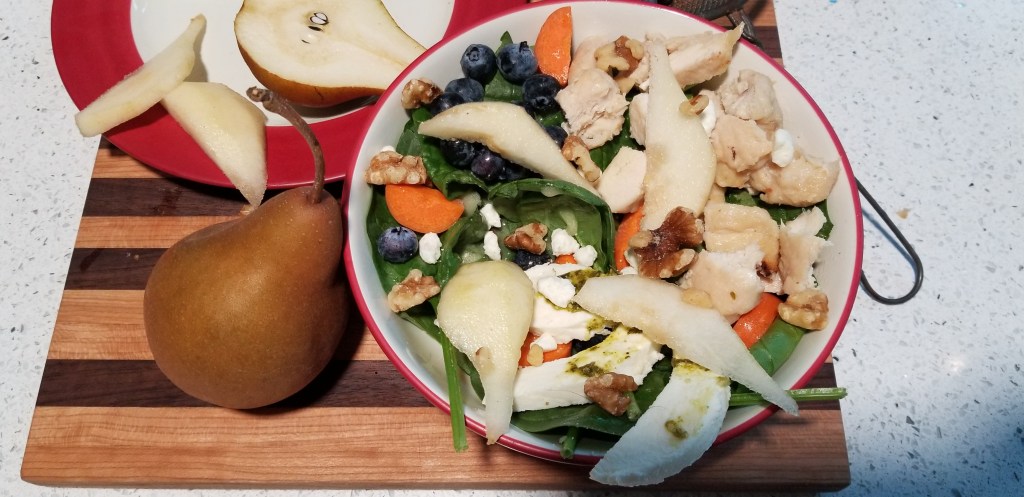
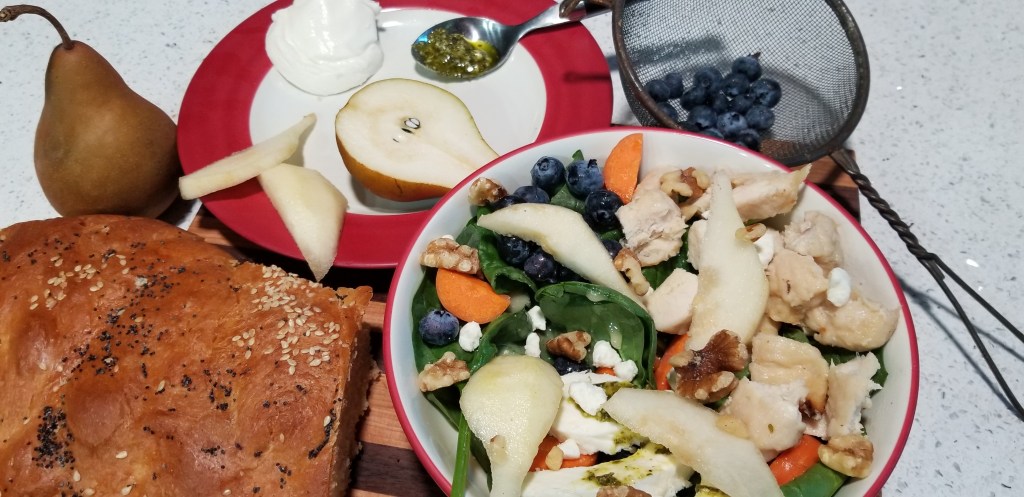
While you can easily switch out these ingredients for your favorite salad toppings, I was pleasantly surprised by just how filling and satisfying this salad was. In fact, it was so tasty as a dinner salad that I had it again for brunch the next day. Call me crazy but that is how much I was craving it from dinner to breakfast the next morning! Top with more of your favorite, seasonal fruits, and it is basically breakfast. (Never put spinach in your breakfast smoothie?) Try it for yourself.
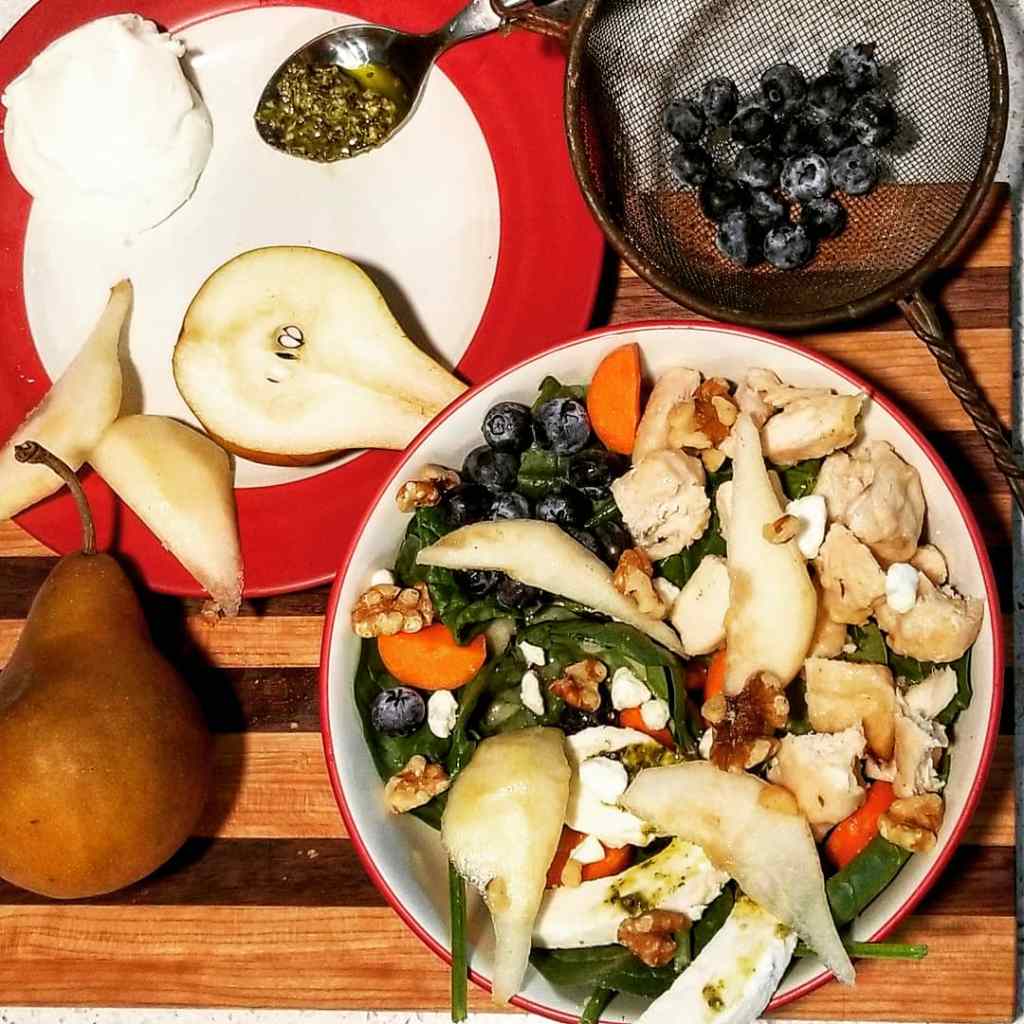
Ingredients (from bottom up):
Take-Home Tips: Stir the dressing onto the lettuce or spinach to improve the taste and use less dressing. Dip the mozzarella into the pesto for the best flavor.
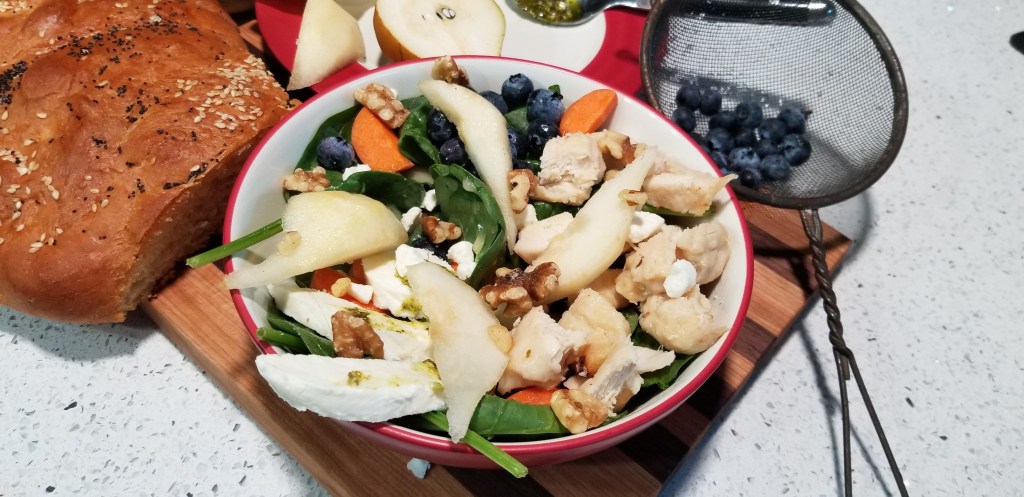
Scoring: 9 of 10. Although I would give this a 10 of 10 for taste, it did have a lot of fresh ingredients to procure from the fridge and some people are turned off by the combination. I swear it even tastes better than it sounds.
Do pears have a season? This is the question I asked myself when reading the October issue of Good Housekeeping. For the first time, I noticed that they also do a food theme for each of their issues. I have never associated pears with a specific time of year, but am happy to announce they do flourish from August to May. Being similar to, and often paired with, apples they are overshadowed by the more popular fruit.
There are green, red, and tan popular varieties of pears[1]
I really wanted to seek out the most creative uses for pears this month to let it shine as a key ingredient. This is a tricky task because pears do not have a super strong flavor and are more often found accompanying other fruits in desserts or as a light sweetener in meat dishes.
While we will only discuss a few recipes in detail, I wanted to leave some inspiration here for you in your quest for the ultimate pear dishes.
Let me know how you enjoy pears as a star in a dish!

Personally, the combination of creamed and spinach does not appeal to me. It was a surprise when I discovered just how obsessed I can be over my favorite protein (spinach) with my favorite dessert (cream cheese) in one savory dish.
Creamed spinach can be eaten own its own, albeit sounding a tad unappetizing, but it is also a great ingredient to spruce up vegetables, chicken, or skillets (chopped whatever in a skillet). My husband butterflies chicken breasts phenomenally well and stuffs them with creamed spinach, which I am more than happy to whip up at a moments notice. I think we have stuffed chicken about once a week, its that good. Even without filleting the breast, just topping the cooked chicken with creamed spinach is enough to devour it, no questions asked.
You will need:
In a skillet, heat olive oil over medium-low, then add the garlic and onion. Saute over medium until slightly brown (caramelized). Add some of the spinach, and stir into the oil. Cover to induce steam. Cook down all the spinach then add any desired seasoning to taste. Cut in the cream cheese chunks and incorporate into the mixture. Cook on low to melt and stir to keep from sticking. Add more cream cheese if desired.
The measurements are vague because it is up to how you prefer creamed spinach. I prefer less cream cheese, usually only including 2 oz and even increasing the spinach. The garlic an onion I might amp up and add in a little salt, beau monde, celery salt, garlic salt (shh, do not tell my husband I use garlic and garlic salt), and/or basil. Normal people probably include black or white pepper, but I avoid both like the plague. I have also seen creamed spinach with diced red peppers, which I would recommend adding in with the onion.
Another quick and tasty way to fancify the dinner table.
Take-Home Tips: Refrigerate leftovers in a microwave safe container to reheat before serving.
When I realized how easy it is to candy nuts, my husband began requesting salads for lunch just to top them with these perfectly sweetened nuts. Nuts, like all things in moderation, offer many health benefits because of the oils and nutrients packed within them. Candying them, while not ultimately healthy, can help introduce these other nutrients for the nut-adverse. They are also incredible on any salad!
You will need:
Melt the butter in a medium skillet, and pour in the roughly chopped nuts. Stir the nuts to coat them in butter – this will help the sugar stick. Allow them to heat in the skillet on low until the butter begins to dry/solidify, stirring occasionally. Evenly coat the nuts with sugar by shaking the sugar over the skillet. Stir to help coat and keep from burning. After a minute, pour the nuts out on to wax or parchment paper, spread them so they are not touching each other and allow to cool. Eat immediately or store in an airtight container in the fridge for up to 2 weeks. Alternatively, freeze for later use.
Take-Home Tips: In addition to salads, use the nuts to top ice cream, pies, or other desserts. They go great on pancakes, in breads, or for snacks by themselves.
Caution: these sweet morsels are irresistible, even if you do not typically include nuts in your weekly meal prep. It is amazing what a little sugar and butter can do.
