Samin’s 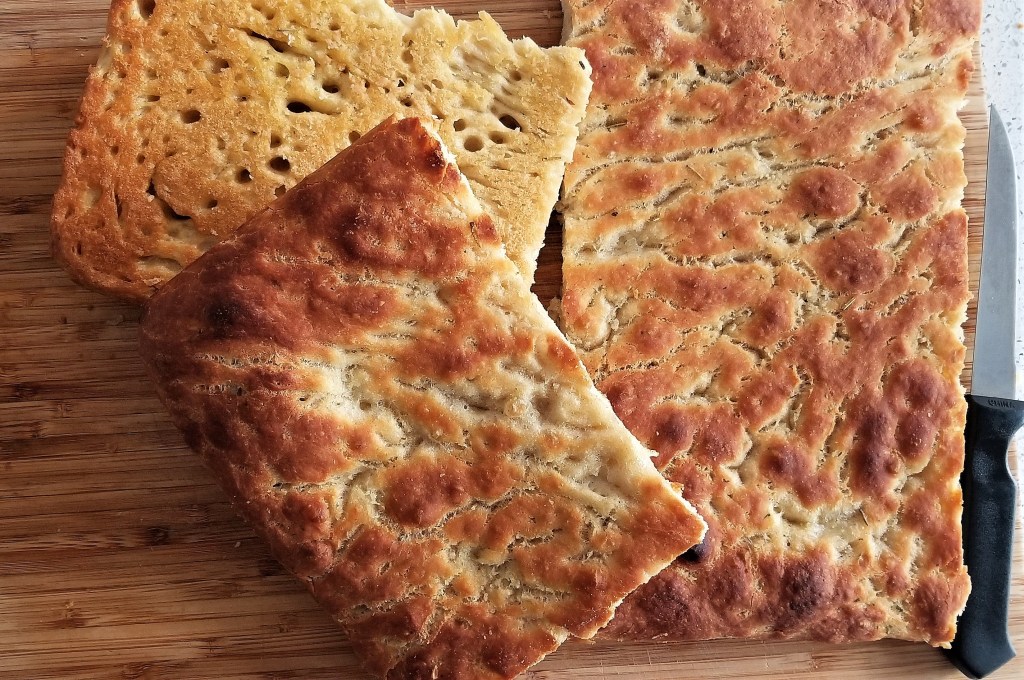
DelightMeMonthly’s
I’ll get straight to the point. Fococcia is the real reason January is bread month. This has been on my list of Must-Makes since I watched the “Fat” episode of Samin Nosrat’s show Salt Fat Acid Heat. I was reminded of this resolution early last year when I saw Brad and Samin make it on Bon Appetit. We were inspired to make grandma pie pizza as a result of that episode because fococcia is very similar to, and makes a great, pizza crust. Both shows are inspiring and encourage us to use our kitchens for wild adventures.
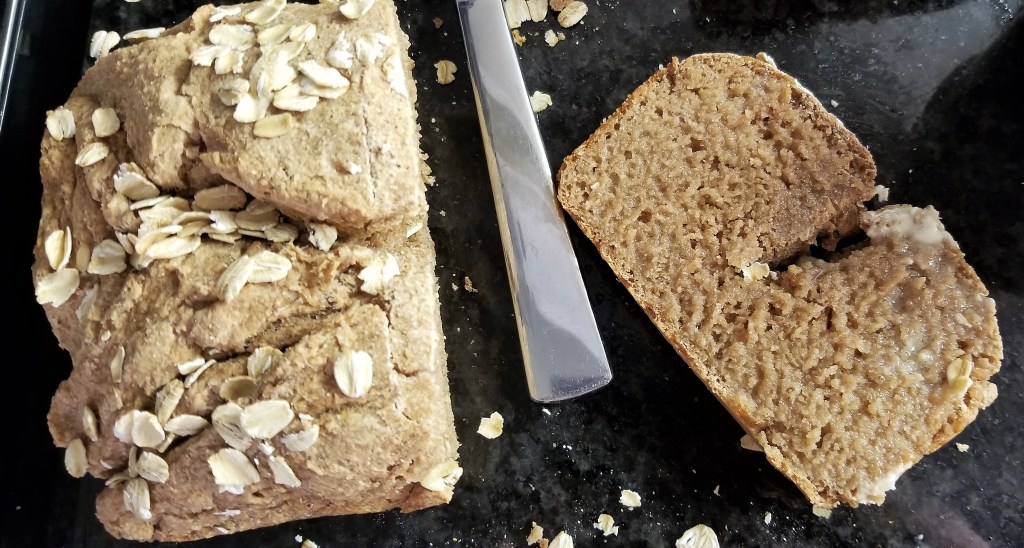
Malt = colors the crust 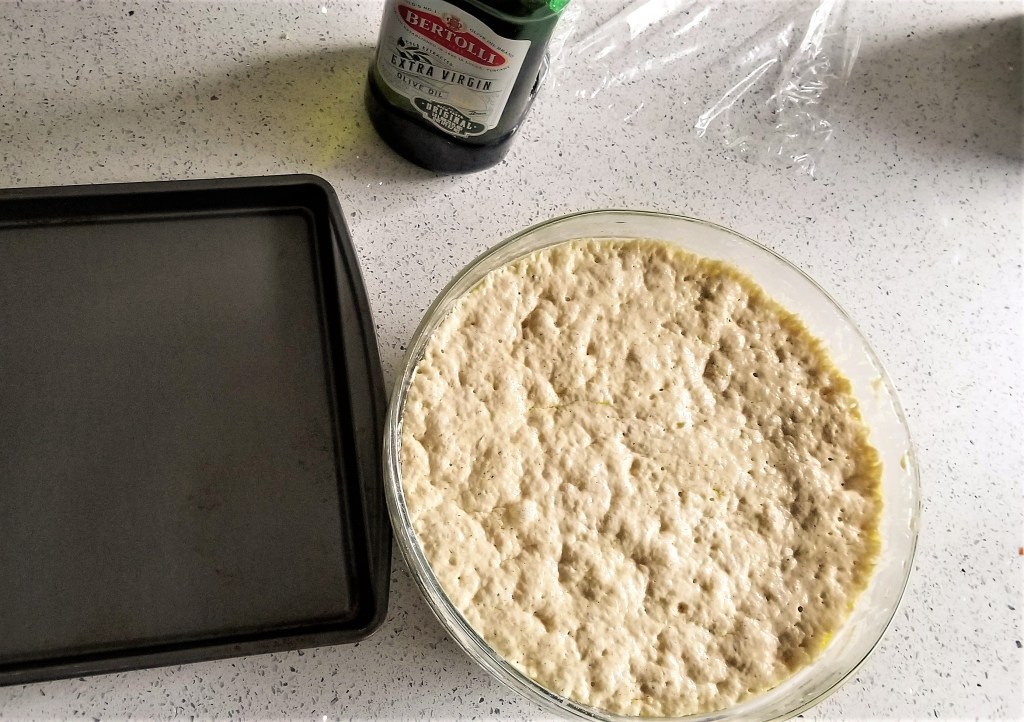
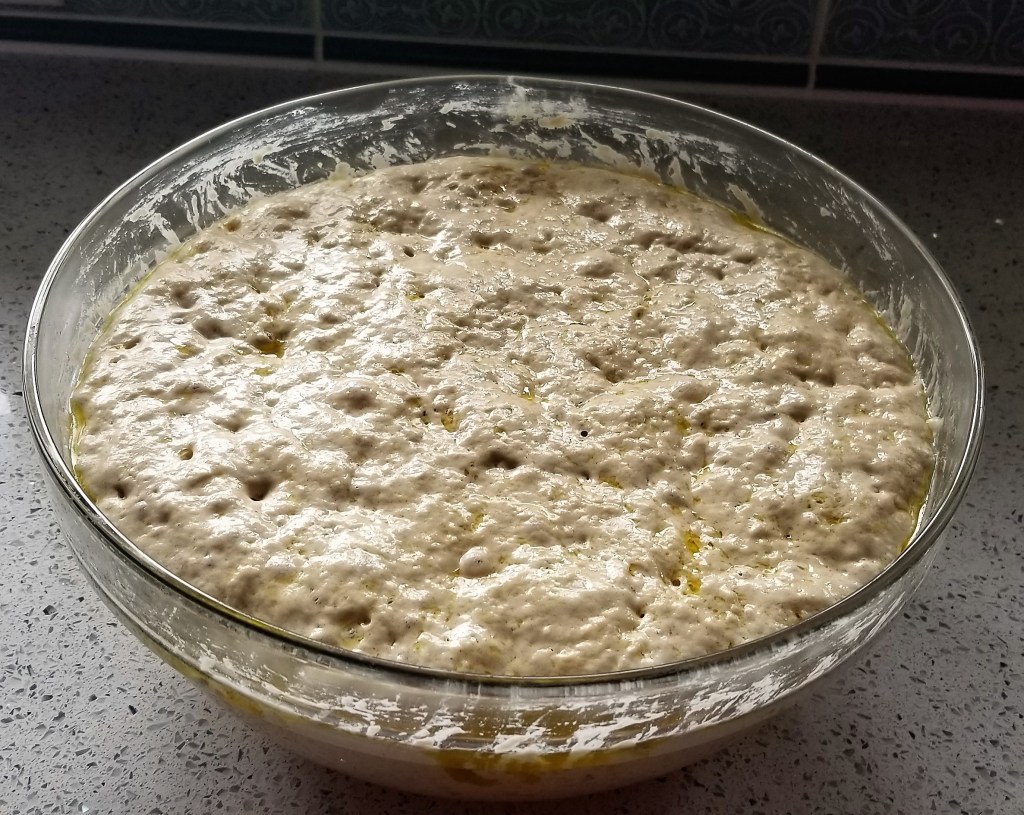
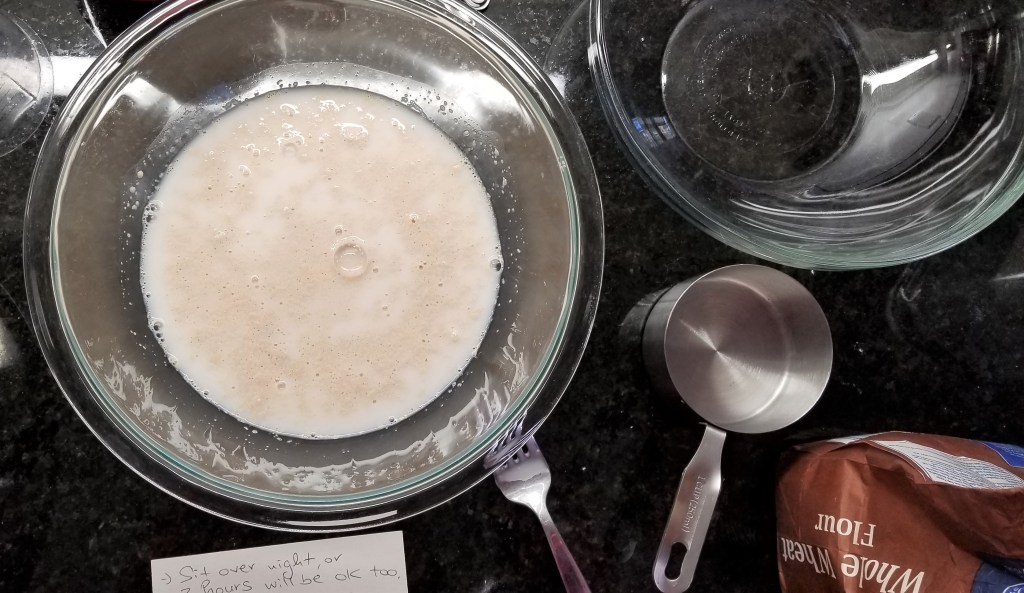
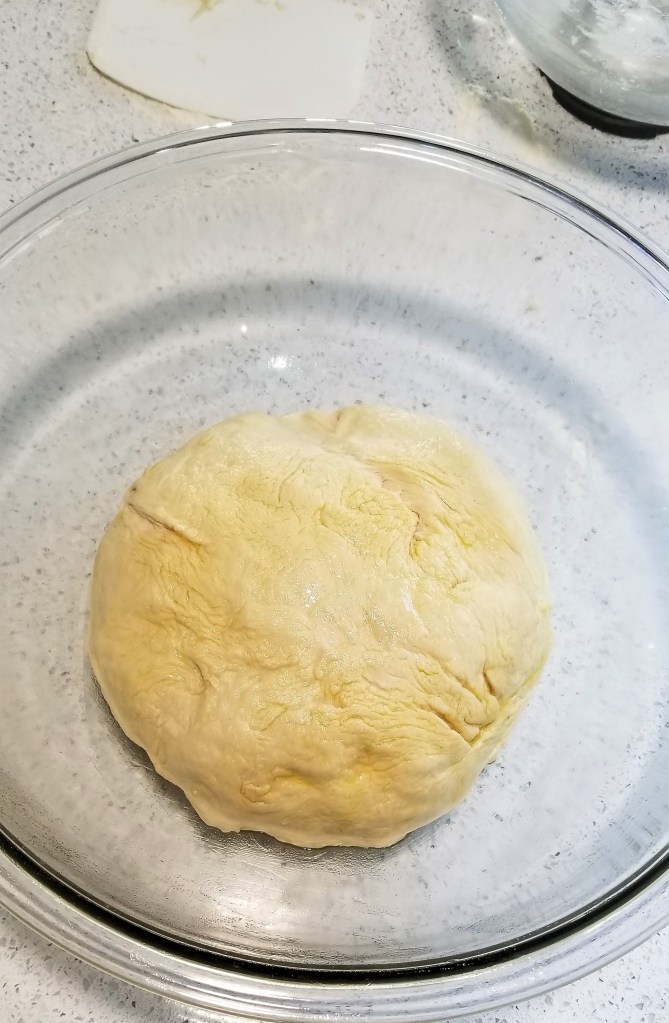
Samin’s proofed 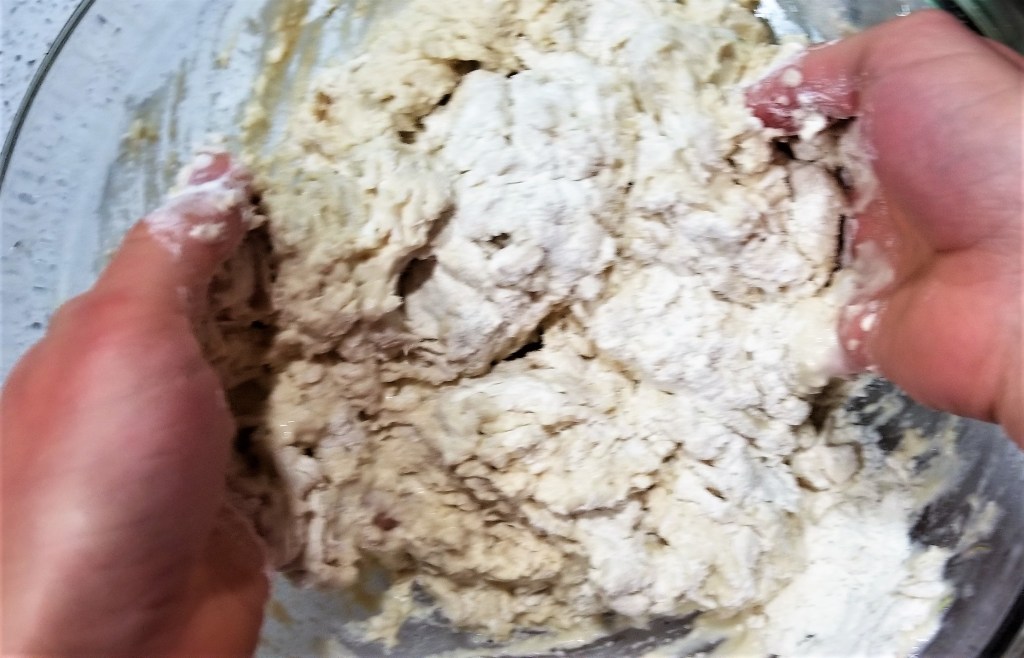
All hands! 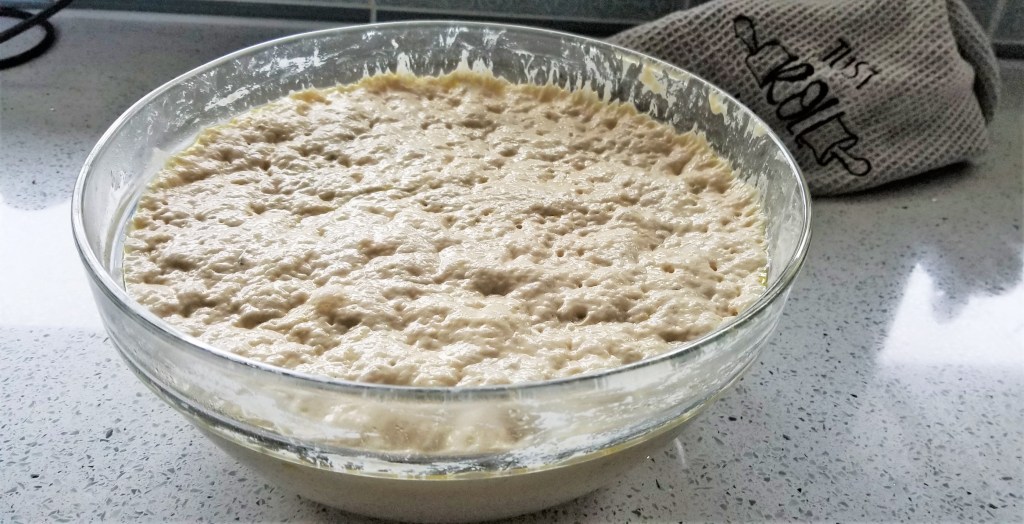
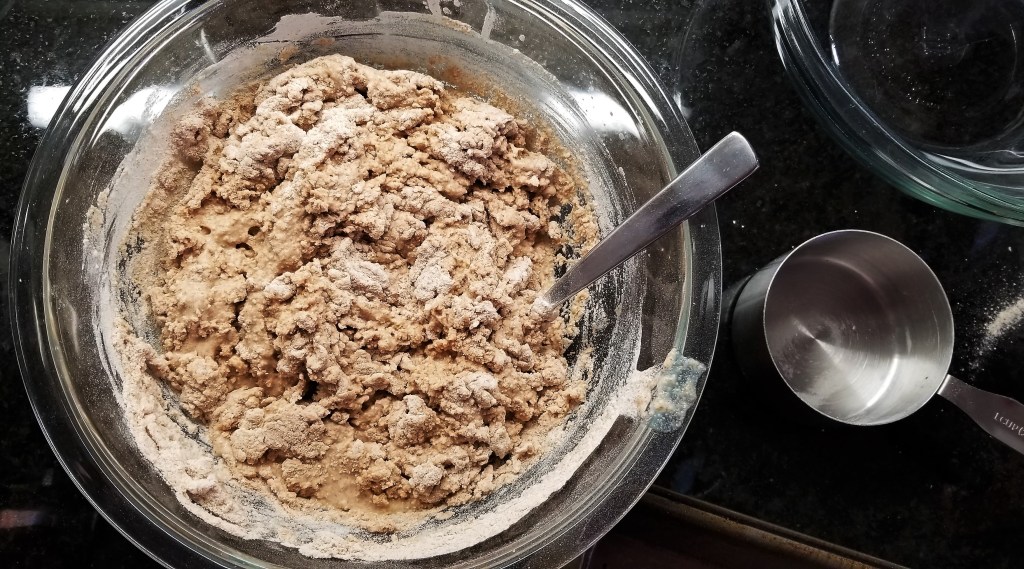
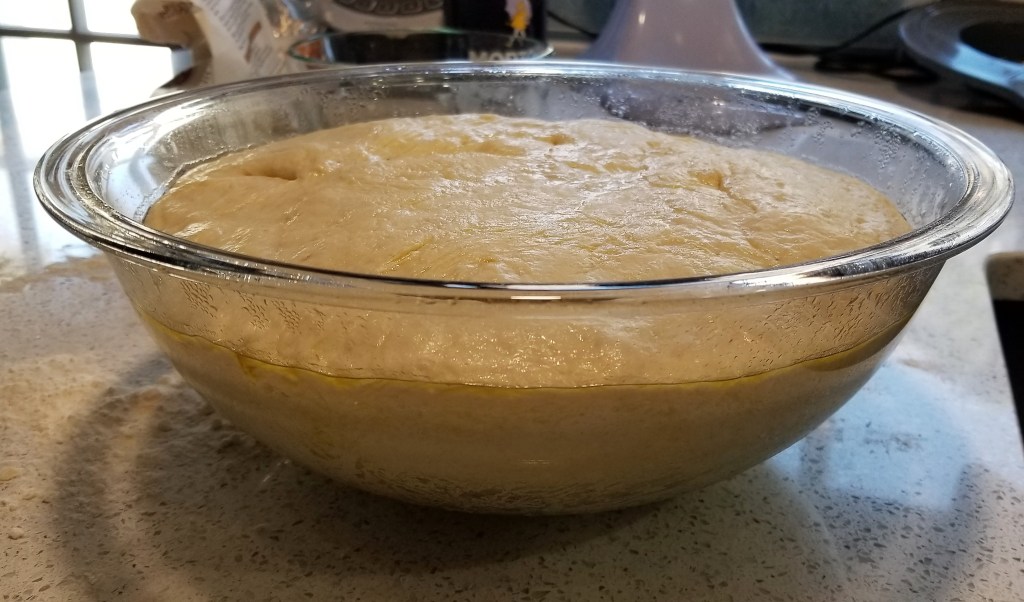
DMM Proofed (slightly dryer)
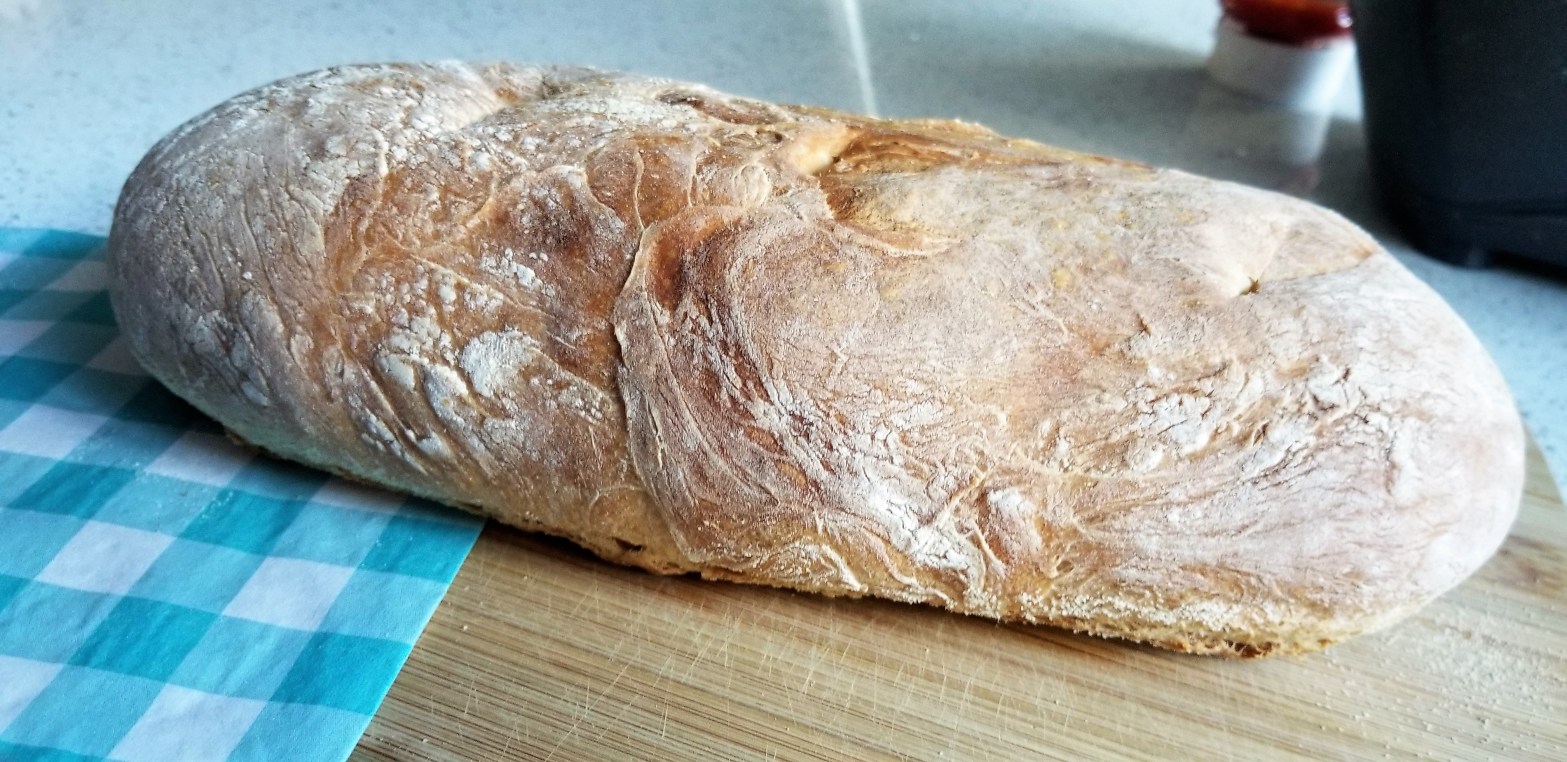
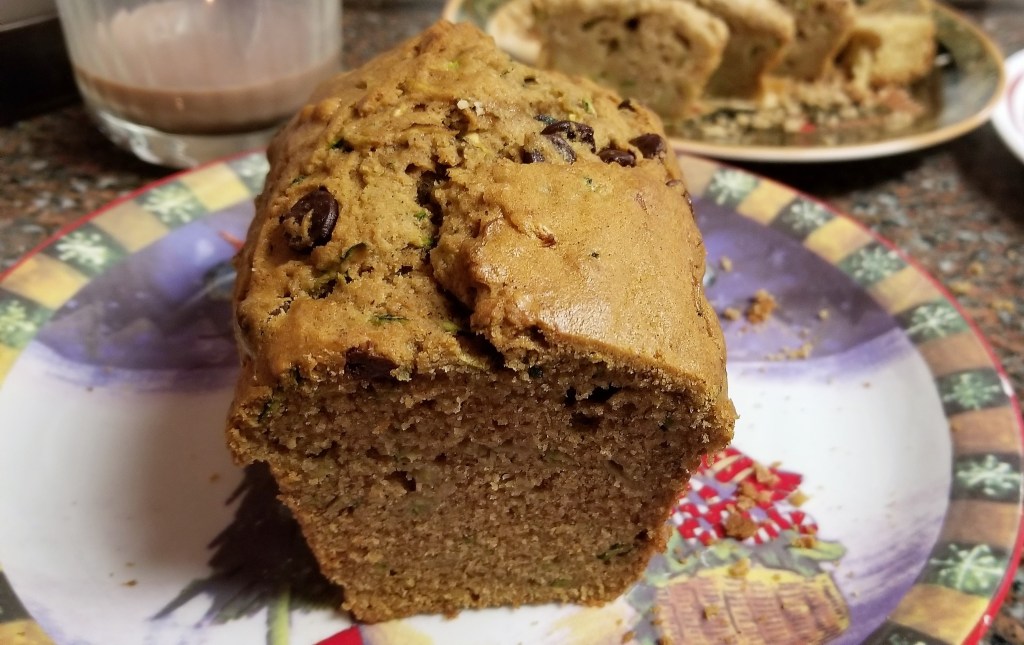
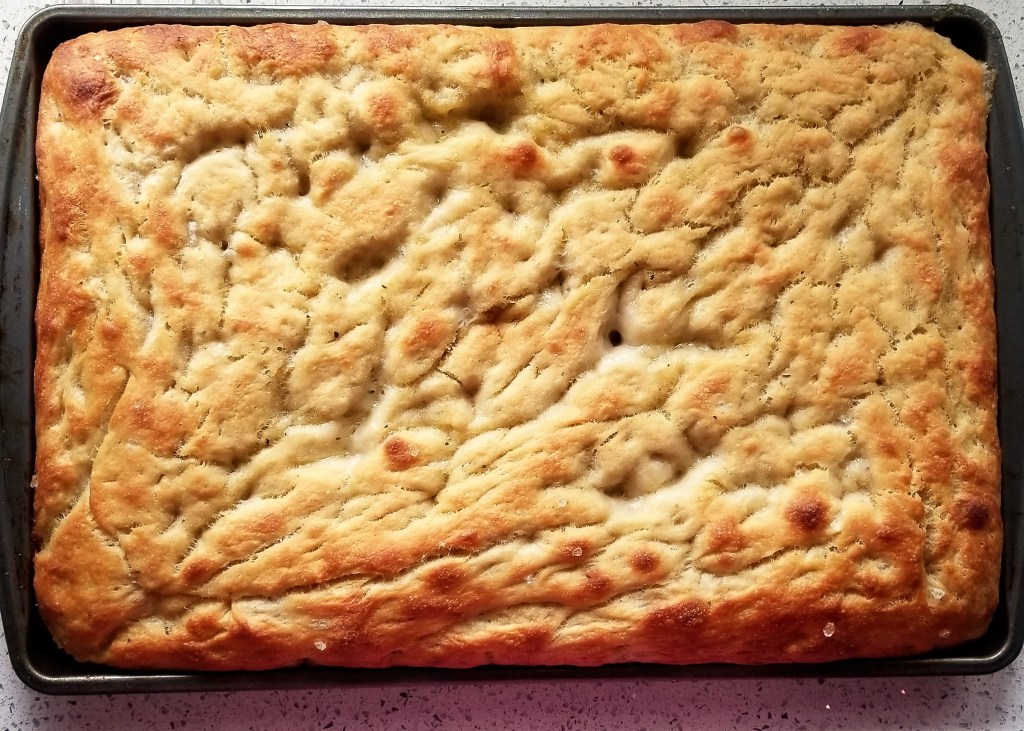
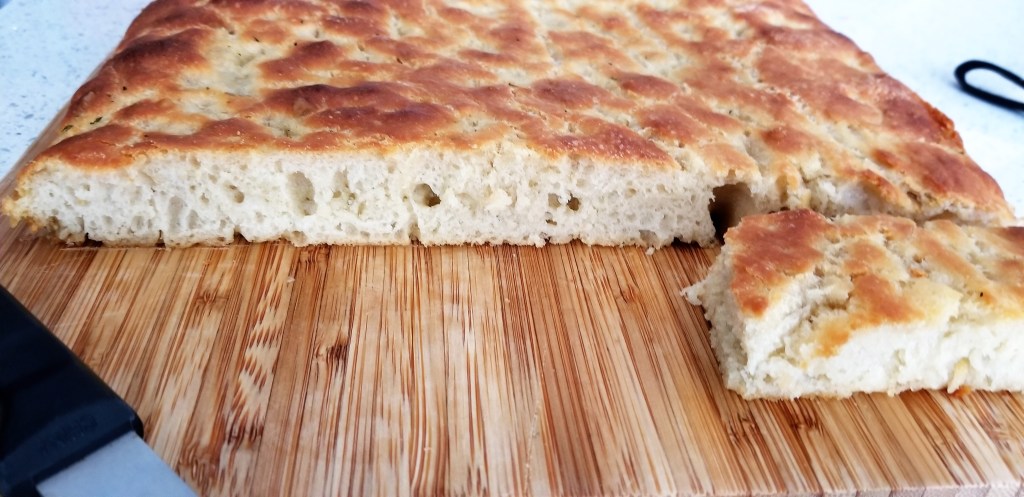
Keeping in mind all the hype, I was not disappointed with this traditional Italian fococcia. To say I was ecstatic, would be an understatement. Remember, I do not ever crave or want bread. However, I not only had to leave my house because I could not stop eating the fococcia, when we got home, we finished off the rest of the sheet! I am predicting a long workout at the gym tomorrow. (Worth. No regrets.)
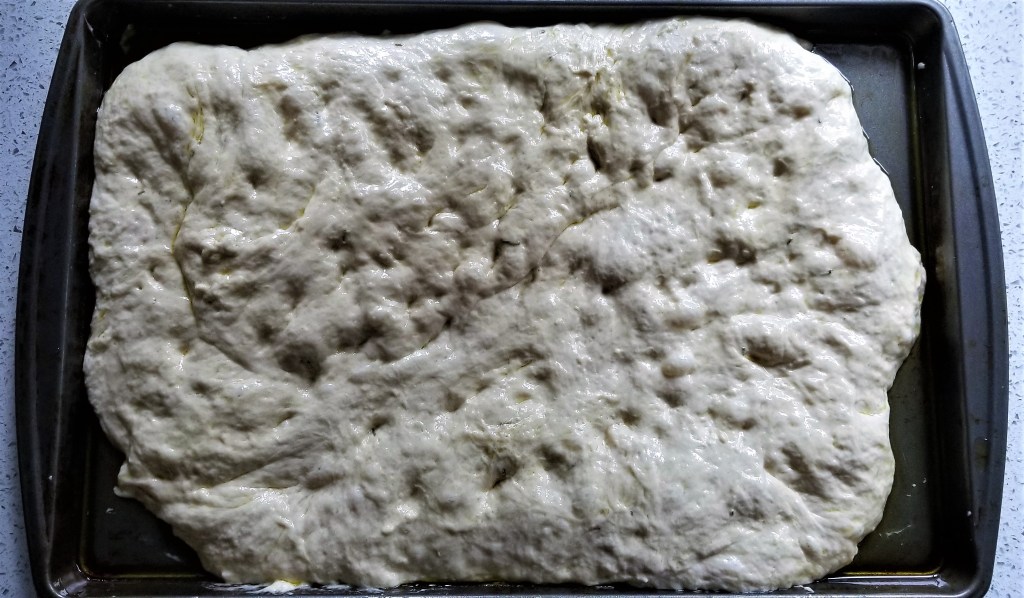
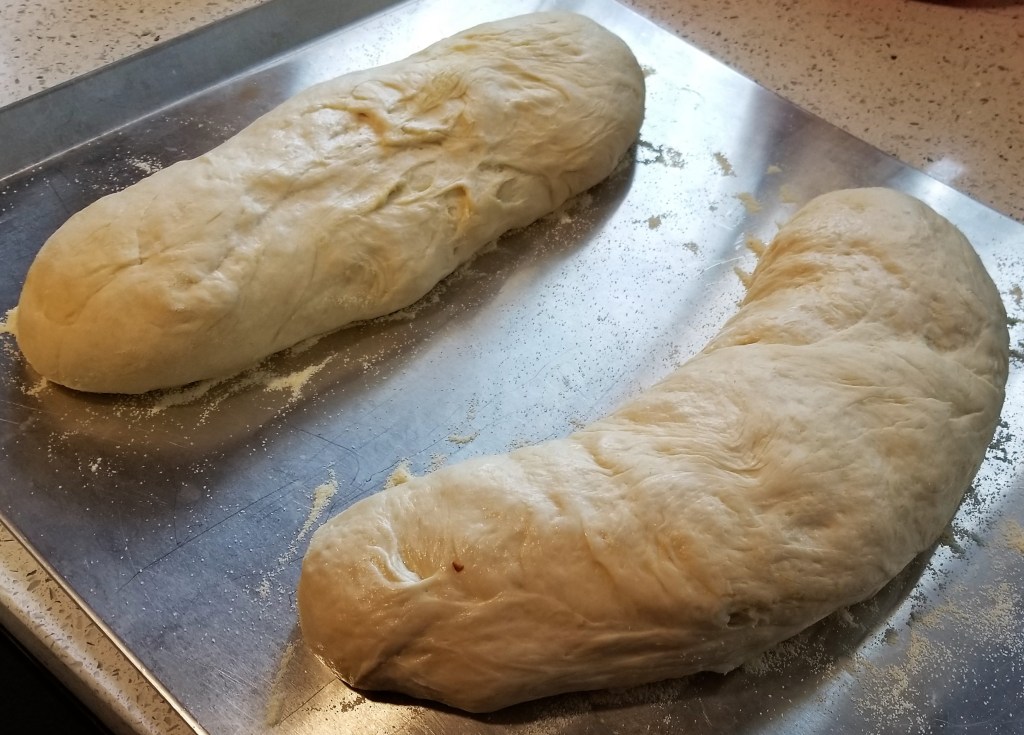
Rest then spread 
Spread some more 
More dimples!
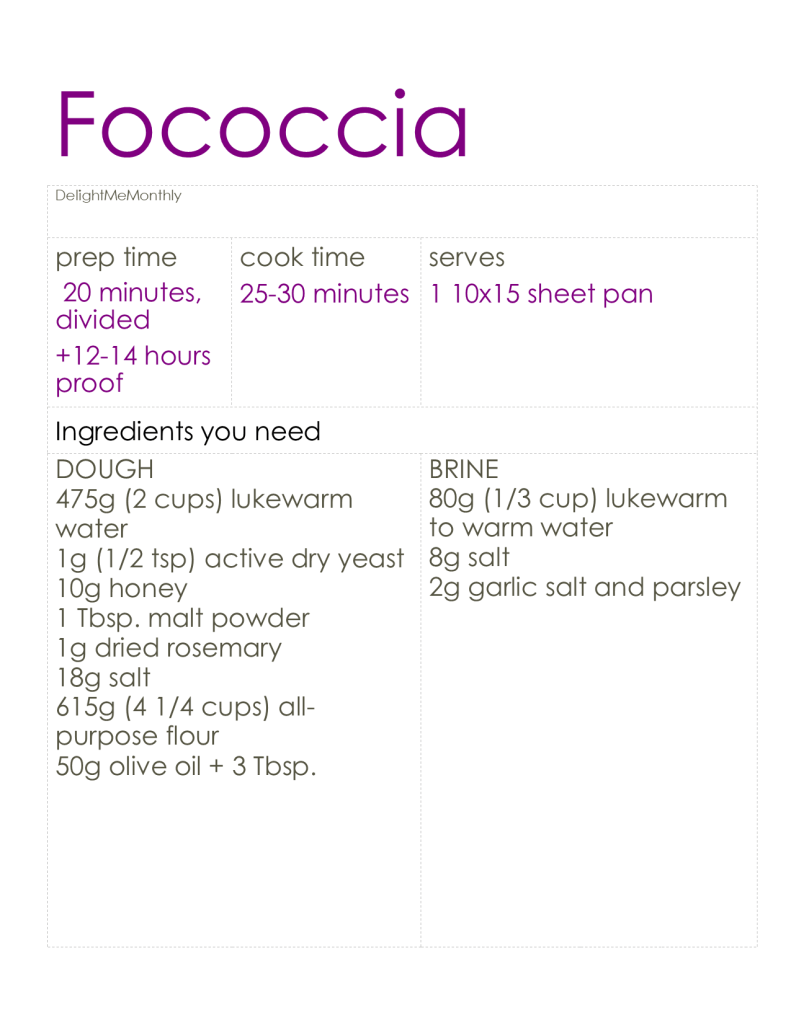
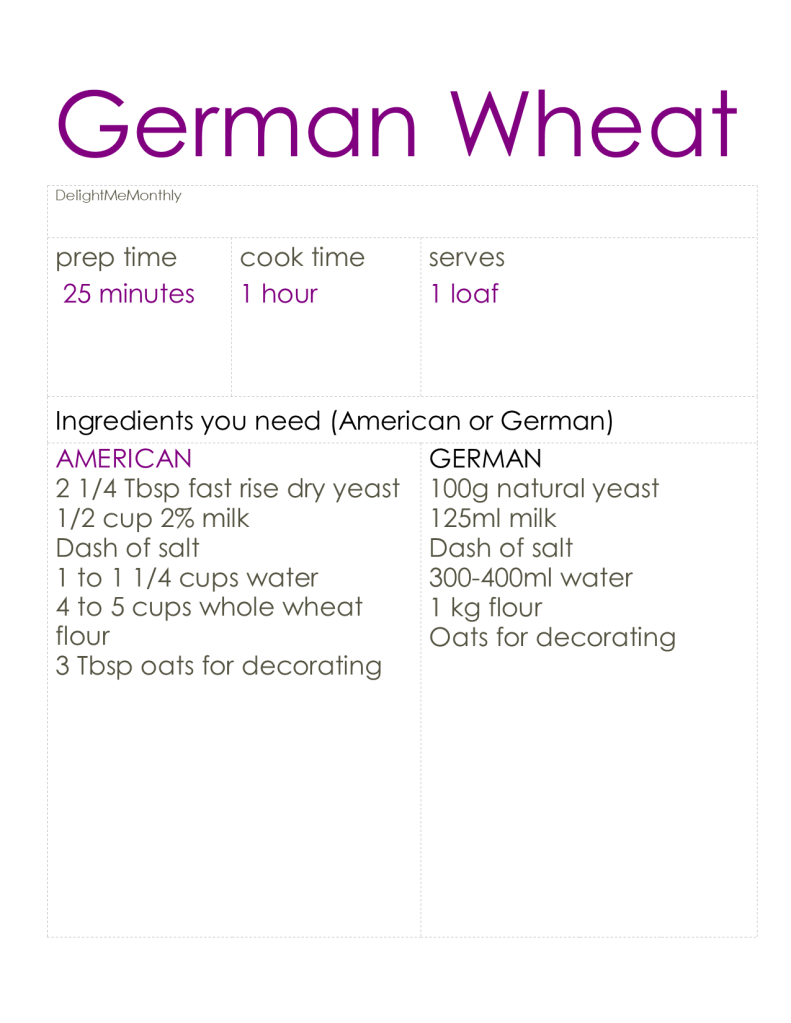
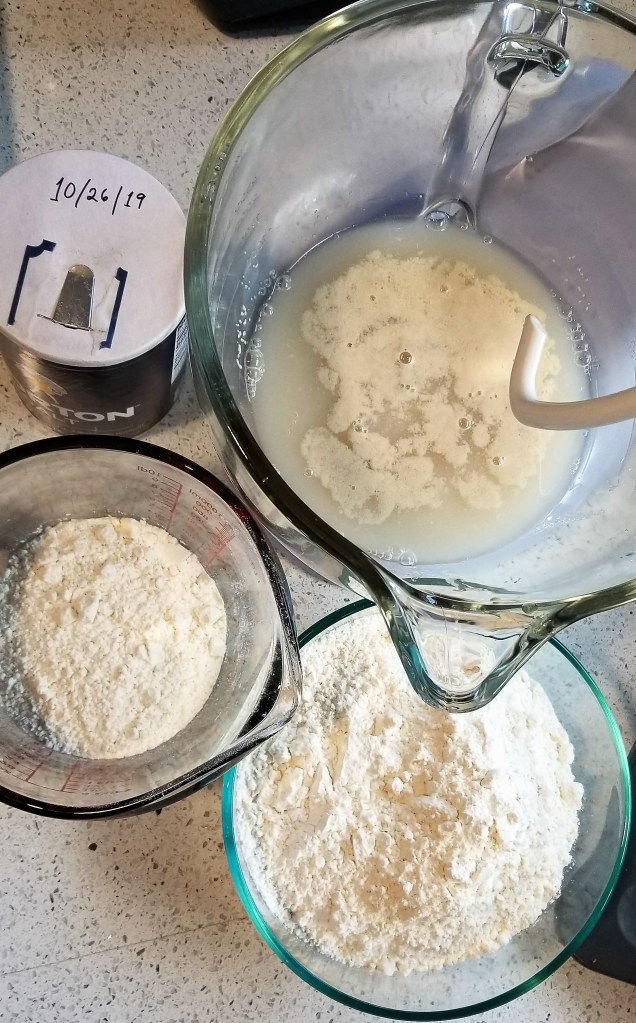
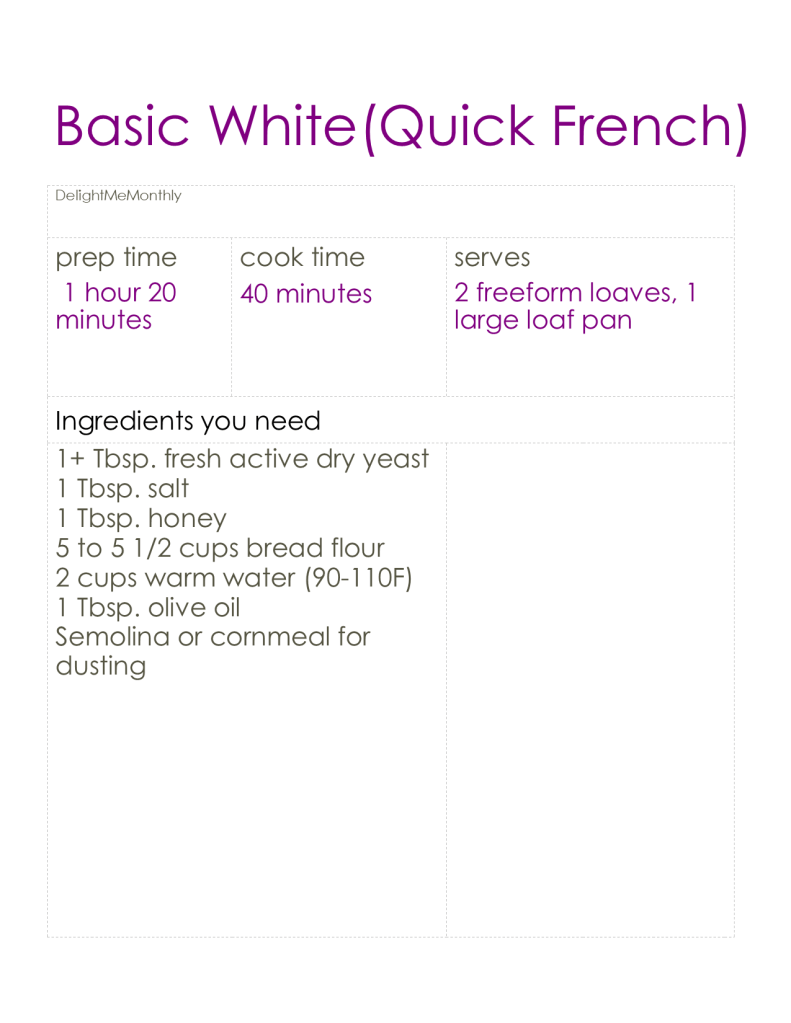
Rather than looking up Samin’s recipe, I watched the show and wrote down the steps they took, then performed them for my own taste buds. Here are the ingredients Samin recommends for Ligurian Fococcia:
- For the dough:
- 600g (2 1/2 cups) lukewarm water
- 2g (1/2 tsp) active dry yeast
- 15g (1 1/2 tsp) honey
- 18g (Diamond Crystal) salt +more for the crust
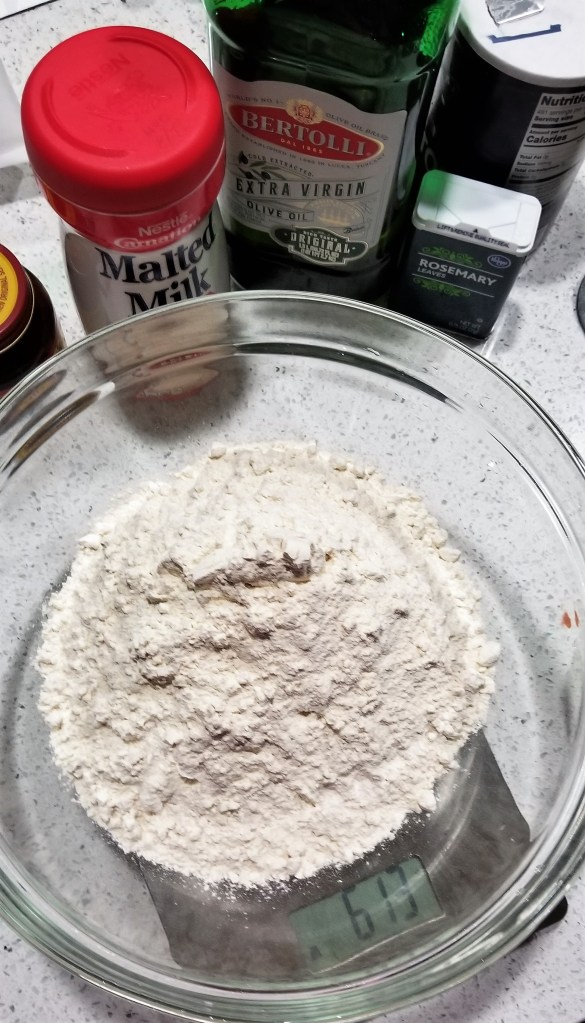
- 800g (5 1/3 cups) regular all-purpose flour (not fancy flour)
- 50g (3 Tbsp.) finest olive oil
- For the brine:
- 80g (1/3 cup) lukewarm water
- 5g (couple of dashes) salt
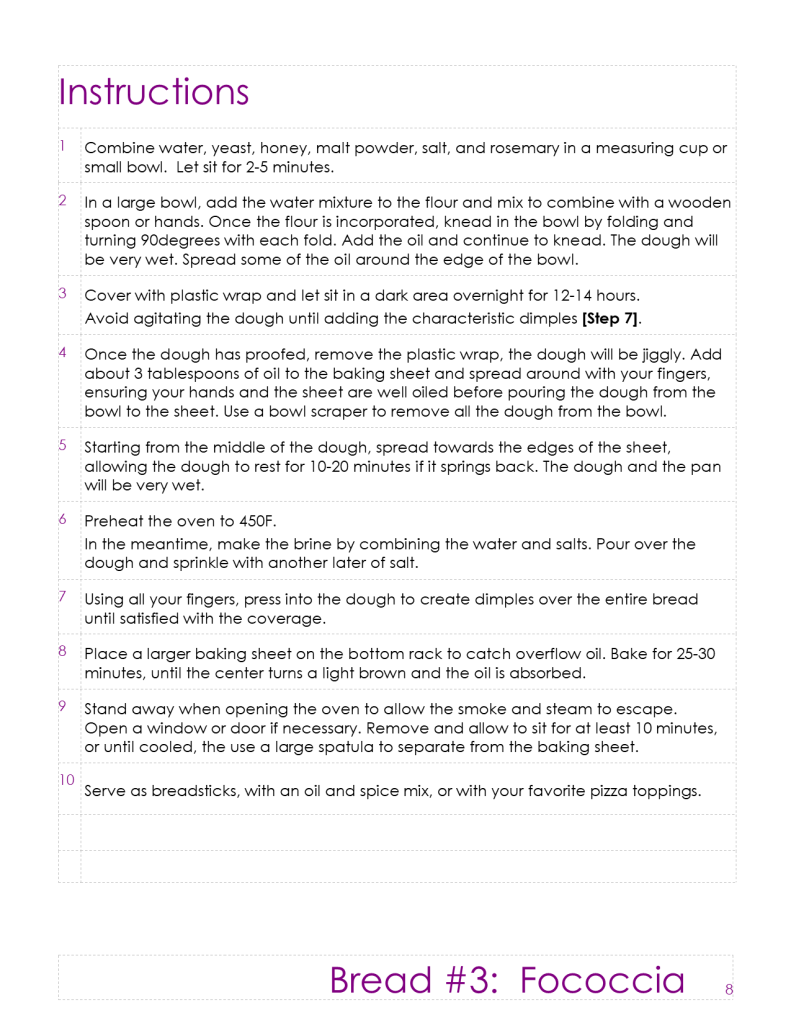
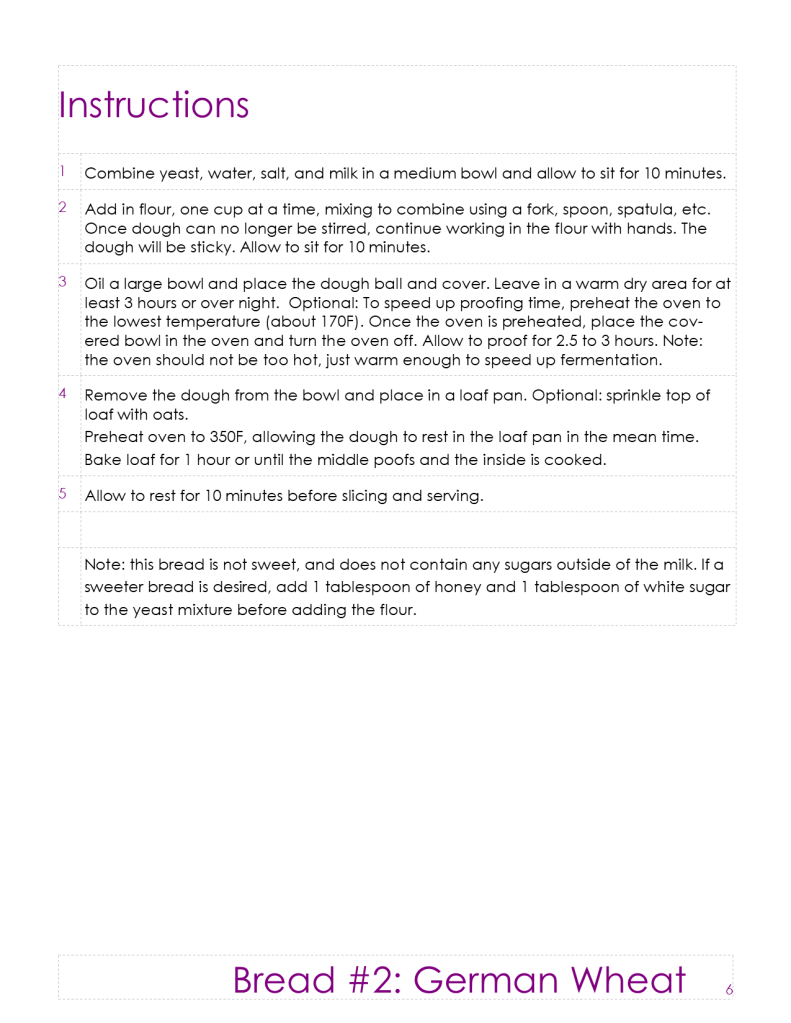
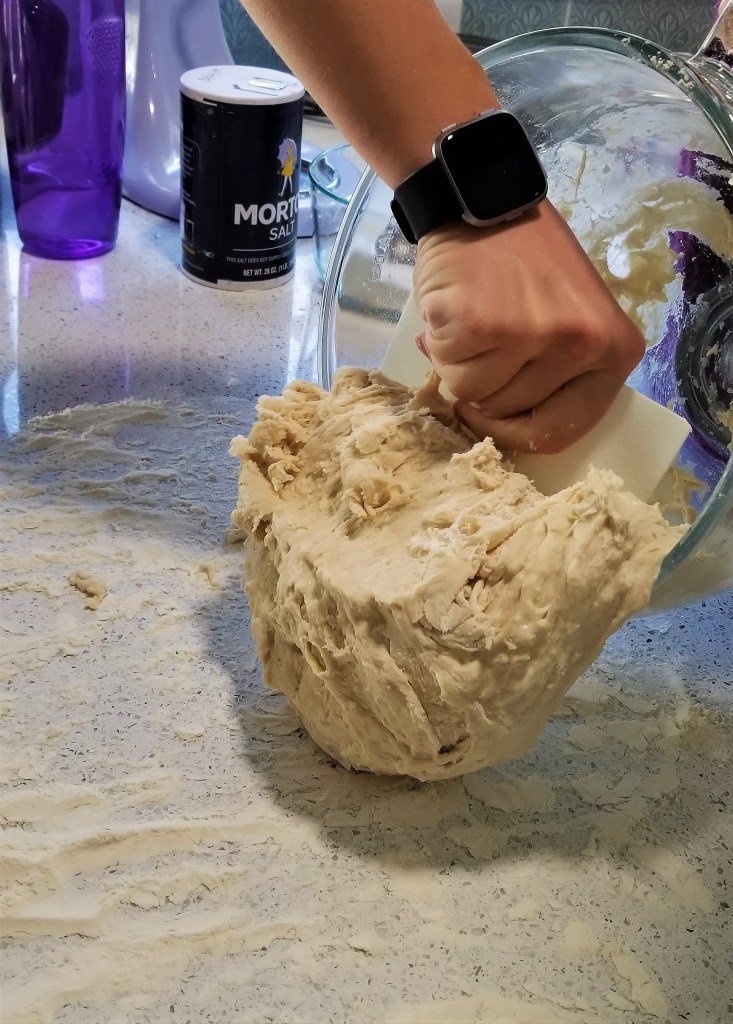
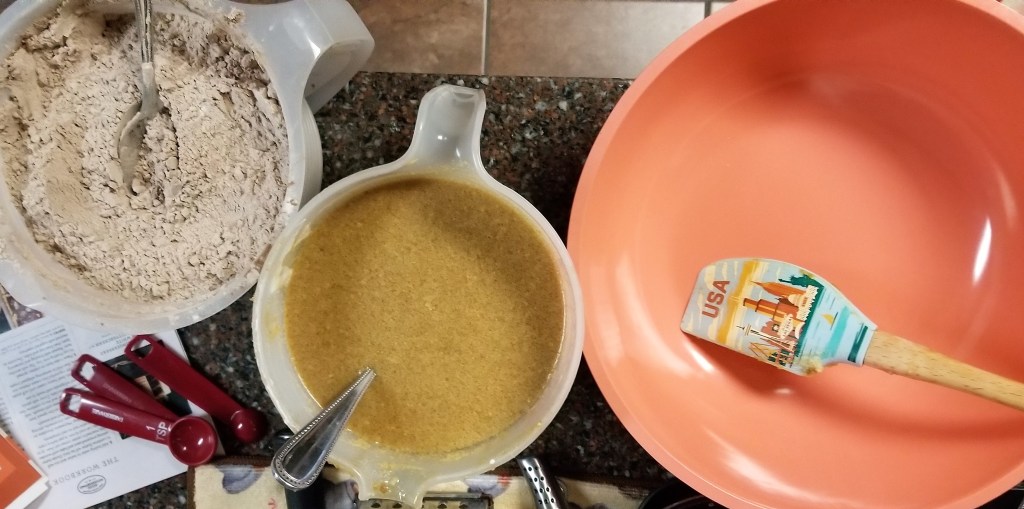
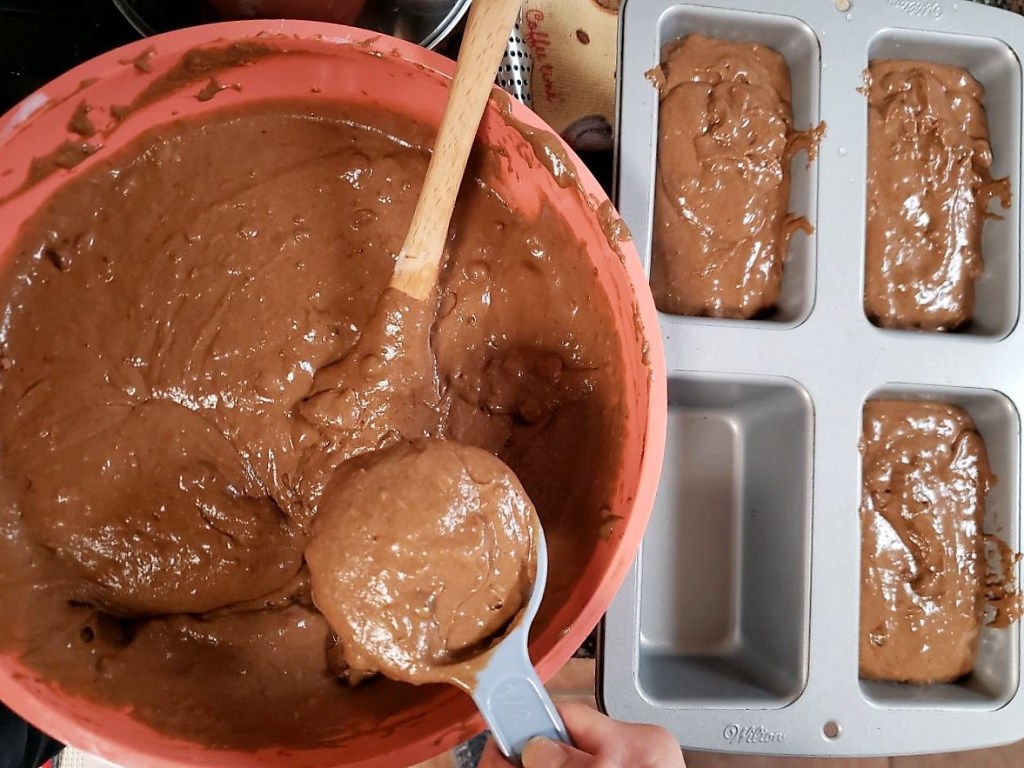
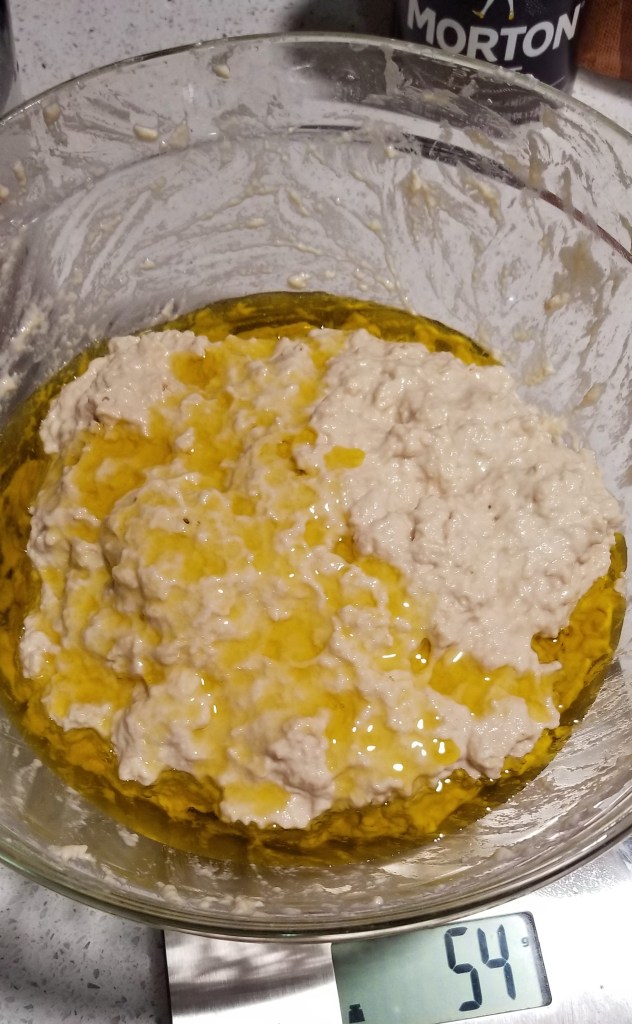
Samin’s instructions boil down to combining all the ingredients (with your hands) for the dough, letting it sit 12-14 hours, shape into the baking sheet (with your hands), add the brine, and bake at 450F for 20 minutes. If you take her approach, weigh every ingredient, then you come out only needing to wash 1 large bowl, the baking pan, and maybe a pyrex meassuring cup used for the yeast mixture. Light dishes!
Sadly, the fococcia disappeared within hours of joining us. In order to remedy this tragedy, I already made my own version of this classic bread! Everyone has access to this Samin/Ligurian Fococcia recipe. I found a couple of small tweaks I wanted to made and am including my new recipe below. I am now obligated to recreate the Samin recipe to compare the two side by side. No problem!
This bread is ideal to start on a Friday or Saturday night, or the night before you have the morning off. You will need 40-50 minutes to prepare and cook the fococcia after it has proofed.
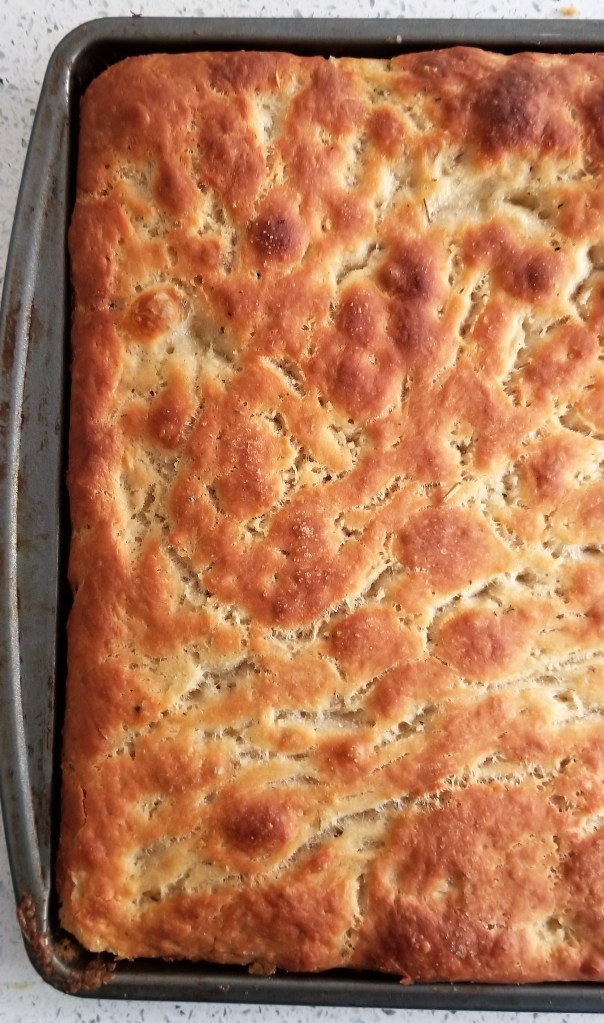
Take-Home Tips: Bake the bread on a high-rimmed jelly roll pan or baking sheet. I would recommend a 10x15in pan and reducing the ingredients if your pan is smaller. If you think there may be too much oil, you are wrong because there is no such thing, but it could overflow in the oven, so definitely put a larger pan on the bottom rack. If the oil spills over, there could be sparks where the oil hits the heating element and when you remove the bread from the oven, the smoke will escape, resulting in the fire alarm screaming. We try to avoid setting off the fire alarm.
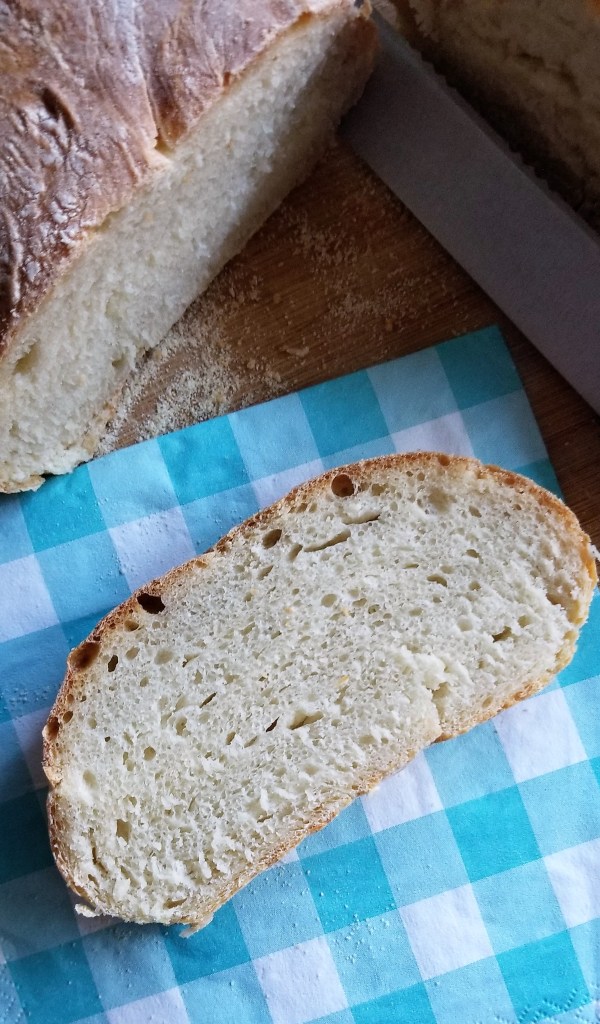
To check that the bread is done, look to see that there is browning in the middle of the fococcia. Even if the edges are brown, and the middle is not, then the bread is not done. The plenty-of-oil situation leads to the underside of the middle taking its time to crisp-up. Do not skimp on the oil to speed up cooking time! The bread will not reach the desired texture or consistency without the oil. Obviously, substitute the spices in the dough with your favorites. Considering how salty the fococcia becomes, it reminded my husband of the pretzels we made a few weeks ago. He ate his with mustard and insists I recommend it to anyone interested. Suit yourself.
Scoring: 10 of 10! Both recipes thoroughly impressed me, as well as my family and colleagues. It can be consumed warm, cold, verily cooked, overcooked, as pizza, as bread sticks, as a snack, with a meal, on the road, in a boat, with a goat. Even if it is your first time making bread, this is an easy, almost fool-proof bread to try.
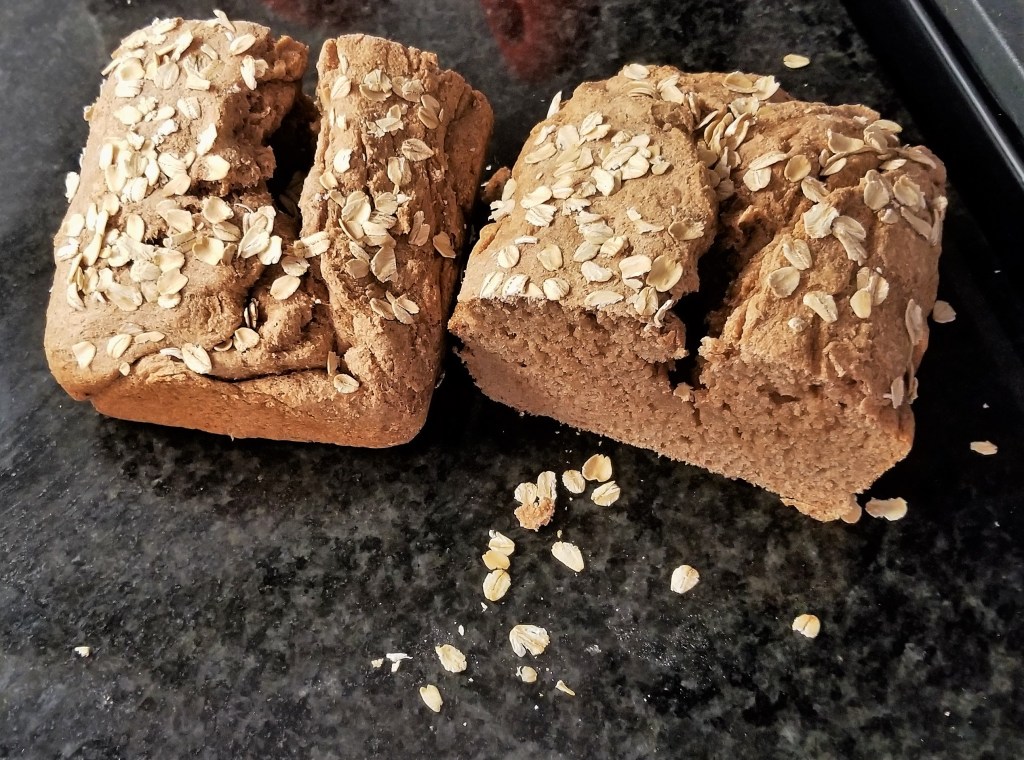
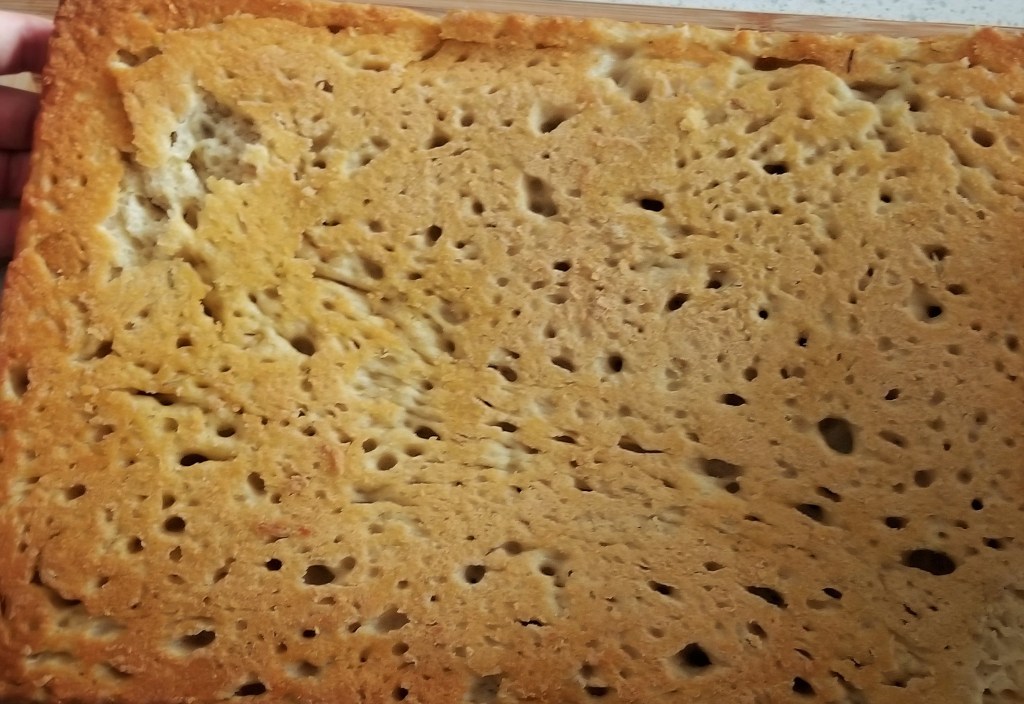
I was informed that my version is an improvement to Samin’s because of the coloring (due to the malt), crispier crust, and additional spices in the dough. My dough was a little drier as it proofed but equally wet when it went in the oven. I believe it is important to make sure the brine is overly salty and flavorful when it goes in the oven in order to obtain that crisp crust.