September was a challenging month for baking. Between traveling for work and my birthday, I was not at home very often. I did however try to make petit fours this month. The success was limited.
Petit fours (acceptably pronounced in either proper French, or the Americanized ‘Pet-eh For’) can refer to numerous small, French treats popular in the 19th century. Taken literally, Petit Fours refer to the “small oven” in French villages. This is in contrast to the “large oven”, or Grand Fours. Contrary to your initial thoughts, this does not refer to the size of the oven. Instead, large and small here describe the amount of heat in the oven. Without electricity and other modern conveniences, it was difficult and expensive to heat an oven up, maintain that temperature, and successfully bake temperate treats or breads inside. Therefore, when the oven was cooling down, a slower process, the heat it held would still be utilized for a group of 35-40mm sized cakes. These range from Madeleines and iced cakes, to savory Salé canapés and on to other European cakes.
I really marvel how high the standards were held even in the 1800’s for a baker (un boulanger) when the conditions were challenging. Next time your cake falls to crumbs, in your modern kitchen with all the tools you purchased (rather than having your spouse or neighbor hand make them), be grateful you did not spend hours preparing the oven and months growing the ingredients.

There is a grocery chain called Publix, headquartered in Florida with stores throughout the southeast US, which is locally renown for their bakery. They have these perfect layered cakes about 1-inch square cubed, covered and decorated. I purchased 40+ for my wedding shower years ago, and find them to the ideal size and quantity of sugar. They are great for parties because there is no need to cut the cake or to have plates or utensils, most people do not want a whole piece of cake, and there are fewer crumbs and left overs this way.
At first, it did not appear to be especially challenging. I had a general idea that in order to make these tiny cubed cakes, I would simply make a large cake and cut it up. I did assume the hardest challenge would lie in baking such thin, even, and consistent layers. Then I asked myself, and sequentially Google, what is the coating that covers them? The coating could be a thin glaze that is mostly transparent, or a thick fondant, or even chocolate ganache. The glaze sounded the easiest, so I went with that route.

Let me spoil the ending by explaining the complications along the way. I tried to make perfectly cubed petit fours at least four full times. I tried partial steps along the way to perfect those aspects. These are not easy to make. I would in the end recommend buying them. After inquiring of the Publix bakery, it turns out only some of the bakeries make the petit fours in house while the others are sent the covered, frozen squares to decorate with little flowers. After dissecting them I decided they are covered in white chocolate, which I would recommend as the best way to prepare them yourself.
The general steps I took:
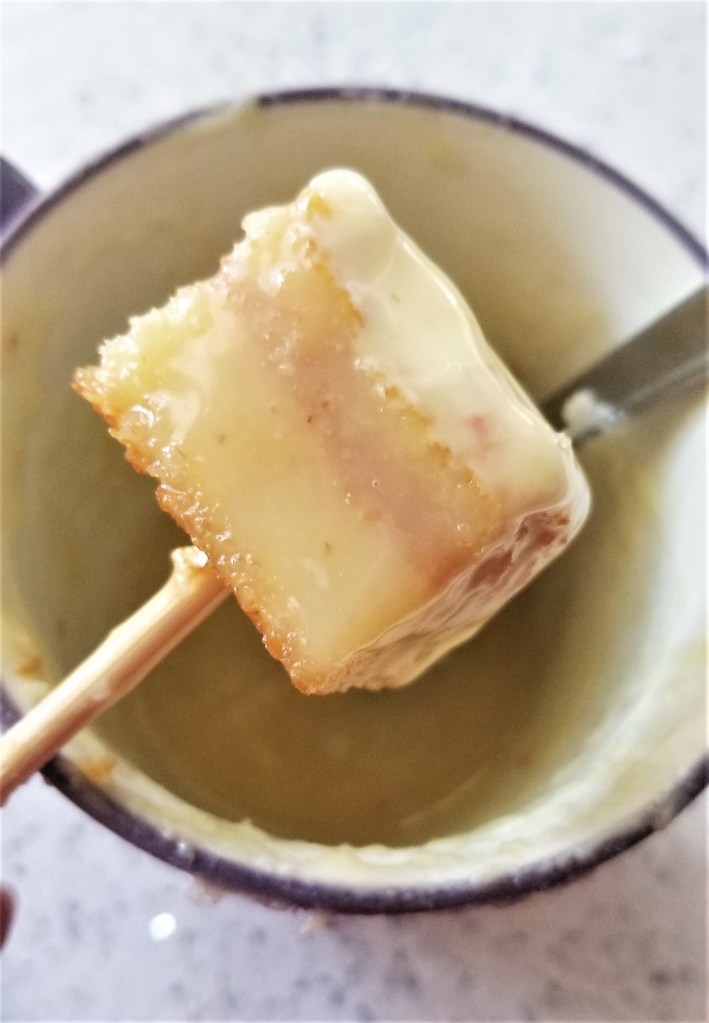
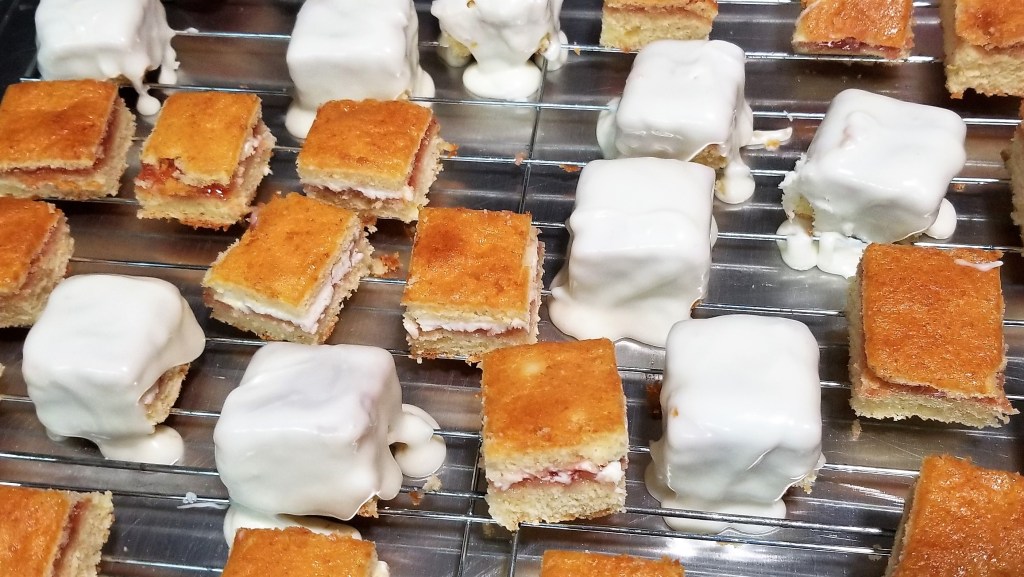
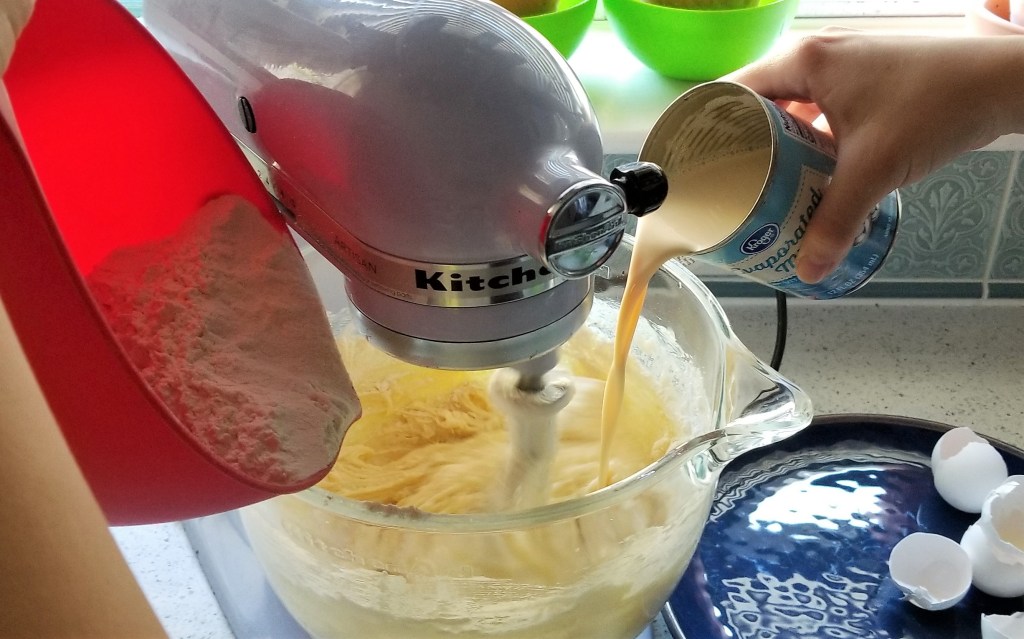
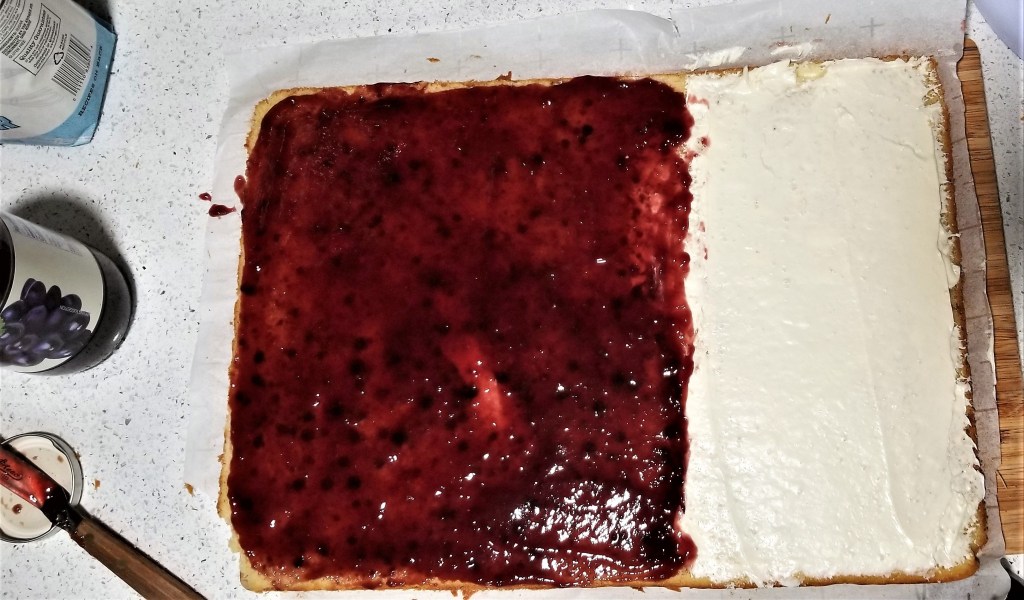
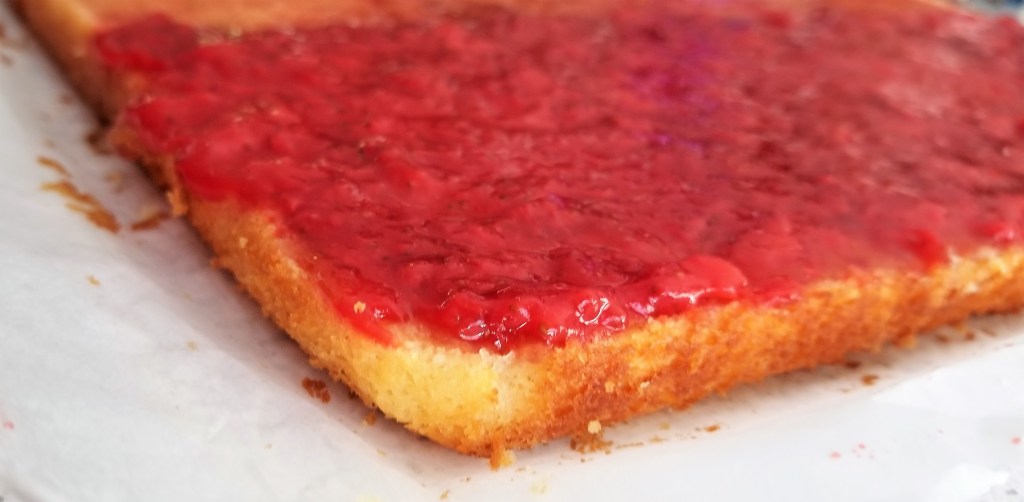
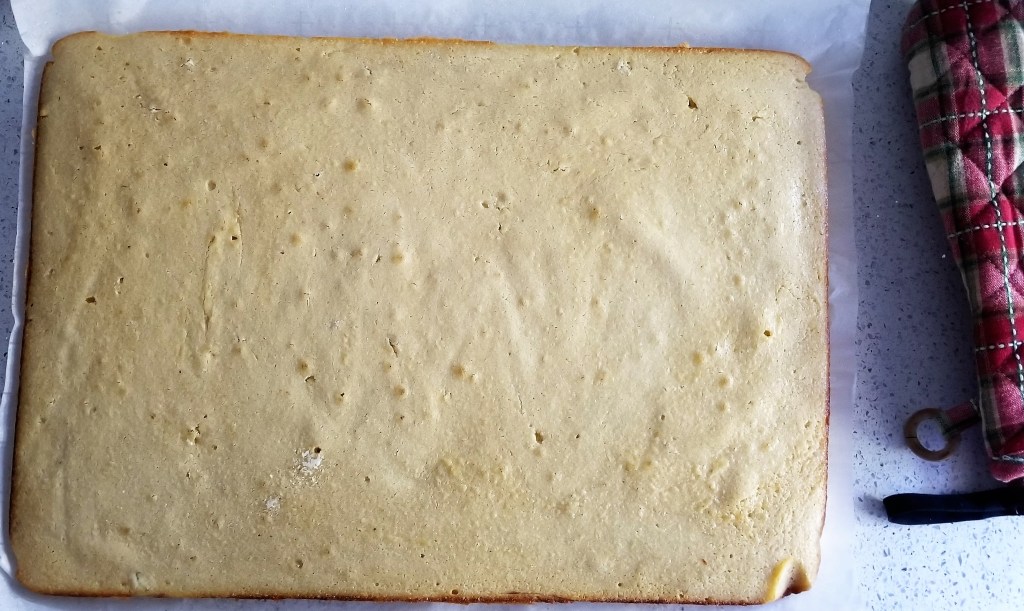
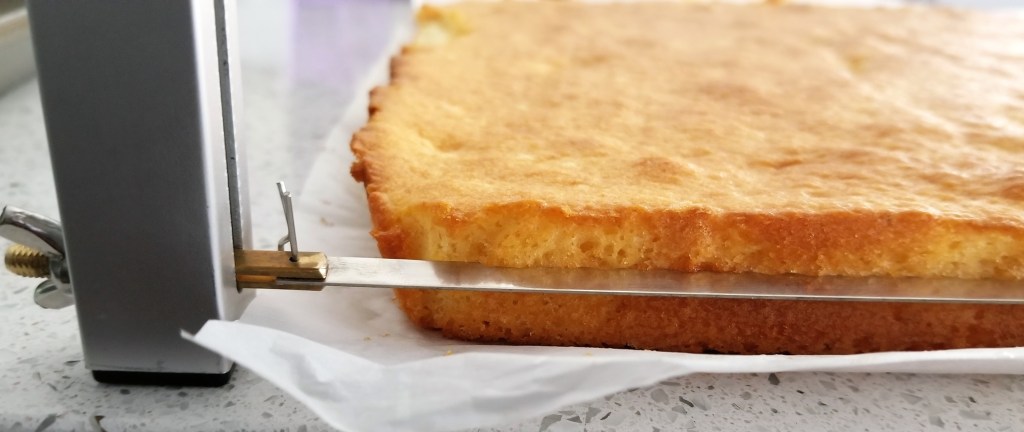
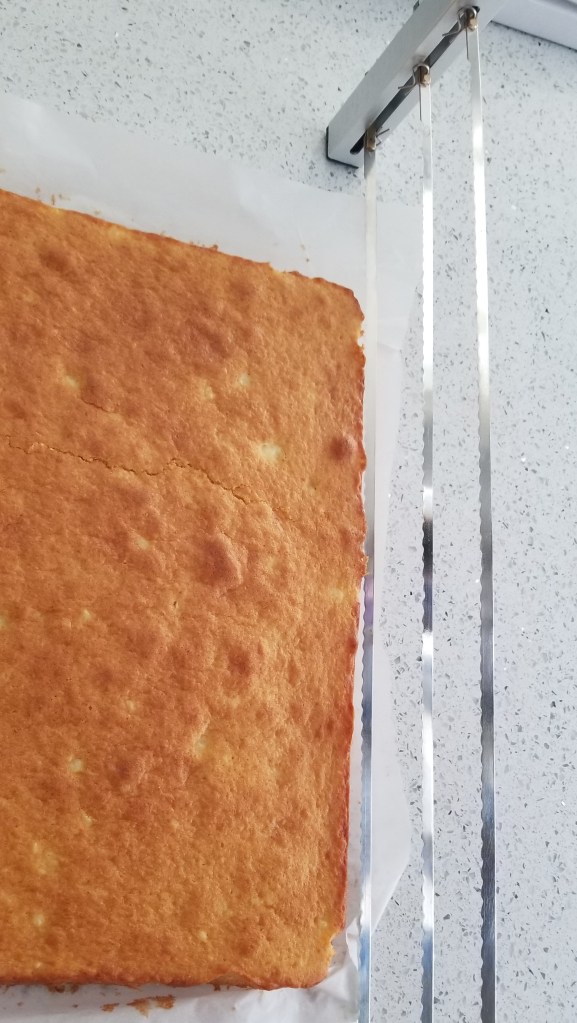
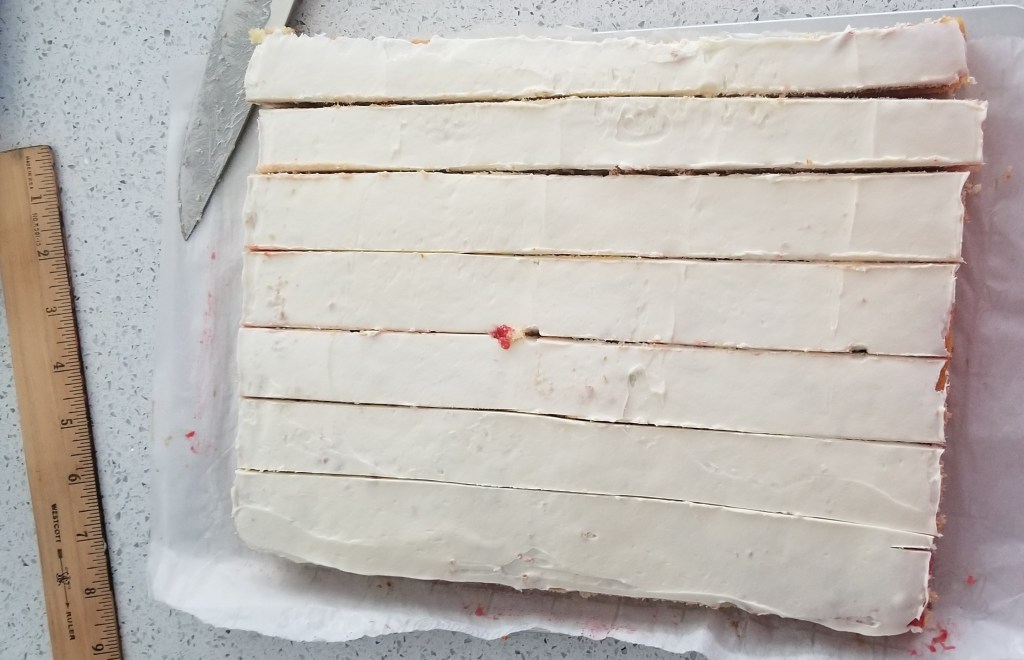
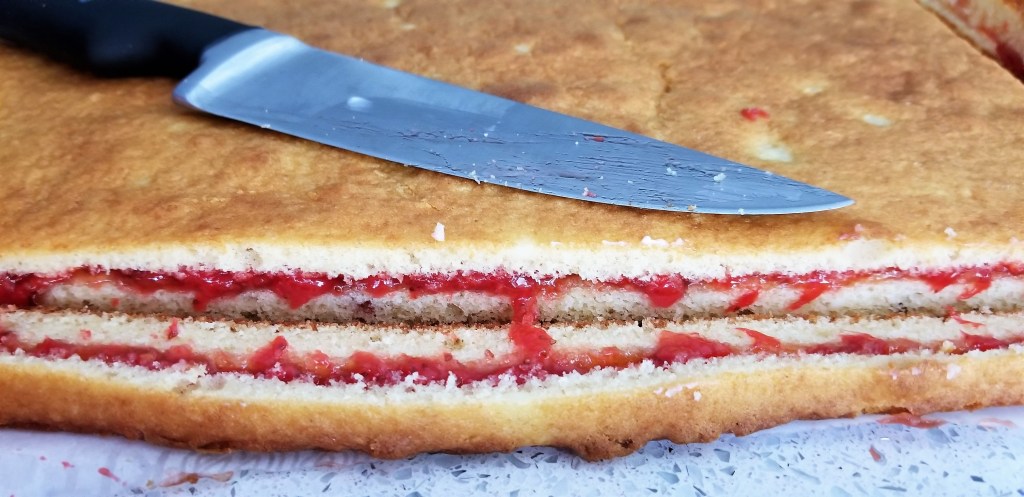
- Prepared a large sheet cake (9×13 or 13×17), cooked and cooled it, then used a cake cutter to cut 1 layer horizontally through the cake. In the end this made about 1 inch tall cakes when they were covered and about 3/4 inch uncovered.
- Made the coating in two ways, my trials were [A] a glaze and [B] white chocolate:
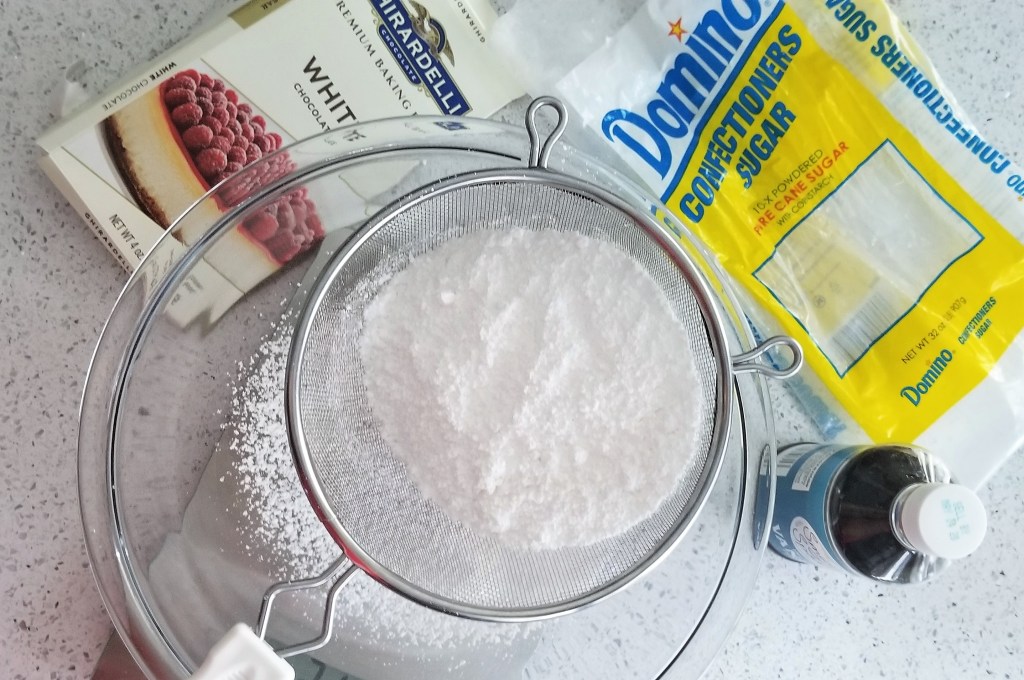
- [A] Melted icing/powdered sugar, water, vanilla, and the tiniest amount of white chocolate to make a glaze. It was recommended to use light corn syrup, but I didn’t have any at the time.
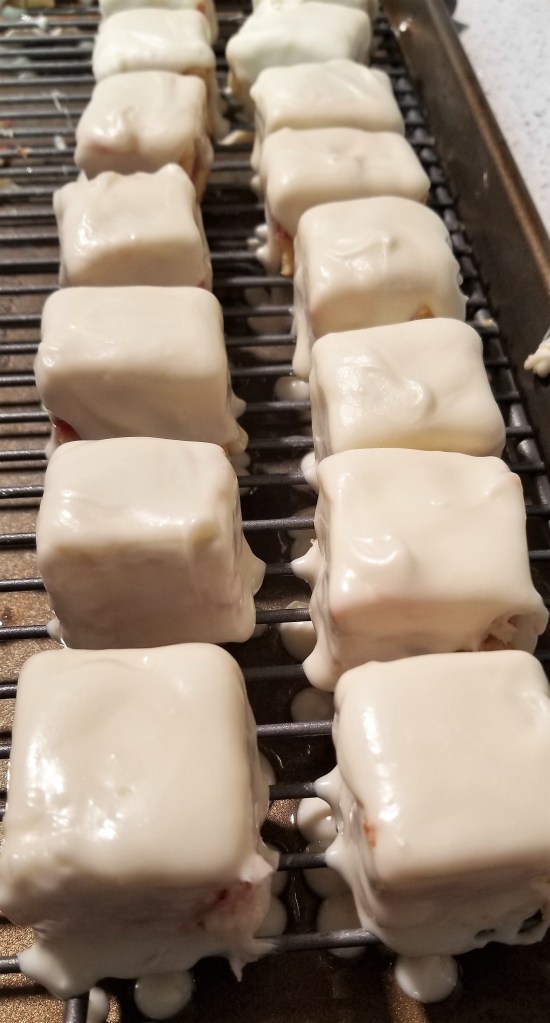
- [B] After finding the nice white chocolate to cool too quickly, I purchased four trays of packaged candy coating that just needs heating in the microwave and found this to work the best.
- I froze the cake, cut it into 1.5 inch squares, then stuck them part way on a skewer. I dipped each into the [A] glaze, let it drip off, then quickly dropped the skewer through a raised wire rack and pulled out the skewer. The cakes then dripped and cooled. For the [B] white chocolate I used a chocolate dropper funnel to pour the chocolate over each cake. When the extra chocolate dripped off, I scraped it up and remelted it.
- They then cooled and you could decorate them with frosting flowers or chocolate designs.
Areas where I ran into trouble:
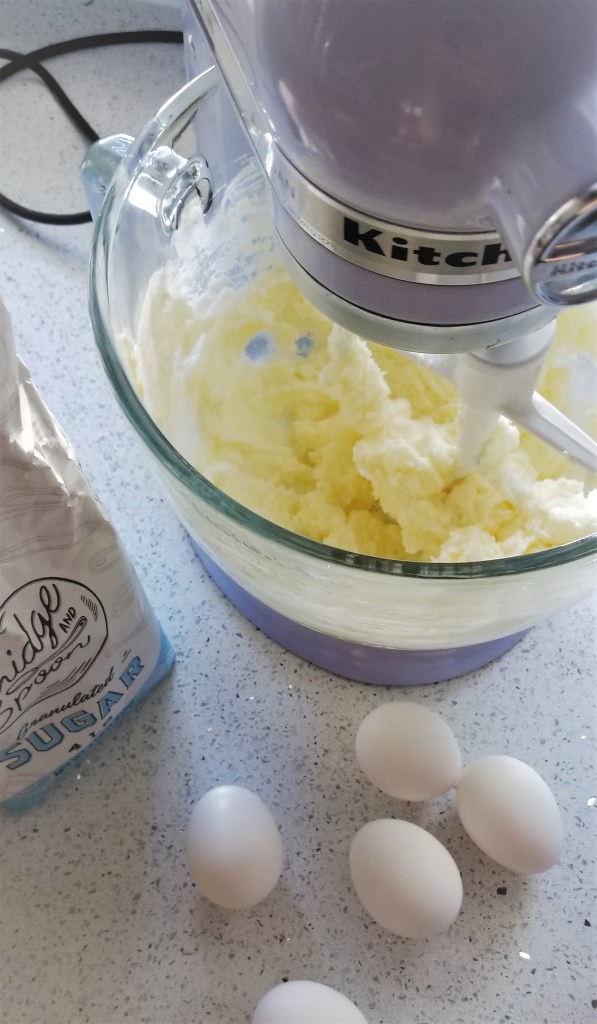
- Surprisingly no trouble cutting, separating, or layering the cake. I did have a cake saw which really helped, but a knife works as well. I used a thin, slippery (or oiled) cutting board to transfer the top layer while I added the filling. I had help the first time, but it was so easy to transfer that I was able to do it myself the second time. The cake didn’t crumble or crack!
- The [A] glaze was too thin and did not make an opaque cover like I wanted. It was very sweet. If you use the glaze you won’t need more than a 1/4 cup of sugar in your cake. This method only works if you cakes are very frozen (freeze them before and after cutting them), the glaze needs to be under 90F, and the glaze needs to be in a deep, preferably narrow, bowl. Spooning the glaze or ganache on the cakes would be easier, however it does not coat the bottom of the cakes.
- The [B] candy coating/white chocolate method was what I really wanted. It qualified as opaque, perfect amount of sweet, gave more structure and sturdiness, as well as covering up some errors and helping with uniformity. It does harden very quickly! This became a problem when the chocolate dripped around the wire rack. The cakes were then stuck to the rack (face-palm). When I tried the white chocolate the second time, I would coat four of the cakes at a time, cut around each with a knife, then continue on. It did not matter that I did not cut well or removed all the chocolate before allowing it to harden. Simply doing that much helped when breaking off the chocolate all the way later. It worked surprisingly well.
- You will go through a lot of candy coating very quickly. It has to be reheated frequently, be sure not to use any metal tools.
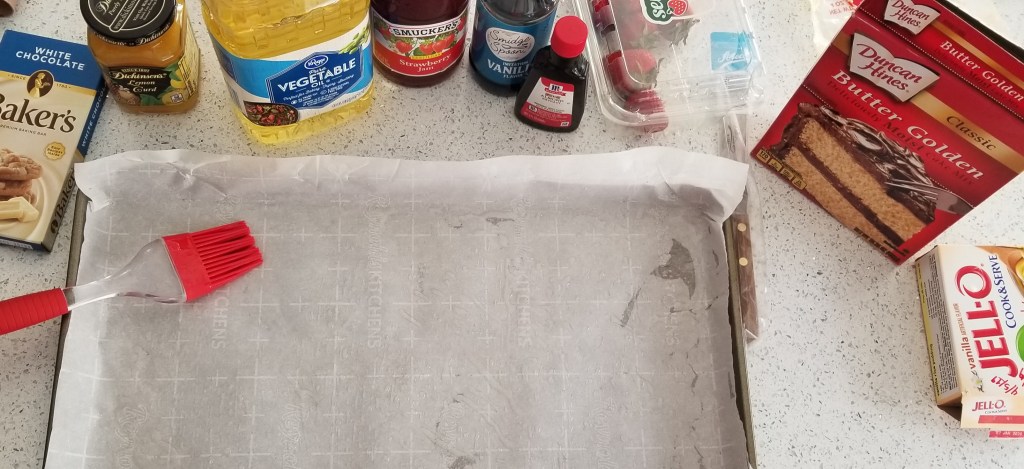
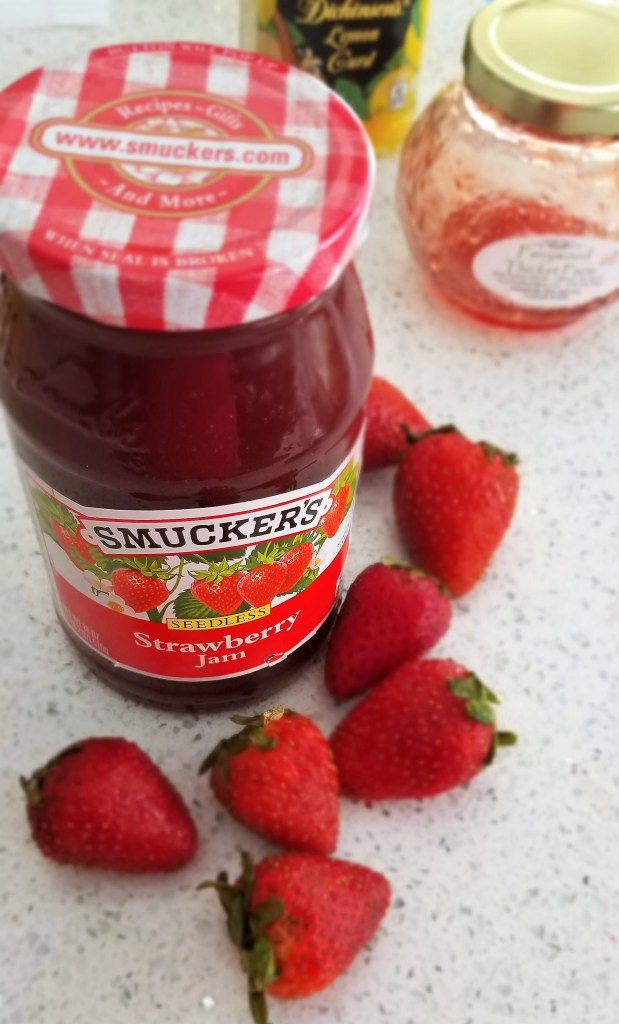
Take-Home Tips: Over all I do not recommend making these at home. They are cheap to buy. If you do want the challenge though: Make a pound cake-like sponge, dense without many holes and consider adjusting your recipe for the size pan you use. Line the baking sheet with parchment paper! it helps so much throughout the process. Keep the cake on the paper as long as possible. I even put it in the freezer on the same paper. Use homemade jam or jelly (any flavor) rather than store bought for the filling, it really makes a difference in thickness and color. You can also use cream cheese frosting on top of the jam. A cake saw/cutter is highly recommended, if not required for such a thin cake, but you need one that can adjust on either end in the case of not level thicknesses. Freeze your cakes before and after cutting them, and cut them slowly so they are relatively even. If you glaze, allow it time to cool and do not try to dip them too early, you can always heat it up if the first one is too heavy as it comes out. Prop your rack on cans or jars so you can pull your skewer through the bottom and leave the cake to drip. Your hand may get sugar coated in the process. Use food coloring to help make the icing more opaque. You can always decorate the outsides once they have refrozen. No need to thaw either, serve straight from frozen for the best structure. Keeps in freezer for weeks with little change in the flavor or staleness.
Scoring: 7 of 10. They were delicious. They were not worth making. They were frustrating and imperfect. You cannot really tell the difference in the different flavors and for the most part they task like whatever you coat them in. To do multiple layers, you would need precision with your blade and a very even cake. I only believe I would be able to do one cut with my saw and did not try to do 2. You could make them slightly taller, do 2 batches of the cake and simply add another layer of jam to get to 4 layers.